
This recipe will appeal to fans of Reese’s Peanut Butter Cups, those American sweets which combine chocolate with peanut butter. However, I do know a few other people who will say “yuck” when they see this post!
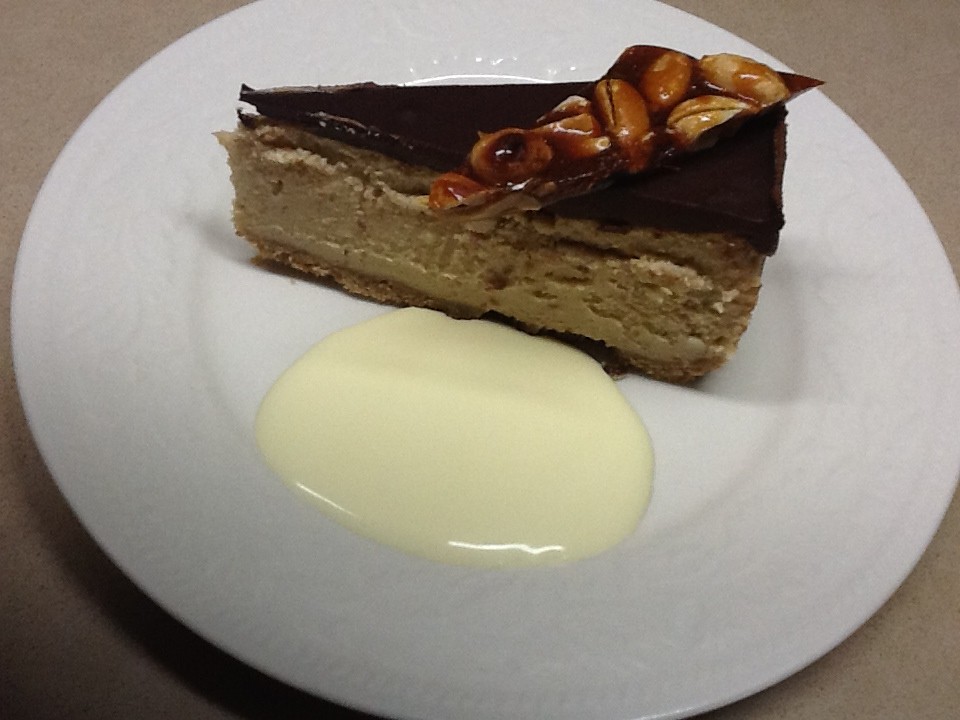
Half cream cheese and half ricotta results in a somewhat lighter texture, but you can use all cream cheese if you prefer. The addition of salted peanuts and salty biscuit crumbs in the crust make a nice contrast to the sweetness of the filling.
This dessert is very rich, so serve in small slices.
 Base:
Base:
1½ cups salty biscuit crumbs, such as Jatz, Ritz or pretzels
1/3 cup melted butter
Filling:
1 kg cream cheese (or use half cream cheese and half ricotta)
1 cup sugar
½ tsp salt
1 cup peanut butter (smooth or crunchy)
3 large eggs
Topping:
1 cup cream
100g dark chocolate
Salted Peanut Brittle:
100g sugar
100g salted peanuts
To serve:
Thick pouring cream or whipped cream
Have cream cheese at room temperature. Preheat oven to 170ºC. Crush biscuits or pretzels in food processor till they are like breadcrumbs, tip into a bowl with the melted butter and mix well. Line base of a 22-24 cm (8-9″) spring-form pan with baking paper and grease the sides. Tip biscuit crumbs in and press evenly over the base with your hand or the base of a glass. Place in the fridge while you make the filling.
Place cream cheese (or cream cheese and ricotta) in food processor with sugar and mix well. Add remaining ingredients and mix, stopping to scrape down the sides. Scrape filling into the pan and smooth the top. Bake for between 45 mins and an hour or until just set. As soon as it feels set in the middle when you touch with your fingers it’s ready. Remove from the oven and leave to cool.
For topping, heat cream in microwave or a saucepan till almost boiling. Add chocolate broken into squares and stir till melted. Leave until starting to thicken, then spread evenly over the cheesecake. When cheesecake is cold refrigerate overnight.
To make brittle, heat sugar in a small heavy-bottomed saucepan over medium heat until dark caramel colour. Don’t stir, but you can lift and swirl the pan from time to time, to ensure sugar melts evenly. Add peanuts, swirl to combine, then tip onto a baking pan lined with baking paper or foil.
Remove cheesecake from fridge 15 mins before serving. Run a knife dipped in boiling water around the sides of the cheesecake to loosen, then remove the sides of the pan. Dip knife into boiling water to cut cheesecake into slices. Wipe and dip each time. Break or cut peanut brittle into shards and use to decorate cheesecake. Some whipped or pouring cream goes well.
Serves 16-20 (small slices)
Note: in South America queso fresco can be substituted for the ricotta. You can use sour cream instead of cream and milk chocolate instead of dark in the topping.
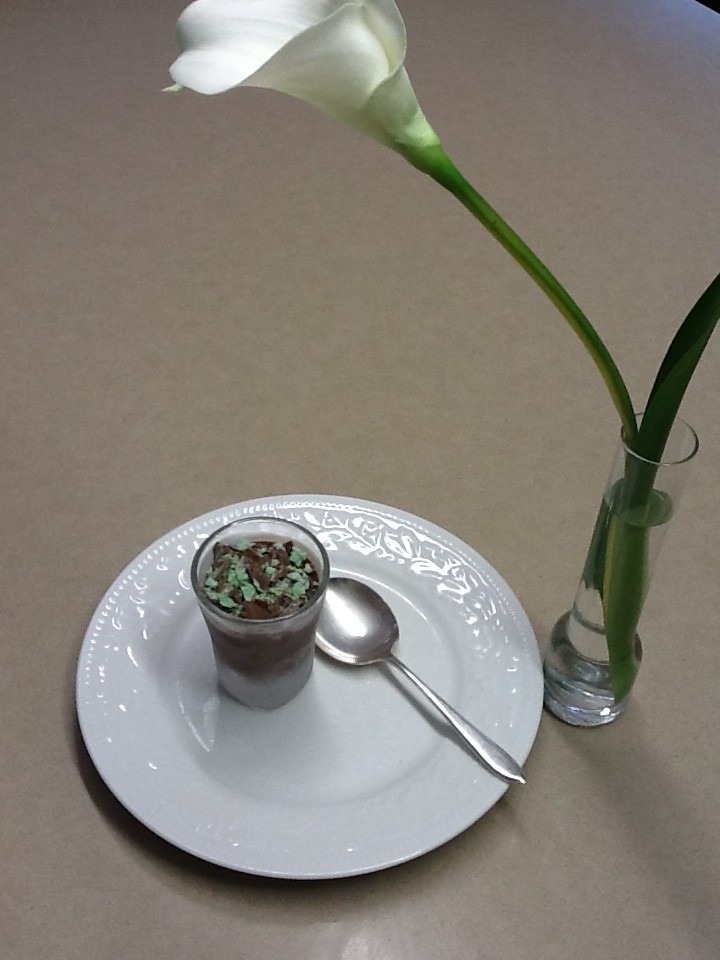
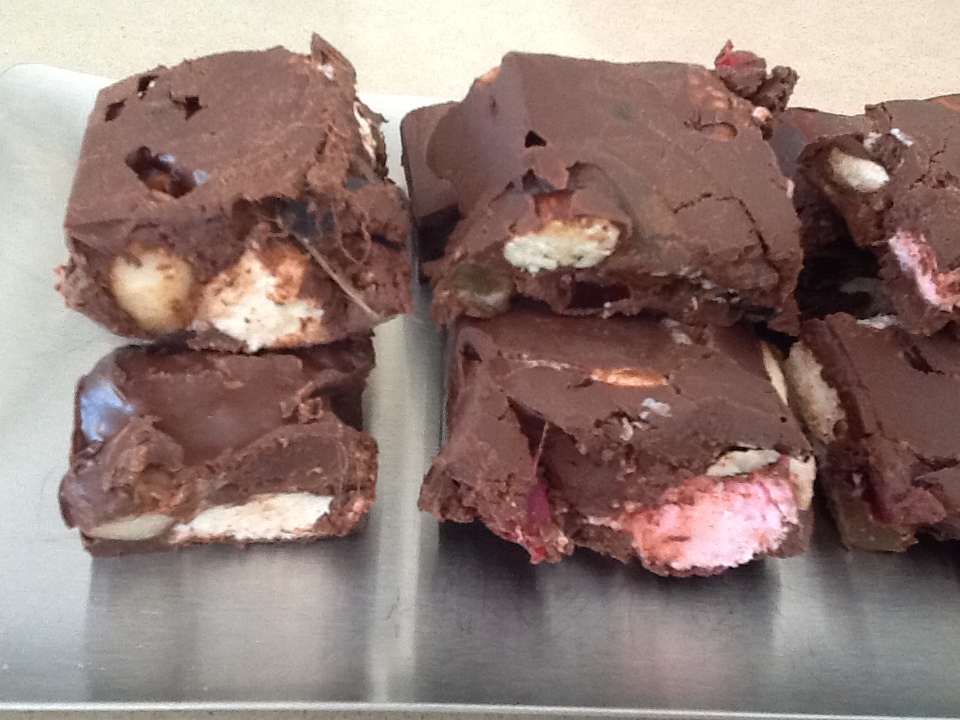

 I usually make them with dark or white chocolate, but decided to create one with a cappuccino flavour. Nigella Lawson makes a chocolate mousse using marshmallows instead of eggs, so I used her recipe to develop one with a coffee layer on top of a dark chocolate layer. The 250g packet of marshmallows I bought had both pink and white, so I divided them in half. There were uneven quantities, so I had to put a few pink ones in with the white ones. I think using mainly white ones for the coffee layer you end up with a nicer colour.