I began collecting recipes when I was at school. Some of the recipes in my large collection have been in my family for generations, others were passed on by friends and chefs around the world. Many have been adapted over the years to make them lighter or update their presentation. I’ve served them to royalty, PMs and other VIPs and there have been no complaints. I hope you are inspired to make some of them.
My everyday tried and tested salad dressing contains Dijon mustard and some honey. I always have a jar in the fridge. Another favourite is a tomatoey sweet and sour one, known in our family as Red Dressing. It goes well with everything, especially spinach and is popular with kids.
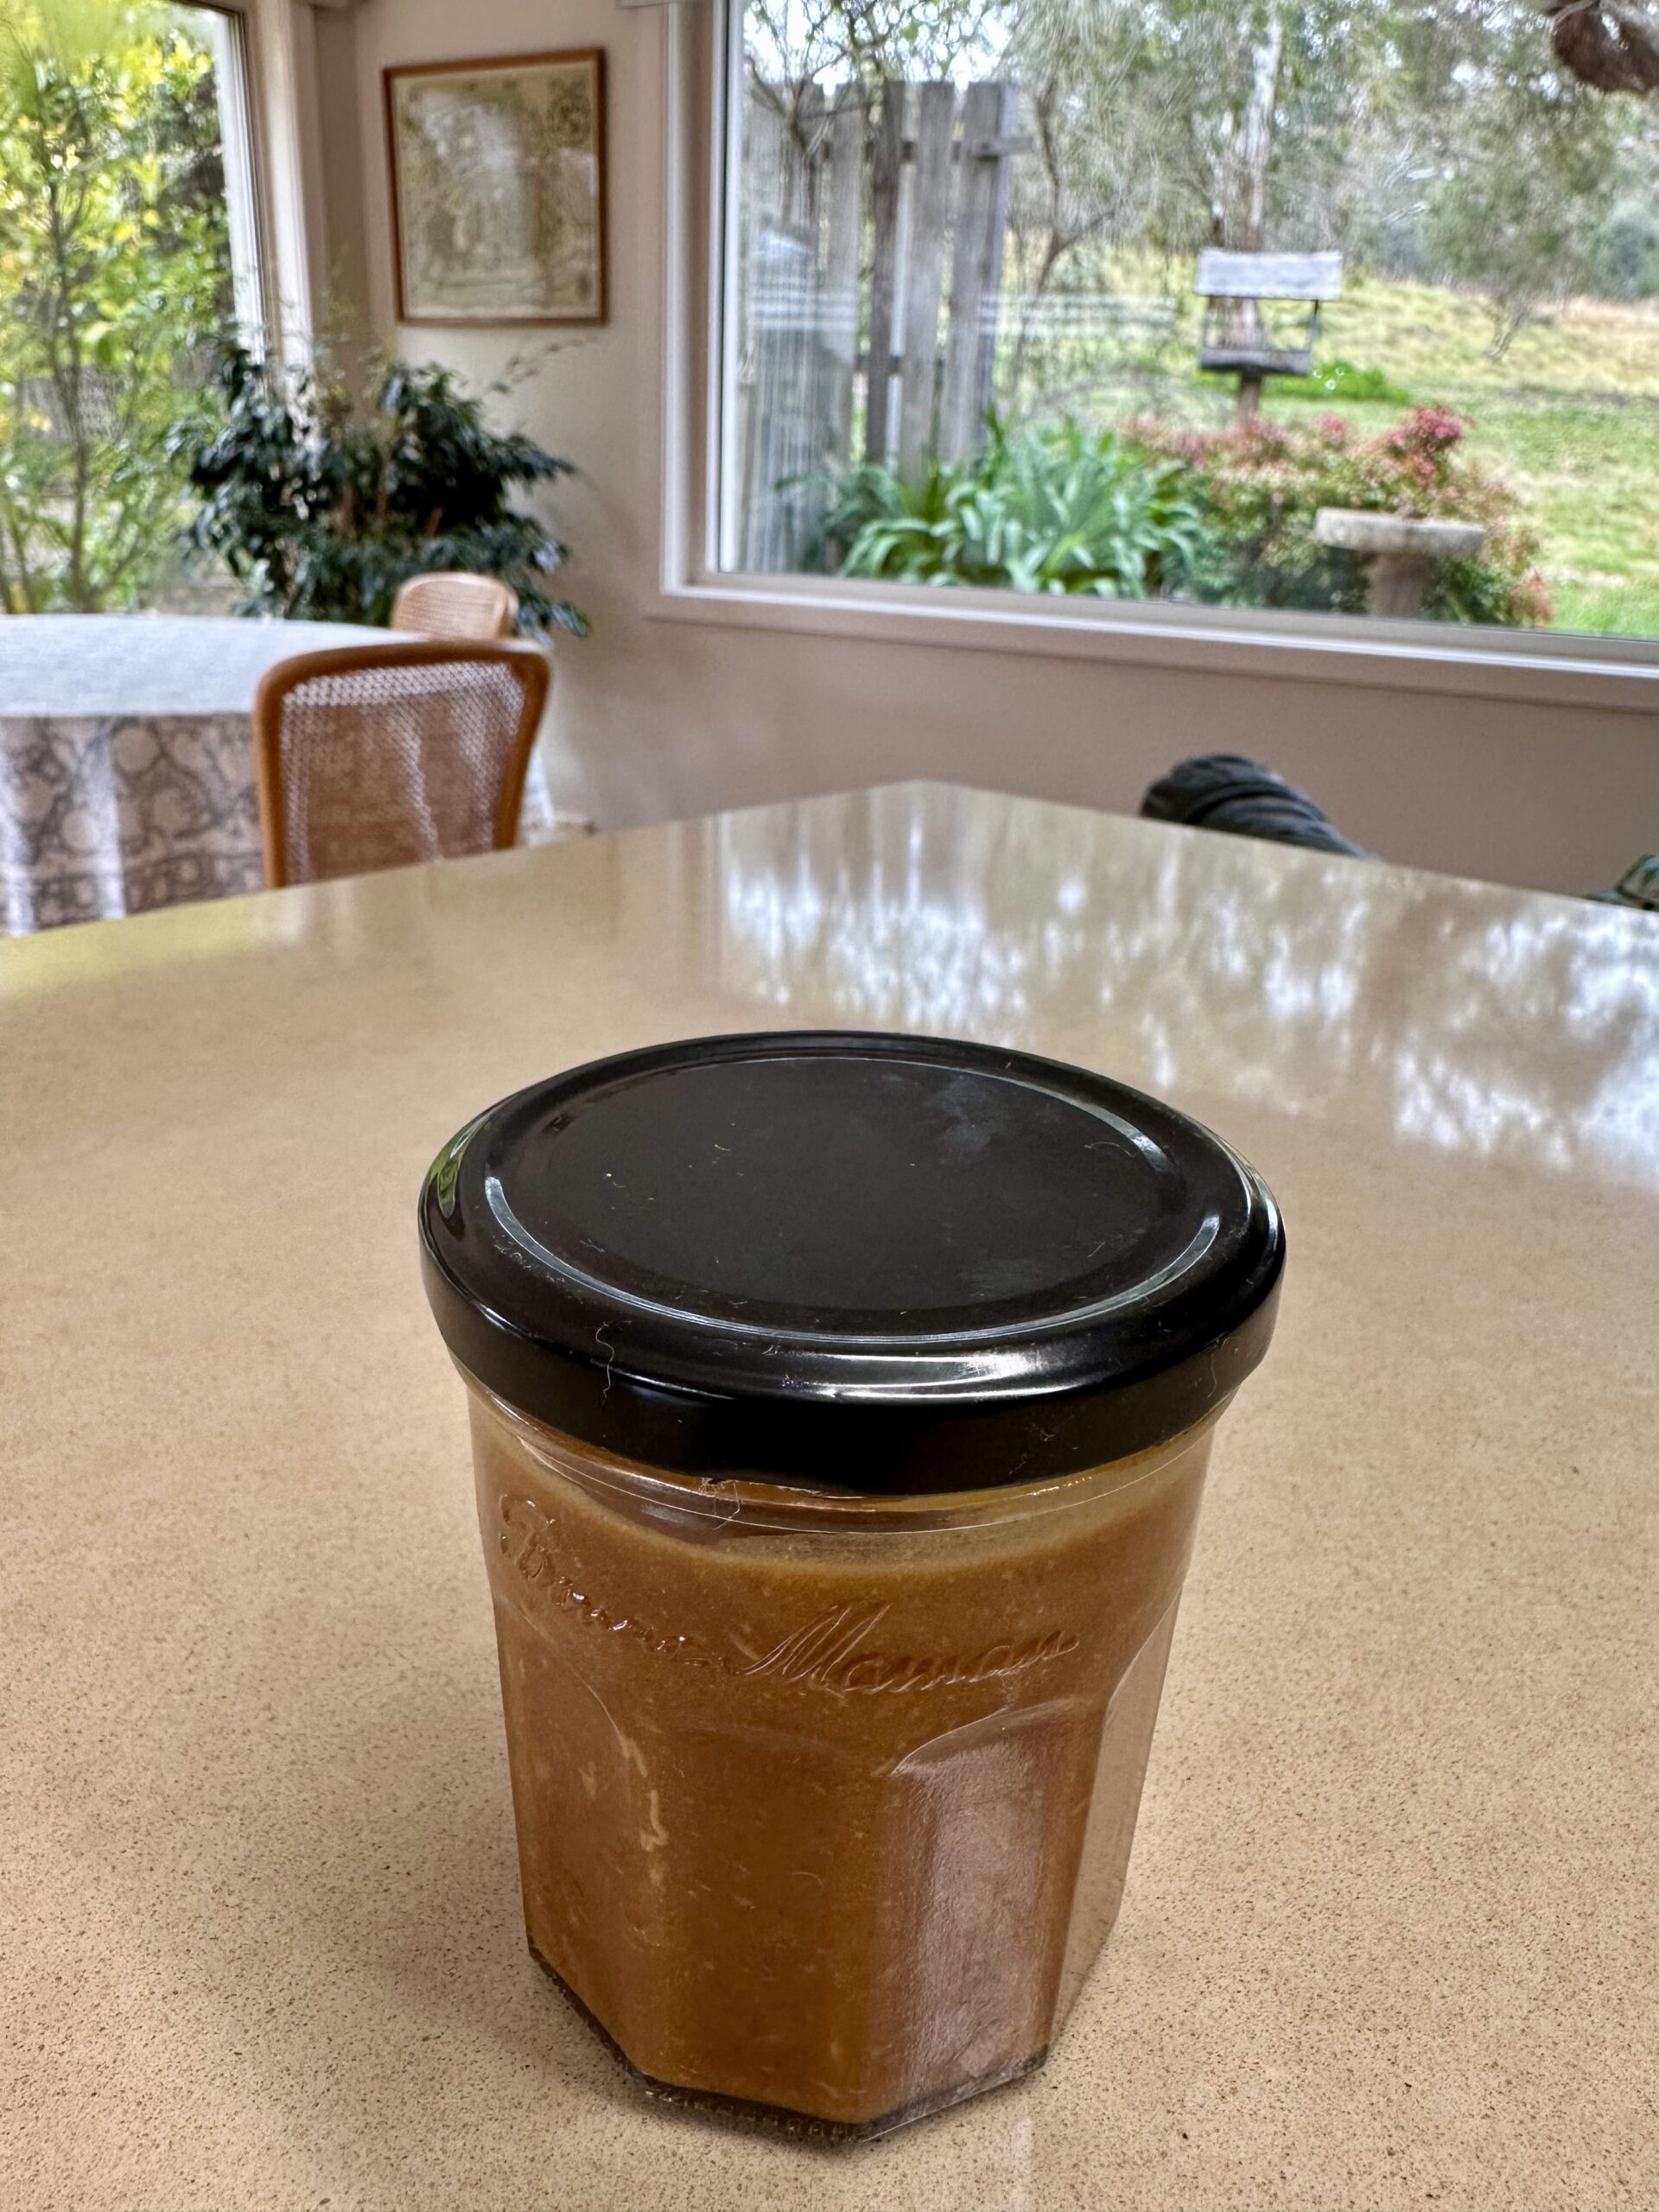
This Peanut dressing is new to my repertoire and destined to become a favourite. It will appeal to those who like chicken satays with peanut sauce. While it goes well with salads, it’s also nice as a sauce for grilled meats.
Mix with some cold cooked chicken and a dollop of mayonnaise for a delicious sandwich filling.
½ cup canola or vegetable oil
2 Tbs peanut butter
2 Tbs tamari sauce
2 Tbs lemon or lime juice
2 Tbs maple syrup or honey
1 Tbs sesame oil
1 Tbs sriracha chilli sauce
1 clove garlic, crushed
1 Tbs grated ginger (see tip no.3 here)
Whisk all ingredients together then keep in a jar in the fridge.
Every couple of months we get together with three other couples for dinner. We take it in turns to host the evening and make the main course. Each couple brings something which makes it much easier for the host and hostess than when you have to do the lot.
Last Saturday everyone came to us. Fiona and Mark brought garlic prawns with apple and fennel salad. Bavette de Boeuf with Café de Paris butter was my contribution to the main course. Pommes de Terre Dauphinois, which Pennie and Rodney brought, went very well with the meat, with a few steamed sugar snap peas (mange tout) on the side.
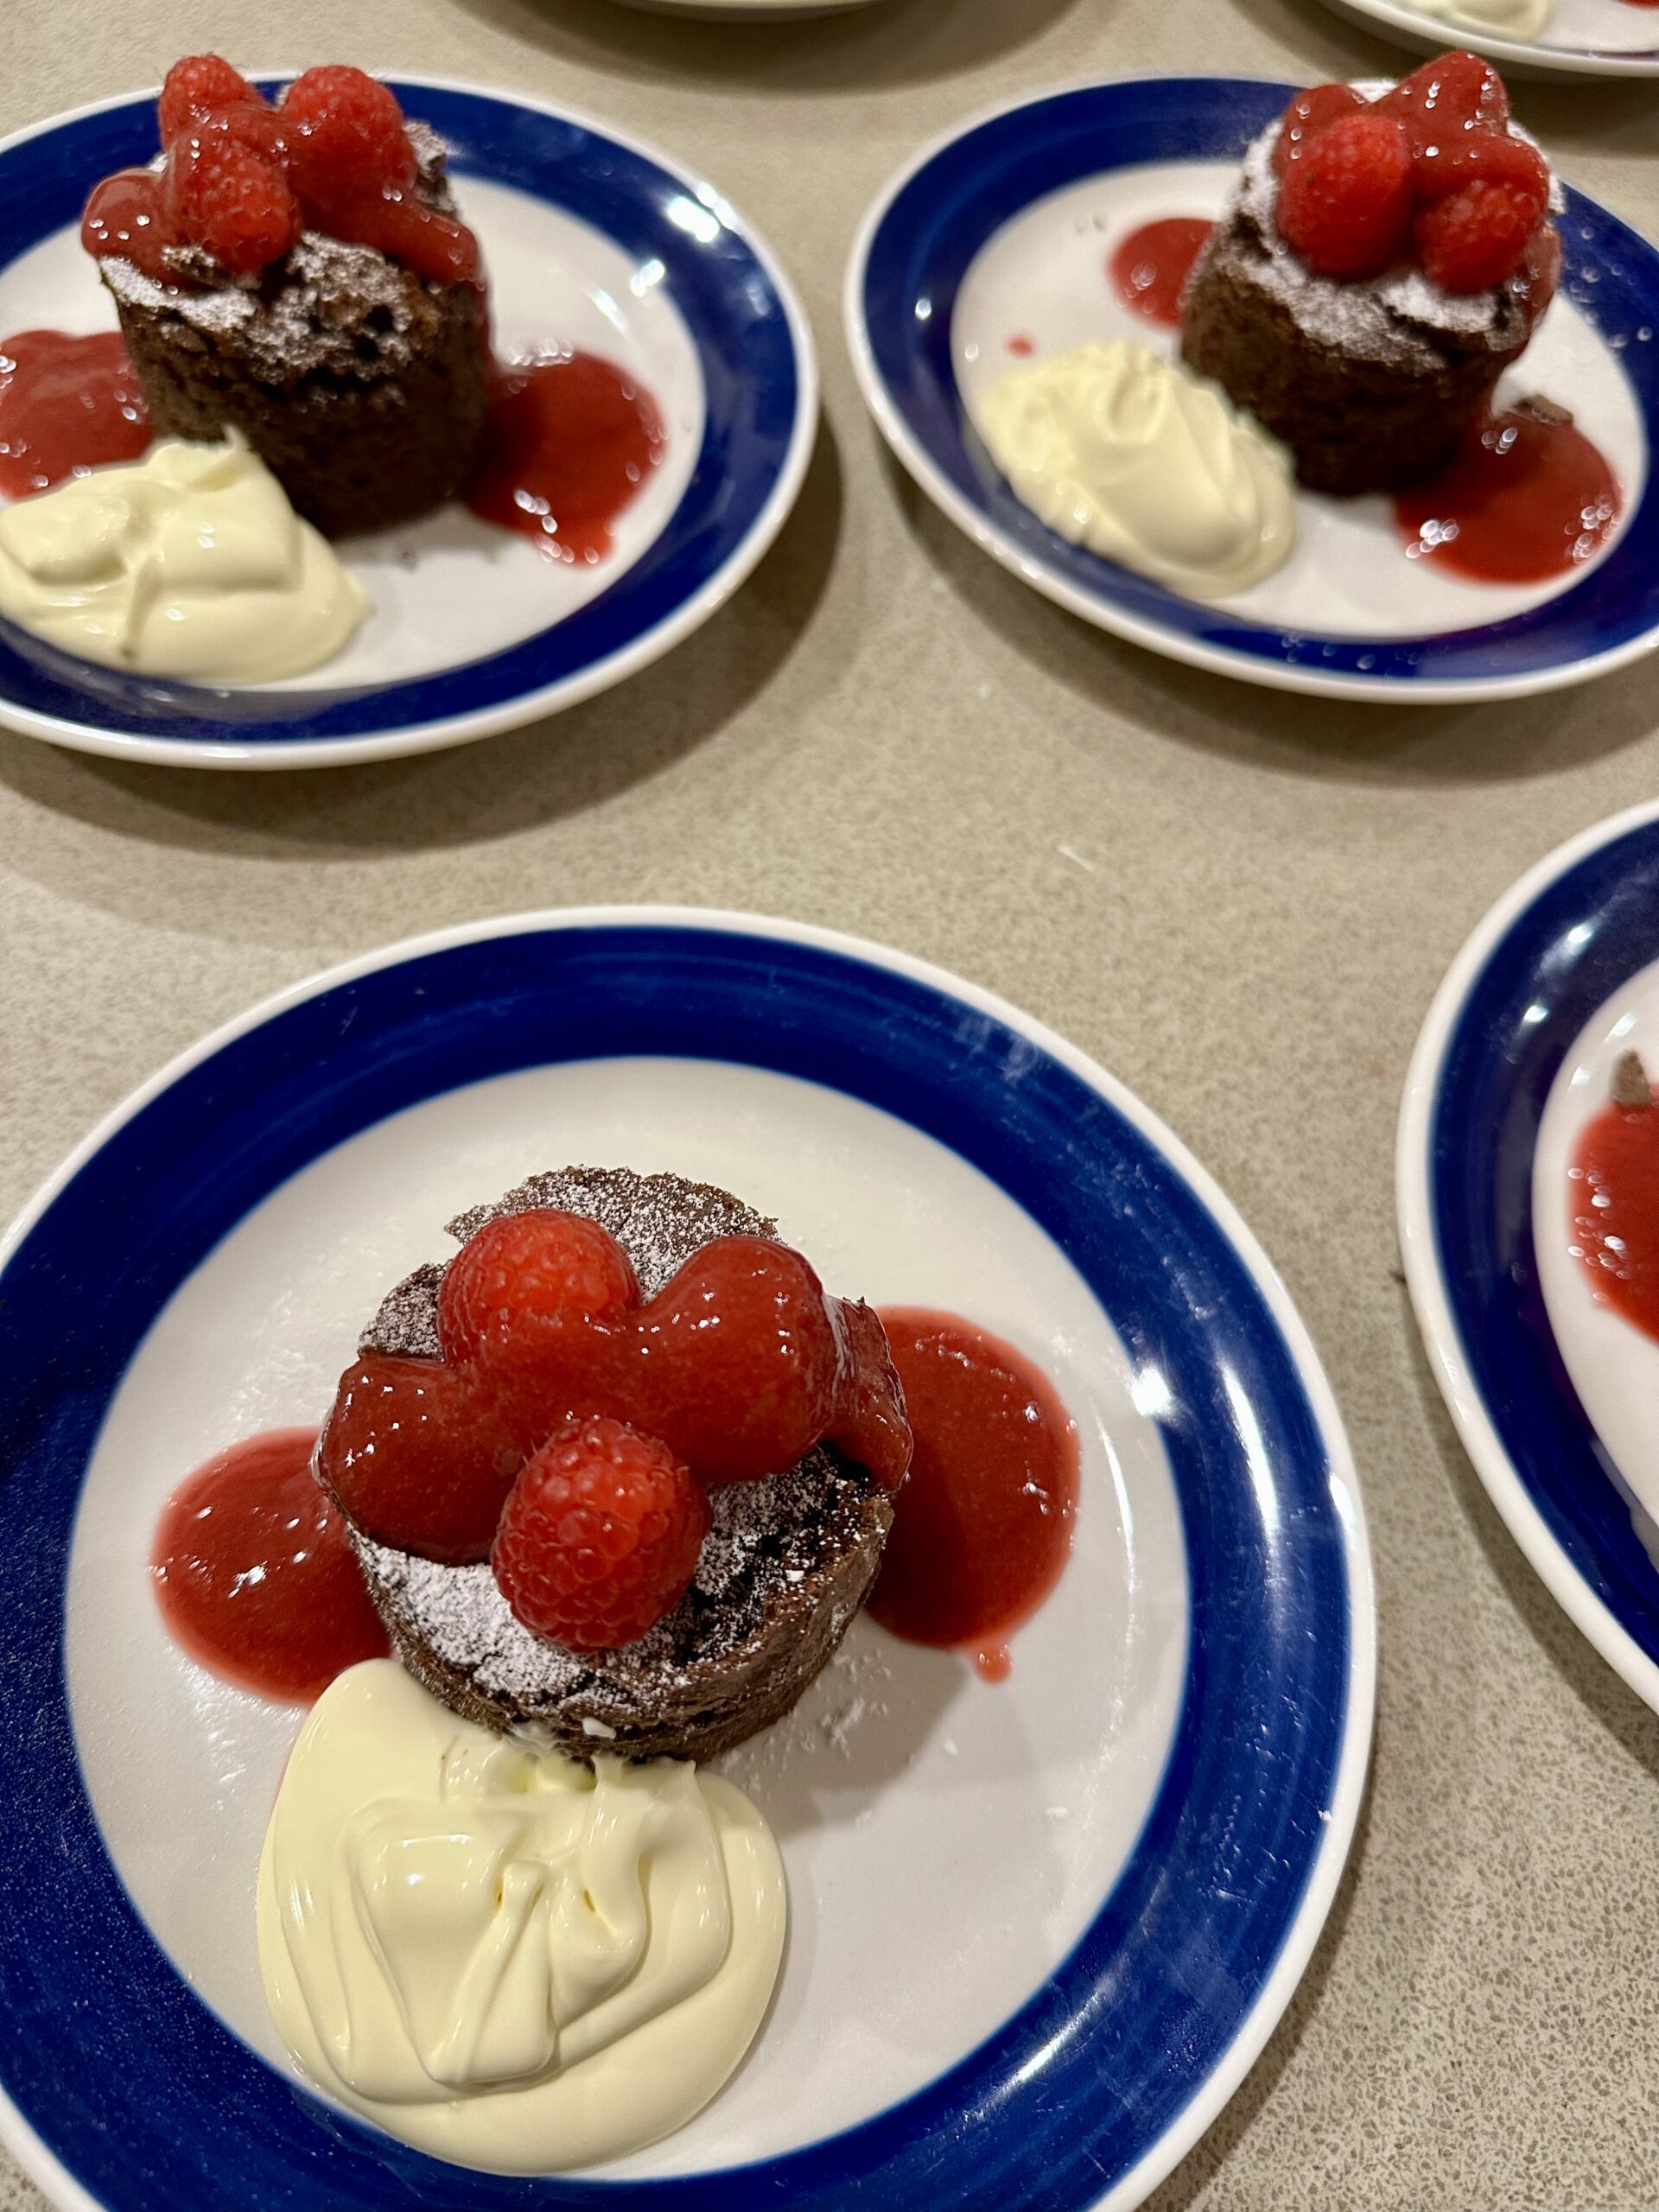
Lynne and Brian made this Flourless Chocolate Cake using a recipe from dearly departed Australian chef Bill Granger. The raspberries and coulis are optional but add a nice splash of colour to this delicious dessert.
200g dark chocolate, chopped
125g unsalted butter
1 cup firmly packed, brown sugar
100g ground hazelnuts
5 eggs, separated To serve:
Icing sugar
Whipped cream or thick cream
32 fresh raspberries Raspberry coulis
Preheat the oven to 180°C and grease and line the base of a 20 cm cake tin.
Make the ground hazelnuts by blitzing them in a food processor. If you like you can toast them lightly beforehand which adds another dimension to the flavour of this cake.
Melt chocolate and butter in a heatproof bowl over simmering water. Choose a largish bowl so there will be room to add the other ingredients. One at a time, mix in the sugar, ground hazelnuts and egg yolks. In another clean bowl whisk the egg whites until firm peaks form. Fold them into the chocolate mixture.
Scrape mixture into cake tin and bake for 45-50 minutes or until firm to touch in the middle. Cool completely then cut into 8 slices or use a small scone cutter to cut 8 circles. Lightly dust the pieces of cake with icing sugar then arrange them on serving plates with the cream, raspberries and coulis.
Serves 8
Variations: use ground almonds instead of hazelnuts. If preferred, dust the top of the cake with cocoa powder instead of icing sugar.
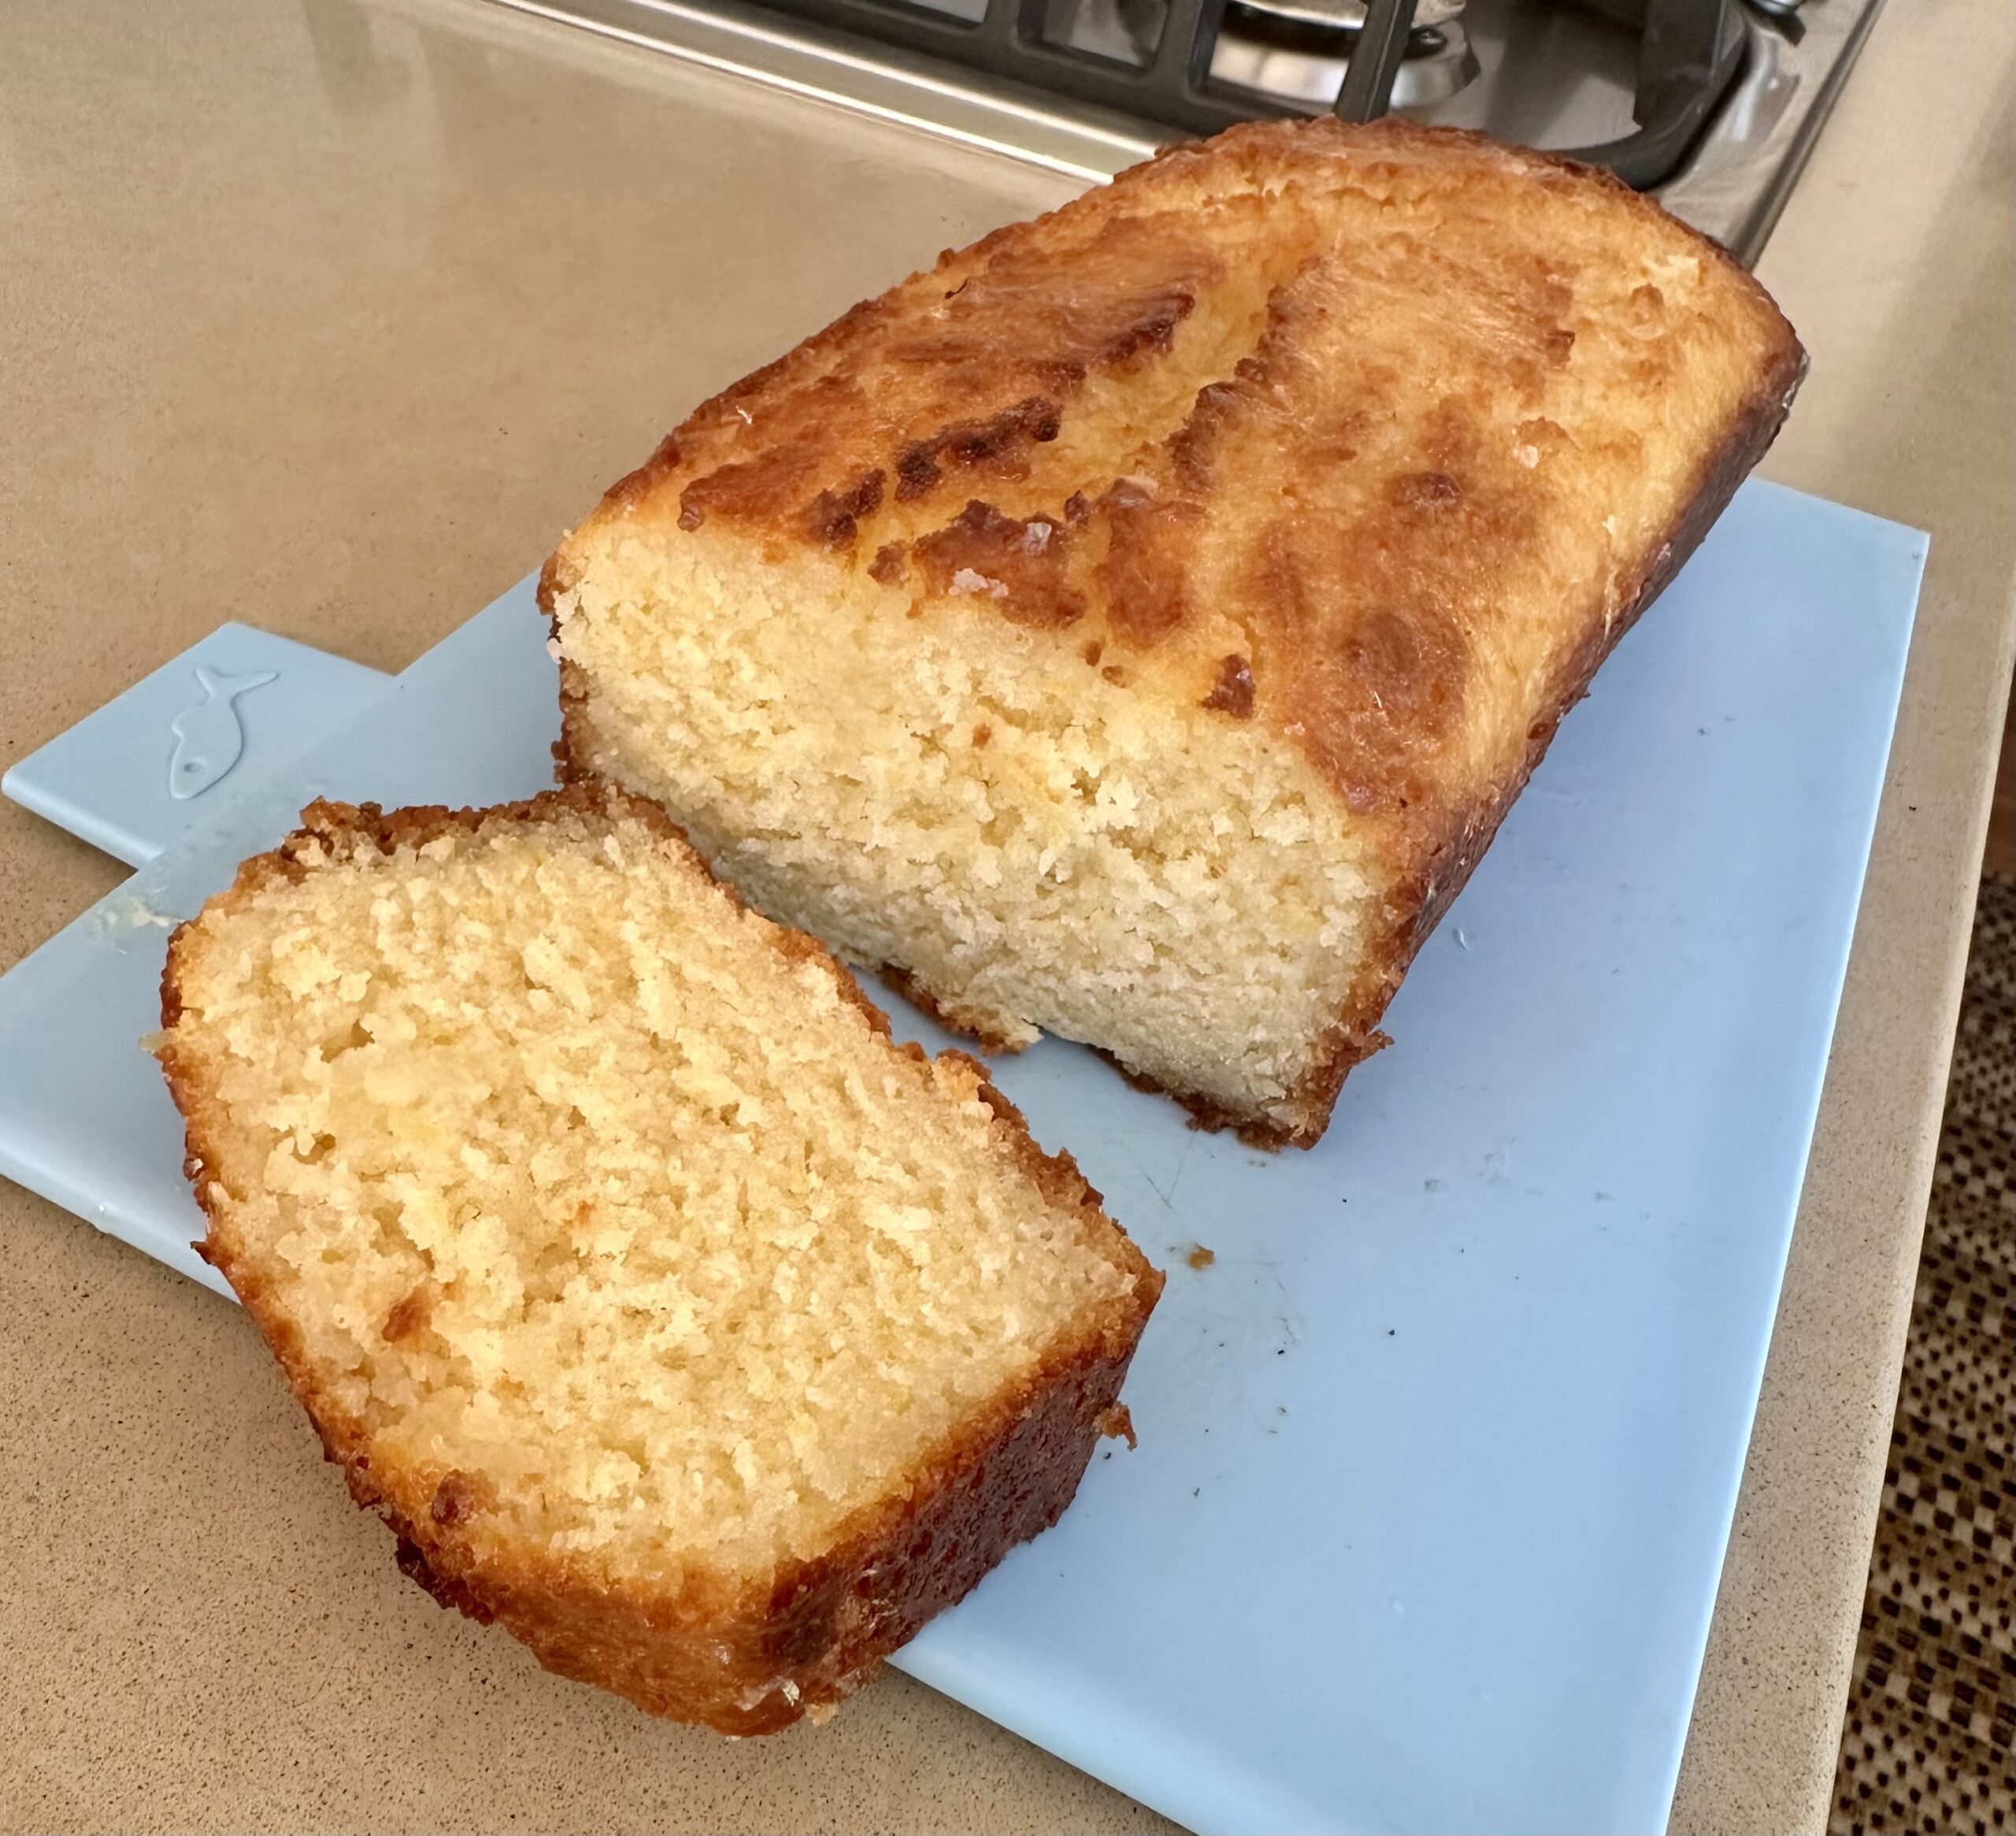
There are already a couple of lemon cake recipes on this blog, but this one from New Zealander Alice Taylor is so quick and easy I felt I should share it. It’s delicious and moist.
½ cup vegetable oil
1 cup plain thick Greek yogurt
1 cup sugar
Grated zest 3 lemons
2 eggs
Good pinch of salt
2 cups self raising flour (or plain flour and 2 tsp baking powder)
Juice of 3 lemons
½ cup sugar
Grease and line a loaf tin with paper. Preheat oven to 170°C.
Place oil, yogurt, sugar, lemon zest and eggs in a bowl and mix with a balloon whisk. Add the sifted flour and salt, then scrape into the loaf tin and smooth the top. Bake for 40-45 minutes or until well-risen and a tooth pick inserted in the middle comes out clean.
Meanwhile heat the lemon juice and half cup of sugar, to dissolve. When cake is cooked pierce it all over the top with a skewer or a satay stick, then pour the warm lemon syrup evenly over the top.
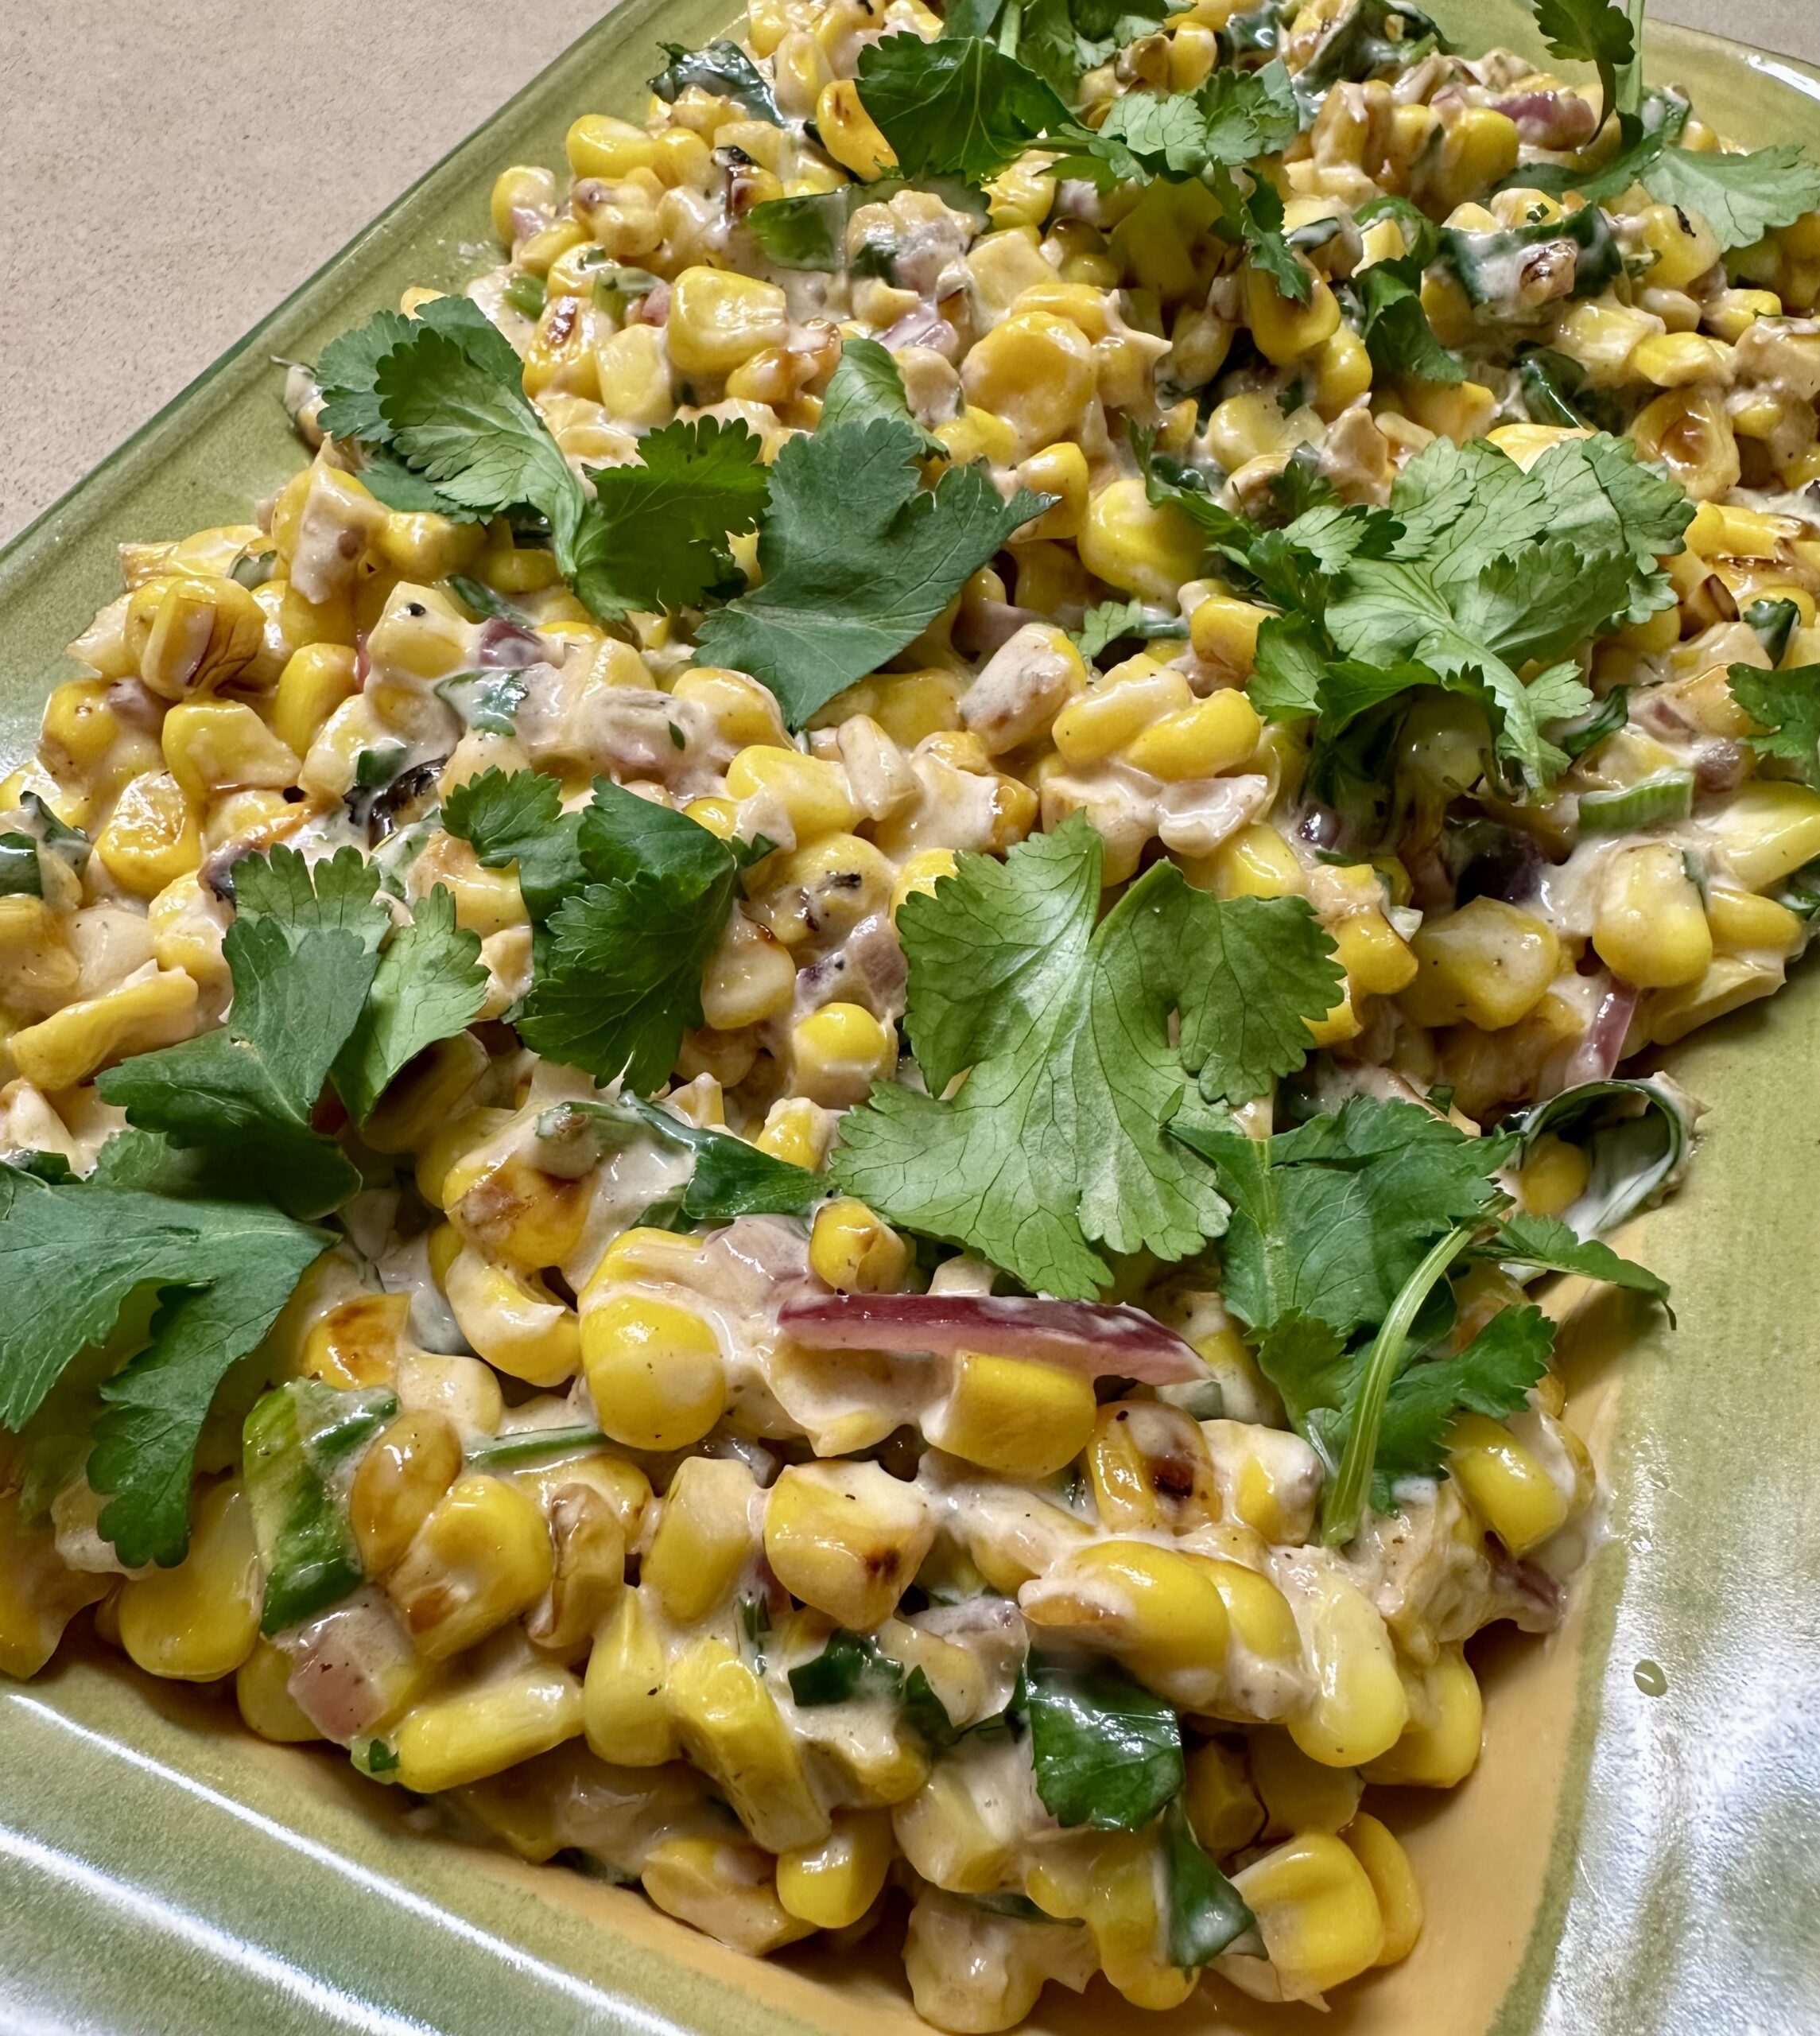
This side dish is simple but delicious. While it goes with everything, it’s also very nice on its own and useful as a filler for sandwiches, rolls and wraps with the addition of chicken, ham or cheese.
You know when you’re making a new recipe and you have to keep going back for a spoonful, to check it still tastes as good as it did when you tasted it the first time? It’s one of those recipes.
4 large ears of fresh corn
30g butter
2 cloves garlic, finely chopped
Salt and freshly ground black pepper, to taste
¼ cup mayonnaise (preferably home-made)
¼ cup sour cream
½ cup grated Parmesan cheese
Finely chopped fresh chilli, to taste (optional)
2 spring onions, finely sliced
½ red onion, finely chopped
2 Tbs chopped fresh coriander
2-3 Tbs fresh lemon or lime juice, to taste To serve:
Coriander leaves, chopped, to garnish
Remove corn kernels from the husks with a sharp knife, cutting downwards. Heat butter in a large frying pan cook the corn kernels and garlic, stirring every now and then, for 5 minutes, or until the corn has started to brown.
Add remaining ingredients then tip into a serving dish.
Garnish with the coriander and serve warm or at room temperature.
Serves 4-6
Variation: this can be made with frozen corn but it’s nicer with fresh.
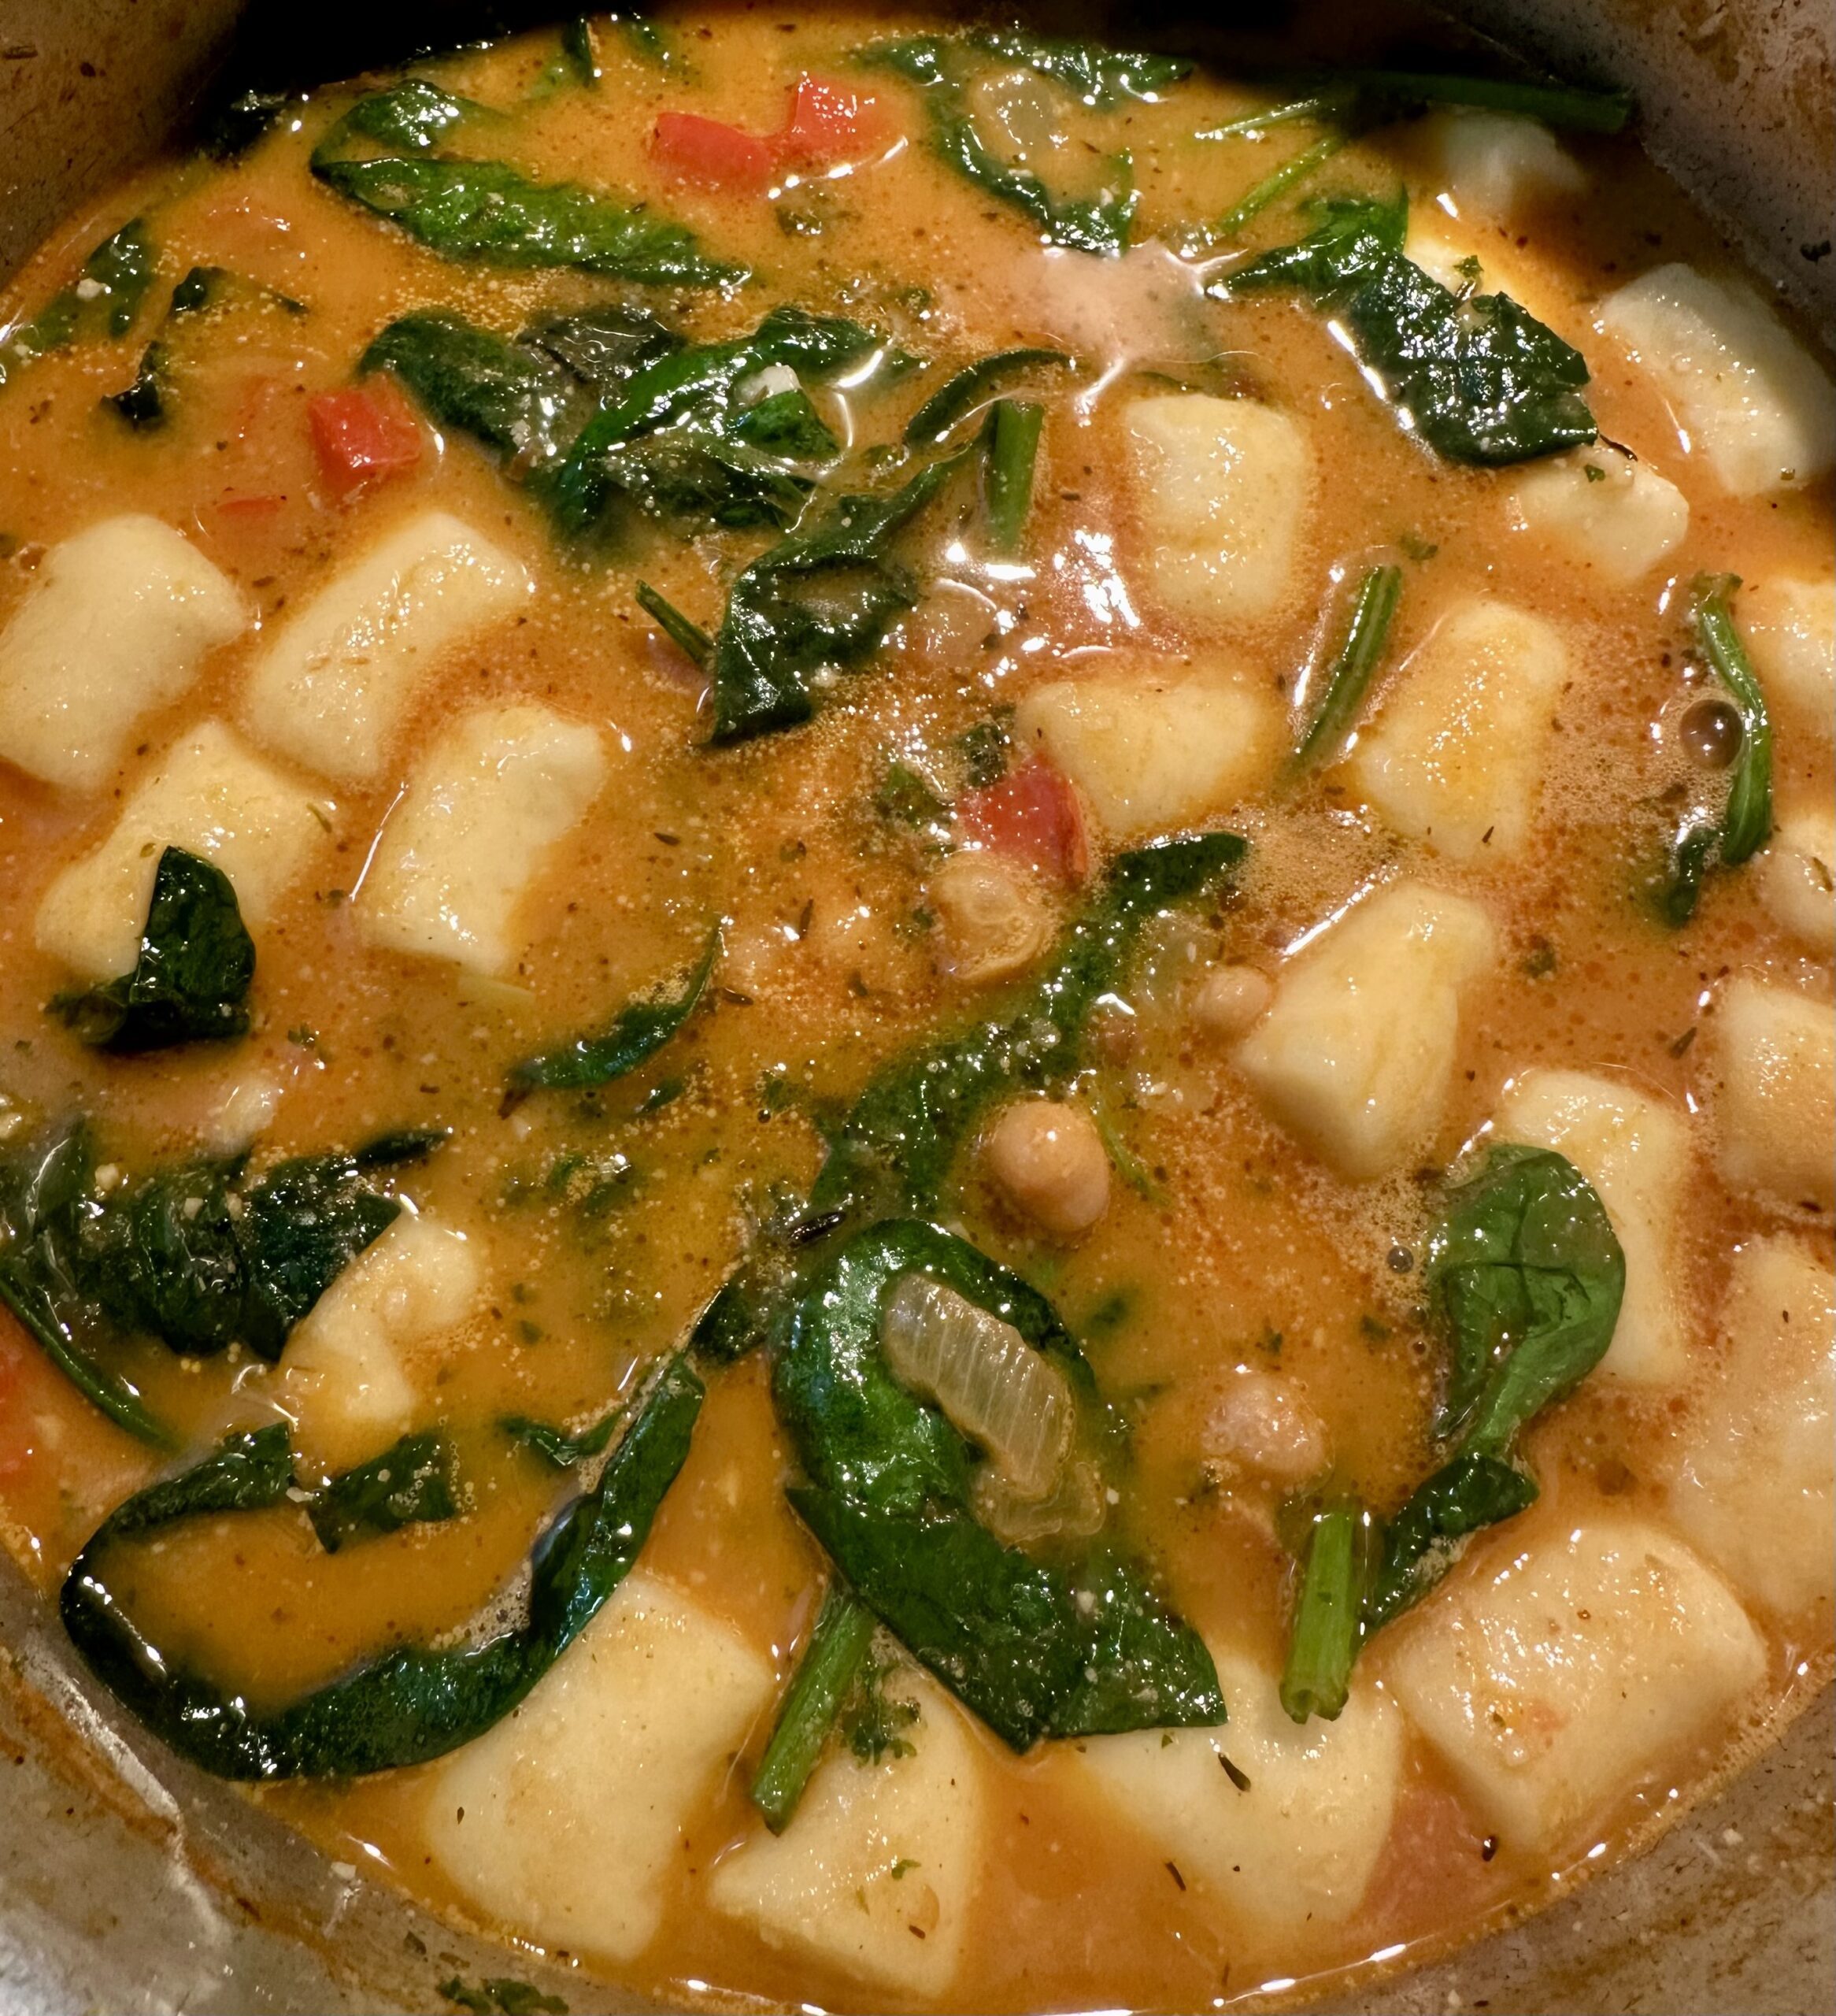
Don’t be put off by the number of ingredients in this soup. It’s not complicated or time-consuming to make. Serve with warm crusty bread for lunch or a light evening meal.
2 Tbs olive oil
3 cloves garlic, crushed
2 medium onions, finely diced
2 carrots, diced
1 red capsicum (pepper), dice
½ cup sun-dried tomatoes, chopped
1/3 cup tomato paste
1 Tbs smoked paprika
1 tsp dried oregano or thyme
3 Tbs your favourite curry paste
Salt and freshly ground black pepper, to taste
2 cans chickpeas, drained
5 cups (1¼ litres) vegetable or chicken stock
1 can coconut cream or milk
250g gnocchi (optional)
3-4 cups baby spinach leaves
1 Tbs lemon juice
Heat oil in a large heavy-based saucepan Add onion and garlic and cook gently for 10 minutes, stirring, or until softened but not browned. Add carrots and capsicum and continue to cook, stirring often, for 5-10 minutes. Add the sun-dried tomatoes, tomato paste, paprika, thyme and curry paste and continue to cook, stirring, for a few minutes. Add the chick peas, stock and coconut cream, bring to the boil then simmer for 10-15 minutes. Can be prepared ahead to this stage.
If you made this earlier in the day, reheat the soup, add the gnocchi (if using) and simmer for 5 minutes or until they are cooked. Add the baby spinach and lemon juice and adjust seasoning. Cook for a minute or just long enough for the spinach to wilt.
Serve with crusty bread.
Serves 6
Variations: if you don’t have sun-dried tomatoes, add a can of tomatoes instead.
When I moved from the UK to Australia I was amazed to see lemon trees growing in most Canberra gardens. While night time temperatures in winter can be several degrees below freezing, the days warm up sufficiently to allow citrus trees to flourish in a sunny, sheltered spot. The soil isn’t frozen solid for several months, as it can be in northern Europe.
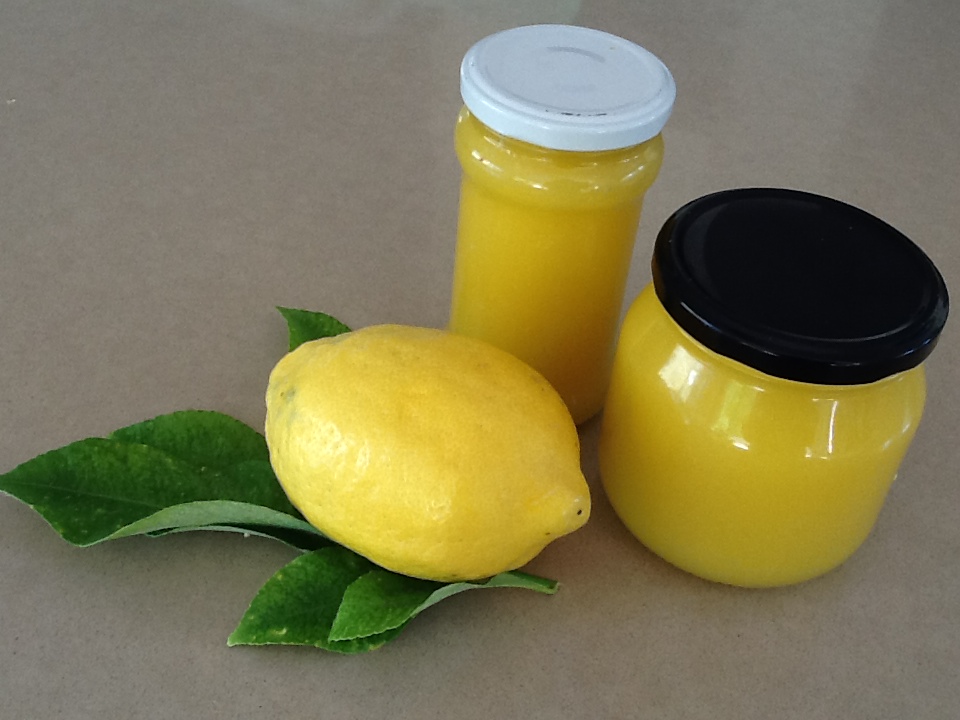
We have a large lemon tree in the courtyard just outside our kitchen and it keeps us in lemons all year round. Someone once told me that if you live in Canberra and you have to buy lemons you haven’t got any friends. At this time of year the tree is laden with fruit, so it’s a good time to make Lemon Curd or Lemon Butter, as some people call it.
In the UK where I grew up it was much too cold in winter to grow lemons, so my mother bought them. We could hardly wait for her to finish making this deliciously tangy spread which we devoured on fresh buttered bread or in small pastry tartlets. Try a dollop on thick Greek yoghurt or make this quick and easy Blueberry Parfait.
Adding a little salt brings out the flavours. A Queenslander once told me you should eat fresh pineapple with a light sprinkling of salt, for the same reason.
To make Passionfruit and Lemon Curd, add the pulp of 3-4 passionfruit at the same time as you add the lemon juice. It’s delicious in tarts or in the middle of a Sponge Cake instead of raspberry jam.
4 large juicy lemons
4 eggs, beaten with a fork
450g (2½ cups) sugar
125g unsalted butter
½ tsp salt
Finely grate the rind of the lemons and remove the juice. Lemons vary in size and you need about a cup (250ml) juice for this recipe.
Place lemon juice, lemon rind, sugar and butter in the top half of a double boiler or in a heatproof bowl set over a pan of simmering water. Stir with a wooden spoon until butter melts. Add the beaten eggs and continue to cook, stirring constantly, until mixture thickens to the point where it coats the back of the spoon.
Heat clean jars (remove lids first) in microwave on High for 2 minutes. Pour the hot lemon curd into the hot sterilised jars and seal immediately with lids. Keeps for a month in the fridge or several months in the freezer.
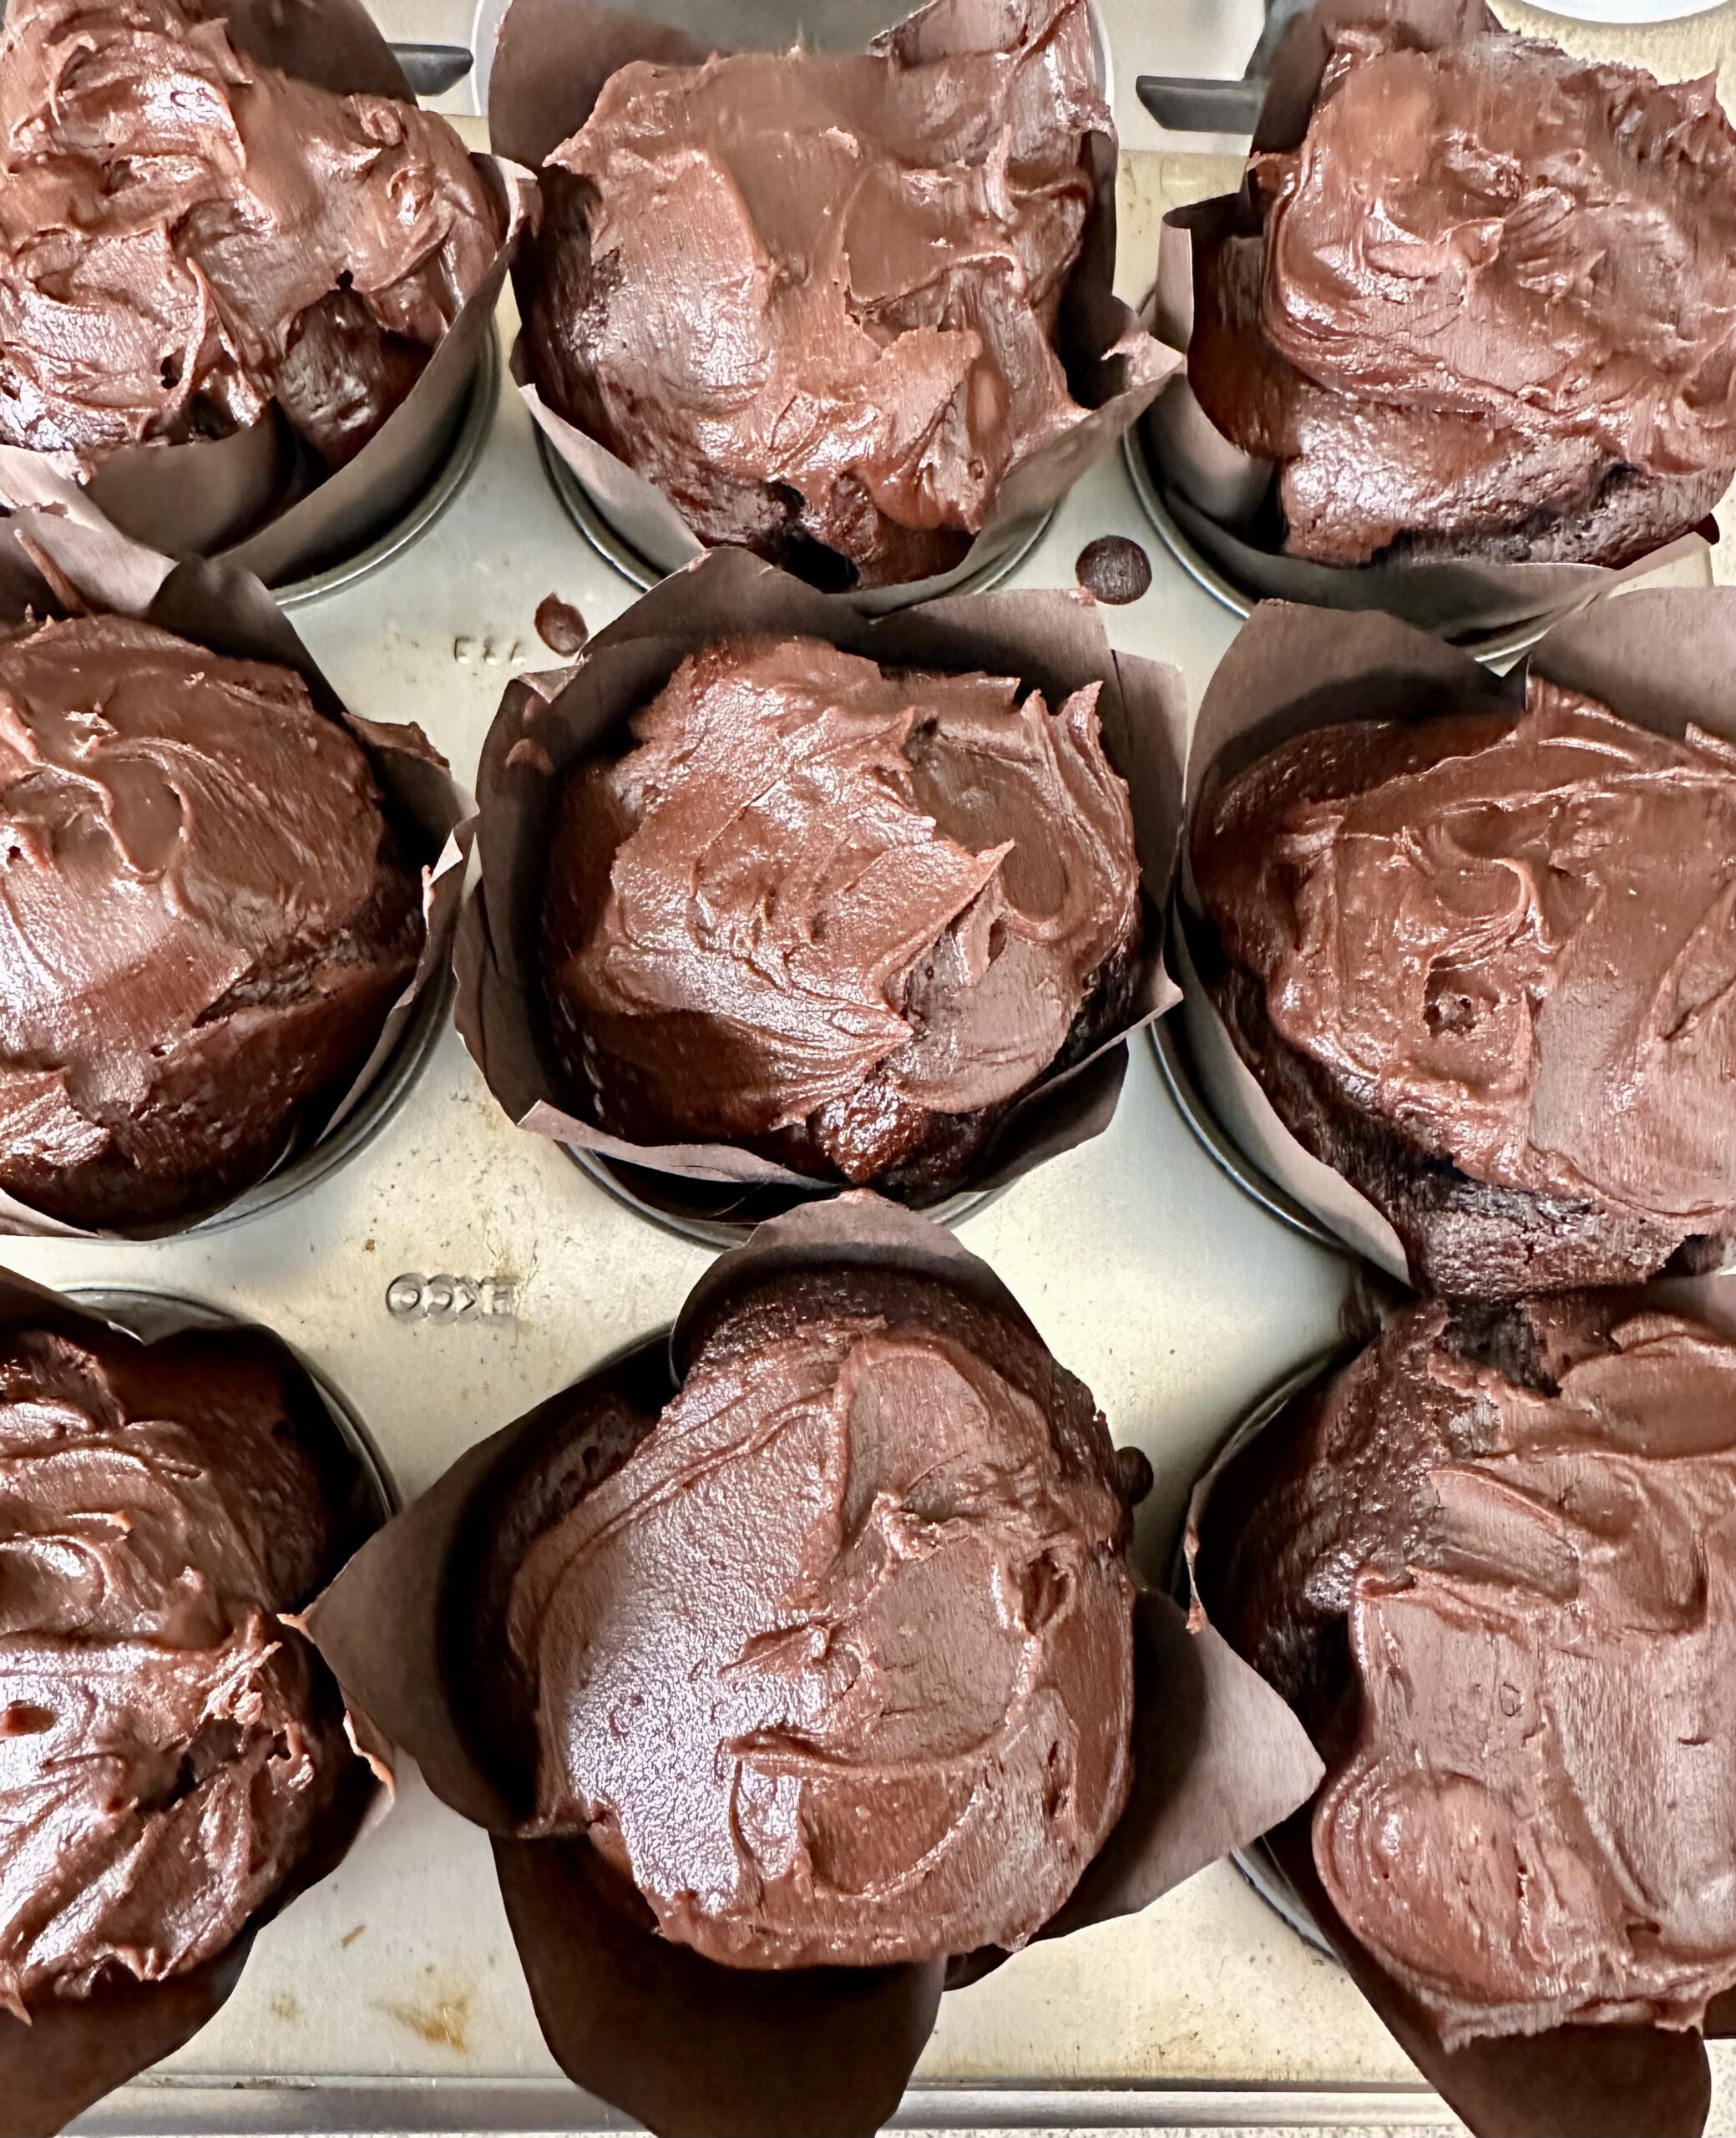
This recipe is adapted from American cook and author Ina Garten’s chocolate cake recipe. Whether you make muffins or one big cake, the result is moist, light and delicious.
If preferred, cook the mixture in one 20cm cake pan (and cut it in half horizontally after cooking) or two 20cm sandwich cake pans, rather than as muffins. Cooking time will be about half an hour and you will probably need to double the icing, so there’s enough to put some in the middle and some on top.
I bought the chocolate coloured paper muffin liners online.
2 eggs
1½ cups brown or white sugar
½ cup vegetable oil
1 tsp salt
1 cup buttermilk (or ordinary milk)
1¾ cups plain flour, sifted
¾ cup cocoa powder, sifted
1 tsp vanilla essence
2 tsp bicarbonate of soda
1 tsp baking powder
1 cup hot coffee
12 squares dark chocolate (optional) Icing:
100g unsalted butter
100g dark chocolate, broken into squares
1 tsp vanilla essence
2 Tbs cocoa powder
4 Tbs icing sugar
Milk, cream or buttermilk
Preheat the oven to 180°C and line a 12-hole muffin tray with paper liners.
Place eggs, sugar and oil in food processor or electric mixer. Mix well until thick and light coloured, then gradually add the other ingredients, in the order they’re listed, except for the dark chocolate squares, stopping the machine from time to time to scrape down the sides. Don’t over mix, just enough to incorporate everything.
After adding the coffee the mixture will be quite runny, so I find it easier to scrape it into a jug and fill the muffins from there. Divide mixture between the muffin liners, filling each case about two thirds full. If liked push one square of chocolate into the middle of each muffin, submerging it completely. Bake for 20 minutes or until well-risen and firm to touch.
Cool the muffins before icing them. Melt butter in microwave, add the chocolate and stir to dissolve. Mix in the sifted cocoa and icing sugar and enough milk, cream or buttermilk to achieve a thick spreading consistency. Start with 1-2 Tbs and add more as necessary. Ice the muffins and store them in a container with a lid.
Perfect to go with a morning or afternoon cuppa and great for kids, grandkids and packed lunches.
250g butter at room temperature
½ cup peanut butter
¾ cup brown sugar
½ cup white sugar
1 egg
1 cup plain flour
1 tsp bicarbonate of soda
1 cup rolled oats
½ cup sultanas (optional)
200-250g chocolate chips or diced chocolate
Line two shallow baking trays with baking paper and preheat the oven to 180°C.
Put butter, peanut butter, brown and white sugar in food processor and process until light and fluffy, stopping to scrape down the sides halfway. Add the egg and then the flour and bicarbonate of soda. Lastly add the oats, sultanas if using and the chocolate chips. Process just enough to mix as you don’t want these last ingredients to be chopped.
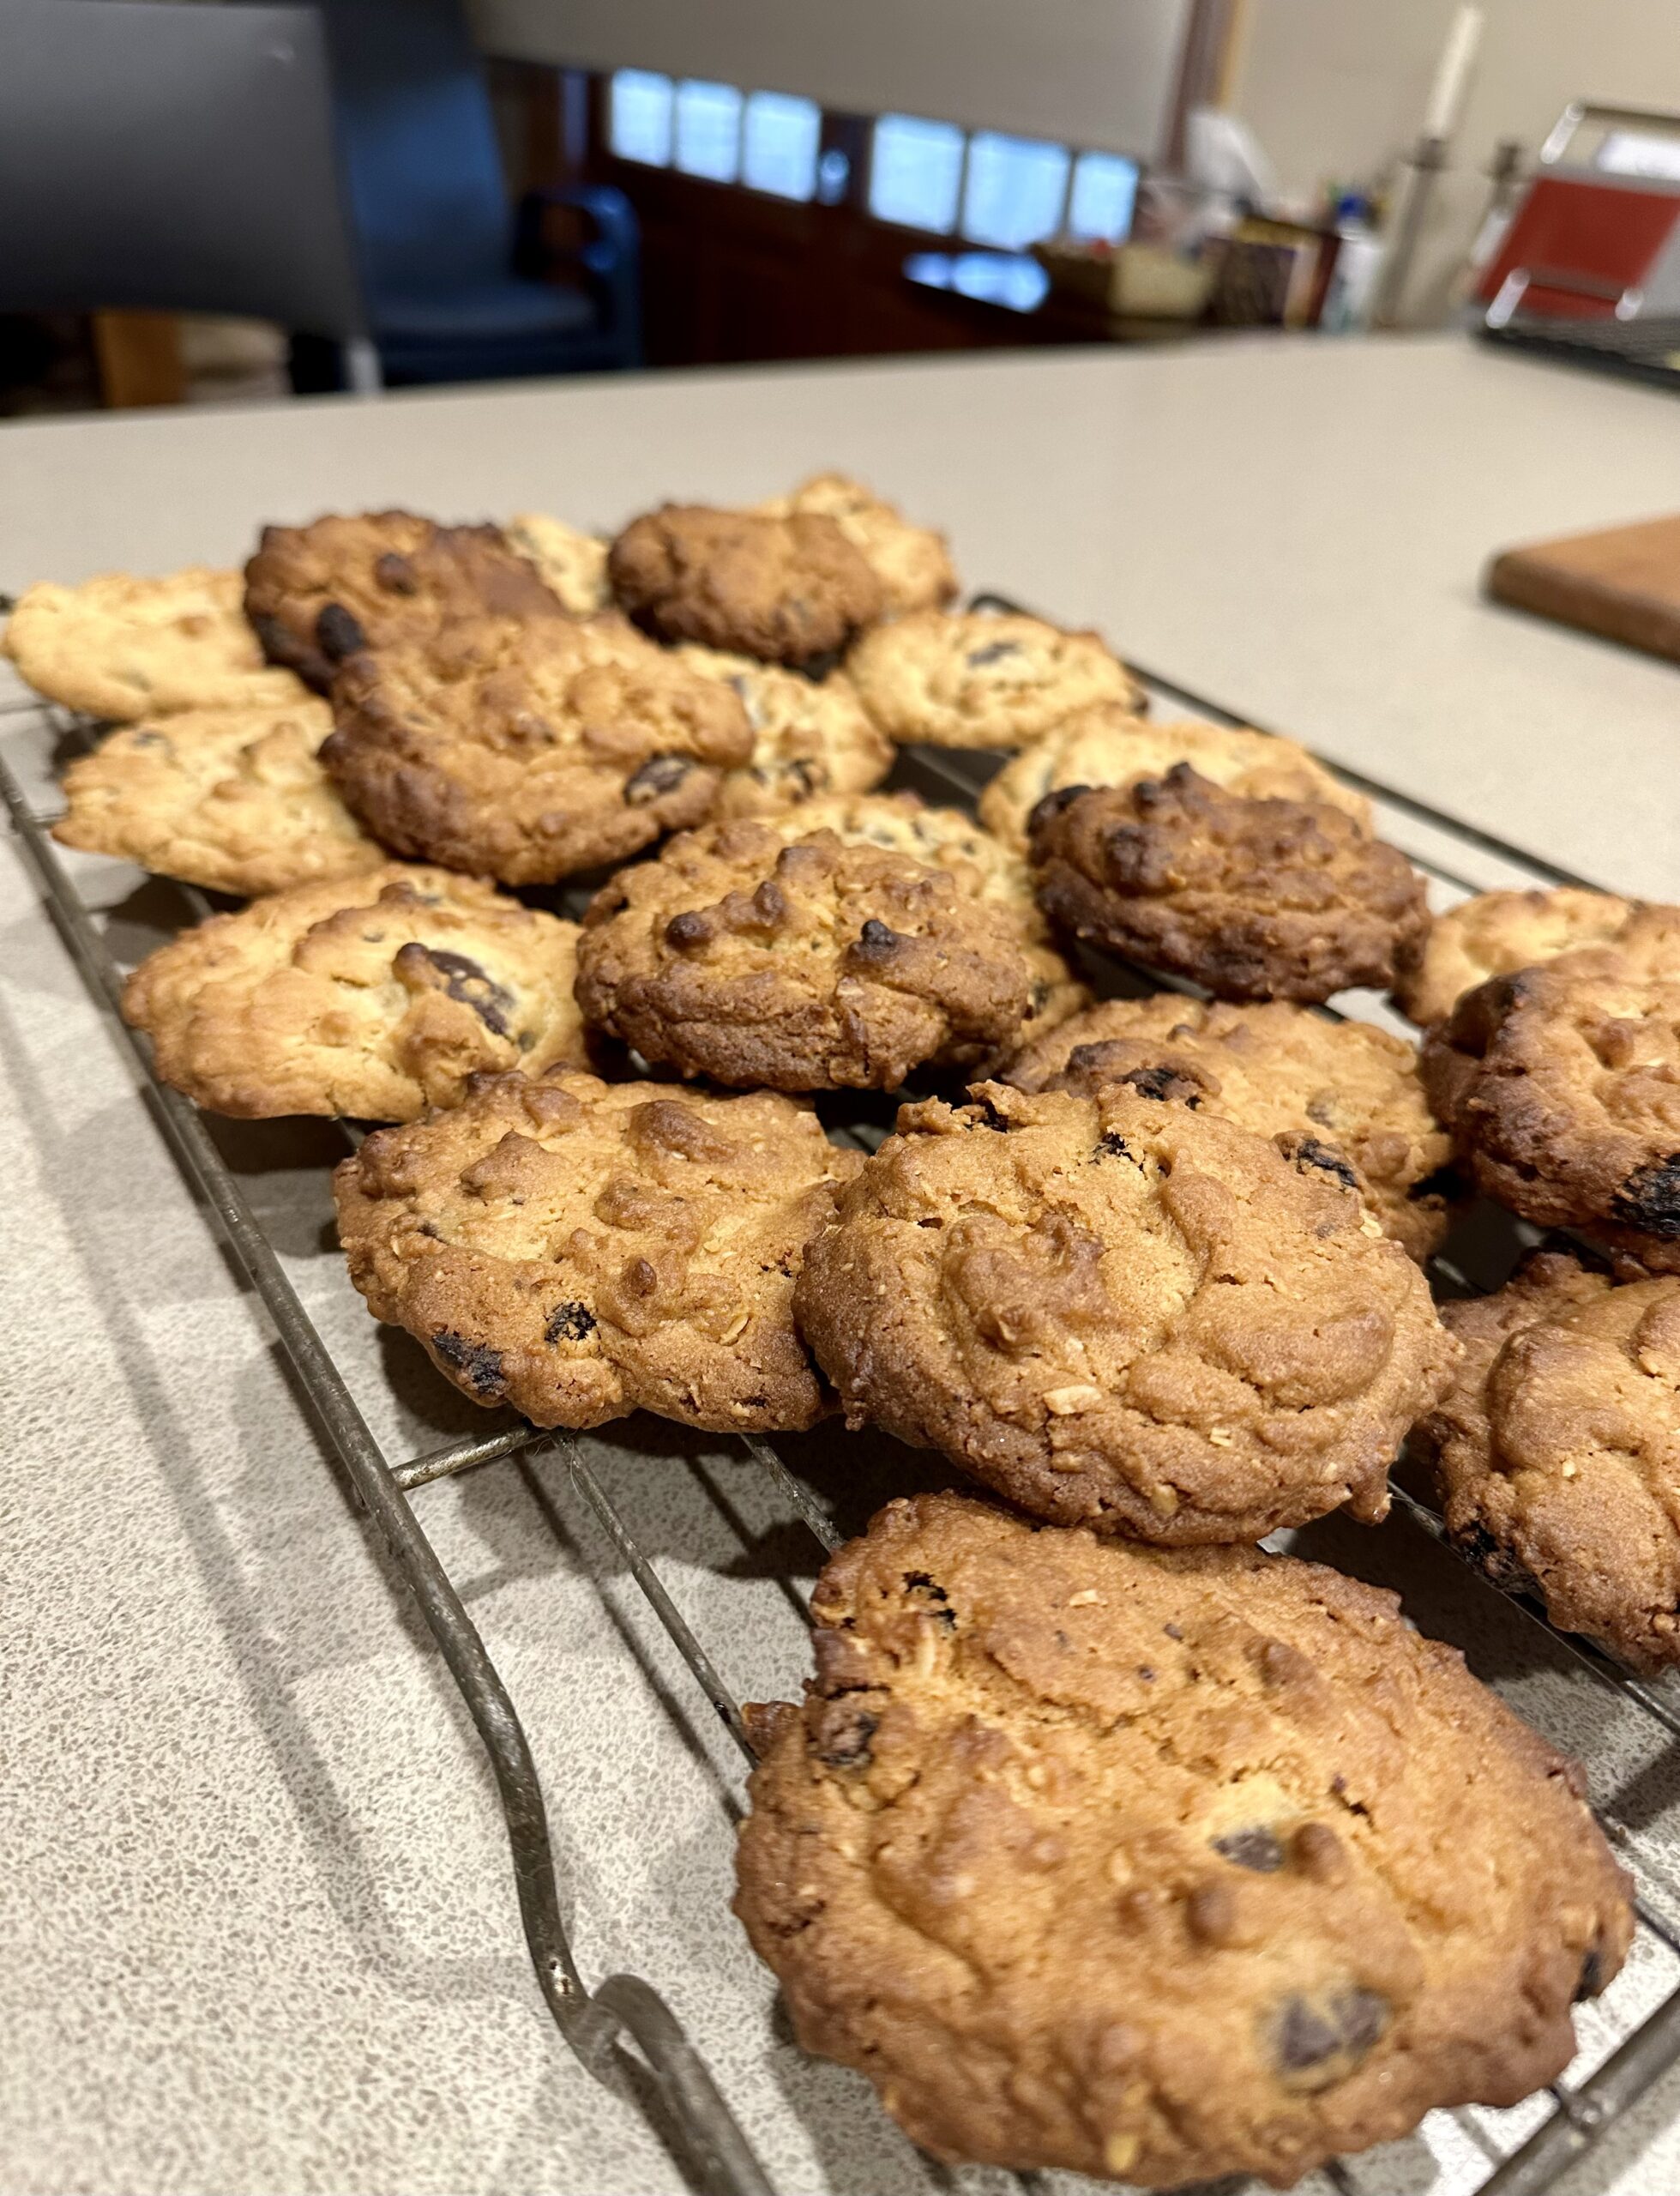
Using about a heaped tablespoon of dough for each cookie, place rough roundish mounds of dough on the cookie trays, 12 on each tray with spaces in between. Don’t flatten them – they will spread out as they cook.
Bake for 10 to 15 minutes or until golden brown. Cool for a few minutes before removing from the trays, then leave on baking racks to cool completely. Store in an airtight container.
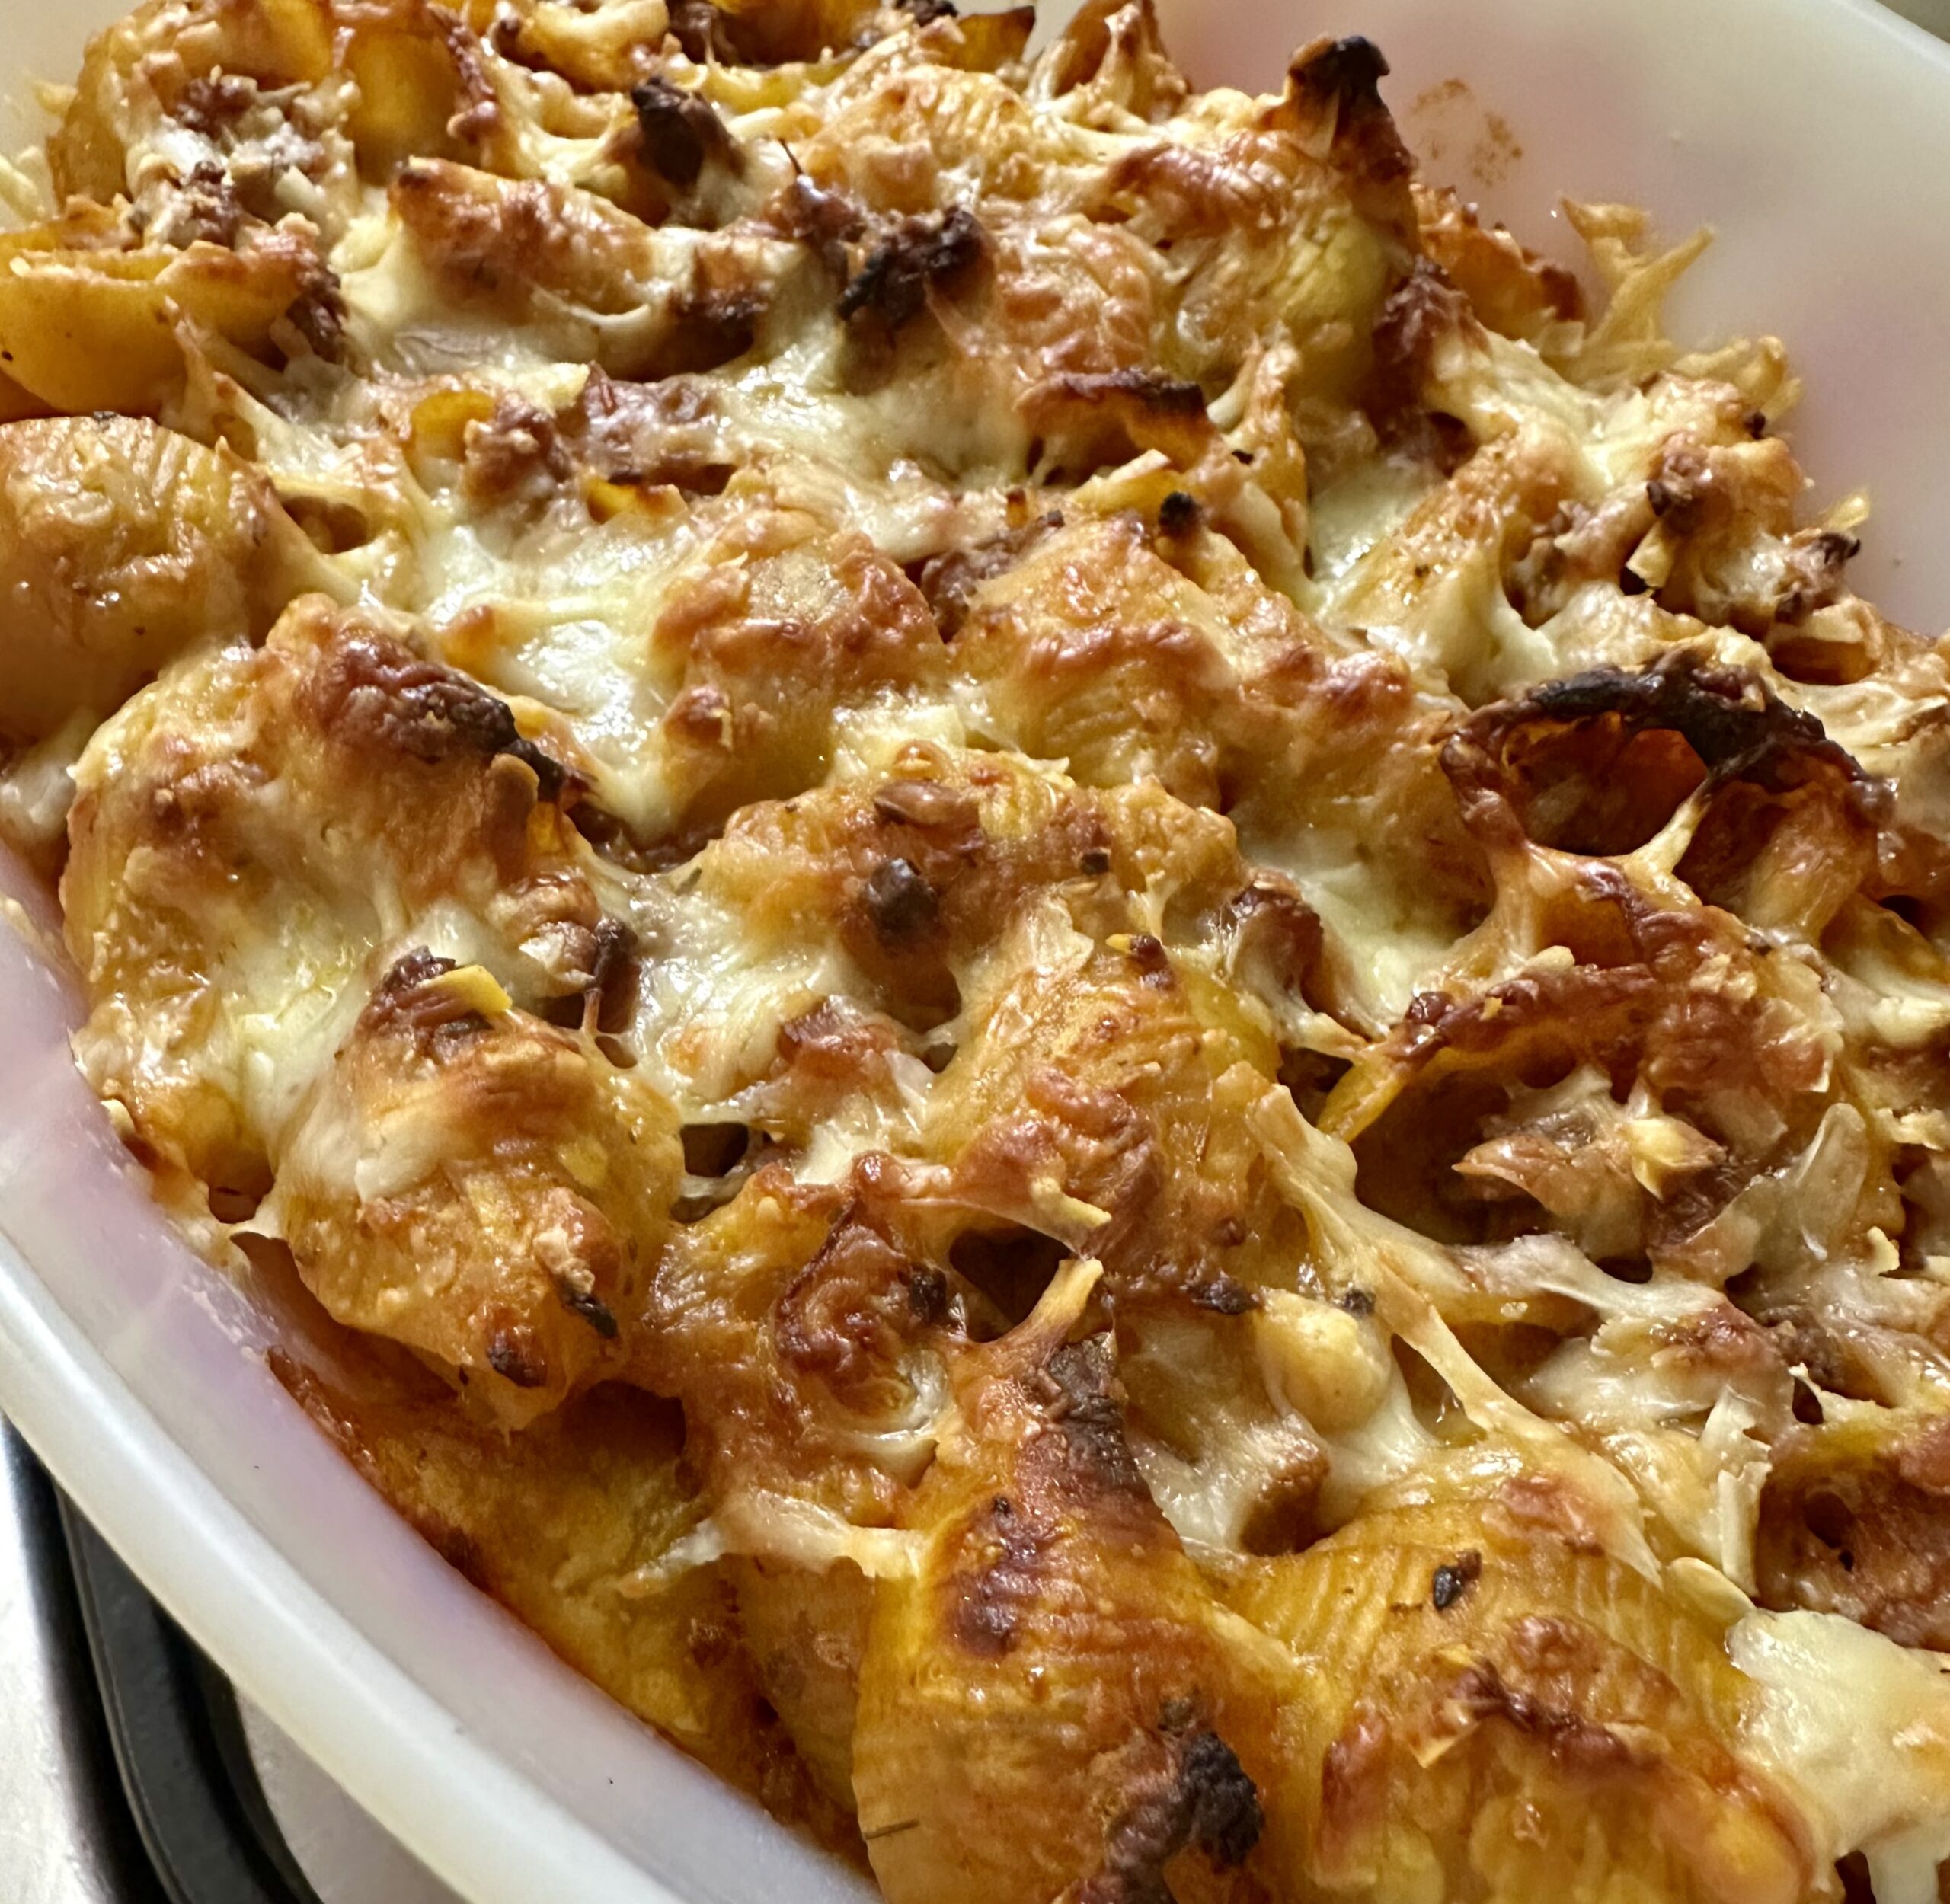
Baked Pasta, or Imqarrun Il-forn is a popular family dish in Malta.
Every Maltese cook has a recipe for this dish, with slight variations. Some use minced beef, others minced pork and some use half and half. You can use pancetta instead of bacon (or leave it out altogether), cheddar instead of Parmesan, or a mixture of the two.
Served with a mixed salad and maybe some garlic bread, this is aways a crowd pleaser.
2 Tbs olive oil
1 large onion, chopped
2 cloves garlic, crushed
500g minced pork, or beef, or half and half
3-4 slices bacon, diced
1 can tomatoes, chopped or 500ml tomato passata
2 Tbs tomato paste
1 tsp each dried oregano and paprika
2 cups water
1 beef stock cube
2 bay leaves
2/3 cup milk
2 eggs
100g grated Parmesan cheese
50g grated cheddar cheese
500g pasta (penne or another shape – I used shell)
In a large heavy-based pan, heat the oil and cook the onion and garlic until soft, but not brown. Add the mince and bacon and cook, stirring, until coloured. Add the tomatoes, oregano, paprika, water, stock cube and bay leaves. Simmer for 30-40 minutes, adding more water as necessary. You don’t want it to be too dry as the pasta will soak up a lot of liquid when it goes in the oven.
Meanwhile cook pasta in boiling salted water until al dente, then drain. When the meat sauce is ready, mix in the pasta. Mix the two grated cheeses together. Mix the milk, eggs and half the grated cheese with a fork or balloon whisk then add this to the meat and pasta. Scrape into a greased lasagne-type dish. I used two dishes, one of which I froze for another time, so the photo shows just one dish, or half the recipe. Sprinkle remaining cheese over the top. Can be made ahead to this stage.
Preheat oven to 180°C. Bake the pasta for 30 minutes or until golden brown and crunchy on top. Serve with a mixed salad.
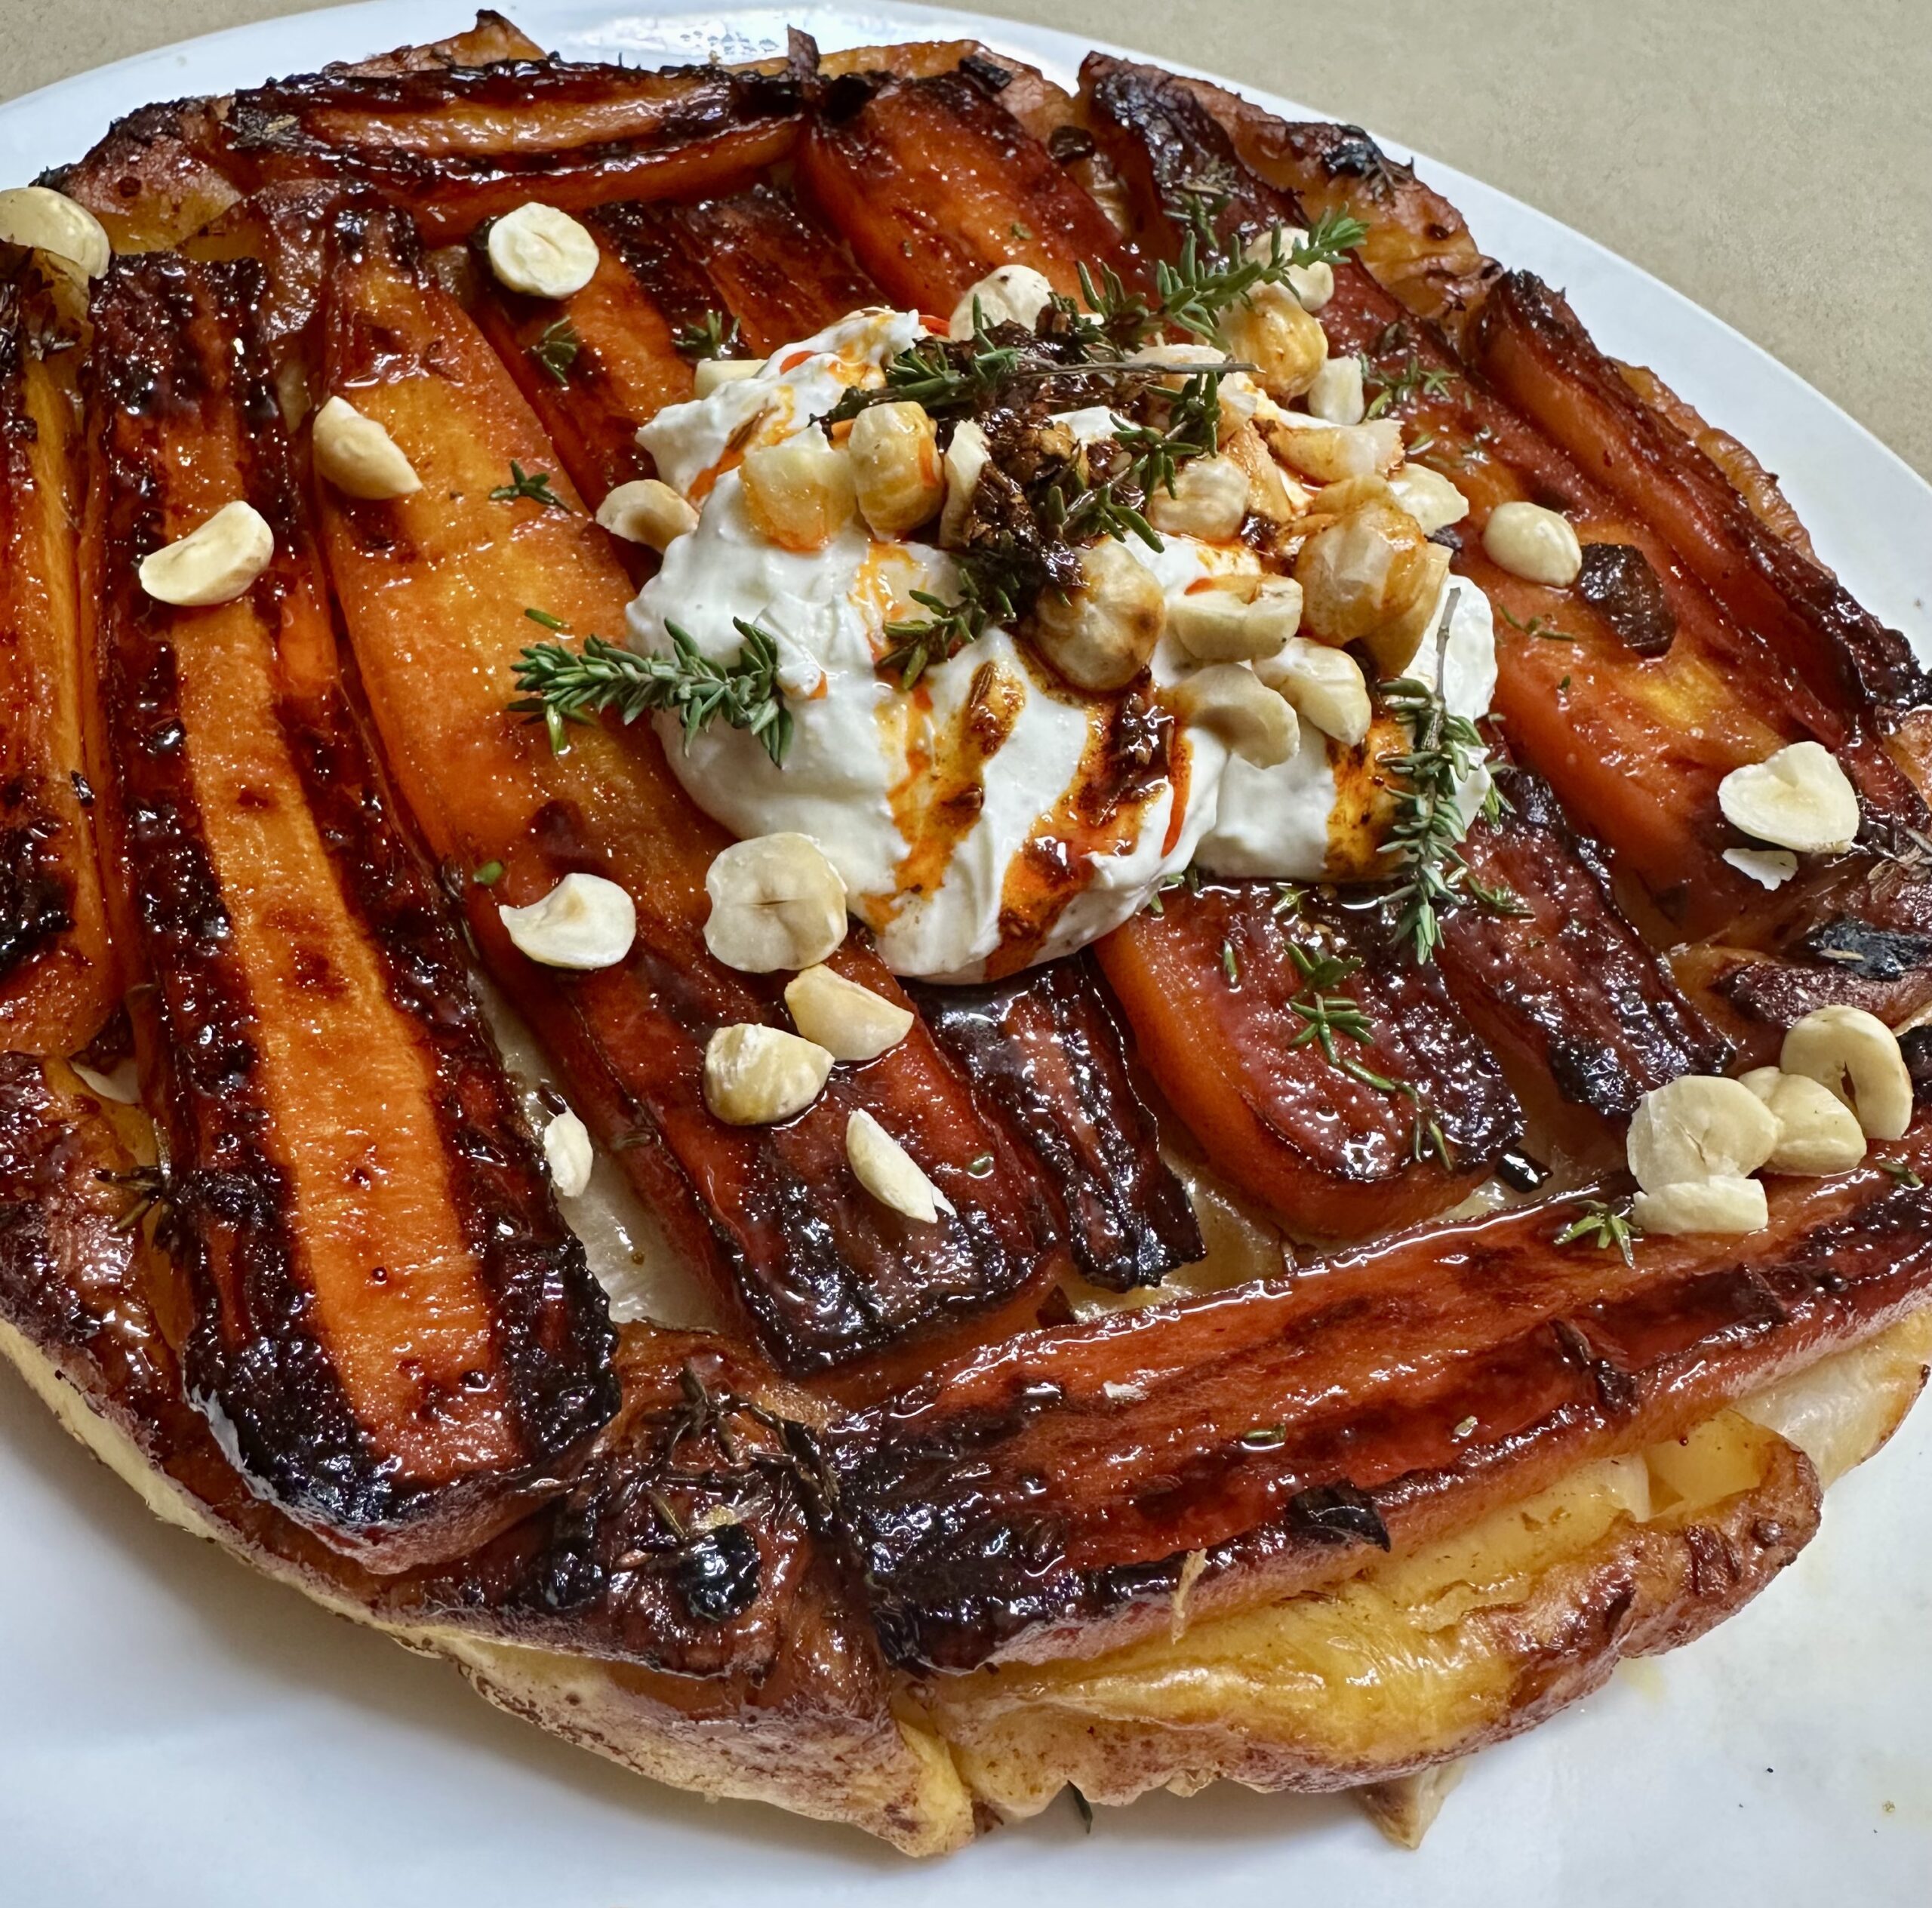
If you’ve never tried Tarte Tatin you don’t know what you’re missing. Caramelised apples and crisp puff pastry, which you bake with the pastry on top, then turn over to serve. It’s a classic French dessert and one of my favourites.
This savoury version made with carrots is testament to the fact that good food – dare I say gourmet food – doesn’t need to be expensive. Serve with a mixed salad for a delicious mid-week dinner. The whipped feta (or goat’s cheese) is optional but adds a sophisticated touch. If preferred just garnish the tart with crumbled feta or goat’s cheese.
1 sheet of ready rolled pastry, thawed
4 Tbs butter
2 Tbs brown sugar
8-10 sprigs fresh thyme
Salt and freshly ground black pepper, to taste
About 500g carrots, peeled and halved lengthwise Whipped feta or goat cheese:
125g soft feta cheese or soft goat’s cheese
¼ cup thick Greek yoghurt To serve:
2-3 Tbs skinned hazelnuts, lightly toasted and roughly chopped
A few sprigs fresh thyme
1 Tbs chilli oil (optional)
Choose a 20-25cm frying pan which has a handle that can go in the oven, or a removable handle. Preferably one which is non-stick. Preheat oven to 200°C.
Heat butter and sugar in the pan and stir till sugar has dissolved. Arrange the carrots all over the base of the pan, cut sides down, to cover it completely in a single layer, like a jigsaw puzzle. Alternate wide ends with thin ends so they fit better. Pull thyme leaves off and sprinkle over the carrots then season with salt and pepper. Cook over moderate heat until the carrots are browned underneath and not quite cooked, but starting to soften. If the pan has a lid (or you can find one that fits) you can speed up this cooking process by covering the pan. If the carrots seem to be getting too brown before they’re cooked, add a dash of water and continue cooking until it has evaporated.
Cover the carrots with the pastry, tucking in any excess around the edges if it’s a square piece of pastry, rather than cutting it off. Bake for 25-30 minutes or until pastry is golden brown. Remove from the oven, stand for 5-10 minutes then invert onto a serving plate.
While the tart is cooking make the whipped feta or goat cheese by whizzing it in a food processor with the yoghurt until smooth, stopping halfway to scrape down the sides. Toast and chop the hazelnuts.
Serve the tart with the whipped feta, thyme sprigs, toasted nuts and a drizzle of chilli oil.
Serves 4
Variations: use pine nuts or cashews instead of hazelnuts.