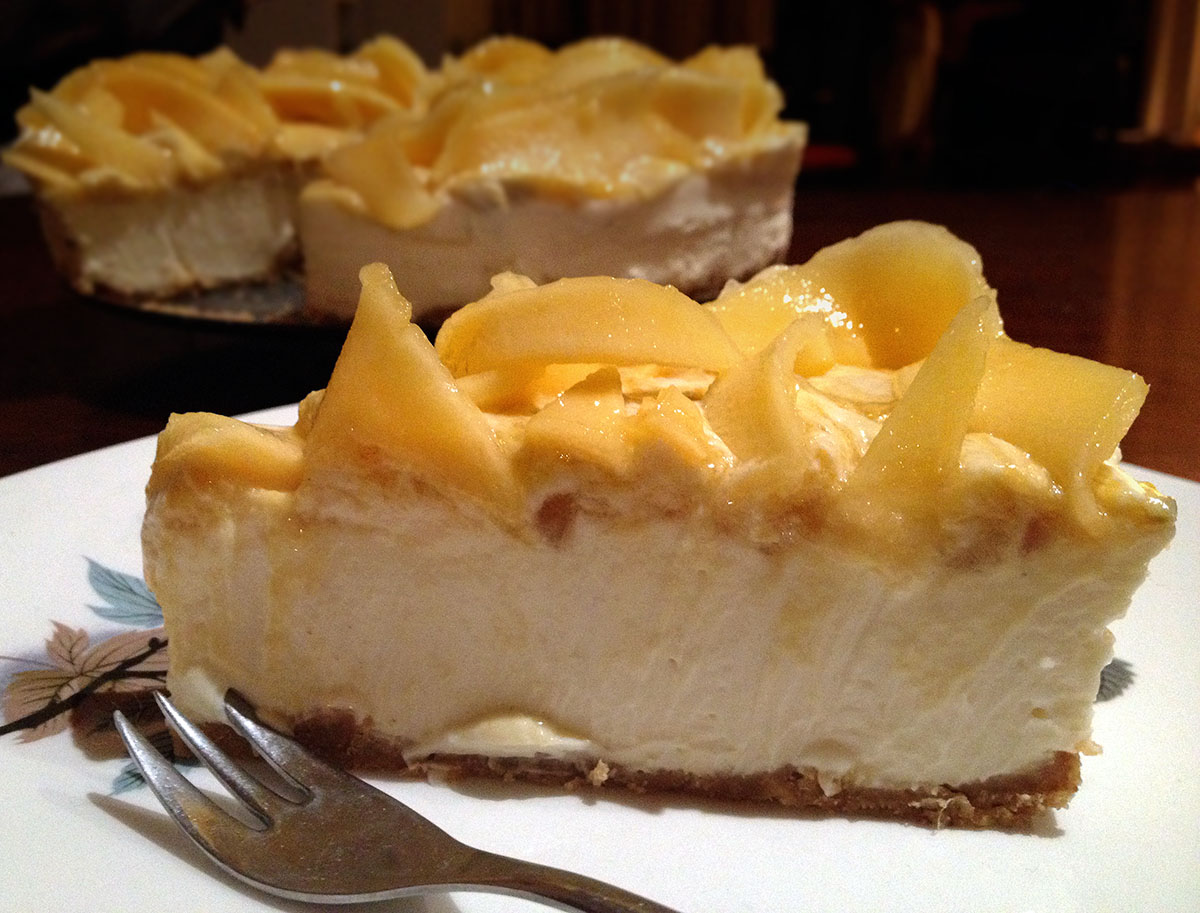
Looking for a dessert to serve on New Year’s Eve or New Year’s Day that can be made ahead, doesn’t involve turning on the oven and uses seasonal fruit? This recipe meets all the criteria.
Mangoes are at their cheapest and best in Australia at this time of year. Choose ones which are not over-ripe as they’re easier to slice thinly and curve for the decoration. If you’re in the northern hemisphere the recipe can be adapted to use strawberries or perhaps tinned peaches instead of mangoes.
To enhance the flavour of the mango and provide colour contrast, serve each slice with some fresh passionfruit pulp spooned over (not shown in photo). Or maybe instead of passionfruit serve the cheesecake with some raspberry coulis spooned over.
200g fresh mango flesh, puréed in food processor
¼ cup glucose syrup (also known as Corn Syrup)
1¼ cups plain sweet biscuits made into crumbs in food processor
75g butter, melted
500g cream cheese at room temperature
¾ cup sugar
1 Tbs grated lemon rind
2 tsp gelatine dissolved in
¼ cup boiling water, cooled
220g white chocolate, melted and cooled
1 cup cream, softly whipped
To serve:
2 mangoes extra, thinly sliced
Pulp from 2 passionfruit (optional)
Thick cream to serve
Place mango purée in a saucepan with glucose syrup. Cook, stirring over a medium heat for 15 minutes or until thickened and reduced by half. Set aside to cool.
Combine biscuit crumbs and butter and press evenly over the base of a 20-22 cm springform pan. In food processor or by hand beat cream cheese, sugar and lemon rind until smooth. Mix in gelatine mixture and melted chocolate, then fold in the whipped cream. Pour filling over biscuit base. Spoon over mango mixture and swirl through the white mixture using the tip of a knife, smoothing the top. Refrigerate 3 hours or overnight.
Serve decorated with fresh mango slices and, if liked, some passionfruit pulp. Serve thick pouring cream separately.
Serves 12
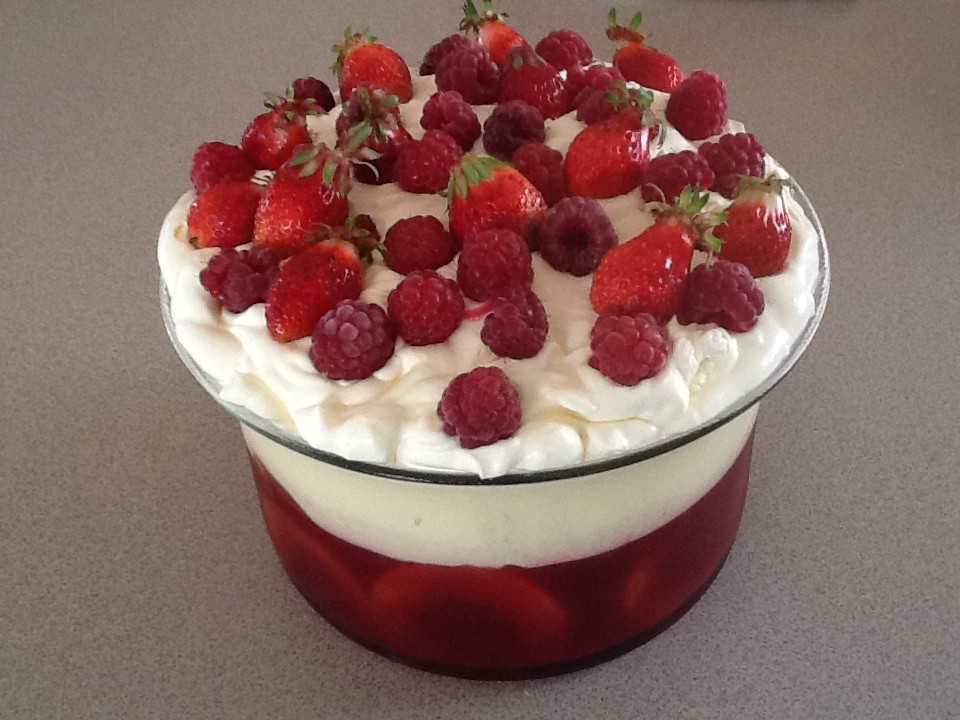
Variations: use peaches, apricots or berries instead of the mangoes. Pulp in the filling and sliced fruit or whole berries to decorate. For a Ginger Mango Cheesecake use ginger nut biscuits for the crust and mix 2-3 Tbs finely chopped crystallised ginger into the filling.