I love a good curry, even in the middle of summer. You can’t eat salads all the time, even in a heatwave. Anyway they were invented in a hot climate, the theory being that by making you perspire you cool off.
We eat a lot of ginger in our house so I buy at least half a kilo at a time. I try to choose fat evenly shaped tubers because they’re easier to peel, although I have to confess that if I can find someone ensconced in front of the TV watching cricket or rugby, I get him to do the peeling. My wonderful unpaid sous chef! Once peeled, process the ginger in a food processor until very finely chopped, then freeze in ice cube trays. They hold about a tablespoon and that’s how much I use in most recipes – stir fries, curries etc – even if the recipe says to use less! If you don’t like so much ginger, fill them only half full. Once frozen tip into a plastic container and keep in the freezer to use as needed. Zap very briefly (20-30 secs) in the microwave to thaw, or throw them straight into a stir fry as they are.
Buying ginger as you need it usually means throwing away what’s left over – when you eventually find it at the bottom of the fridge or all dried up in the vegetable basket! So I find it very convenient to always have it on hand – peeled, chopped and ready to go. I also have a jam jar of small whole red chillies in the freezer and another containing chopped lemongrass. We grow it and it’s all ready at the same time, so I have to freeze it, but you could buy some and freeze it. Using frozen ginger, chillies and lemongrass is probably not quite the same as using fresh, but once cooked you’d be hard pressed to tell the difference. In case you’re worried, jam jars won’t break in the freezer.
If you want to try growing your own ginger here are some tips.
Ginger is very good for you and I always thought you couldn’t eat too much. However, according to Wikipedia “an acute overdose of ginger is usually in excess of about 2 grams of ginger per kilogram of body mass, dependent on level of ginger tolerance, and can result in a state of central nervous system over-stimulation called ginger intoxication or colloquially the ginger jitters”. Maybe that’s my problem.
 3 cloves garlic
1 small onion, peeled
1 Tbs grated or very finely chopped ginger
2 stalks lemon grass
½ tsp turmeric
1 tsp paprika
1 Tbs palm sugar or brown sugar
2 Tbs fish sauce
1 small red chilli, seeds removed (or less if you don’t want it too hot)
1 400g can coconut milk
4 kaffir lime leaves (see note below)
About 500g firm white fish cut into 2-3 cm chunks
Juice ½ lemon or 1 lime
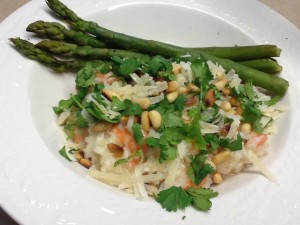
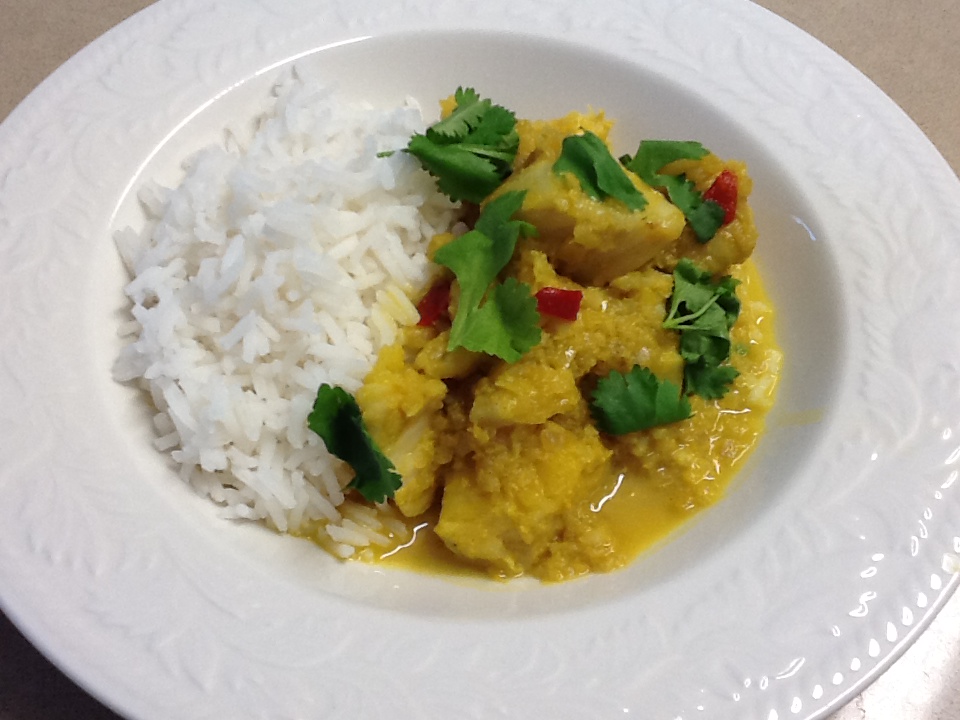
Chopped fresh coriander and steamed rice to serve
Place garlic, onion, ginger, lemon grass, turmeric, paprika, sugar, fish sauce, chilli and coconut milk in food processor. Process till smooth then tip into a heavy based frying pan. Add kaffir lime leaves, crushed with your hand. Bring to the boil then simmer for about 10 minutes or until thickened. Add fish and cook gently for 4-5 minutes or until cooked. Add lemon juice and check for salt – you probably won’t need any as the fish sauce is salty. Tip into serving bowl and top with coriander. Serve with steamed rice and an Indian pickle or chutney.
Serves 3-4
Note: in Australia kaffir lime leaves are sold in most supermarkets, but if you can’t find them just leave them out. If you can buy them you usually have to buy quite a few, so freeze the surplus. If you can’t find lemongrass add some lemon rind removed with a vegetable peeler and very finely chopped. Not the same, but quite a nice addition.