Onion Jam

This onion jam (or you might prefer to call it onion chutney) goes well with cold meats such as beef, chicken, ham or pork and makes a tasty addition to beef or cheese sandwiches.

3 Tbs olive oil
1½ kg onions, peeled and thinly sliced
300g brown sugar
200ml red wine or cider vinegar
3 Tbs balsamic vinegar
3 garlic cloves, crushed
1 Tbs wholegrain mustard
½ tsp paprika
¼ tsp crushed chillies
½ tsp salt

Heat the oil in a large, heavy-based saucepan (I used a preserving pan) and gently fry the onions over a medium-low heat for 25-30 mins, stirring regularly. The onions should be softened but not browned, and reduced by about half in volume.
Stir in 3 Tbs of the sugar, increase the heat, and cook for 7-10 mins, stirring occasionally, until the onions are just starting to colour. Lower the heat, then add the remaining sugar and all the other ingredients.
Simmer, uncovered, on a medium-low heat for 30-40 mins, or until the jam has reduced and thickened to a dark caramel colour. Stir occasionally to make sure it isn’t sticking to the bottom of the pan.
To test if the onion jam is ready, drag a wooden spoon across the bottom of the pan. It should take a few seconds for the juices to re-cover the bottom of the pan.
Heat several small clean jars in the microwave for 2 mins on High. Fill them with the hot jam, then go around the edge pushing down with a knife, to remove any air pockets. Seal with the lids while hot. Label and store in a cupboard.
Makes 3-4 small jars

The Tomato Chutney Dowry

My father left the Royal Air Force after the War, to help his father run the family nursery, which he eventually took over. As a kid I worked on Saturday mornings in the shop where we sold all the produce, to earn a bit of pocket money. Grandpa sat in the corner and appeared to be dozing. In fact he was watching me like a hawk. The tomatoes were weighed to order and the adding up was done in your head – quite a challenge for an 11 year old. “You put one too many in that last pound of tomatoes. If you do that every time, you’ll put us out of business,” Grandpa would say.

Dad’s mother Jessie was from Falkirk just outside Edinburgh and an excellent cook. Grandpa met her when he was in charge of the gardens at Battle Abbey in Sussex and she was running the dairy. I often wonder how a young Scottish lass ended up working nearly 500 miles away from home, but by the time I wanted to ask she had been dead for many years.

My mother grew up in Malta where her father was stationed during the War with the Royal Engineers. Strict rationing meant she was never allowed to cook, in case she ruined precious ingredients. Before they married Dad asked his future bride if she could cook. When she said no he thought she was being modest. She couldn’t boil an egg.

From working in the dairy of Battle Abbey my maternal grandmother had learned many skills, including how to make butter into swans for afternoon tea. In the early years of marriage, my mother grew sick of hearing my father waxing lyrical about his mother’s swans. “If you want your butter shaped into swans you’d better go back,” she would say, teasingly. Fortunately, Nana took Mum under her wing and taught her a few basic recipes, so we wouldn’t starve. Not the swans, but more practical things.

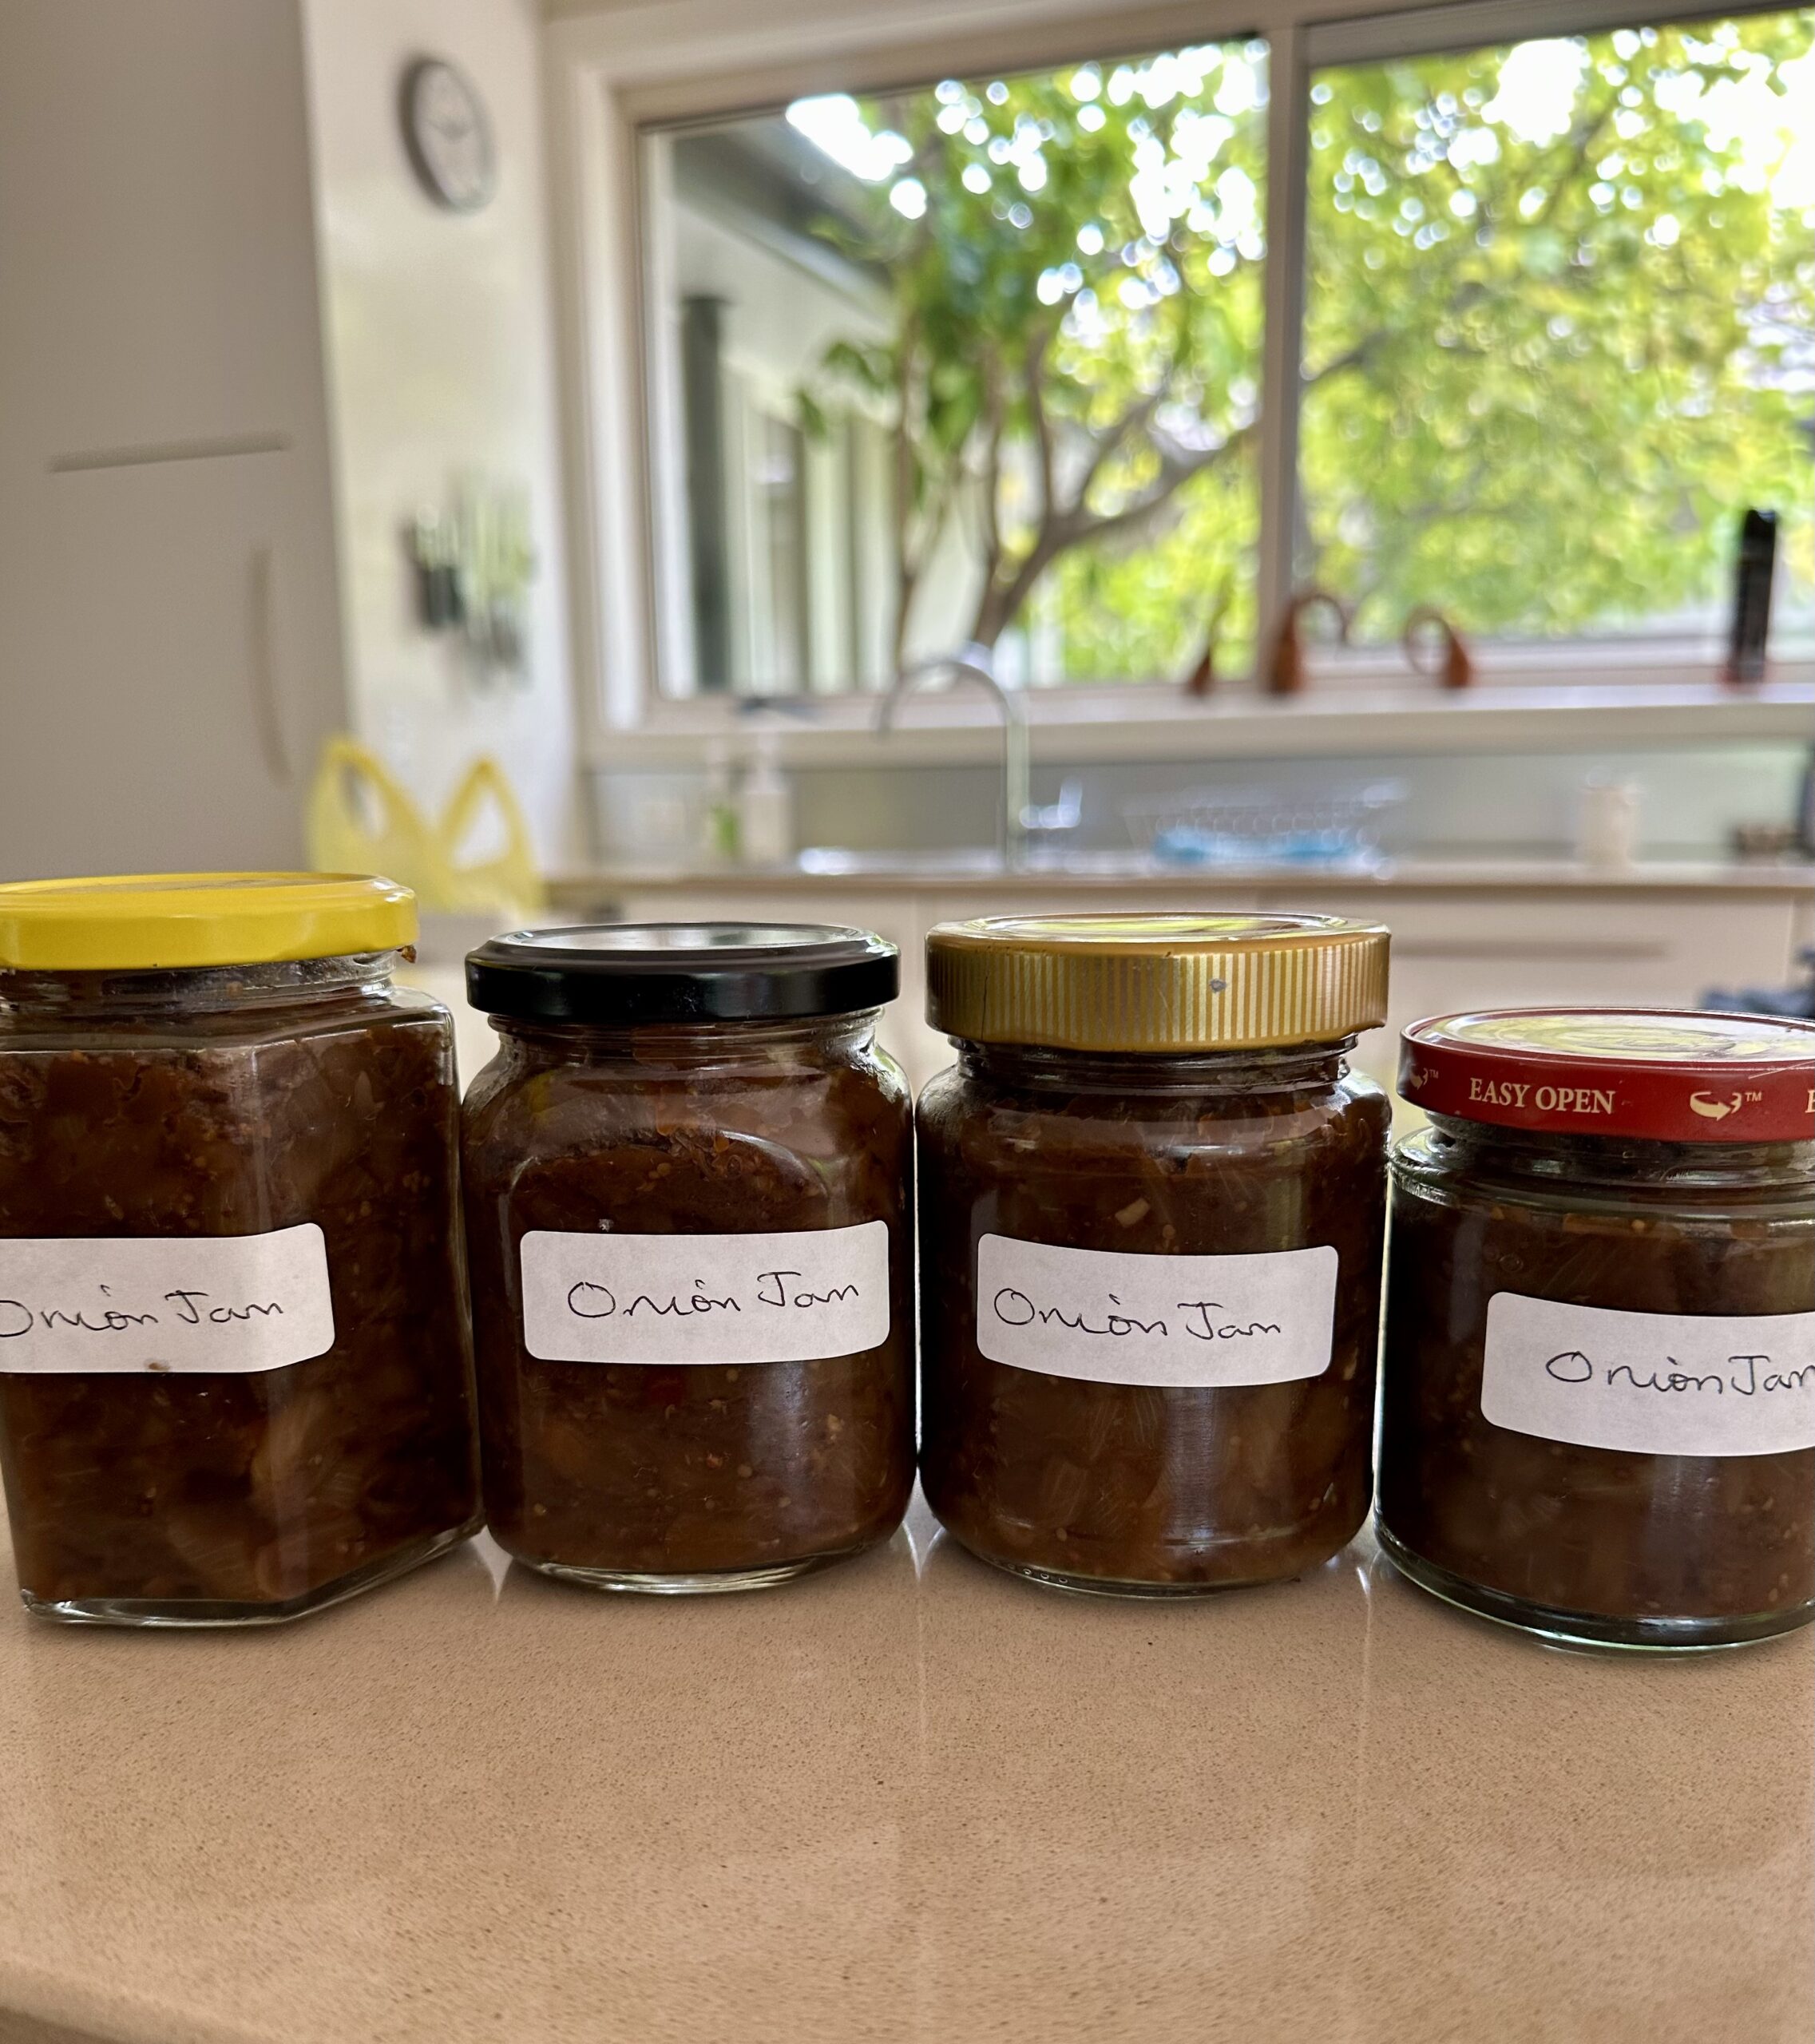
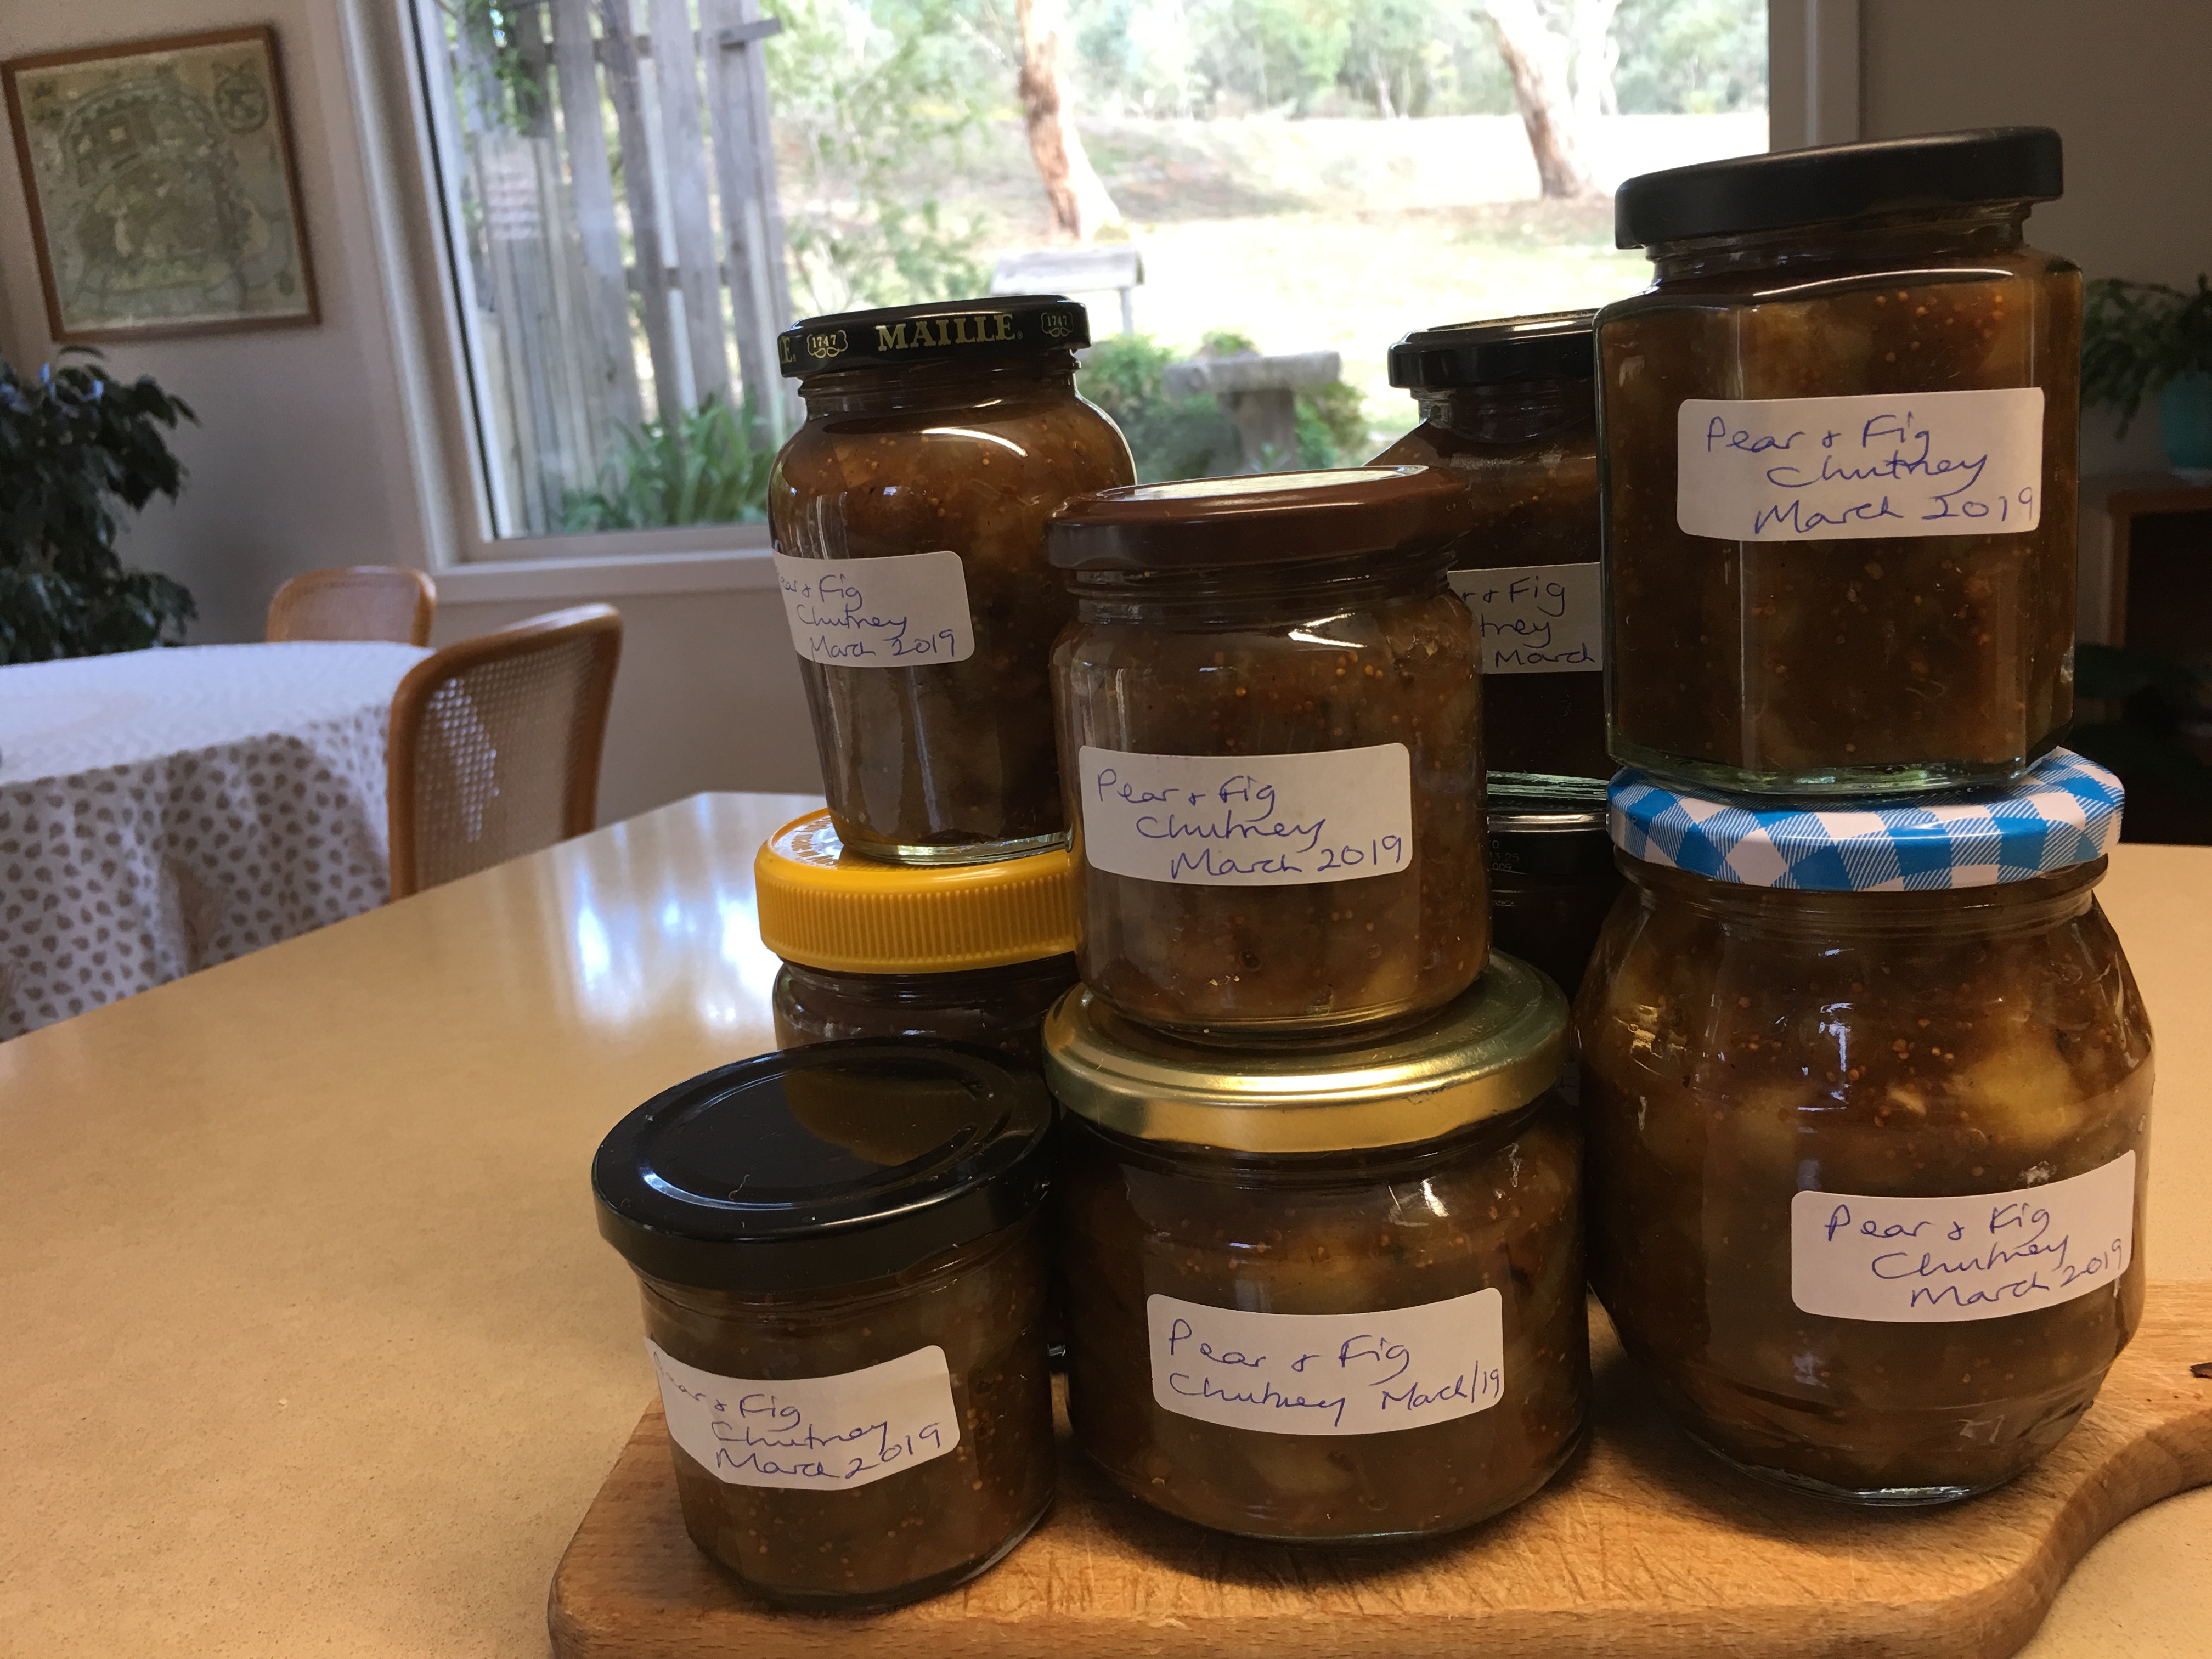
Once a year Dad would bring in a couple of boxes of  ripe tomatoes from the nursery and the whole family helped turn them into tomato chutney, using Jessie’s mother’s recipe.

Matthew and I met in Geneva when he was working for the Australian Mission to the UN and I was working for the British FCO. He had recently broken up with a long time girlfriend and I was also footloose and fancy free when a mutual friend invited us to a tramps and tarts party. The rest, as they say, is history.

Not long afterwards we rented a ski chalet in La Clusaz for a week with a group of friends. It was self-catering so everyone brought some food. Unpacking my box of contributions, Matthew came across a jar of tomato chutney. Despite living in a tiny bed-sit with only two hotplates I still made a few jars each year as it’s considered a staple in my family. “What’s this?” he asked, so I told him. Before you could say Jack Robinson he had unscrewed the lid, eaten a spoonful and hidden the jar in one of the top cupboards. “Too good for that lot,” he said “they’ll polish it off in one go.”

Matthew and I met in October and married the following May. He always says he married me for my tomato chutney. Needless to say, running out is grounds for divorce in our house.

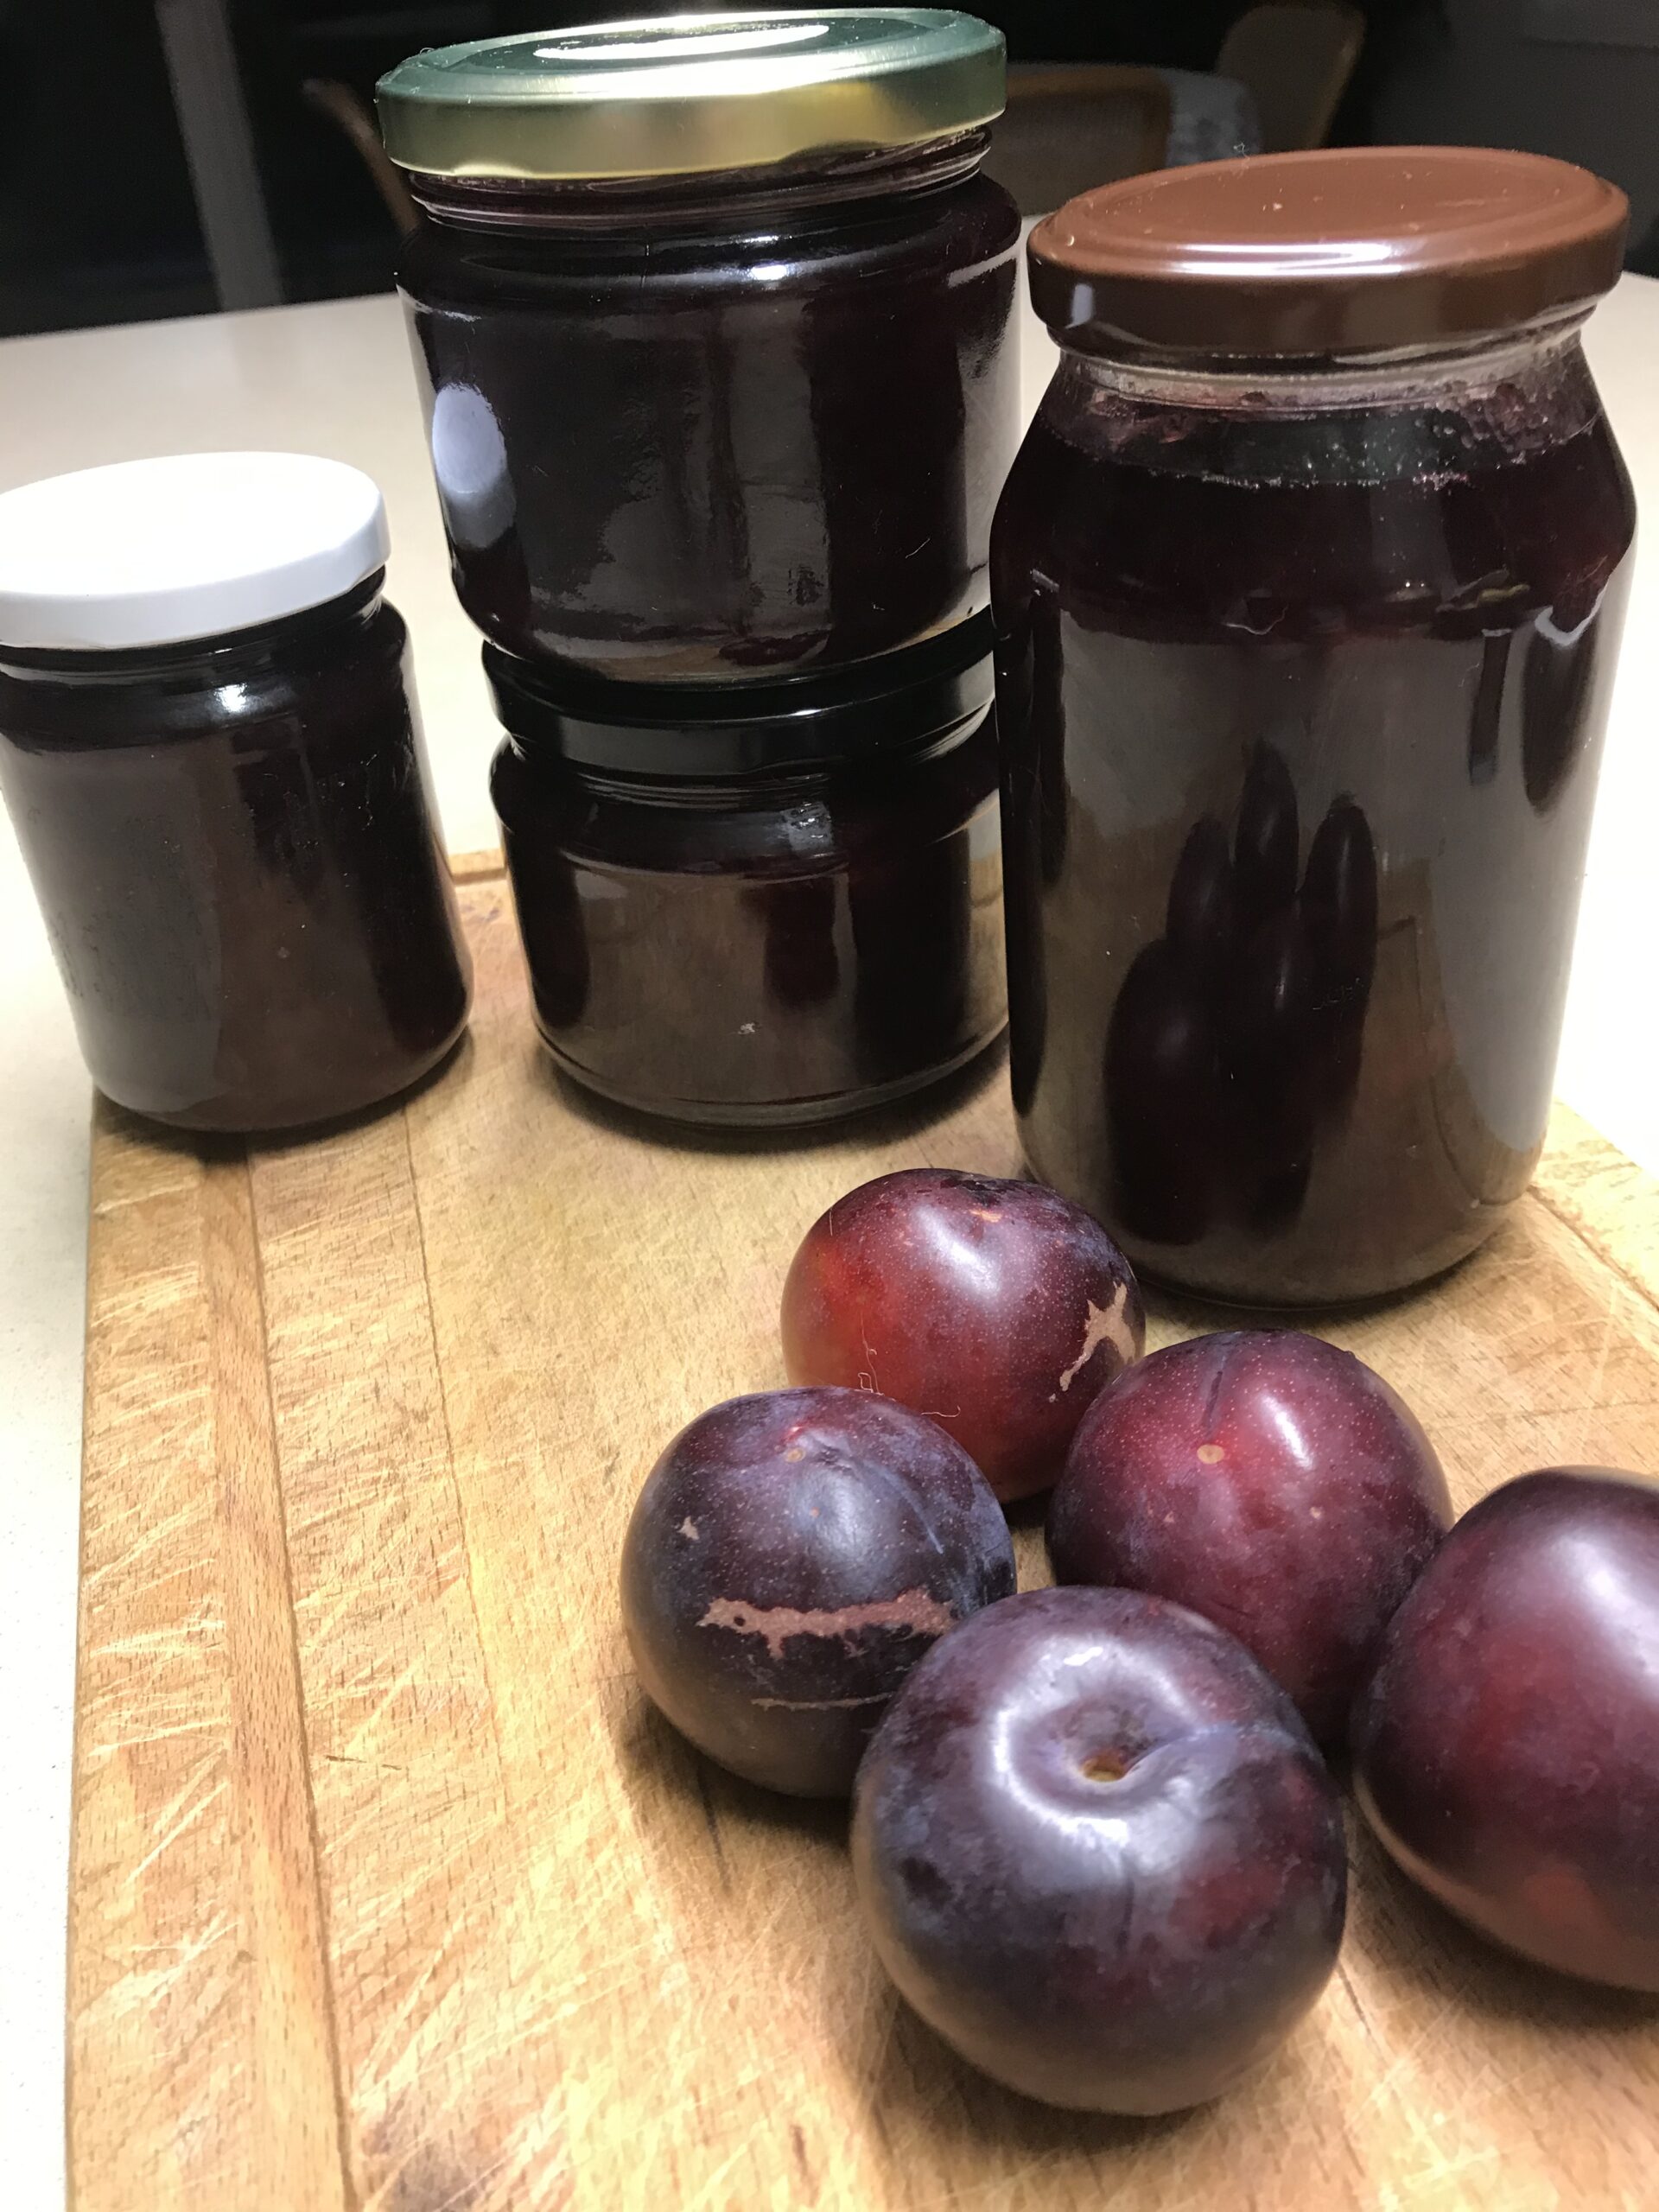
Over the years I’ve only made two slight adjustments to this very old recipe. I use cider vinegar instead of dark malt vinegar and have cut down a bit on the sugar and salt. It’s crucial to use vine-ripened, very red, tasty tomatoes. The hard, orange, tasteless ones you buy in supermarkets in winter will produce a very mediocre chutney. I make several batches in late summer to last a whole year.

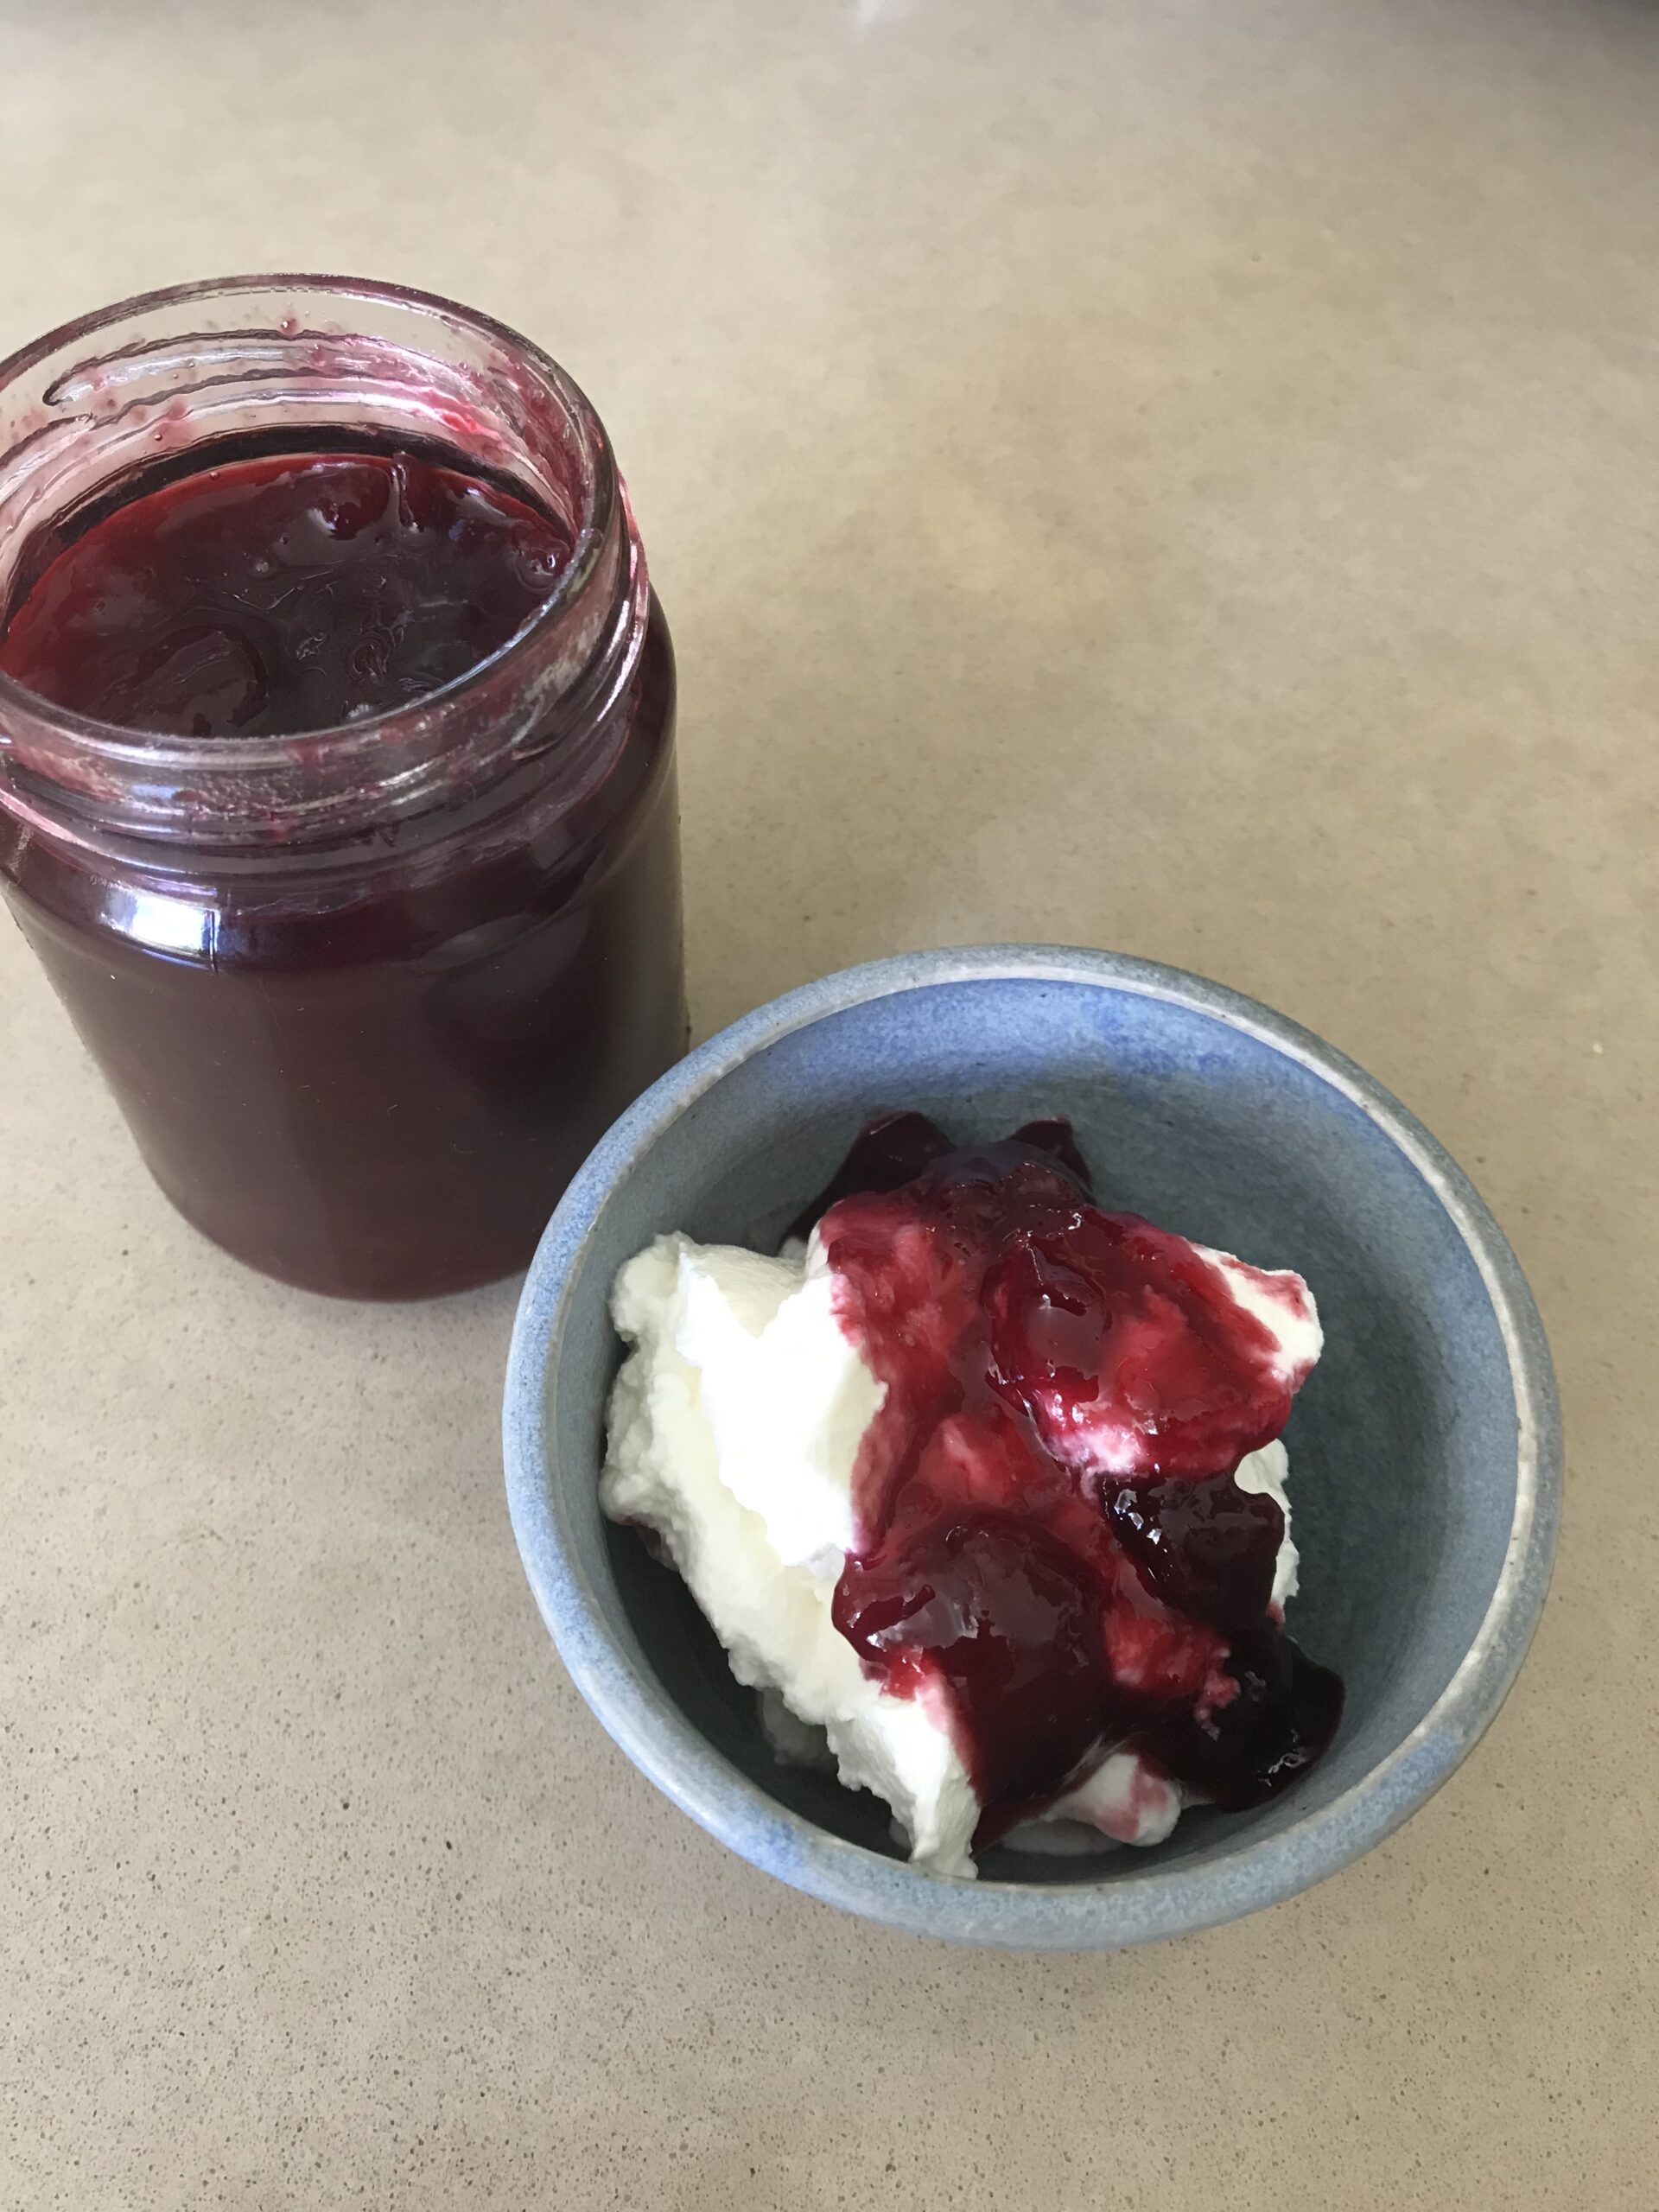
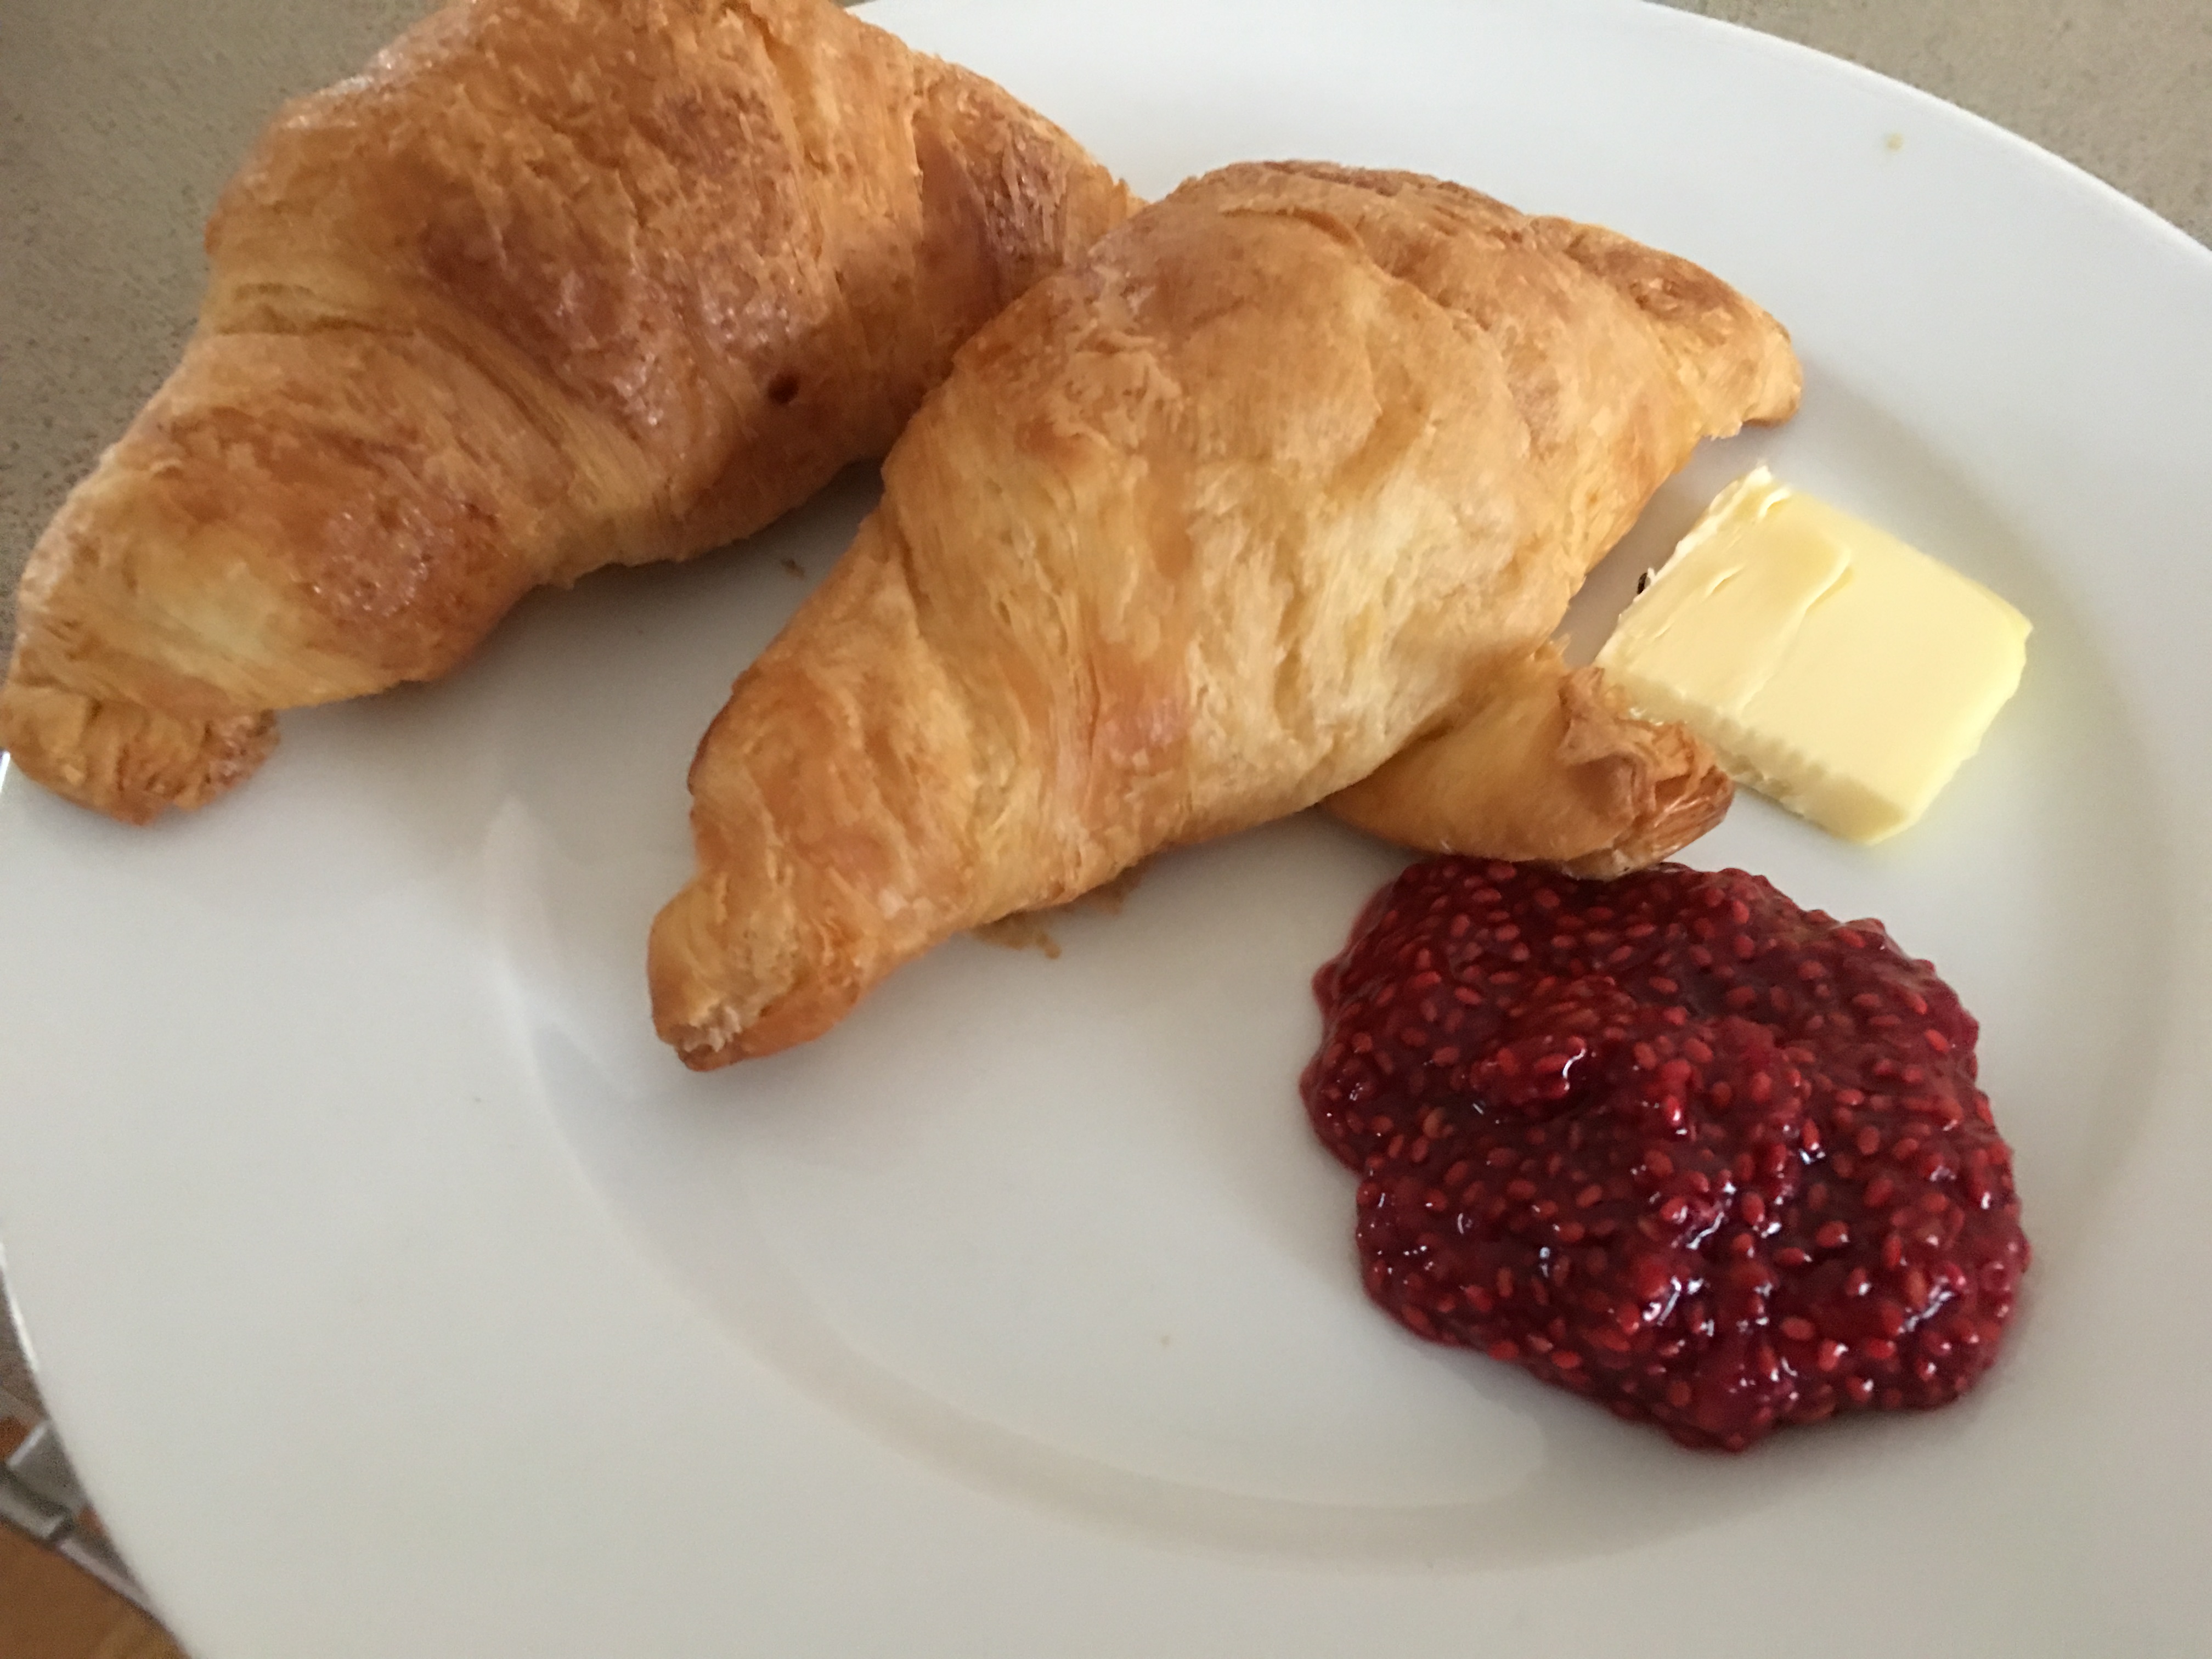
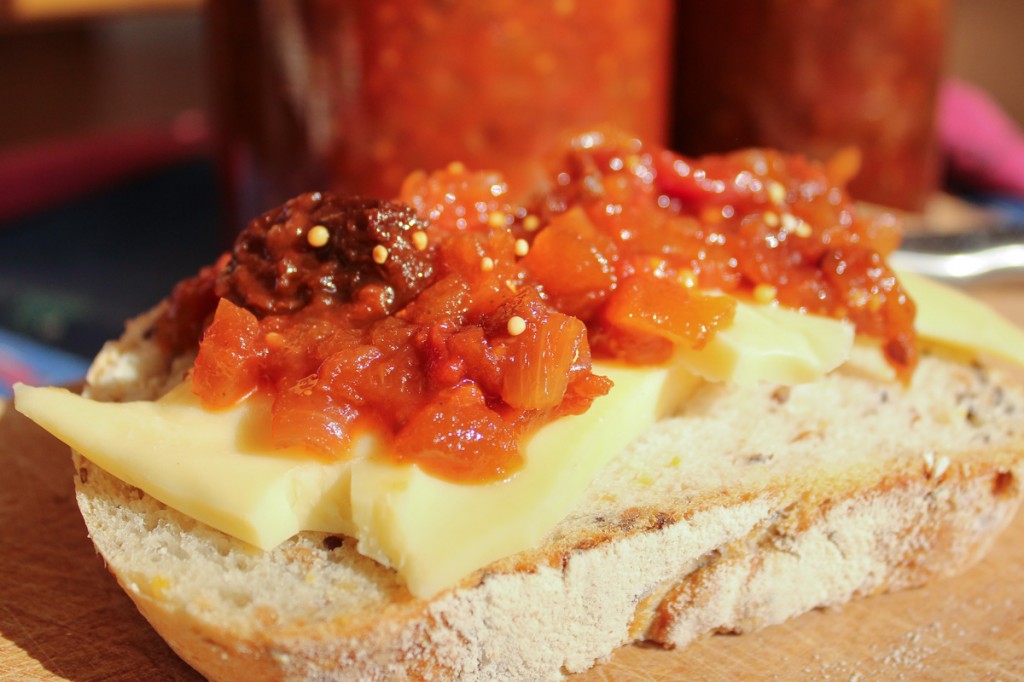
Tomato chutney goes well with cheese, ham and other cold meats.

The Pickling Spices recipe makes enough for several batches. I usually make up four times the recipe – you can see the quantities for doing that in brackets – which means I have enough to last for a couple of years or more. I use it in other chutneys. Don’t do as one of my followers did and use the whole pickling spice recipe in one batch of chutney!

Tomato chutney with cheddar cheese on crusty sourdough bread

Tomato Chutney

3 kg ripe tomatoes
1 kg peeled green apples 
500g peeled onions
500g seedless raisins or sultanas
500g dark brown sugar
4 tsp salt
600 ml cider vinegar
2 rounded Tbs pickling spices (see recipe below)
4 Tbs whole yellow mustard seeds

You will need a large preserving pan with a heavy base for this recipe. Mine is stainless steel and has a diameter of 33cm and a height of 15cm. It holds about 7 litres. Alternatively make half the recipe in a large heavy-based saucepan.

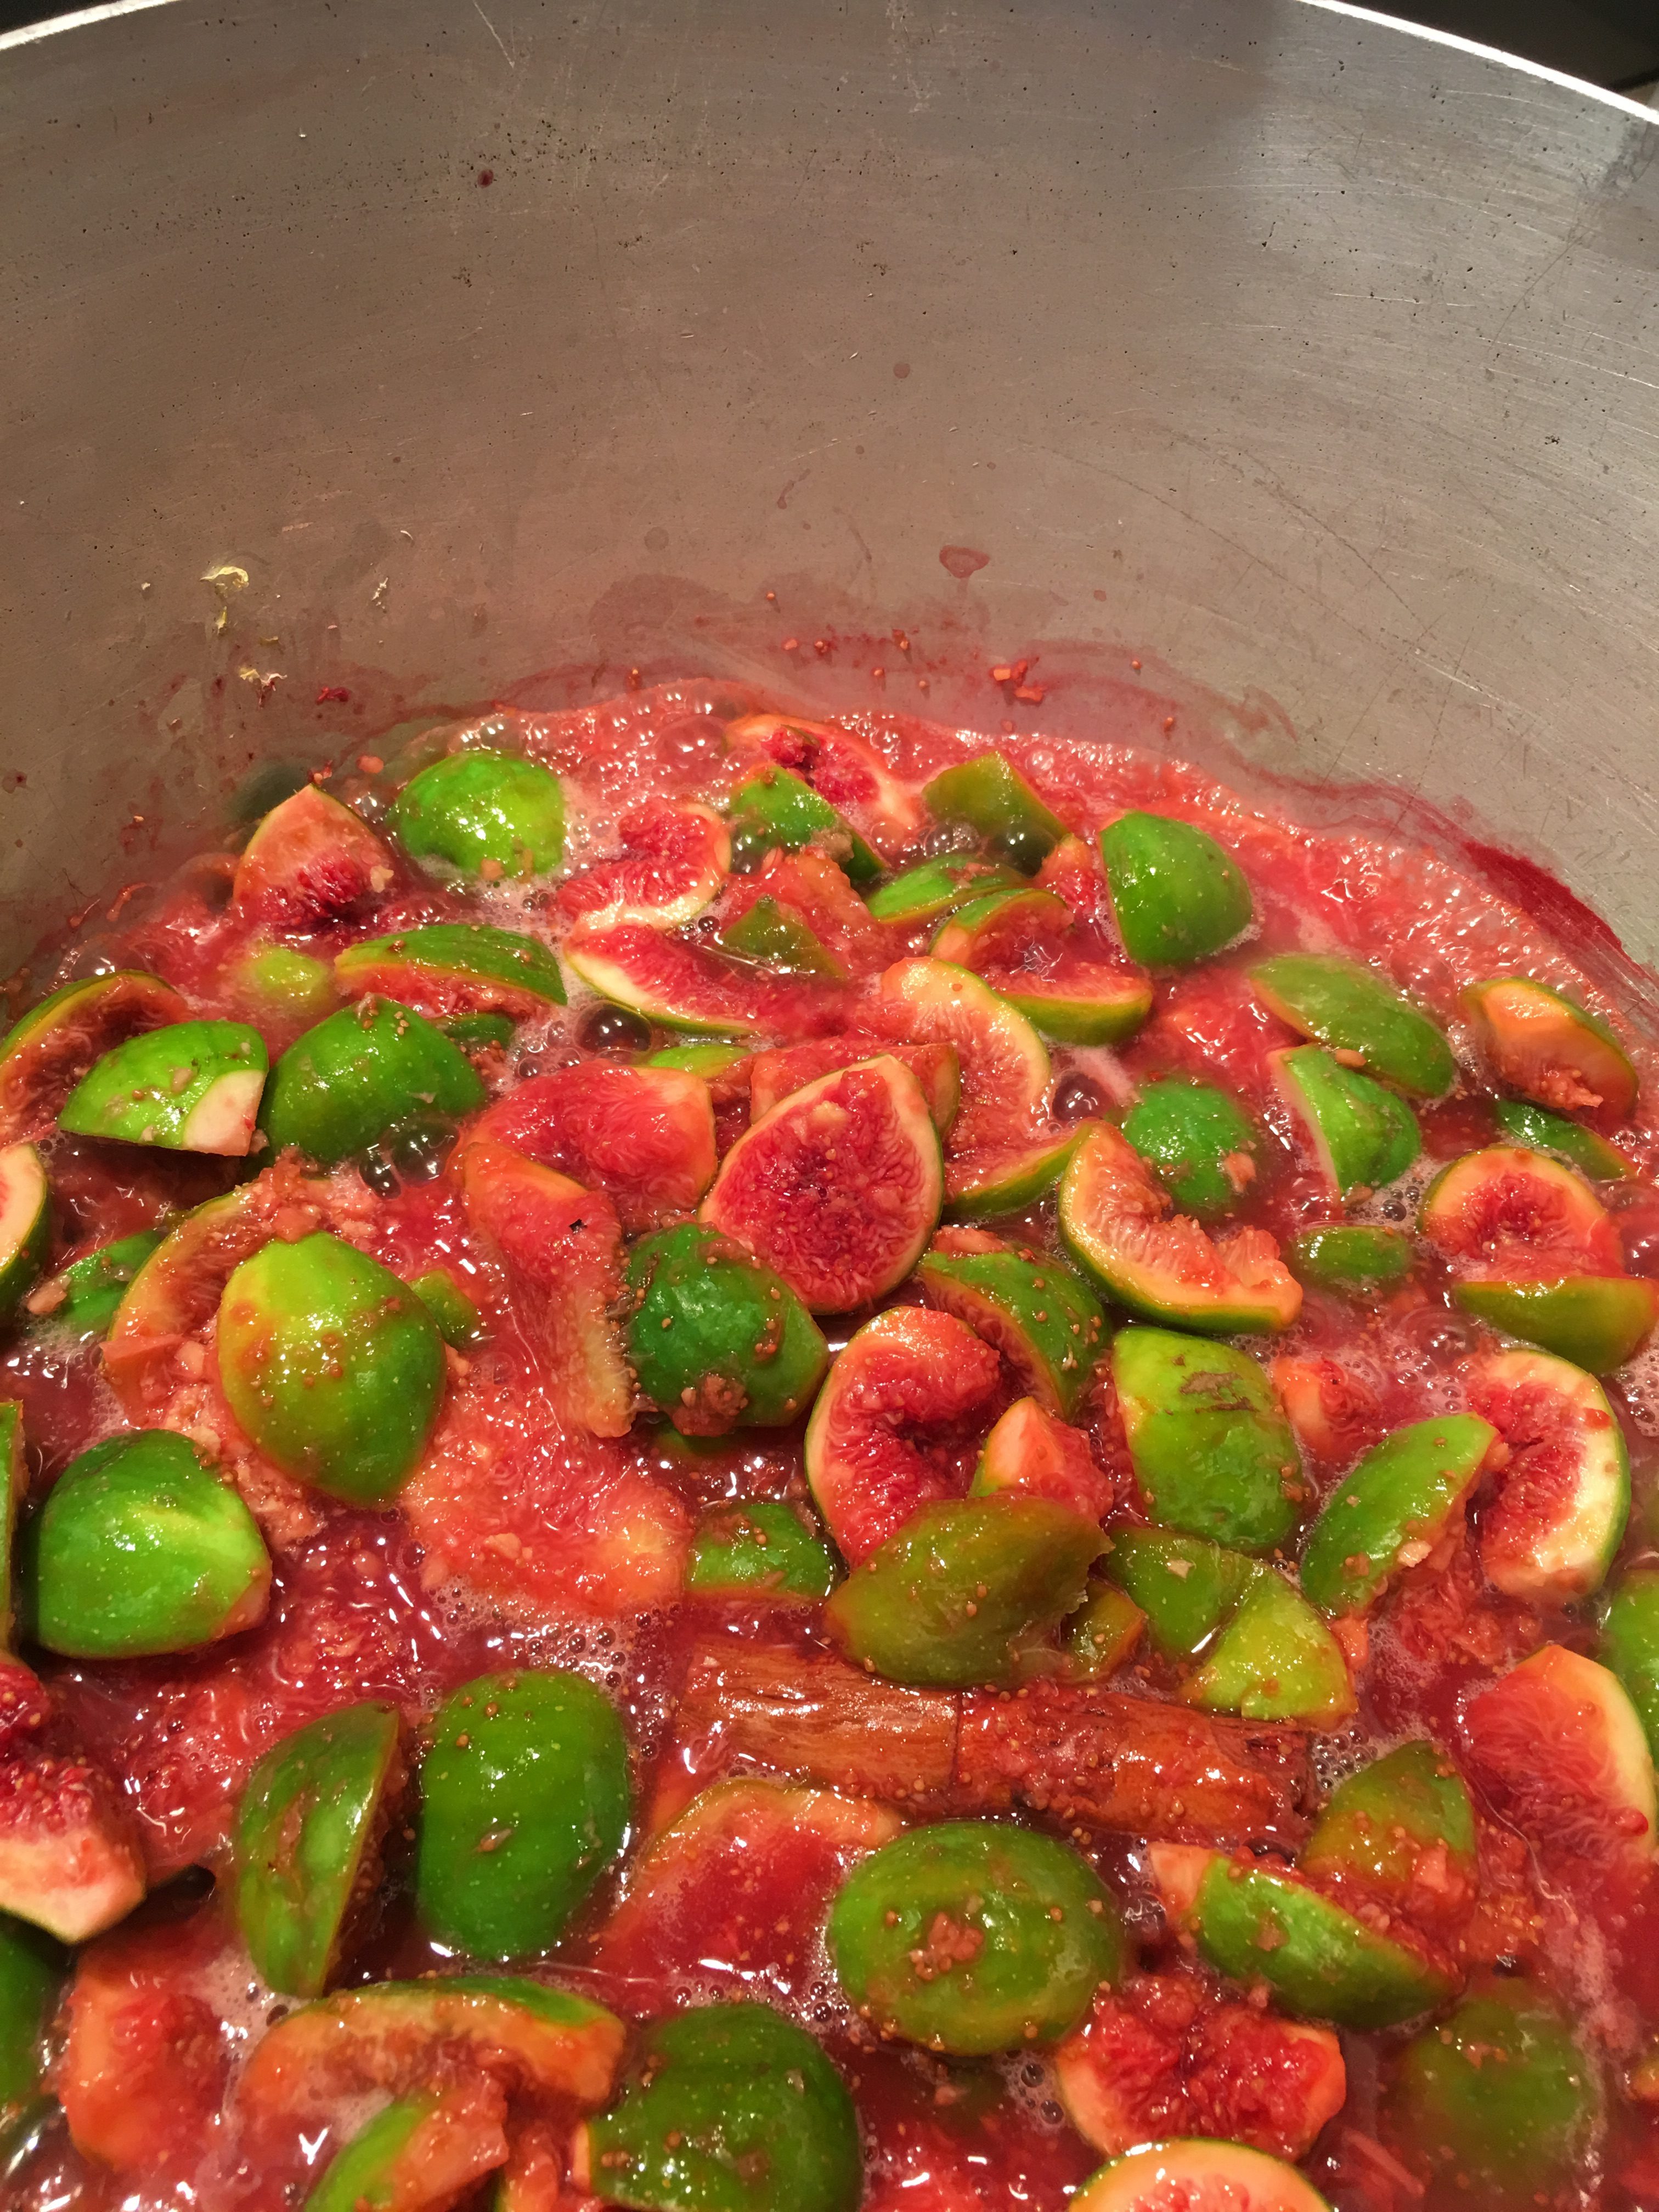
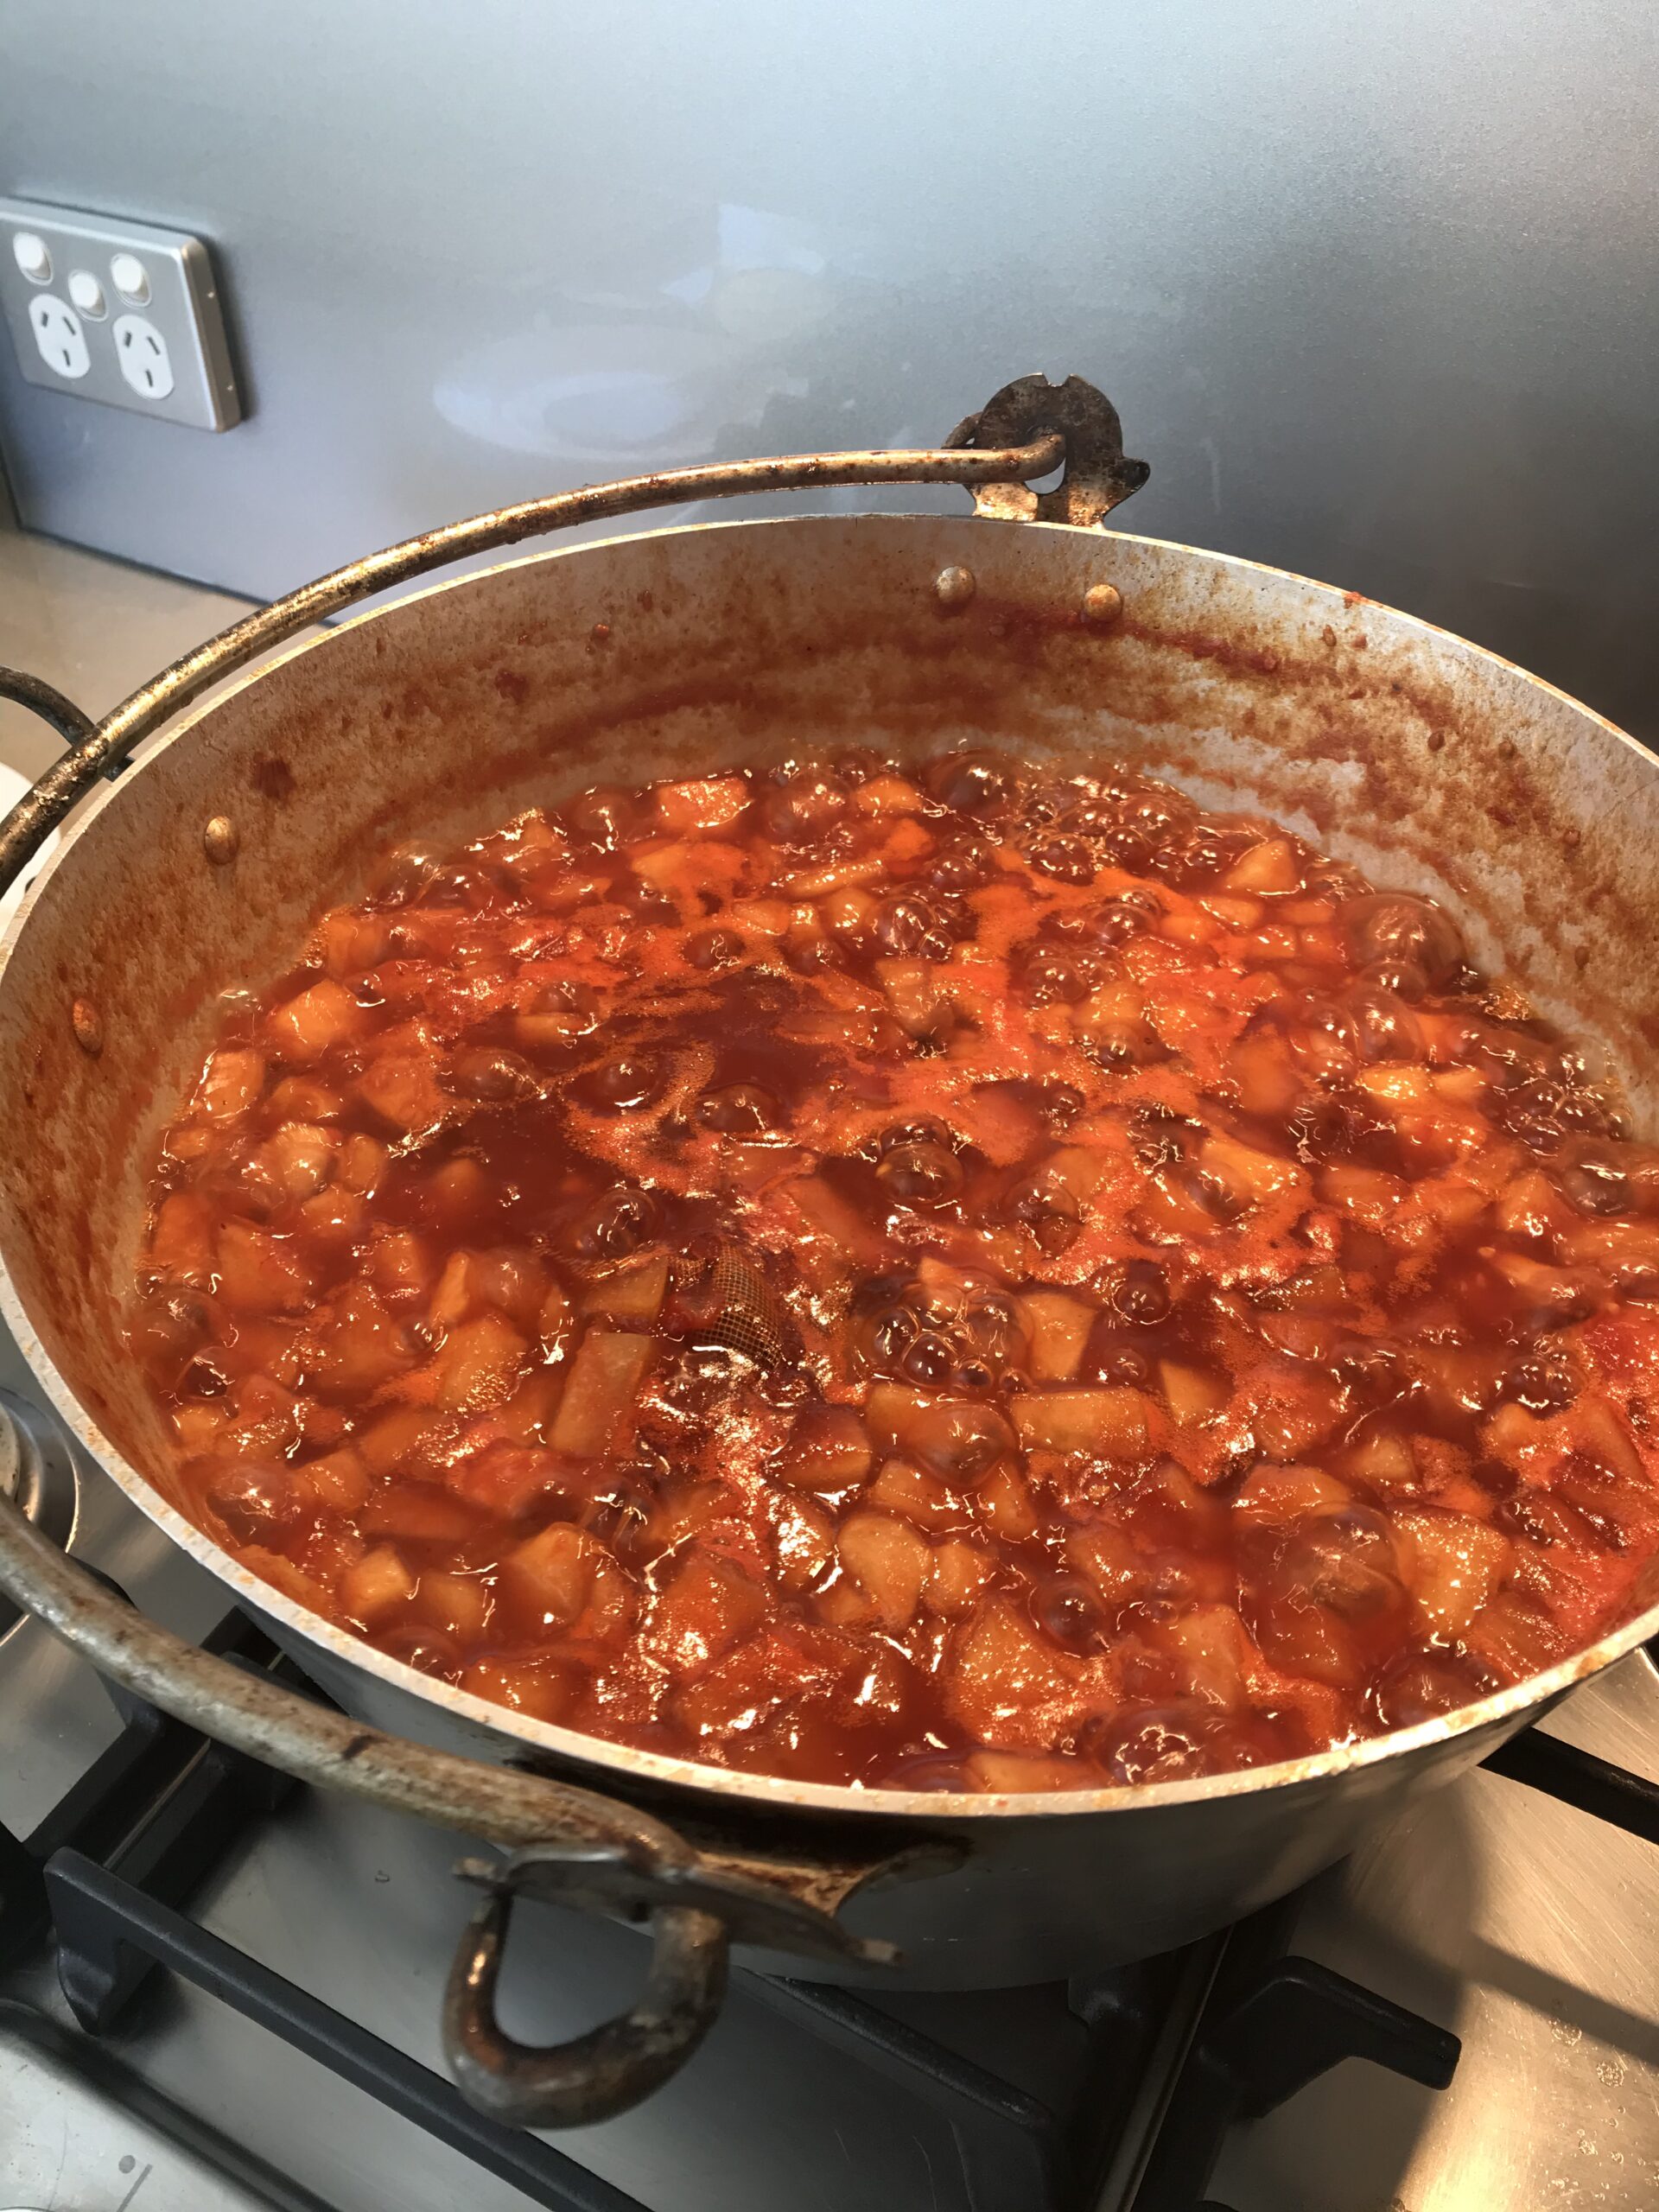
Pour boiling water over tomatoes and leave for a couple of minutes, then remove skins and chop. Core and chop the apples and chop the onions. Place pickling spices in a muslin bag or tie them in an old cotton handkerchief. Place all ingredients except mustard seeds in preserving pan.

Cook for about an hour at a steady boil, until thick. Stir regularly to prevent sticking, especially towards the end. Meanwhile place sufficient clean jars (without their lids) in the oven set to 120°C. Or you can zap them in the microwave on High for 2 minutes. How many jars you use will depend on the size of the jars.

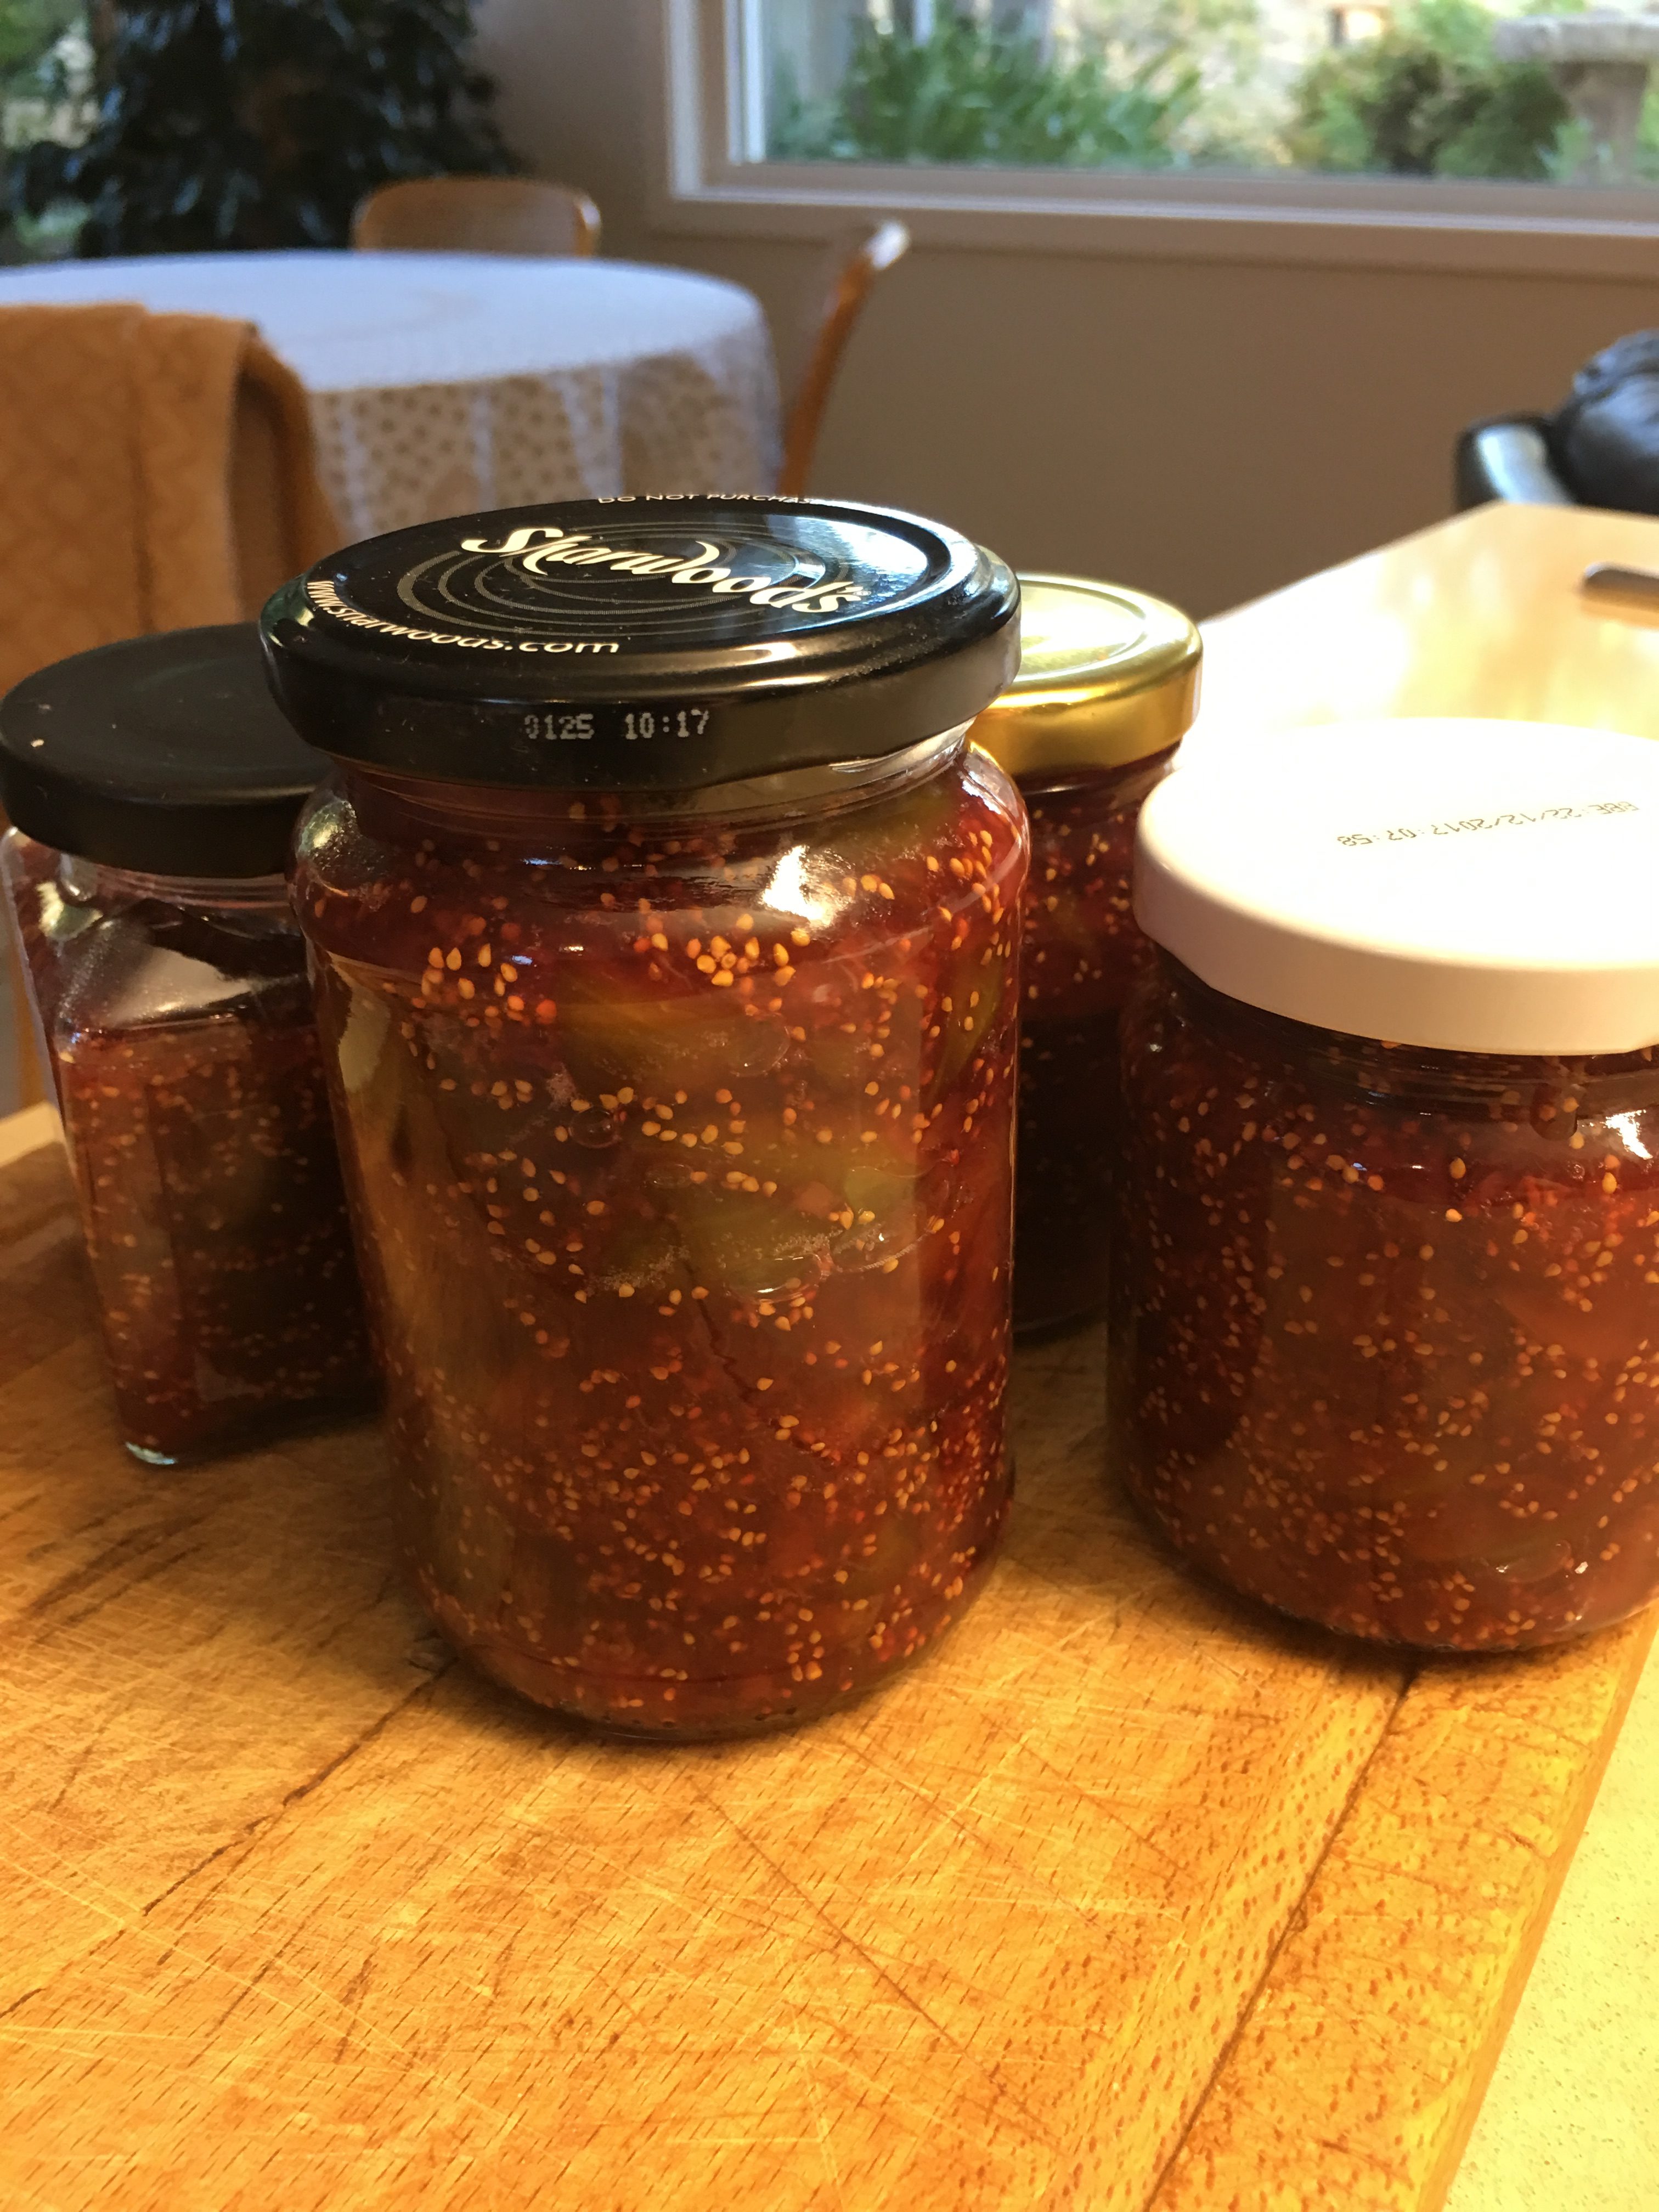
When chutney is cooked remove pickling spices, squeezing the bag so any juices go back into the chutney, then discard the spices. Stir in mustard seeds and pour into the hot sterilised jars using a small jug. Poke a knife down right to the bottom of each jar, all the way around the edge, to remove any air bubbles. Seal jars with the lids and store in a dark cupboard. Keeps for at least 12 months.

Makes about 8 standard jars

Pickling Spices

1 tsp whole cloves (1 Tbs)
2 Tbs broken up cinnamon sticks (8 Tbs)
2 Tbs dried bay leaves, broken up (8 Tbs)
1 Tbs whole black peppercorns (4 Tbs)
2 tsp crushed dried birds-eye chillies (2 Tbs)
2 Tbs whole pimento (allspice) (8 Tbs)
2 tsp fennel seeds (2 Tbs)

Mix and keep in a jar. If the cinnamon sticks are very hard you may need to hit them with a meat mallet to break them up. I usually make 4 times the recipe at a time, for which quantities are in brackets. Pimento (also known as Allspice) look like very large black peppercorns.


Blueberry and Lemon Jam

We grow our own blueberries and last year we had a bumper crop.

The new season will start in about three months and I still have a big bag of frozen blueberries in the freezer. I decided to use some of them to make jam. We also grow our own lemons, so blueberry and lemon seemed like a good combination.

Home-made berry jam is delicious served with warm croissants, as a topping on plain Greek-style yoghurt or as a topping on a home-made cheesecake. Here is a recipe for raspberry jam which is also delicious.

OMG this jam is so good!  You can use frozen or fresh blueberries so if you see a bargain, get the preserving pan out!

12 cups blueberries, frozen or fresh
Juice and zest from 3 lemons
6 cups sugar
50g powdered pectin (1 pkt Jamsetta in Australia)

Place a tablespoon in the freezer to get really cold.

Place blueberries in a preserving pan or large saucepan with a heavy bottom. Squash the fruit with a potato masher. Add lemon juice and zest and cook over moderate heat for 10 minutes, stirring frequently.

Add sugar and pectin and when the sugar has dissolved continue to cook at a rolling boil for 10 minutes, stirring often, or until setting point is reached. Test by placing a small amount on the cold tablespoon. When cool, push it with your finger and it should start to set. If not, put the spoon back in the freezer, cook the jam for a bit longer and test again. Meanwhile put 6-8 clean jam jars in the microwave (not the lids) and zap them on High for 2 minutes.

Use a small jug to fill the hot jars to within a centimetre of the top. Seal immediately with the lids and wipe the outsides. Label and store in a dark cupboard. Refrigerate after opening.

Makes 6-8 jars depending on size

Apricot Jam from Dried Apricots

Everyone loves apricot jam but the fresh fruit is in season for such a short time and expensive. Using dried apricots is the answer. This recipe comes from Aussie cook Matthew Evans, although I’ve cut down considerably on the sugar.

If you live on your own and don’t think you can manage to eat it all, a jar of jam makes a great gift for friends. And a dollop on Greek yoghurt is divine. Or use it instead of Lemon Curd in these delicious and quick Blueberry Parfaits.

500g dried apricots
1.5L (6 cups) water
2 cinnamon sticks (optional)
Juice of 1 large lemon
1-2 cups sugar

Place apricots in a large, heavy-based saucepan or jam pan. Add the water and leave to soak overnight. Add cinnamon sticks and simmer for 20 mnutes or until the fruit is soft. Remove cinnamon sticks if using, add the lemon juice and one cup of sugar.

Cook for a few minutes or until the sugar has dissolved, then taste and add more sugar as required. I used about a cup and a half but we don’t like our jam too sweet.

At this stage I used a stick blender to break up some but not all of the fruit, leaving it thick and chunky. Cook for a few more minutes or until you have jam consistency.

While the jam is cooking prepare about half a dozen small jars. Wash and dry them then microwave on High (without the lids) for 2 minutes to sterilise.

Pour the jam into the hot jars and seal while hot with the lids. Store in a dark cupboard and refrigerate after opening.

Makes 4-6 jars depending on size

Plum and Rum Jam made in the Oven

My German friend Rosi gave me the recipe for a delicious plum jam which is made in the oven with far less sugar than most jam recipes use and is flavoured with rum and cinnamon.

While you can use any plums in this recipe, blood plums produce a beautiful deep ruby-red colour and I found some in Aldi. Serve the jam with croissants, or plain thick Greek yoghurt. I haven’t tried  making it with other fruits, but plan to. I am sure it will work. Next on the list to try is rhubarb and strawberry, fifty fifty.

1½ kg plums, stoned and quartered
500g sugar
1½ cups dark rum
1 stick cinnamon (optional)

Preheat oven to 200°C or 180°C if you have a fan-forced oven. Place all ingredients in a Le Creuset type heavy casserole with lid and stir to combine. Cook for 2 to 2½ hours, stirring every half hour.

Heat jars without lids in microwave on High for 2 minutes. Pour hot jam into the hot jars filling to about 1cm below the top (discard cinnamon stick) and seal with the lids immediately.

Jam keeps for several months, unopened. Once opened keep in the fridge.

Makes about 4 jars

Preserving Olives

It’s olive time in Canberra.

The olive tree in our garden is more than 30 years old and each year it produces a good crop, although some years are better than others. Olives vary quite a bit – ours are large, round and turn a purplish black when ripe.

I’ve tried preserving them, using a number of different, supposedly foolproof recipes, with no success. The olives were either too soft, too hard, too salty, too bitter, or they fermented and went off before we could eat them. Every time I had a disaster someone would give me their special recipe, guaranteed to work, which I would try the following year. None of them worked for me.

A few years ago I managed to persuade Jeff, the owner of a local olive oil company, to take our olives and give us some oil in exchange, for a small fee. So that’s what we’ve done a couple of times. We ended up with several litres of bright green extra virgin olive oil which tastes amazing on salads, or just on bread. It’s cool to be able to tell guests it’s our own oil, although Jeff no doubt mixed our olives with a lot of his. As he explained, he needs 500kg to turn on the machine.

Last year the parrots ate most of our olives before we could pick them. I spoke to Jeff and he said he was having the same problem and had bought a boom machine from Bunnings to scare the birds away. He said you have to use it each morning, because the parrots’ memory only lasts 24 hours. Unfortunately this advice came too late for our olives, so we picked the few that were left – a kilo or two – and decided to have one last try at preserving them.

I found this recipe online and could hardly believe how quick and easy it was. Most recipes involve weeks of preparation. The resulting olives were so good I couldn’t stop eating them. They were slightly chewy and almost sweet, with no trace of bitterness. Unfortunately last year I only made one large jar, which we kept in the kitchen near the hotplates. They made the perfect snack while I was preparing dinner. I don’t know if this recipe works with small green olives – I think it’s best for fat, black juicy ones like ours – but you could give it a try.

There are heaps of recipes for preserving olives, but this is the one I’m sticking with. The instruction which appears at the end of this easy peasy recipe “keep for a month before eating” is the hard part. Ours don’t last that long I’m afraid.

Black olives
Salt
Olive oil
Dried garlic
Dried herbs (optional)
Dried chillies (optional)

Choose sound black olives. Rinse and drain, then put in a large bowl. Cover with boiling water and leave for 10 minutes, then drain thoroughly.

Arrange on cake cooling racks over shallow trays and place in the oven at 80C for several hours or overnight.

When ready the olives will be dry and wrinkled and about half their original size. You want them chewy, not hard, so taste one. Any smaller olives may be ready first so remove them and put the rest back in the oven.

Pack the olives into sterilised jars with a good pinch of salt, some dried garlic and a few tablespoons of oil. Best not to add fresh garlic as it can go off as I learnt the hard way. Add herbs or chilli if liked. Close jar then shake to distribute the oil.

Keep for a month before eating, shaking the oil around from time to time.


Pear and Fig Chutney

Last week we flew to Queenstown with Air New Zealand for a wedding. We flew Economy class, but fortunately Gold points status with Star Alliance gave me access to the business class lounge. I was also able to take a guest, which was just as well as Matthew only has Silver status.

The lunch buffet at Queenstown airport when we were flying home included a selection of salads which we enjoyed with a glass of Esk Valley Estate chardonnay. Afterwards we had  cheese and biscuits, accompanied by a delicious Pear and Fig Chutney, made by a New Zealand company called Barkers. On return I decided to have a go at making this chutney, while the memory was still fresh in my mind. Today’s recipe is an adaptation of one I found online. It has the addition of walnuts, which aren’t in the Barker’s version. They give it a nice crunch, but leave them out if you prefer.

Removing the seeds from the cardamom pods was a fiddly job, so if preferred add a different spice such as a teaspoon of chilli powder, cayenne pepper or ground cumin. Most chutney recipes call for fruit, onions, brown sugar and vinegar, but they all vary and are very adaptable when it comes to the spices. Add whatever takes your fancy.

I’ve been on flights where you have to pay for any drinks or food. And I’ve been on flights where they give everyone a meal. This was somewhere in between. When it came to lunch time we were all prepared to say “No thank you” as the flight attendant handed us a tray. Much to our surprise she looked at our seat number, glanced at her clipboard, gave a tray to the guy sitting next to us on the aisle and headed off. Clearly we’d bought the Absolutely No Frills tickets and he hadn’t.

1 kg ripe pears, peeled and chopped
375-400g dried figs, de-stemmed and chopped
375g sharp apples such as Granny Smiths, peeled and diced
375g onions, peeled and diced
Grated rind and juice of 2 lemons
350g brown sugar
500ml cider vinegar
1 Tbs ground cinnamon
2 tsp ground nutmeg
1 Tbs toasted cardamom seeds, crushed
125g walnuts, chopped

Place all ingredients except the walnuts in a preserving pan or very large heavy-bottomed pan. Bring to the boil then simmer for about an hour or until thick. If it gets too thick before the apples and onions are cooked, add a little water.

Place 8 clean normal sized jam jars or more smaller ones in the microwave, without their lids and zap on High for 2 minutes.

Lightly toast the walnuts by stirring them for a few minutes in a non-stick frying pan over moderate heat. When the chutney is ready stir in the walnuts and tip into the hot jars. Use a wide funnel or a small jug. Go all round the edge of each jar with the blade of a knife, hitting the bottom, to remove any air bubbles. Seal, label and store in a dark cupboard. Refrigerate after opening.

Makes about 8 jars

Note: if available use Bramley apples which are common in the UK but hard to find in Australia unless you grow your own.

Fig and Ginger Jam

While figs are in season, don’t forget to make some jam. We like ours with the addition of fresh ginger, but if preferred leave it out. You can use green figs or purple figs.

This jam is delicious on crusty bread or toast, or dolloped on plain Greek yoghurt. It also goes well on canapes with a chunk of creamy blue cheese, or as an addition to a cheese board.

1 kg fresh ripe figs
4 Tbs lemon juice
Grated zest of one lemon
2 heaped Tbs grated fresh ginger, or to taste
½ cup water
1 cinnamon stick (optional)
2 cups sugar

Chop figs into quarters or eighths, discarding the stems. Place in a preserving pan or heavy-bottomed large saucepan. Add the lemon juice and rind, the ginger, water and cinnamon stick. Cook gently for 20 minutes or until figs are tender Add the sugar, boil until setting point has been reached, remove cinnamon then tip into hot sterilized jars. Seal while hot and store in a dark cupboard.

Makes 4 small jars

Pickled Eggs

When I was growing up in England, pickled eggs were a popular snack in local pubs. I remember seeing them on the bar in huge jars. Along with meat pies, Cornish pasties and sausage rolls, they go down well with beer. I can’t remember if I ever tried one back then.

An old family recipe for 3 dozen eggs was sent to me by brother David who lives in Vancouver. Actually it came to me via my sister who lives in the UK. Thirty-six eggs seemed like a lot, so I decided to divide the ingredients by three and pickle 12. Traditional British recipes use malt vinegar and a little treacle so the eggs gradually take on a blackish hue. David says any vinegar will work, so I used balsamic. A bit upmarket for your average British pub – I don’t think anybody had heard of balsamic vinegar when I was growing up.

I buy large 865g jars of Maille Dijon mustard from Costco and found that twelve eggs fit perfectly in one of those jars. Our verdict? They’re a bit of an acquired taste but a good addition to a ploughman’s type lunch.


12 eggs, hard boiled and peeled
125ml balsamic vinegar or malt vinegar
¾ tsp cayenne pepper
1 Tbs pickling spice
2 cloves garlic, chopped
2 tsp black treacle
1/3 tsp salt
Extra balsamic vinegar

Place the eggs in a jar with a lid that they fit into snuggly. Place remaining ingredients in a saucepan, bring to the boil and simmer for 3-5 mins. Pour over the eggs. Add extra vinegar to cover completely. Close the jar and invert to mix well. Keep for about a month before using.


Berry Nice Jam

This recipe makes about two and a half cups of delicious, fresh berry jam. It’s not cooked, so it will only keep for a few days in the fridge. Serve with fresh scones, croissants or Greek yoghurt. It also makes an amazing filling for a cream and jam sponge cake.

It works on the principle that when chia seeds are mixed with liquid they swell up and thicken the liquid. Have you ever tried chia seeds for breakfast? Soak them overnight in milk or juice, then add to your usual muesli and fruit mix.

2 cups fresh or frozen raspberries (or other berries)
3 Tbs honey, sugar or a sweetener such as Stevia
4 Tbs chia seeds
¼ cup water
1 tsp vanilla essence (optional)

Thaw the berries if frozen and crush them a bit with a fork. Add remaining ingredients and stir well. The jam will thicken as the chia seeds swell. This will take several hours or overnight. Keep in the fridge and use within a few days. Can be frozen, so you might like to freeze half and use half.

Makes about 2½ cups