While living in Paris for four years I noticed several differences in the shopping, eating and cooking habits of the French, compared with ours.
They generally don’t stock up on food in big supermarkets. Living in an apartment, as almost everyone does in big cities like Paris, makes getting groceries from the supermarket into your home a real challenge. With limited parking and, for some Parisians, no elevator, it’s much easier to shop at the local markets every few days. Buy what you need, eat it fresh, then go and buy more. Little trolleys on wheels are perfect for shopping this way. An added deterrent to buying up big is that most Paris apartments have tiny kitchens with limited cupboard and freezer space.
I reckon one of the reasons most French women stay slim is that they don’t eat a big meal every evening. Several svelte French friends told me that during the week their husbands went out for a three course lunch and were quite happy with something very light in the evening. Women who work do the same. So as I was heading home to cook our main meal of the day, they were going home to have “un petit yaourt” or “une tartine” – a slice of toast with something on it.
I also noticed that the French don’t get stuck into baguettes and French cheeses quite the way we do. I’ve watched lithesome French friends make one slice of bread last through several courses, used as required to push food onto their fork. The cheese course is always served before the dessert and my svelte French friends take only a small sliver of each. French cheeses are marvellous, but they are also high in calories and cholesterol.
The French also tend to be more abstemious when it comes to wine consumption, as we noted when we cleared up the empties after a dinner party for mainly French guests and compared it with the week before when we had hosted mainly Aussies.
While they regularly eat out, our French friends like to entertain family and close friends. With the limitations of a small kitchen and an equally small oven, dessert often comes from the local patisserie. With such a wonderful array to choose from, why bother cooking? There are of course exceptions. I have several French friends who make wonderful cakes and desserts, using recipes inherited from their mothers and grandmothers.
Food markets pop up all over Paris in regular spots, once or twice a week. The twice-weekly market in Boulevard de Grenelle was less than five minutes walk from where we lived. Every Wednesday and Sunday from seven in the morning until lunch time the market sells fresh fruit and vegetables, cheese, meat, fish and more to a bustling crowd of mostly French customers.
On Sundays the rotisserie chickens and roast potatoes sold at the markets are popular to take home for lunch. Today’s recipe comes from well-known cook and food writer David Lebovitz who has been living in Paris for over 20 years. He managed to persuade the chicken lady at his local market to part with her recipe. Hence the name Chicken Lady Chicken. He uses the marinade for one chicken, but I found it’s enough for two. She uses white wine but red wine or even sherry is a good substitute.

1 or 2 x 1.5kg (3 lb) chickens
Marinade:
3 cloves garlic, crushed
1½ tsp salt
2 Tbs olive oil
2 Tbs lemon juice
2 Tbs wine or sherry
1 Tbs soy sauce
2½ tsp harissa, Sriracha or other chilli paste
2 tsp Dijon or other mustard
2 tsp honey
Remove backbone from the chicken(s) by cutting along each side with a pair of poultry shears. Place chicken breast side down on cutting board and press hard with the heel of your hand to flatten it out as much as possible, then repeat on the other side. Loosen the skin a bit with your finger so the marinade can get in under the skin.
Mix all ingredients for marinade and pour over the chicken(s), rubbing it in and pushing it under the skin. Marinate for 1 to 2 days in the fridge, covered, turning from time to time. Levovitz does this in a plastic bag, but I used a shallow dish.
Preheat the oven to 200°C. Place chickens in a roasting pan breast side down. Cover loosely with aluminum foil then place a heavy weight on top. I used two bricks, one for each chicken. Lebovitz cooks his chicken for a total of 45 mins but I think it needs a bit longer. Roast for half an hour, then remove the brick(s) and foil and turn the chickens over, basting thoroughly. Roast for a further half hour or until chickens are well browned and cooked through.
Carve the chicken(s) and serve with roast potatoes and a salad.
Each chicken serves 4-6

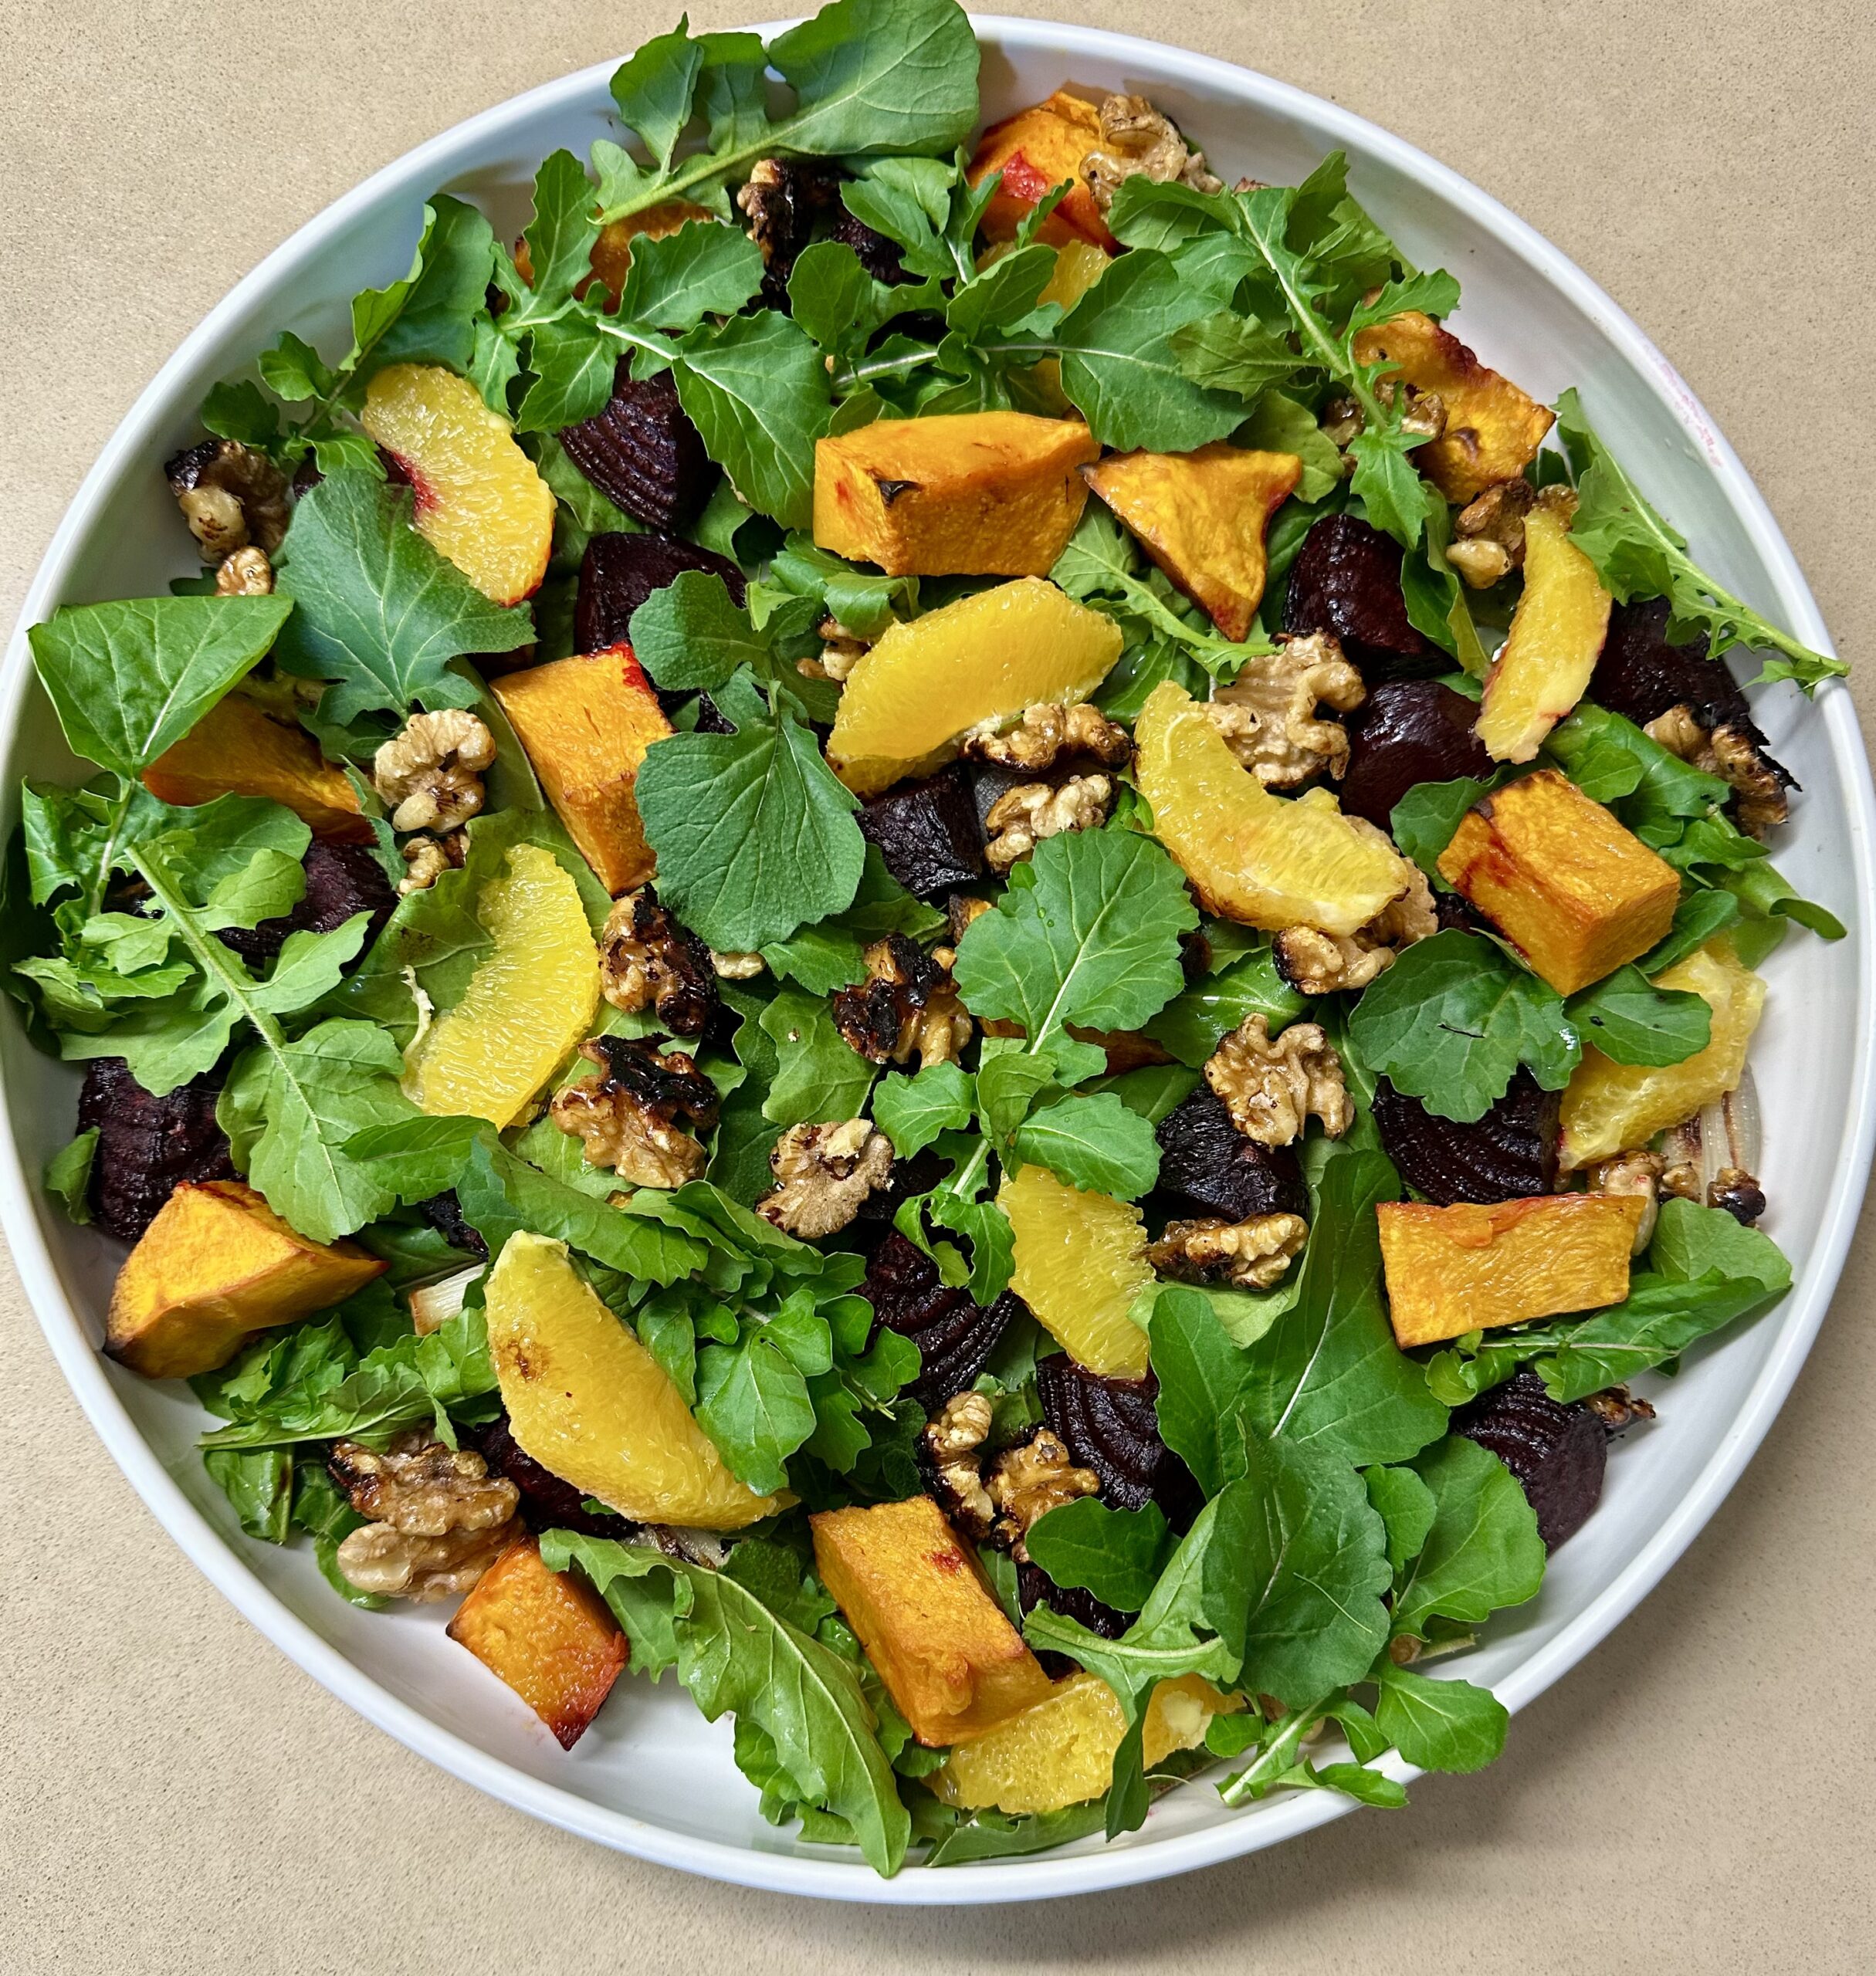 1 bunch rocket, washed and spun dry