I began collecting recipes when I was at school. Some of the recipes in my large collection have been in my family for generations, others were passed on by friends and chefs around the world. Many have been adapted over the years to make them lighter or update their presentation. I’ve served them to royalty, PMs and other VIPs and there have been no complaints. I hope you are inspired to make some of them.
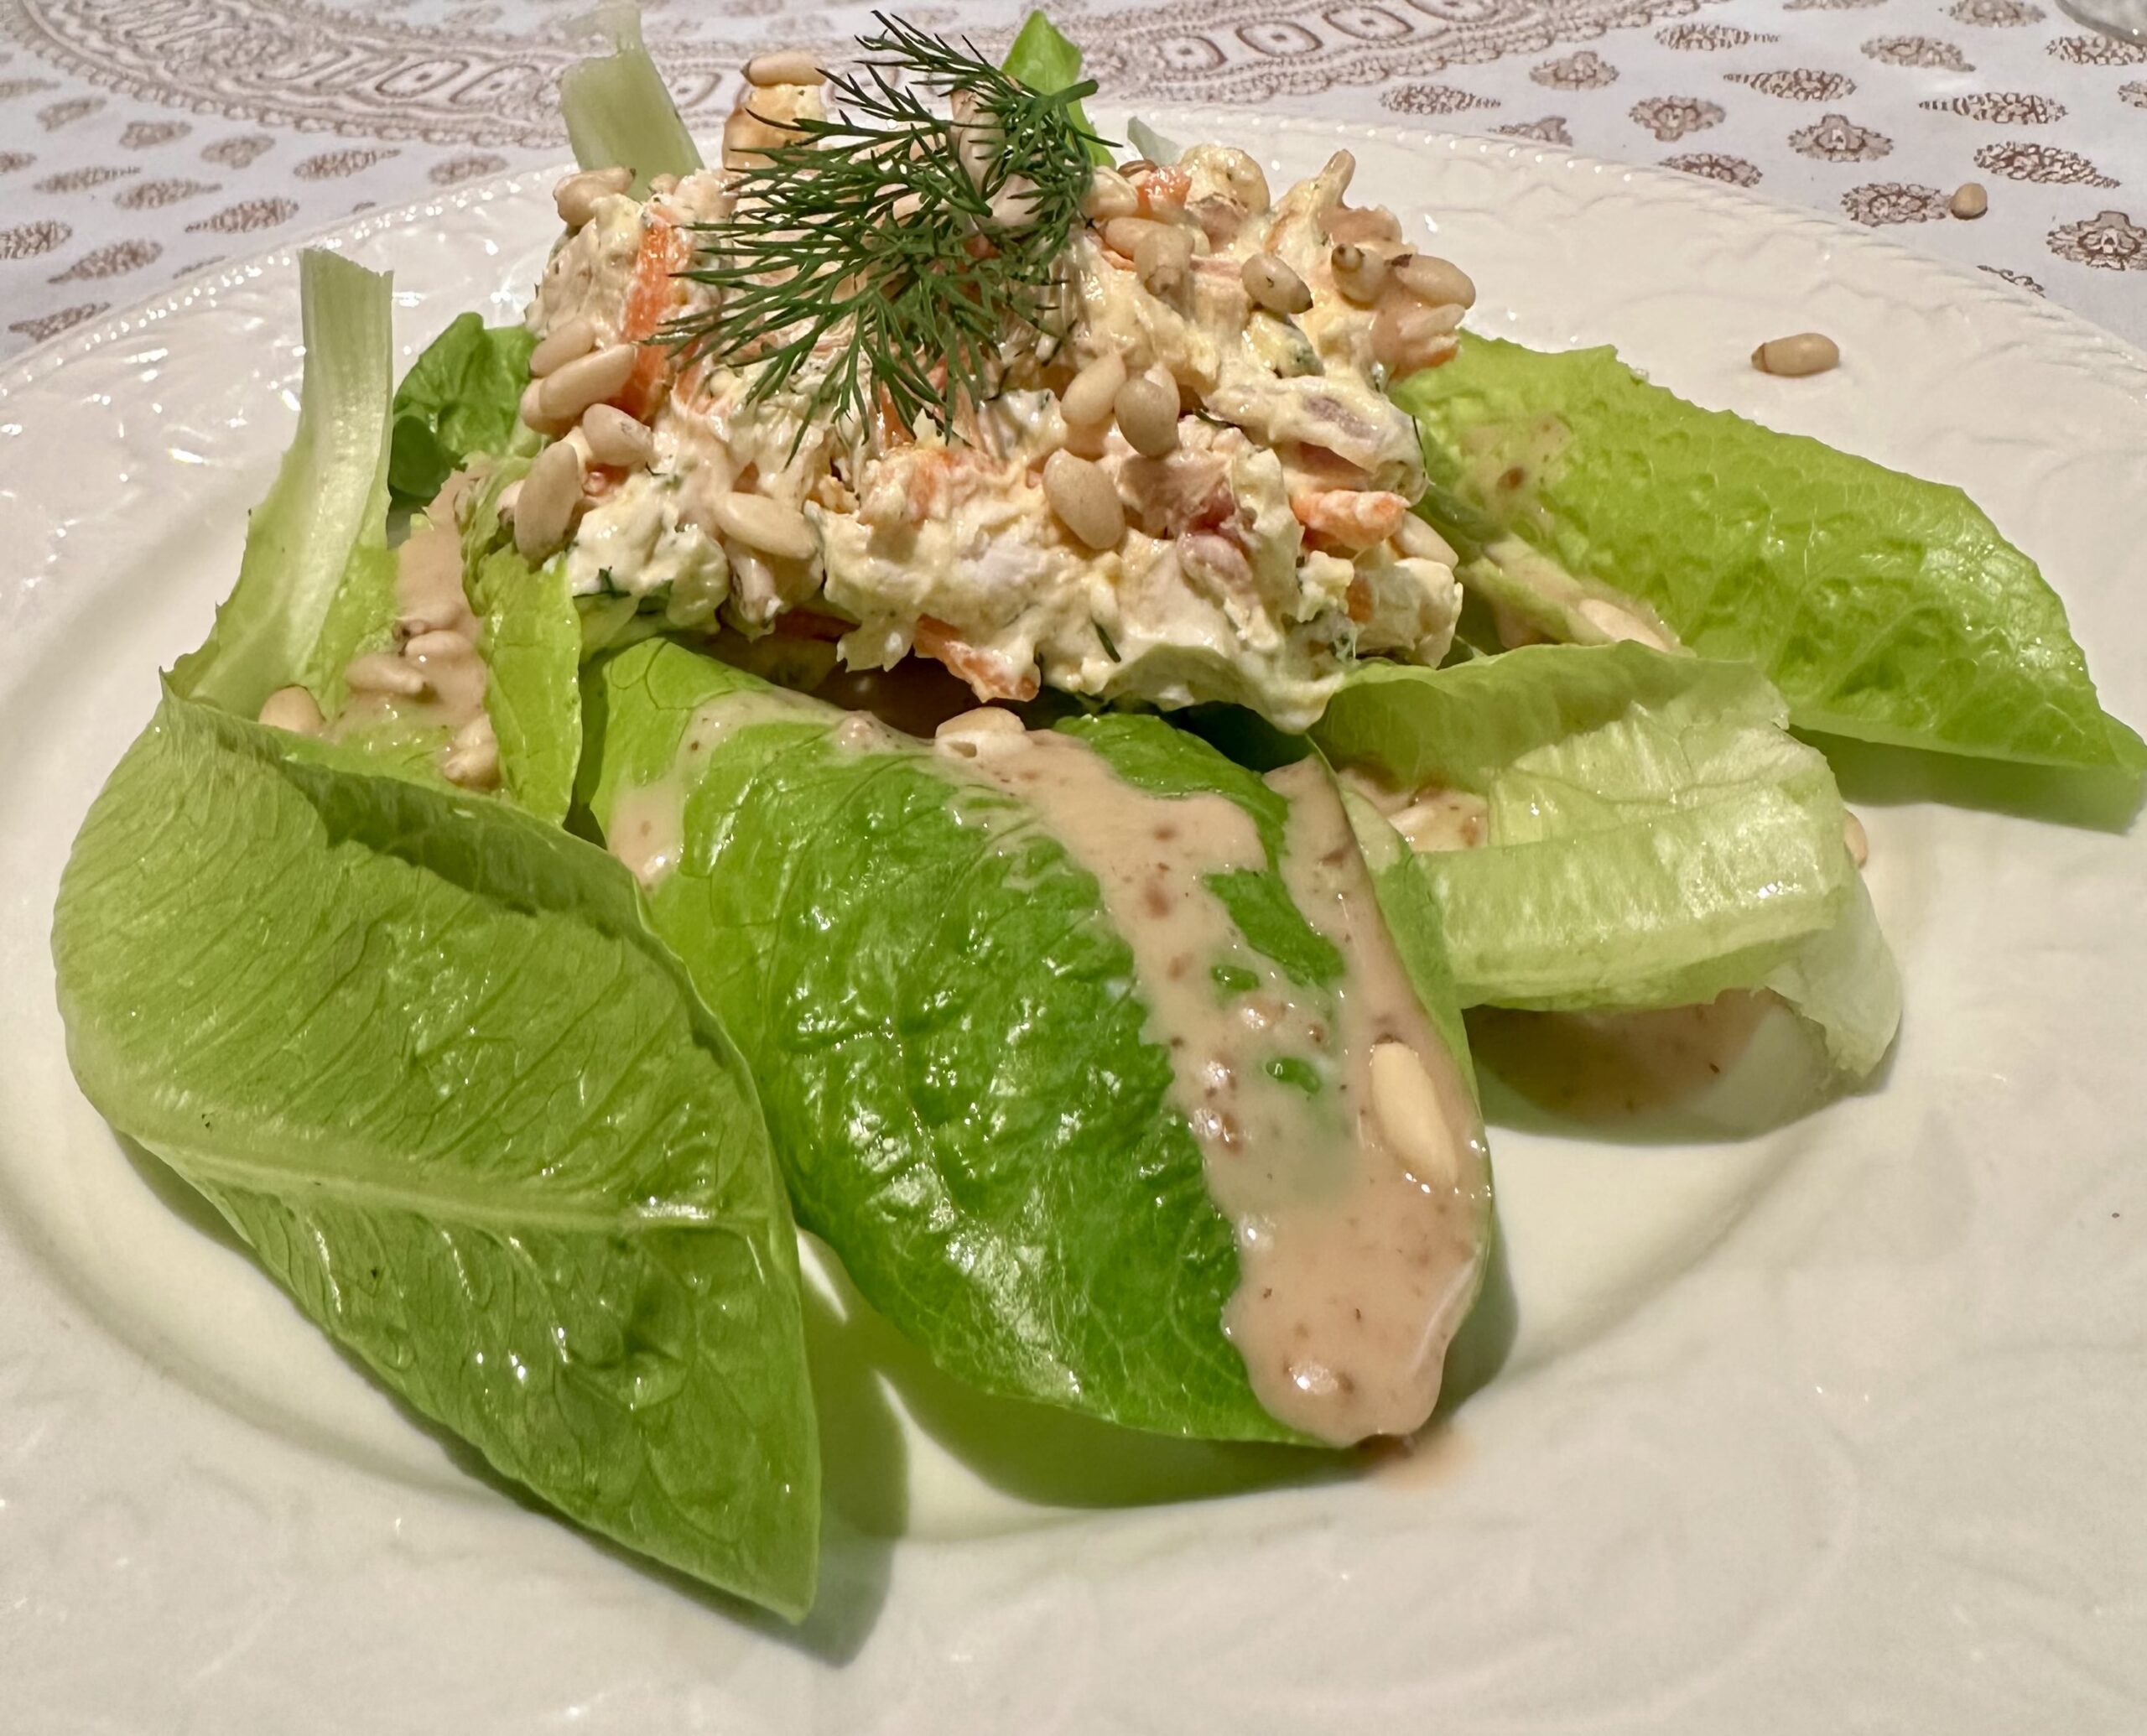
This delicious salad can be served in wraps or sandwiches, on a bed of lettuce leaves or as a dip – with crusty bread, crackers or vegetable sticks.
As you can see in the photo, I served it as a light supper on a bed of lettuce, drizzled with Japanese roasted sesame dressing and sprinkled with a few pine nuts. This salad is quite rich, so to lighten it up you could add 2 cups cold cooked rice.
2 cups cooked chicken, finely chopped
1 cup grated carrots
1 Tbs finely chopped fresh dill + extra to garnish
¼ red onion, finely chopped
1 pot cream cheese (Philly or similar) about 200g (at room temp)
¼ cup mayonnaise, home-made or bought
2 Tbs softened butter (optional)
1 tsp Dijon mustard
½ tsp garlic powder
½ tsp salt
Freshly ground black pepper, to taste
Good pinch of ground nutmeg To serve:
Crackers or baguette or dark bread
Veggie sticks such as carrot, cucumber, celery
Place chicken, carrots, dill and onion in a salad bowl. In another bowl place cream cheese (at room temp), mayonnaise and butter if using. Mix well with a balloon whisk until smooth. Add mustard, garlic powder, salt, pepper and nutmeg. Scrape into the bowl with the chicken and mix well.
Cover and refrigerate until serving time. Leave at room temperature for 15 mins before serving. Garnish with extra dill fronds. Serve as a dip or in sandwiches or wraps with lettuce leaves.
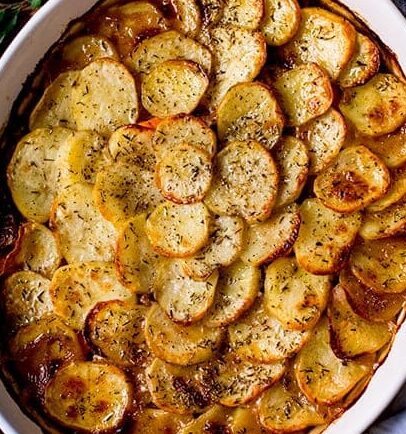
Lancashire Hot Pot originated in the north west of England and was a popular winter dinner throughout the British Isles when I was growing up. My mother, who didn’t have a large culinary repertoire, made it regularly and we loved it.
It’s basically a lamb stew covered with crispy sliced potatoes. In the old days it was made with mutton, something we don’t see in the shops these days because the animals are killed much younger. My mother fried the onions and meat in dripping or lard, but I prefer to use butter or canola oil, or a combination.
2 Tbs butter or oil or 1Tbs of each 1 kg stewing lamb, cut into 2cm cubes
2 Tbs plain flour
Salt and freshly ground pepper to taste
1 large or 2 smaller onions, diced
500g carrots, peeled and cut into slices or chunks
2 cups beef stock (or water and 2 beef stock cubes)
3 Tbs sherry or red wine (optional)
1 Tbs Worcestershire sauce
750g potatoes, peeled and thinly sliced
1 Tbs melted butter or oil, for brushing
1 tsp dried thyme
Preheat oven to 170°C. Mix lamb with the flour, salt and pepper. Heat butter or oil in a large frying pan and cook the meat over high heat, stirring, until browned. Place in a casserole dish. Add onions to the frying pan and cook, stirring from time to time, until softened. Add to the casserole with the carrots, stock, sherry and Worcestershire sauce. Mix well. Cover and cook on the stove top for 30-60 minutes, or until meat is almost tender. Keep it at a steady simmer, not boiling.
Remove lid and cover the meat with the sliced potatoes, starting from the outside and overlapping them slightly. Brush with melted butter or oil, sprinkle with thyme then cover with the lid or a piece of foil. Return to the oven for 45 minutes or until potatoes are tender. Turn oven up to 200°C. Remove lid or foil and cook casserole until potatoes are browned and crisp. Serve with a green vegetable.
This soup is quick, easy and satisfying. I invented it one day when I had a friend coming for lunch and one lonely eggplant sitting in the fridge. I put it in a hot oven and let it cook while I did something else. The final mixing and reheating takes less than 10 minutes.
While the subtle flavour of the eggplant is somewhat overpowered by the tomato, it provides a nice texture. The peanut butter, garlic and chilli add an Asian touch to the flavour combination. I’ve made the recipe with both crunchy and smooth peanut butter and while they’re both nice I prefer the creamier result you get with the smooth variety. But If you’ve only got crunchy I wouldn’t go out and buy a jar specially.
1 large eggplant
1 clove garlic, crushed
1 jar tomato passata (about 500ml)
2 cups water (and maybe a bit more)
1 tsp sugar
1 chicken or vegetable stock cube
3 Tbs peanut butter
½ a small red chilli, seeds removed (optional)
Salt and freshly ground black pepper to taste To serve:
Thick Greek yoghurt
fresh coriander, chopped
fresh bread or toast
Preheat oven to 180ºC. Pierce eggplant a couple of times with a knife, so it doesn’t explode in the oven. Place in the oven for 30-40 minutes, or until it feels soft when you squeeze it. Halve eggplant and scrape out the flesh into a food processor, discarding skin.
Add remaining ingredients and process until smooth. Tip into a saucepan and heat to boiling point. Check seasoning and add a bit more water if necessary to make desired consistency. This will depend on how big your eggplant was.
Ladle into soup bowls and top each serving with a dollop of sour cream or yoghurt and chopped coriander. Serve with fresh Turkish or sourdough bread or toast.
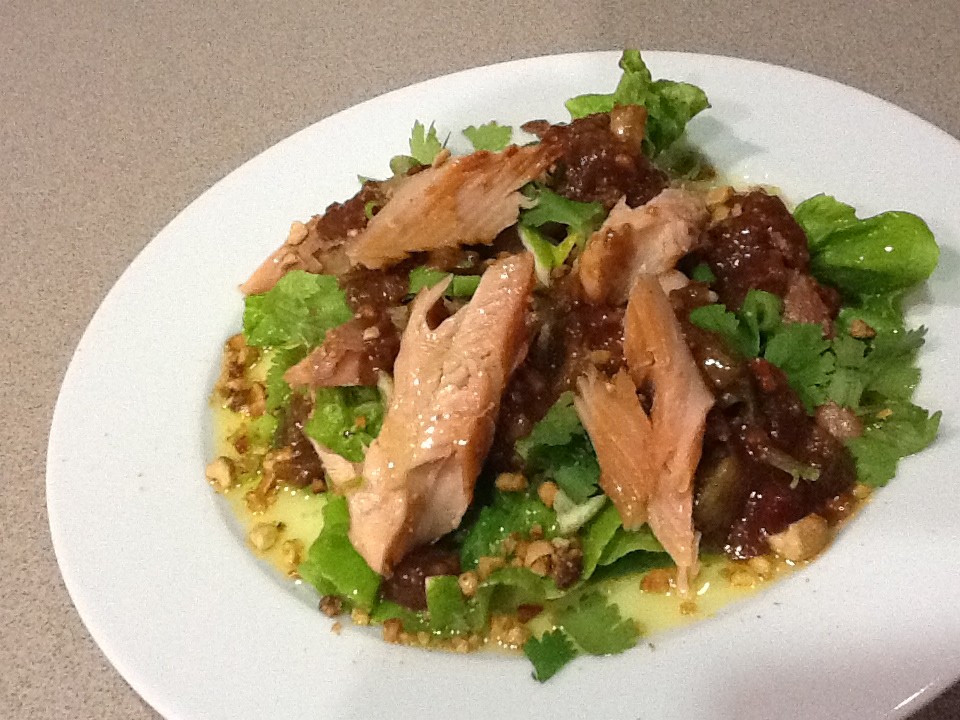
Whole smoked trout are sold in supermarkets in Australia in vacuum packs. The use by date allows you to keep them for a week or two in the fridge before they need to be eaten. Handy for those occasions when you peer into the fridge thinking “What can I make for dinner with what I’ve got?” One smoked trout is enough to make a light meal for two or three people.
Carefully remove the flesh in large chunks, discarding the skin and bones. Mix with freshly cooked pasta, adding a splash of cream and a few capers or chopped dill. Some halved baby tomatoes or rocket leaves are optional additions. Or try this delicious risotto.
Or make this Asian salad which is perfect as a starter for four or a light main dish for two.
Tamarind Dressing:
3 spring onions or small shallots
1 clove garlic
½ small red chilli, seeded and chopped
2 Tbs roasted peanuts or cashews
1 Tbs fish sauce
1 Tbs tamarind paste (sold in jars)
3 Tbs water
3 Tbs palm sugar, chopped, or substitute brown sugar
1 Tbs grated fresh ginger Salad:
1 smoked trout, flesh removed, bones and skin discarded
2-3 cups small salad leaves or rocket
1 Tbs finely diced fresh lime (skin and flesh) (optional)
2 Tbs roasted peanuts or cashews, coarsely chopped
½ cup coriander leaves
Extra virgin olive oil
Dressing: Place spring onions or shallots, garlic, chilli and peanuts in food processor and process until you have a paste. Add remaining dressing ingredients and process, stopping to scrape down the sides halfway. Place paste in a saucepan and simmer for 3-4 minutes. It should be thick and a bit sticky. You may need to add a bit more water to get the right consistency. Cool.
Meanwhile arrange salad leaves on two plates. Top with the trout pieces, lime, peanuts and coriander leaves. Top each piece of smoked trout with some of the sauce, then drizzle a little olive oil around the edge of the plate.
Any leftover dressing is delicious served with cold roast meats.
Serves 2 as a main or 4 as a starter
Note: some supermarkets sell smoked trout fillets without skin or bones.
Variation: to serve as finger food, separate the leaves of 2 heads of chicory (witloof or witlof) and top each with a piece of smoked trout, the remaining toppings and some of the dressing.
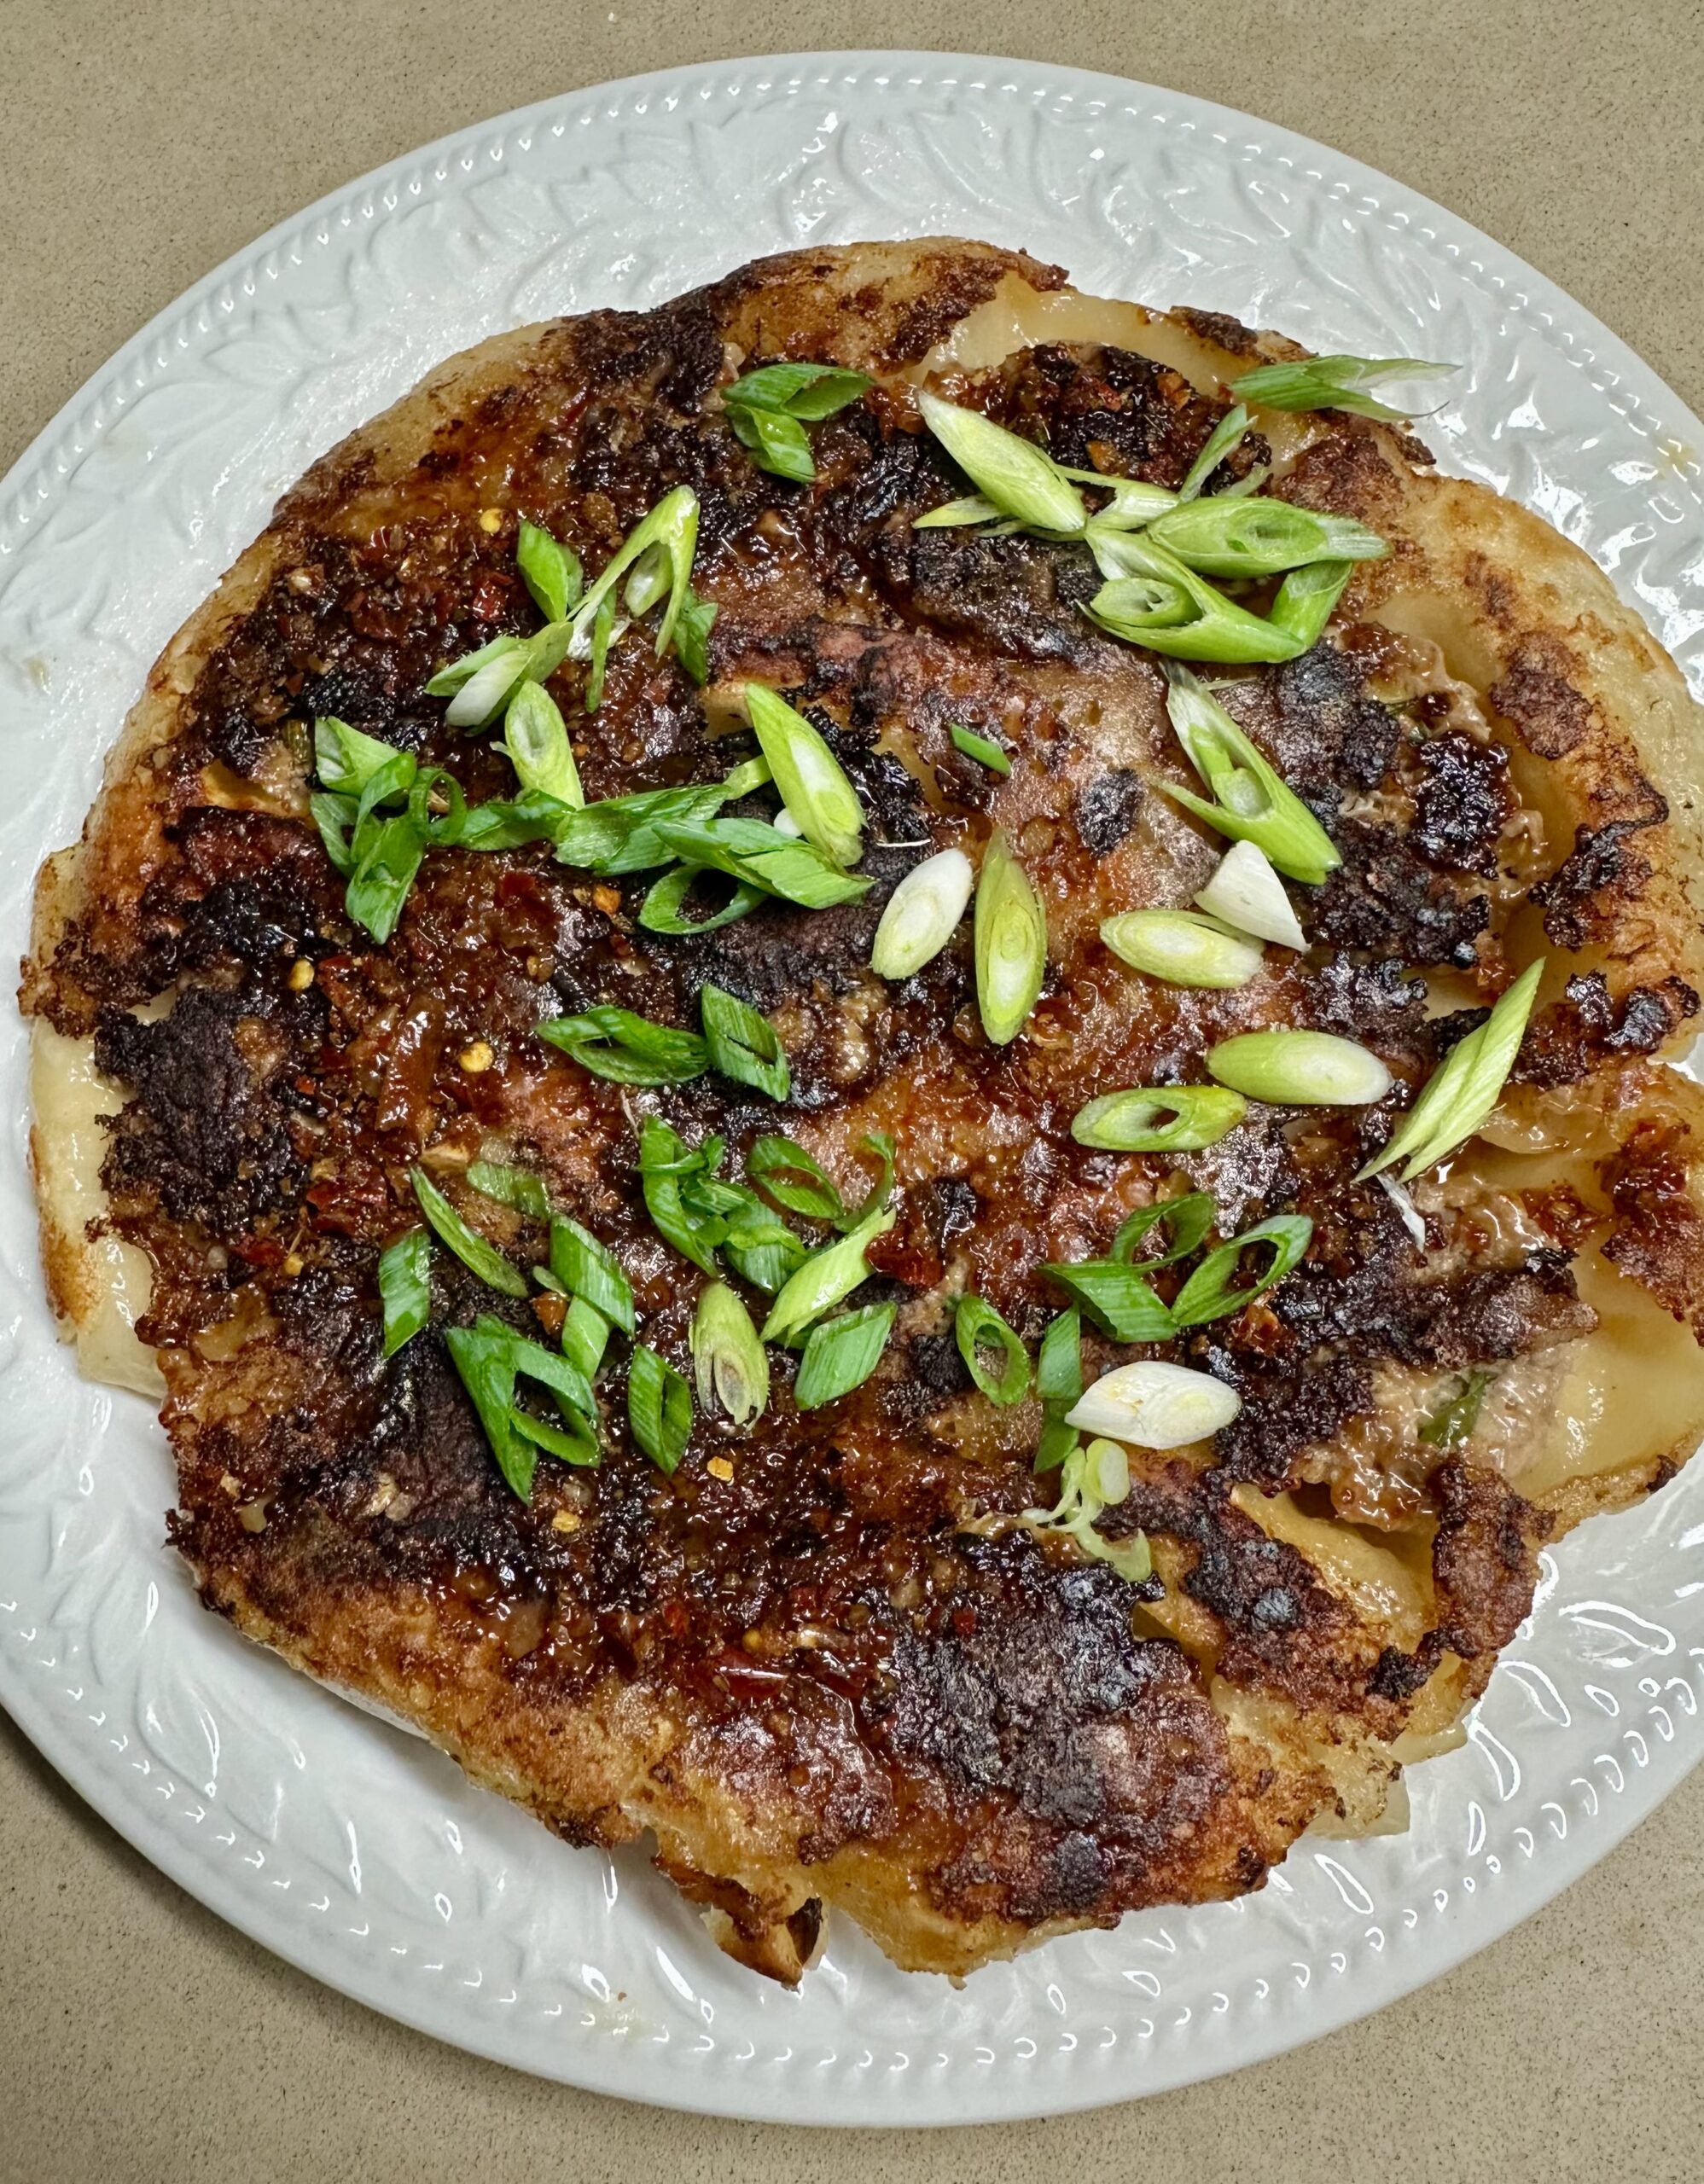
If you like crispy pork dumplings – called Gyoza or Pot Stickers – you will like this recipe for one big one. Variations have been going viral on social media, so I decided to give it a try and it was indeed delicious.
Instead of folding and sealing the pork filling into wonton or gyoza wrappers, everything just goes into the pan in layers, so it’s very quick. The flour and water mixture is a clever trick to make everything stick together.
This pancake was enough for two adults with a side salad, but I’m sure one of our hungry teenaged grandkids would have no trouble polishing off a whole pancake.
Can be served as a pull-apart finger food with the dipping sauce in a bowl on the side.
250g pork mince
2 Tbs soy sauce
1 tsp sesame oil
½ tsp salt
2 spring onions, finely chopped
1 Tbs grated fresh ginger
1 clove garlic, crushed
1 Tbs vegetable oil
12-16 gyoza or wonton wrappers
2 Tbs cornflour
1 Tbs plain flour
¾ cup water Dipping sauce:
2-3 Tbs soy sauce
1 Tbs rice wine vinegar
2-3 tsp Crispy Chilli oil, to taste To serve:
1 spring onion, finely sliced on the diagonal
Mix pork mince, soy sauce, sesame oil, salt, spring onions, ginger and garlic. Heat vegetable oil in a medium sized non-stick frying pan which has a lid. Using a small ice cream scoop or a spoon, arrange scoops of the pork filling over the pan – using about a tablespoonful for each and leaving a little space between each one. You should have 12-16 little meatballs.
Cook for a couple of minutes until they are starting to brown underneath then lay the gyoza wrappers, one on each meatball, pressing down around the edges so they stick in place. The wrappers will overlap at the edges.
In a small bowl mix the cornflour, flour and water with a fork. Pour this mixture all over the dumplings, then cover with the lid and leave to cook for 5-7 minutes or until most of the liquid has gone.
Mix dipping sauce in a small bowl.
Remove the lid and continue cooking for 2-3 minutes or until the edges of the pancake are golden and crispy. Lift the edge with a spatula to check.
Turn off the heat, run a spatula around the edge, then invert the pancake onto a serving plate. Drizzle dipping sauce over the top or serve separately. Garnish with the spring onion and serve immediately.
I’ll definitely be making this eggplant dish again. It’s delicious and very quick to make.
I used pork but you can use any minced meat, such as chicken, turkey or beef. While it’s surprisingly filling on its own, for hungry people serve it with steamed rice and a side salad.
1 medium to large eggplant (aubergine)
2 Tbs olive oil
Salt and freshly ground black pepper For the filling:
1 Tbs olive oil
1 small onion, halved and thinly sliced
250g pork or chicken mince
1 clove garlic, crushed
1 Tbs soy sauce
2 tsp honey
2 tsp rice wine vinegar
A pinch of chilli flakes (optional) To serve:
Extra virgin olive oil
1 Tbs snipped chives
2 heaped Tbs thick Greek-style yoghurt
Preheat oven to 200°C and line a baking tray with baking paper. Cut eggplant in two lengthwise. Make parallel cuts through the flesh, about 1cm apart, almost down to the skin. Make parallel cuts in the other direction so you have a diamond pattern. Brush both sides of the eggplant with olive oil and season lightly with salt and pepper. Bake for 35-40 minutes, turning halfway, until eggplant is soft and light golden.
Heat the 1 Tbs olive oil for the filling in a medium sized non-stick frying pan and cook the onion, stirring for 4-5 minutes or until soft. Add a pinch of salt and the chicken mince and continue to cook, breaking up the mince as you go. Add remaining ingredients and continue to cook, stirring, until the liquid has been absorbed.
Place eggplant halves on two serving plates. Spoon over the mince, then garnish with a drizzle of olive oil, some snipped chives and a dollop of Greek yoghurt.
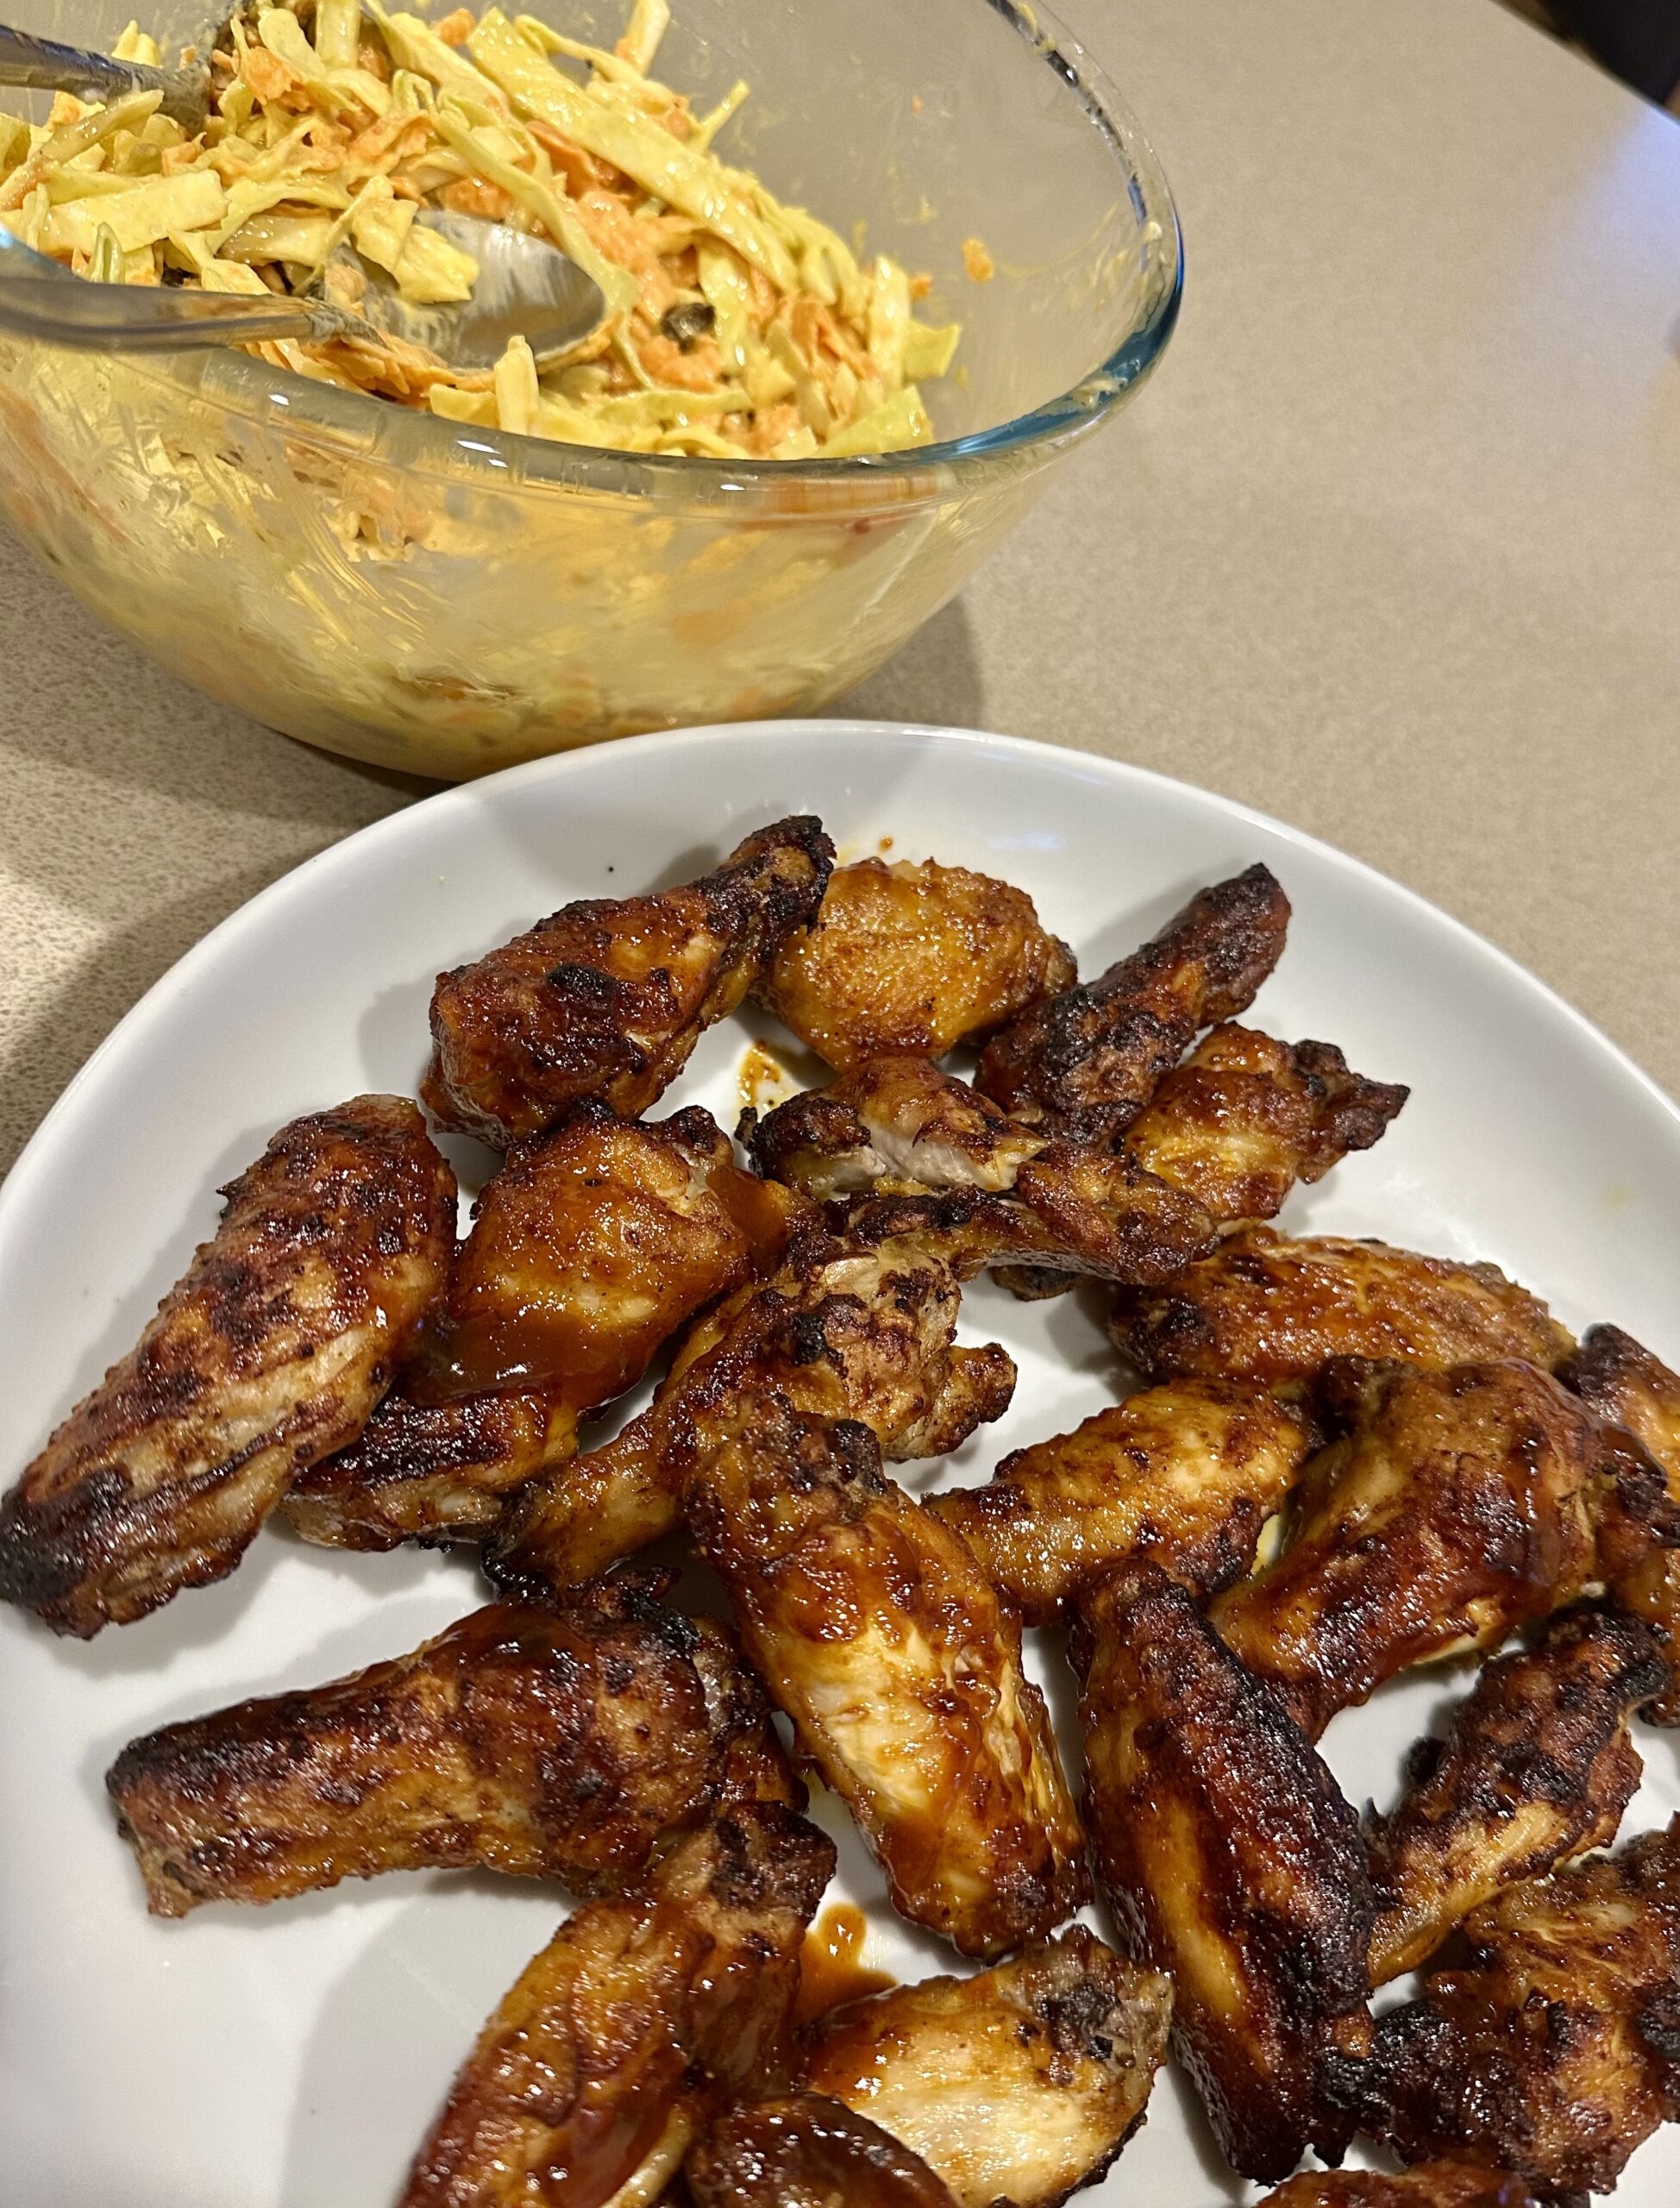
The secret ingredient in this recipe is a little baking powder, which makes them go nice and crispy. If you don’t have an air fryer you can of course make them in the oven, but I highly recommend investing in an air fryer. It’s really more like a mini fan-forced oven than a fryer. It doesn’t heat up the kitchen on a hot day, the way an oven does, and it’s quick and easy to clean. Ours gets a lot of use and I’m a big fan.
Chicken wings are much easier to eat with your fingers, so don’t forget the paper serviettes. I served them with coleslaw made from finely shredded white cabbage, grated carrot, a handful of sultanas and a dressing made with mayonnaise, a little sour cream and the juice of half a lemon.
1 kg chicken wings (about 10 wings)
1 tsp baking powder
1 tsp garlic salt or chicken salt
Freshly ground black pepper, to taste Sauce:
1 Tbs BBQ sauce
1 Tbs tomato ketchup
2 tsp honey or maple syrup
1 tsp brown sugar
2 tsp olive oil
2 tsp hot sauce or chilli sauce (eg Sriracha – optional)
Remove ends of the wings and discard. Cut the wings into two and place in a bowl. Add the baking powder, garlic or chicken salt and pepper and mix well with your hands.
Cook the wings in a single layer on high in an air fryer for 10 minutes or until golden brown. Turn them over and cook for another 8-10 minutes.
Place ingredients for the sauce in a bowl and mix well. Add the chicken wings and turn to coat thoroughly. Tip them back into the air fryer and spread them out in one layer. They can be fairly crowded so long as they’re not on top of each other. Cook on high for 10 minutes or until nicely glazed.
Adapted from a recipe by Yotam Ottolenghi, these Sweet and Salty Cheesecakes with Cherries and Crumble are delicious. The saltiness of the feta cheese and the final drizzle of olive oil gives this dessert the sophisticated Mediterranean flourish I have come to expect from recipes by this innovative chef.
The three components can be made in advance and the dessert put together at the last minute, making it perfect for entertaining. Leftovers will keep for several days in the fridge if they’re not polished off sooner by family members foraging for sustenance.
Instead of cherries you could use any fresh or poached fruit, such as sliced strawberries, poached rhubarb or peaches. For maximum impact serve in Martini or tall parfait glasses, although Ottolenghi just serves it scooped onto small flat plates.
Choose your best, fruity Extra Virgin olive oil to drizzle on top. You may be thinking “Olive oil, on a dessert?” Just give it a try.
Cream Cheese Mixture:
200g feta cheese
250g cream cheese (at room temp)
Grated rind and juice 1 large lemon
2-3 Tbs caster sugar, to taste
250ml thick cream (1 cup) Cherry Compote:
680g jar Morello cherries in syrup (see note below)
1 Tbs sugar
Juice 1 large lemon
4 whole star anise
3 Tbs Grand Marnier or Cointreau (optional)
1 rounded Tbs Arrowroot + 3 Tbs cold water Crumble:
125g unsalted butter, cut into cubes
1 cup Plain flour
1/3 cup brown sugar
1 cup slivered or flaked almonds
1 Tbs sesame seeds (preferably black ones)
Good pinch salt To serve:
A few fresh berries (optional)
Extra Virgin Olive oil
Place feta, cream cheese, sugar, lemon rind and juice in food processor and mix till smooth. In a small bowl, whip cream with electric beaters until soft peaks form. Scrape cream into food processor and mix for a few seconds, just enough to thoroughly combine with the cheese mixture, stopping to scrape down the sides. Scrape into a container with a lid and refrigerate till serving time.
Drain and reserve cherries. Place juice in a small saucepan with sugar, lemon juice and star anise. Simmer for 5-10 mins then strain and discard the star anise. Put back in pan with the cherries. Add combined arrowroot and water and cook, stirring, until thickened. Add liqueur, pour into a container with a lid and refrigerate till serving time.
Pre-heat oven to 180ºC. Place flour, butter and brown sugar in food processor and process until it starts to clump together. Add nuts, sesame seeds and salt and process briefly to combine. Line a biscuit tray with baking paper. Tip out the crumble and spread out evenly, breaking up the larger clumps. Bake for 10-20 minutes or until evenly golden brown. After 10 minutes move the crumble around with a fork, bringing the more cooked sides into the middle. Cool then store in a container with a lid.
To serve, place a dollop of the cream cheese mixture in 8 Martini glasses. Top with some of the cherries, a few fresh berries (optional) and lastly sprinkle with crumble. Drizzle with olive oil and serve immediately.
Serves 8-12
Note: I used a jar of cherries from Aldi, but in season you can use fresh cherries, stoned and cooked with a little more sugar, or frozen ones if you can find them. The fruit will probably make enough juice as it cooks, but if not add a dash of water. Arrowroot is sold in the baking section of most supermarkets.
Variation: instead of using cherries slice a couple of punnets of strawberries and put them in a bowl. Add sugar to taste and a splash of white balsamic vinegar and leave to macerate for an hour or so.
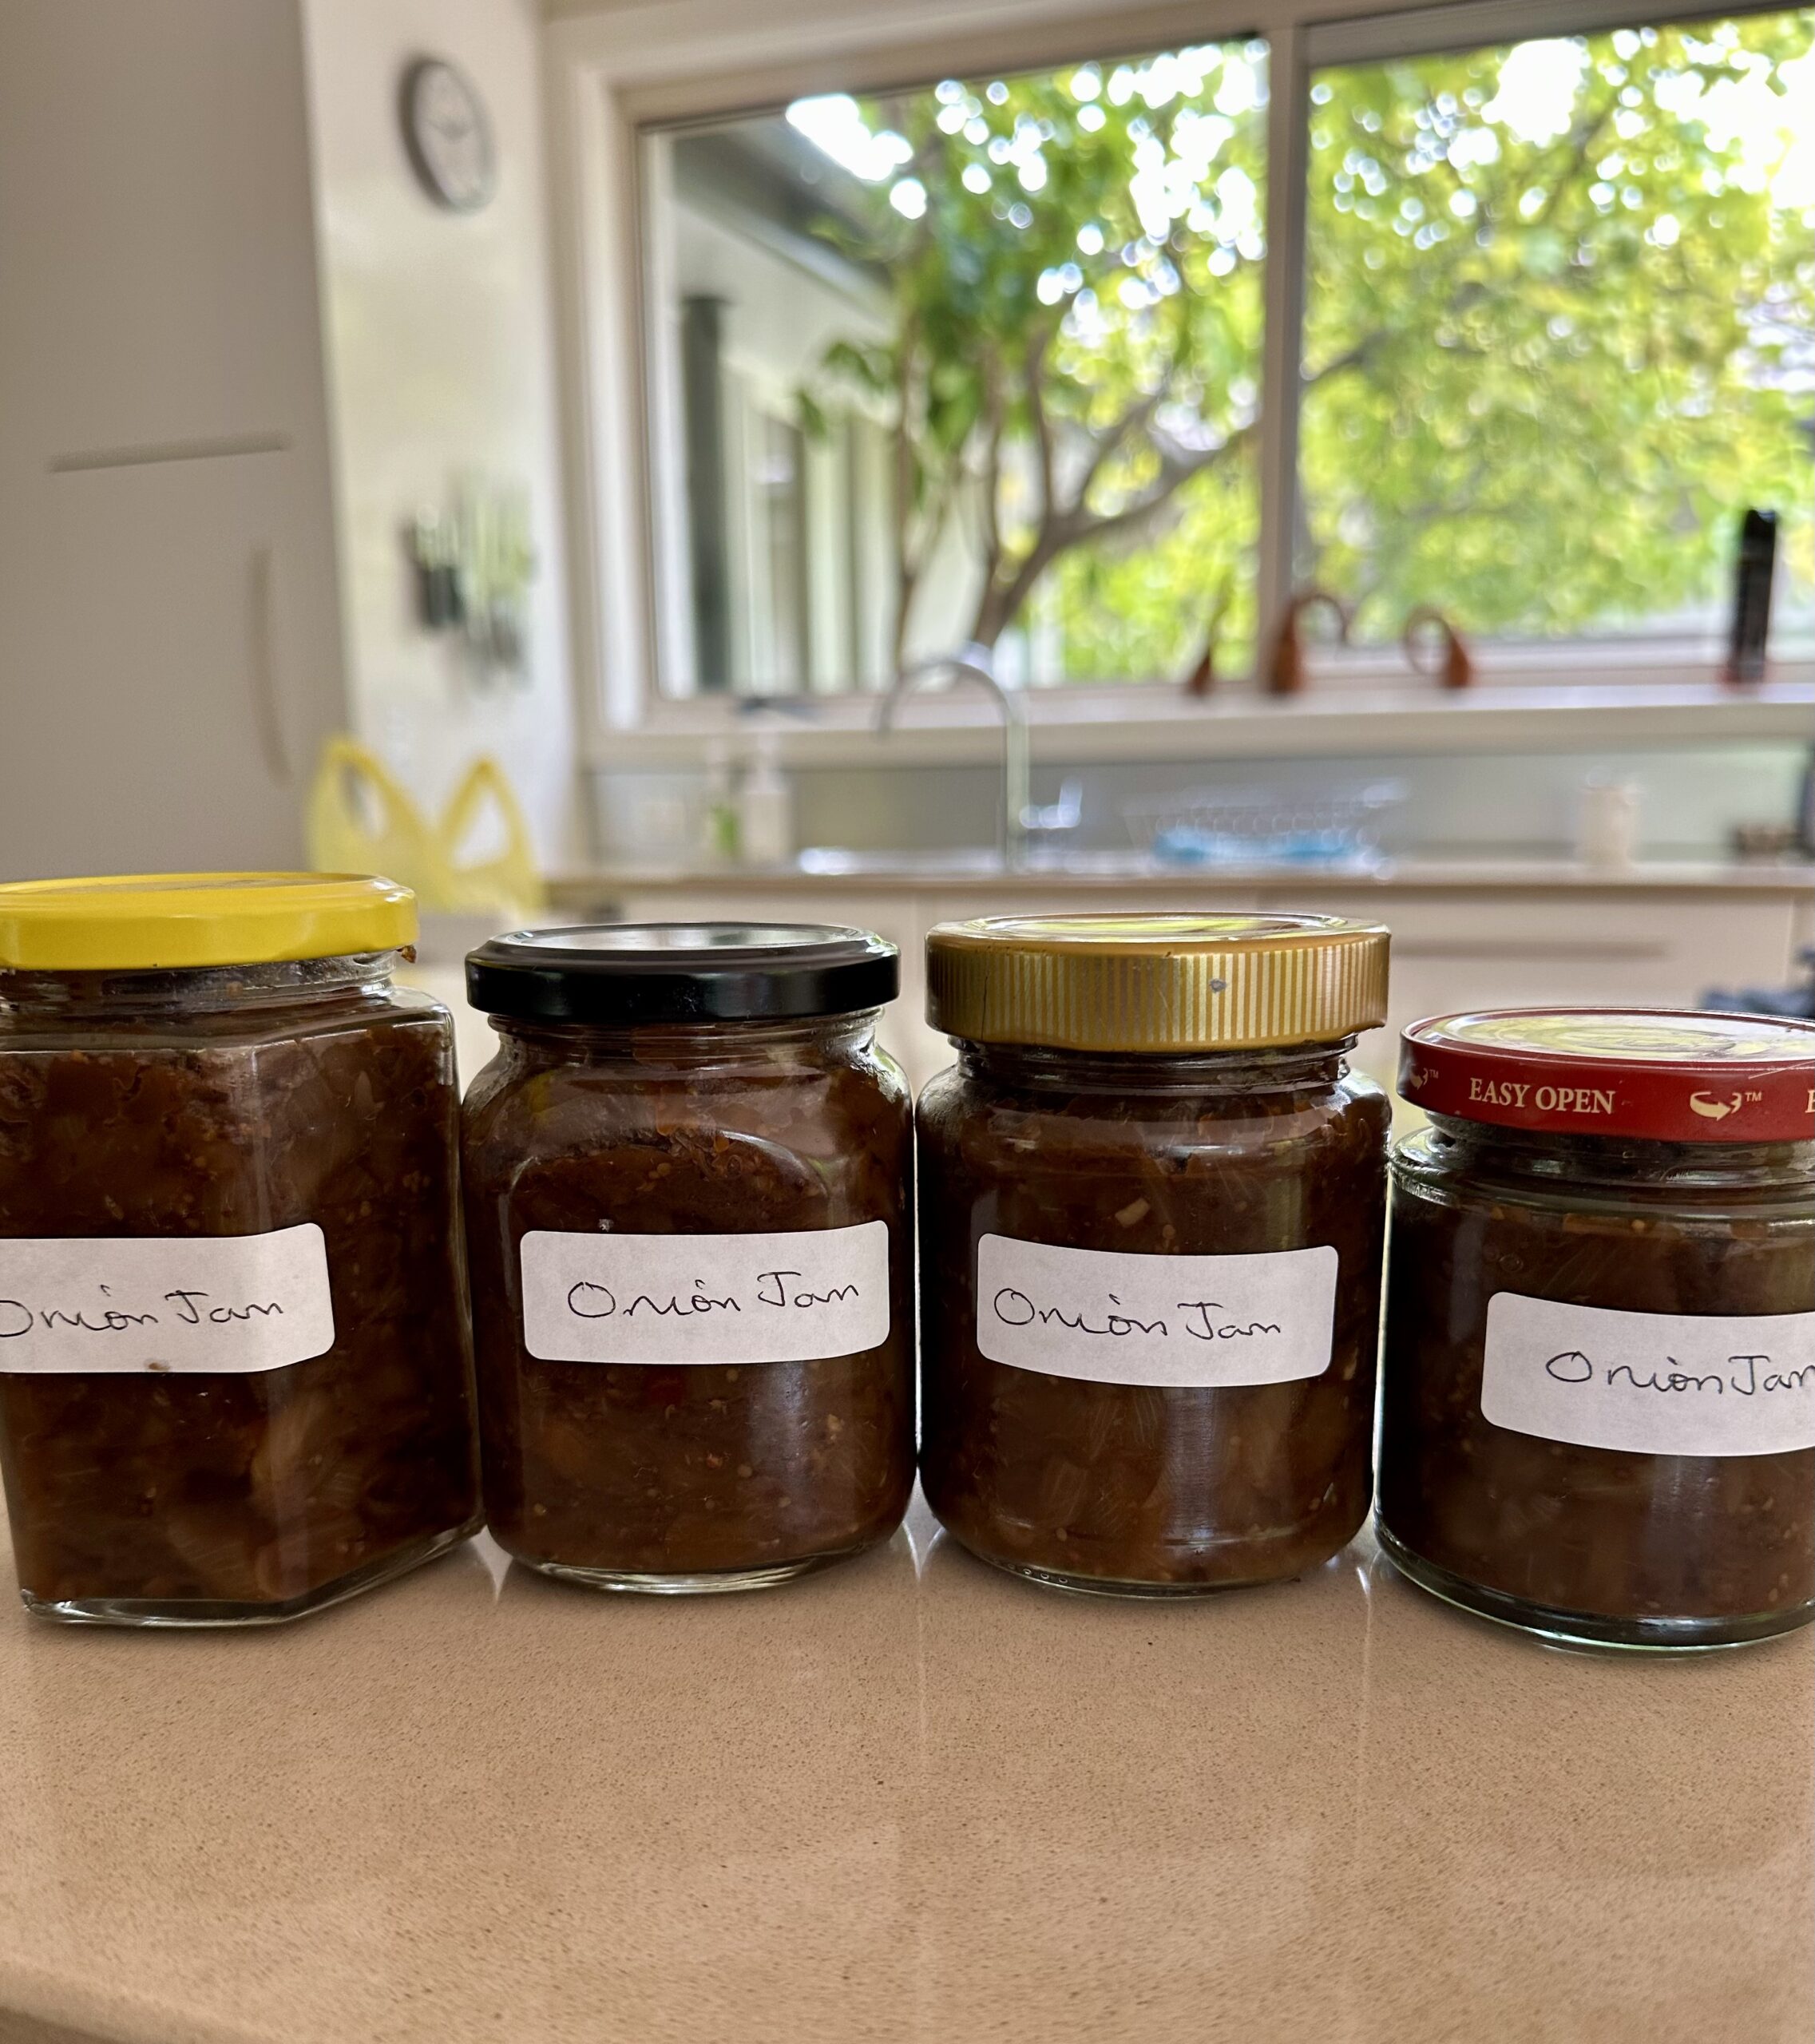
This onion jam (or you might prefer to call it onion chutney) goes well with cold meats such as beef, chicken, ham or pork and makes a tasty addition to beef or cheese sandwiches.
3 Tbs olive oil
1½ kg onions, peeled and thinly sliced
300g brown sugar
200ml red wine or cider vinegar
3 Tbs balsamic vinegar
3 garlic cloves, crushed
1 Tbs wholegrain mustard
½ tsp paprika
¼ tsp crushed chillies
½ tsp salt
Heat the oil in a large, heavy-based saucepan (I used a preserving pan) and gently fry the onions over a medium-low heat for 25-30 mins, stirring regularly. The onions should be softened but not browned, and reduced by about half in volume.
Stir in 3 Tbs of the sugar, increase the heat, and cook for 7-10 mins, stirring occasionally, until the onions are just starting to colour. Lower the heat, then add the remaining sugar and all the other ingredients.
Simmer, uncovered, on a medium-low heat for 30-40 mins, or until the jam has reduced and thickened to a dark caramel colour. Stir occasionally to make sure it isn’t sticking to the bottom of the pan.
To test if the onion jam is ready, drag a wooden spoon across the bottom of the pan. It should take a few seconds for the juices to re-cover the bottom of the pan. If liked, at this stage you can whizz the jam in a food processor to make it fairly smooth. I’ve done it both ways and we prefer the smoother texture.
Heat several small clean jars in the microwave for 2 mins on High. Fill them with the hot jam, then go around the edge pushing down with a knife, to remove any air pockets. Seal with the lids while hot. Label and store in a cupboard.
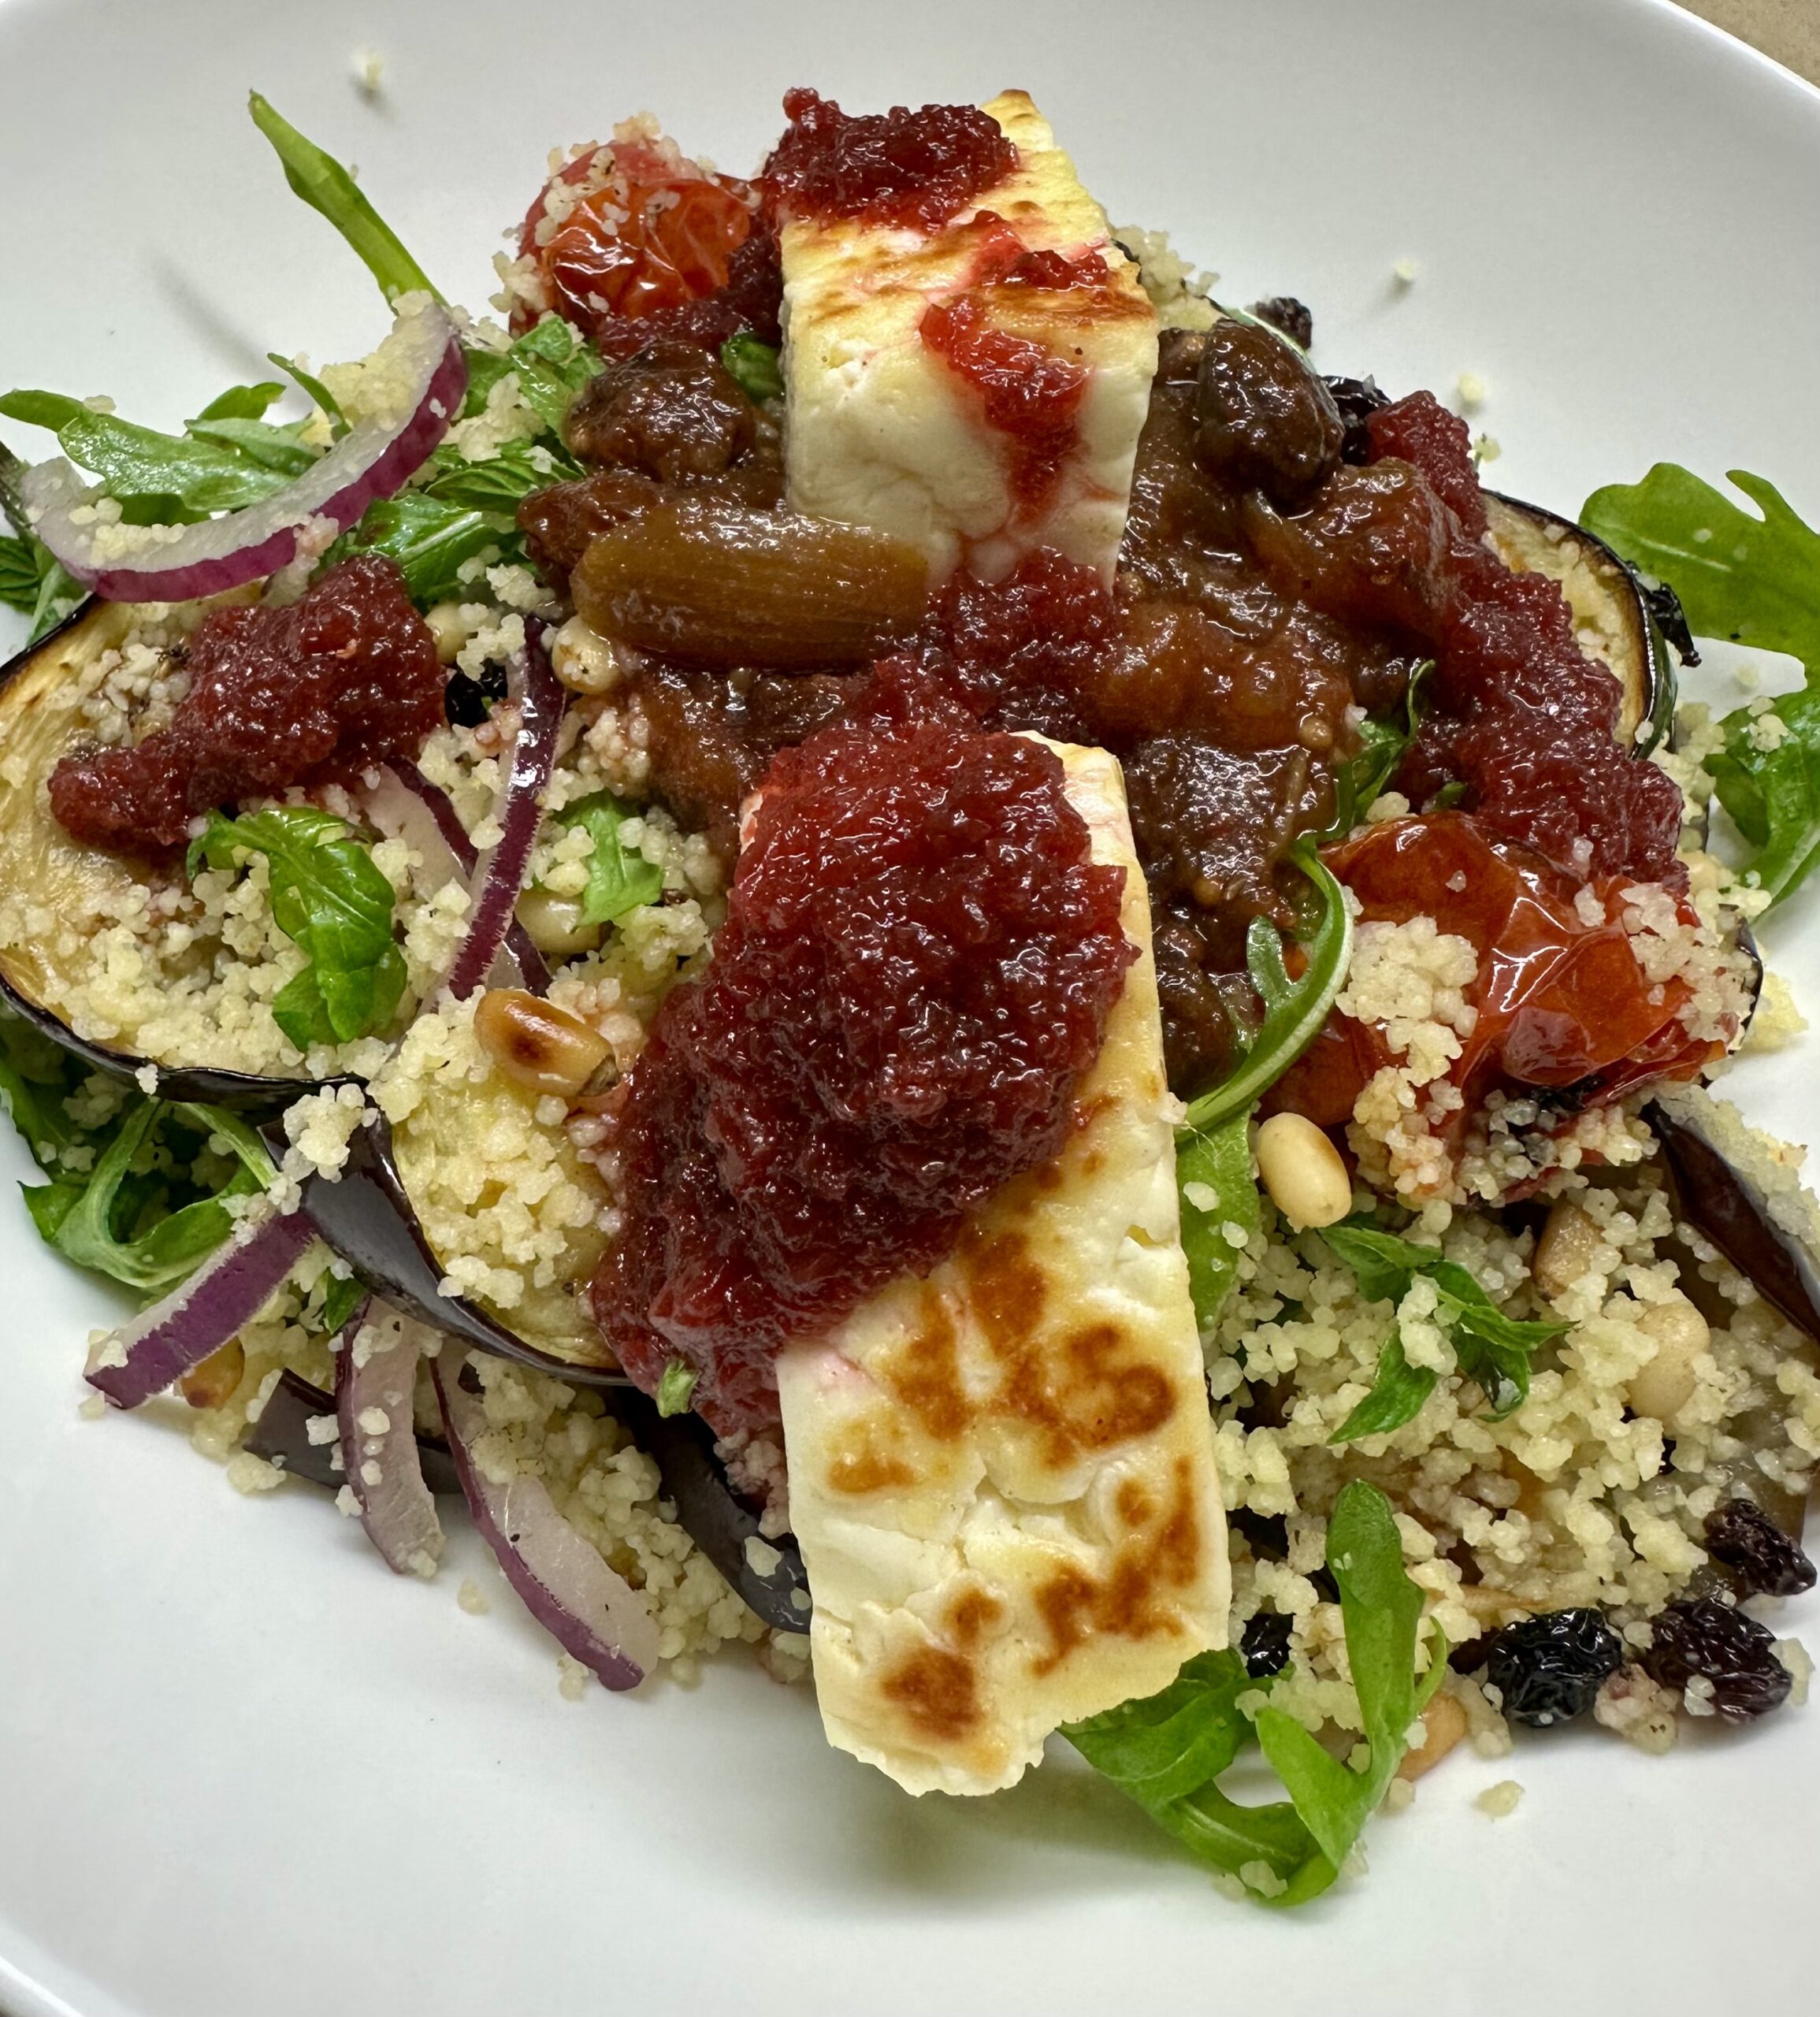
My daughter Catherine gave me this recipe way back in 2009 from her favourite lunch time cafe in Newcastle. It was called Longbench and was located in Darby Street, but sadly it has been closed for some years.
1 cup couscous
½ cup orange juice
½ cup boiling water
1 Tbs olive oil
Handful of baby rocket
Handful of mint leaves
1 medium eggplant
Handful of cocktail tomatoes
Olive oil
Salt and freshly ground black pepper
½ cup toasted almond slivers or pine nuts
½ red onion thinly sliced
½ cup dried currants
Tomato chutney
Halloumi cheese cut into 8 thick chunks Dressing
1 cooked beetroot or 2, depending on size
¼ cup orange juice
Pinch cinnamon
1 Tbs. your favourite vinegar
1 Tbs sugar
2-3 Tbs olive oil
Mix couscous with the orange juice, boiling water and 1 Tbs olive oil. Cover and leave for 15 minutes then fluff it up with a fork.
Preheat oven to 200° C. Line a baking tray with baking paper. Slice the eggplant about one cm thick and arrange on the tray with the tomatoes. Brush them all over with some olive oil and season to taste. Bake for 25 minutes or until the eggplant is evenly browned on both sides. Cut the eggplant slices into long strips.
To the bowl of couscous add the tomatoes, eggplant, rocket leaves, mint leaves, almonds or pine nuts, onion and dried currants. Divide amongst 4 serving plates. Top each with a dollop of tomato chutney and two pieces of halloumi cheese, panfried until golden. Finish with some beetroot dressing.
Dressing Place all ingredients in food processor or blender and mix. Add enough olive oil to make a nice consistency.


 250g pork mince
 Cream Cheese Mixture: