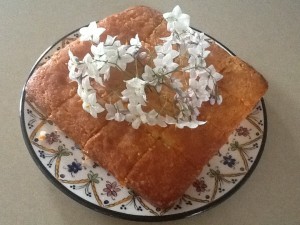
This chocolate fudge cake has been our family’s birthday cake for decades. Twice it was promoted to the status of a three-tiered wedding cake – once covered with dark chocolate ganache and shaved chocolate and the second time with white chocolate ganache. It continues to be the preferred celebration cake in our family.
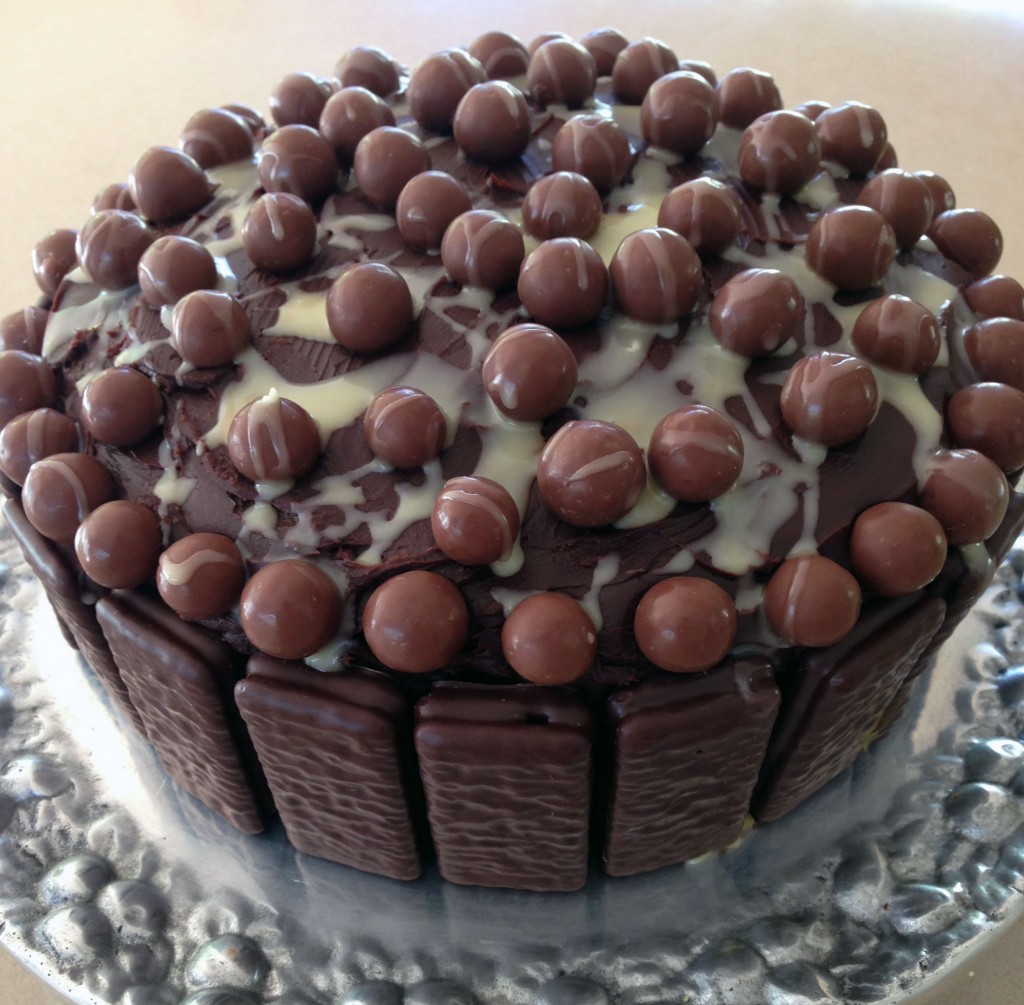
For the unenlightened, a Tim Tam consists of two layers of chocolate malted biscuit, separated by chocolate cream filling and coated with a thin layer of chocolate. These biscuits have become something of an Australian icon since their launch by Arnotts in 1963. Over the years new flavours and fillings have been introduced to keep up with modern trends. Tim Tams now come in dark or milk chocolate and with fillings such as salted caramel and peanut butter.
Matthew is a staunch Tim Tam fan so I decided to use them to decorate his birthday cake this year. Unfortunately white chocolate ends up rather yellow as you can see in the photo – but it tasted good! Make the cake the day before the birthday as it’s much easier to ice next day.
Cake:
¾ cup cocoa powder
½ cup hot water
¼ cup vegetable oil
1¼ cups sugar
2 eggs
1½ cups self-raising flour, sifted (or use plain flour plus 2 tsp baking powder)
2 tsp bicarbonate of soda
1 cup buttermilk (for substitute see below)
½ tsp salt
Chocolate Ganache: (option 1)
300ml thick cream
250g chocolate (dark, milk or white)
Cream Cheese Icing: (option 2)
125g unsalted butter at room temperature
125g cream cheese at room temperature
¾ cup cocoa powder
1½ cups icing sugar, sifted
2-4 Tbs cold milk, as required
To decorate:
2 x 200g packets Tim Tams
1 packet Maltesers (optional)
3 Tbs cream and 50g white chocolate, melted, to drizzle over
Preheat oven to 180°. In a fan-forced oven it’s best to lower the temperature to 170ºC so cake doesn’t rise too fast. Grease a 20-22cm round cake tin and line the bottom with baking paper. Alternatively use two shallow sandwich tins and line them both.
Place all ingredients for cake in a large mixing bowl. Using electric beaters, mix well for 2-3 minutes. Use a spatula to scrape down any bits stuck to the sides of the bowl.
Scrape mixture into cake tin and smooth the top. Bake for 35-45 mins in the centre of the oven, or until a skewer inserted in the middle comes out clean. Don’t overcook as you want the cake to be moist and fudgey. Two thinner cakes will take less time, around 25 mins. Cool 10 minutes in tin. Turn out and cool on a cake rack. Ice the cake the following day.
Make Chocolate Ganache or Cream Cheese Icing – see below. Either ice cake just on the top and sides, or if you’ve cooked it in two sandwich tins use some of the ganache in the middle to stick them together. You can also cut one large cake in two horizontally with a serrated knife. If cake has risen into too much of a domed shape shave a bit off with a serrated knife.
To ice cake in the middle as well as top and sides you will need to make one and a half times the Ganache recipe. With the cream cheese icing there should be enough.
While the cake is perfectly nice without any adornment, if liked stick Tim Tams around the sides, cover the top with Maltesers and drizzle with melted and cooled white chocolate mixture. Cake keeps for 3-4 days in a tin.
Chocolate Ganache: Heat cream in a small saucepan until boiling then remove from the heat and add chocolate, broken into squares. Stir to dissolve then cool until thick enough to spread over cake.
Cream Cheese Icing: With electric beaters, beat butter and cream cheese, gradually adding the cocoa, then the icing sugar and enough milk to make desired consistency.
Substitute: if you don’t have buttermilk use ½ cup plain yogurt and ½ cup milk or 1 cup milk mixed with 1 tsp vinegar and left to stand for an hour.
Serves 14
PT45M
PT15M
PT60M


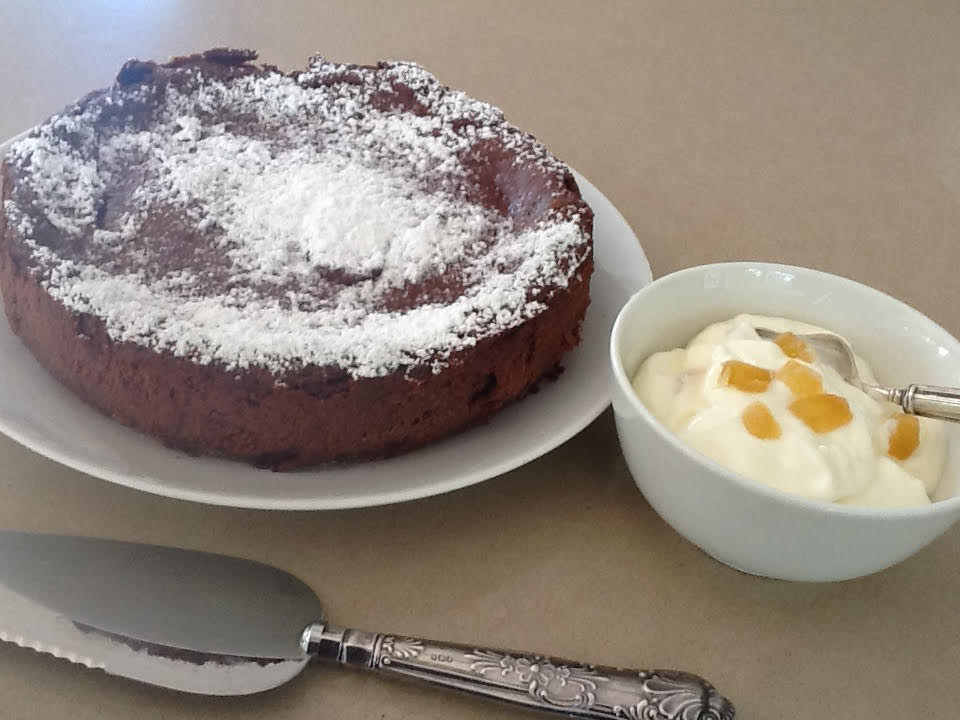 With a food processor this dessert is quick to make. Really chocolatey and not too sweet.