Armenian Moussaka

I have two recipes for Moussaka. One is a traditional Greek Moussaka which I make with minced lamb or beef. The other one is called Armenian Moussaka. It’s much quicker to make and a dish I invariably serve the day after we’ve had roast lamb. The quantity of meat is flexible and it’s a good way to introduce kids to eggplant.

Armenian Moussaka

1 very large eggplant (aubergine) or 2 medium
olive oil
2 medium onions, chopped
1 clove garlic, crushed
1 tin condensed tomato soup (see notes below)
1 beef stock cube, crumbled
¼ cup red wine or dry sherry
2-4 cups leftover roast lamb, cut into 2cm cubes (see notes below)
Salt and freshly ground black pepper, to taste
About 1 cup grated cheddar cheese

Preheat oven to 180°C.  Fry eggplant slices in olive oil on both sides until golden. You will need to do this in 2 or 3 batches. Drain on paper towels. Wipe out the pan with paper towels and add a little more oil. Gently fry onions and garlic until soft then add the meat, tomato soup, stock cube and sherry or wine. Season to taste then simmer for a few minutes, stirring often.

In a greased lasagne-type dish layer half the meat mixture, then half the eggplant slices, the rest of the meat, then the rest of the eggplant slices. Sprinkle with grated cheese and bake for 30-40 minutes or until golden and bubbly. Serve with a mixed salad.

Serves 4-6

Note: The original recipe used a tin of chopped tomatoes and half a cup of thick leftover gravy from the roast lamb. So you can either use that or replace the two with a can of condensed soup. if you don’t have any leftover roast lamb, use minced fresh lamb or beef. Once the onions and garlic are soft, add mince and continue cooking and stirring for a few minutes until browned, then add tomato soup (or tin tomatoes and gravy), stock cube, sherry and half a cup of water and simmer for about 15 minutes until the excess liquid has evaporated, meat is tender and sauce is thick.

Latte Panna Cottas with Chocolate Hazelnut Chews

The recipe for these little coffee desserts was given to me by the wife of a British diplomat. By the time we met, Mary and her husband had had several postings, including one to a remote African country where entertaining was something of a challenge. Finding the ingredients for a Western-style dinner party and explaining to the local staff exactly what she wanted had not been easy for Mary. Sometimes things were simply lost in translation.

Every time they entertained the food was inevitably served cold or at best lukewarm. Mary’s house boy Robert said that the cook was not to blame. The distance to the dining room was the problem. By the time the food had made that long journey along the hall from the kitchen, of course it was cold.

Mary persuaded the Embassy to fund the installation of a serving hatch, so the food could be passed directly from the kitchen to the dining room and hopefully arrive on everyone’s plates before it got cold.

In due course the hatch was installed. When the next dinner party was arranged Mary instructed Robert that from now on everything was to come through the new hatch. He seemed somewhat reluctant, but Mary said that it had cost a lot of money and her husband would be very cross if he didn’t use it. Robert was a likeable fellow in his twenties who tried hard to please.

When the guests sat down the cold starters were already on the table. Mary sat with her back to the serving hatch, while her husband sat at the other end of the long table. In due course the plates from the starter were cleared away. Polite diplomatic conversation continued as they waited for the main course.

Some of the guests began to giggle. Mary wondered if there was some joke that she had missed. People seemed to be looking at something behind her. She turned around to see Robert climbing through the hatch, a large serving dish balanced precariously in his free hand.

Mary wanted everything to come through the hatch and so it did.
unnamed (9)

Panna Cottas:
250ml milk
300ml cream
¼ to ½ cup sugar (to taste)
2 shots Espresso coffee (see note below)
1 Tbs gelatine
4 Tbs water
Chocolate Hazelnut Chews:
4 large egg whites
3 pinches salt
1½ cups icing sugar
1 cup cocoa powder
150g blanched hazelnuts, roughly chopped in food processor
Extra whole blanched hazelnuts
To serve:
Grated dark chocolate
Pouring cream (optional)

Place milk, cream, sugar and coffee in a saucepan and bring to the boil, then remove from the heat. Meanwhile place gelatine and water in a small bowl then zap in the microwave briefly to dissolve. Mix gelatine mixture into coffee mixture then divide among 6 small ramekins, coffee cups or glasses. Chill for several hours or overnight.

For the Hazelnut Chews, preheat oven to 180°C. With electric beaters whip egg whites and salt until soft peaks, then gradually beat in the sugar until you have a thick, glossy meringue. Beat in the cocoa then fold in the chopped nuts. Line a biscuit tray with baking paper and place tablespoons of mixture onto the tray with a little space for spreading, though they won’t spread much. Top each biscuit with a whole hazelnut then bake for 15-20 mins. Mine were done in 15 mins and to be chewy you don’t want them overcooked. Makes about 15.

Serve panna cottas sprinkled with a little grated chocolate, with the hazelnut chews and pouring cream in a jug.

Serves 6

Note: if preferred use 125ml hot water and 1 Tbs instant coffee granules

Plum Puddings with Vanilla Ice Cream

Cooking classes were part of the weekly schedule at the all girls Grammar school I attended in the UK. In the first lesson, when I was 11, we made cheese on toast which we polished off immediately and in the second we made cauliflower cheese. After that they all blur into one. Each week I headed off on the school bus with the ingredients packed into my school bag and returned home with what was often destined to be the family’s evening meal, sitting precariously on my knees.

When I left school 7 years later I had covered all the basics – pastries, breads, sauces and cakes, roasting, steaming, braising and more. We also learnt about nutrition, planning meals for people on special diets such as the elderly or diabetics, writing shopping lists and sticking to a very tight work schedule. Finishing on time with the table set, the food ready to serve and all the washing up done was a requirement when we had practical examinations. I often wonder what happened to my somewhat unpredictable classmate Janet Richardson. She could produce a great meal or a clean kitchen, but not both. Her work station looked as if a bomb had hit it when we were told that time was up.

I now realise how lucky we were to have this training. A surprising number of kids leave home these days with few cooking skills. This means they spend a fortune eating out or survive on takeaways. Small wonder that obesity is on the increase. When a friend of one of our offspring got married he and his new wife wandered around a supermarket for half an hour studying the shelves and came out with a jar of peanut butter, a loaf of bread, a packet of spaghetti and a jar of Paul Newman’s spaghetti sauce. Neither of them felt confident to buy anything else which needed cooking.

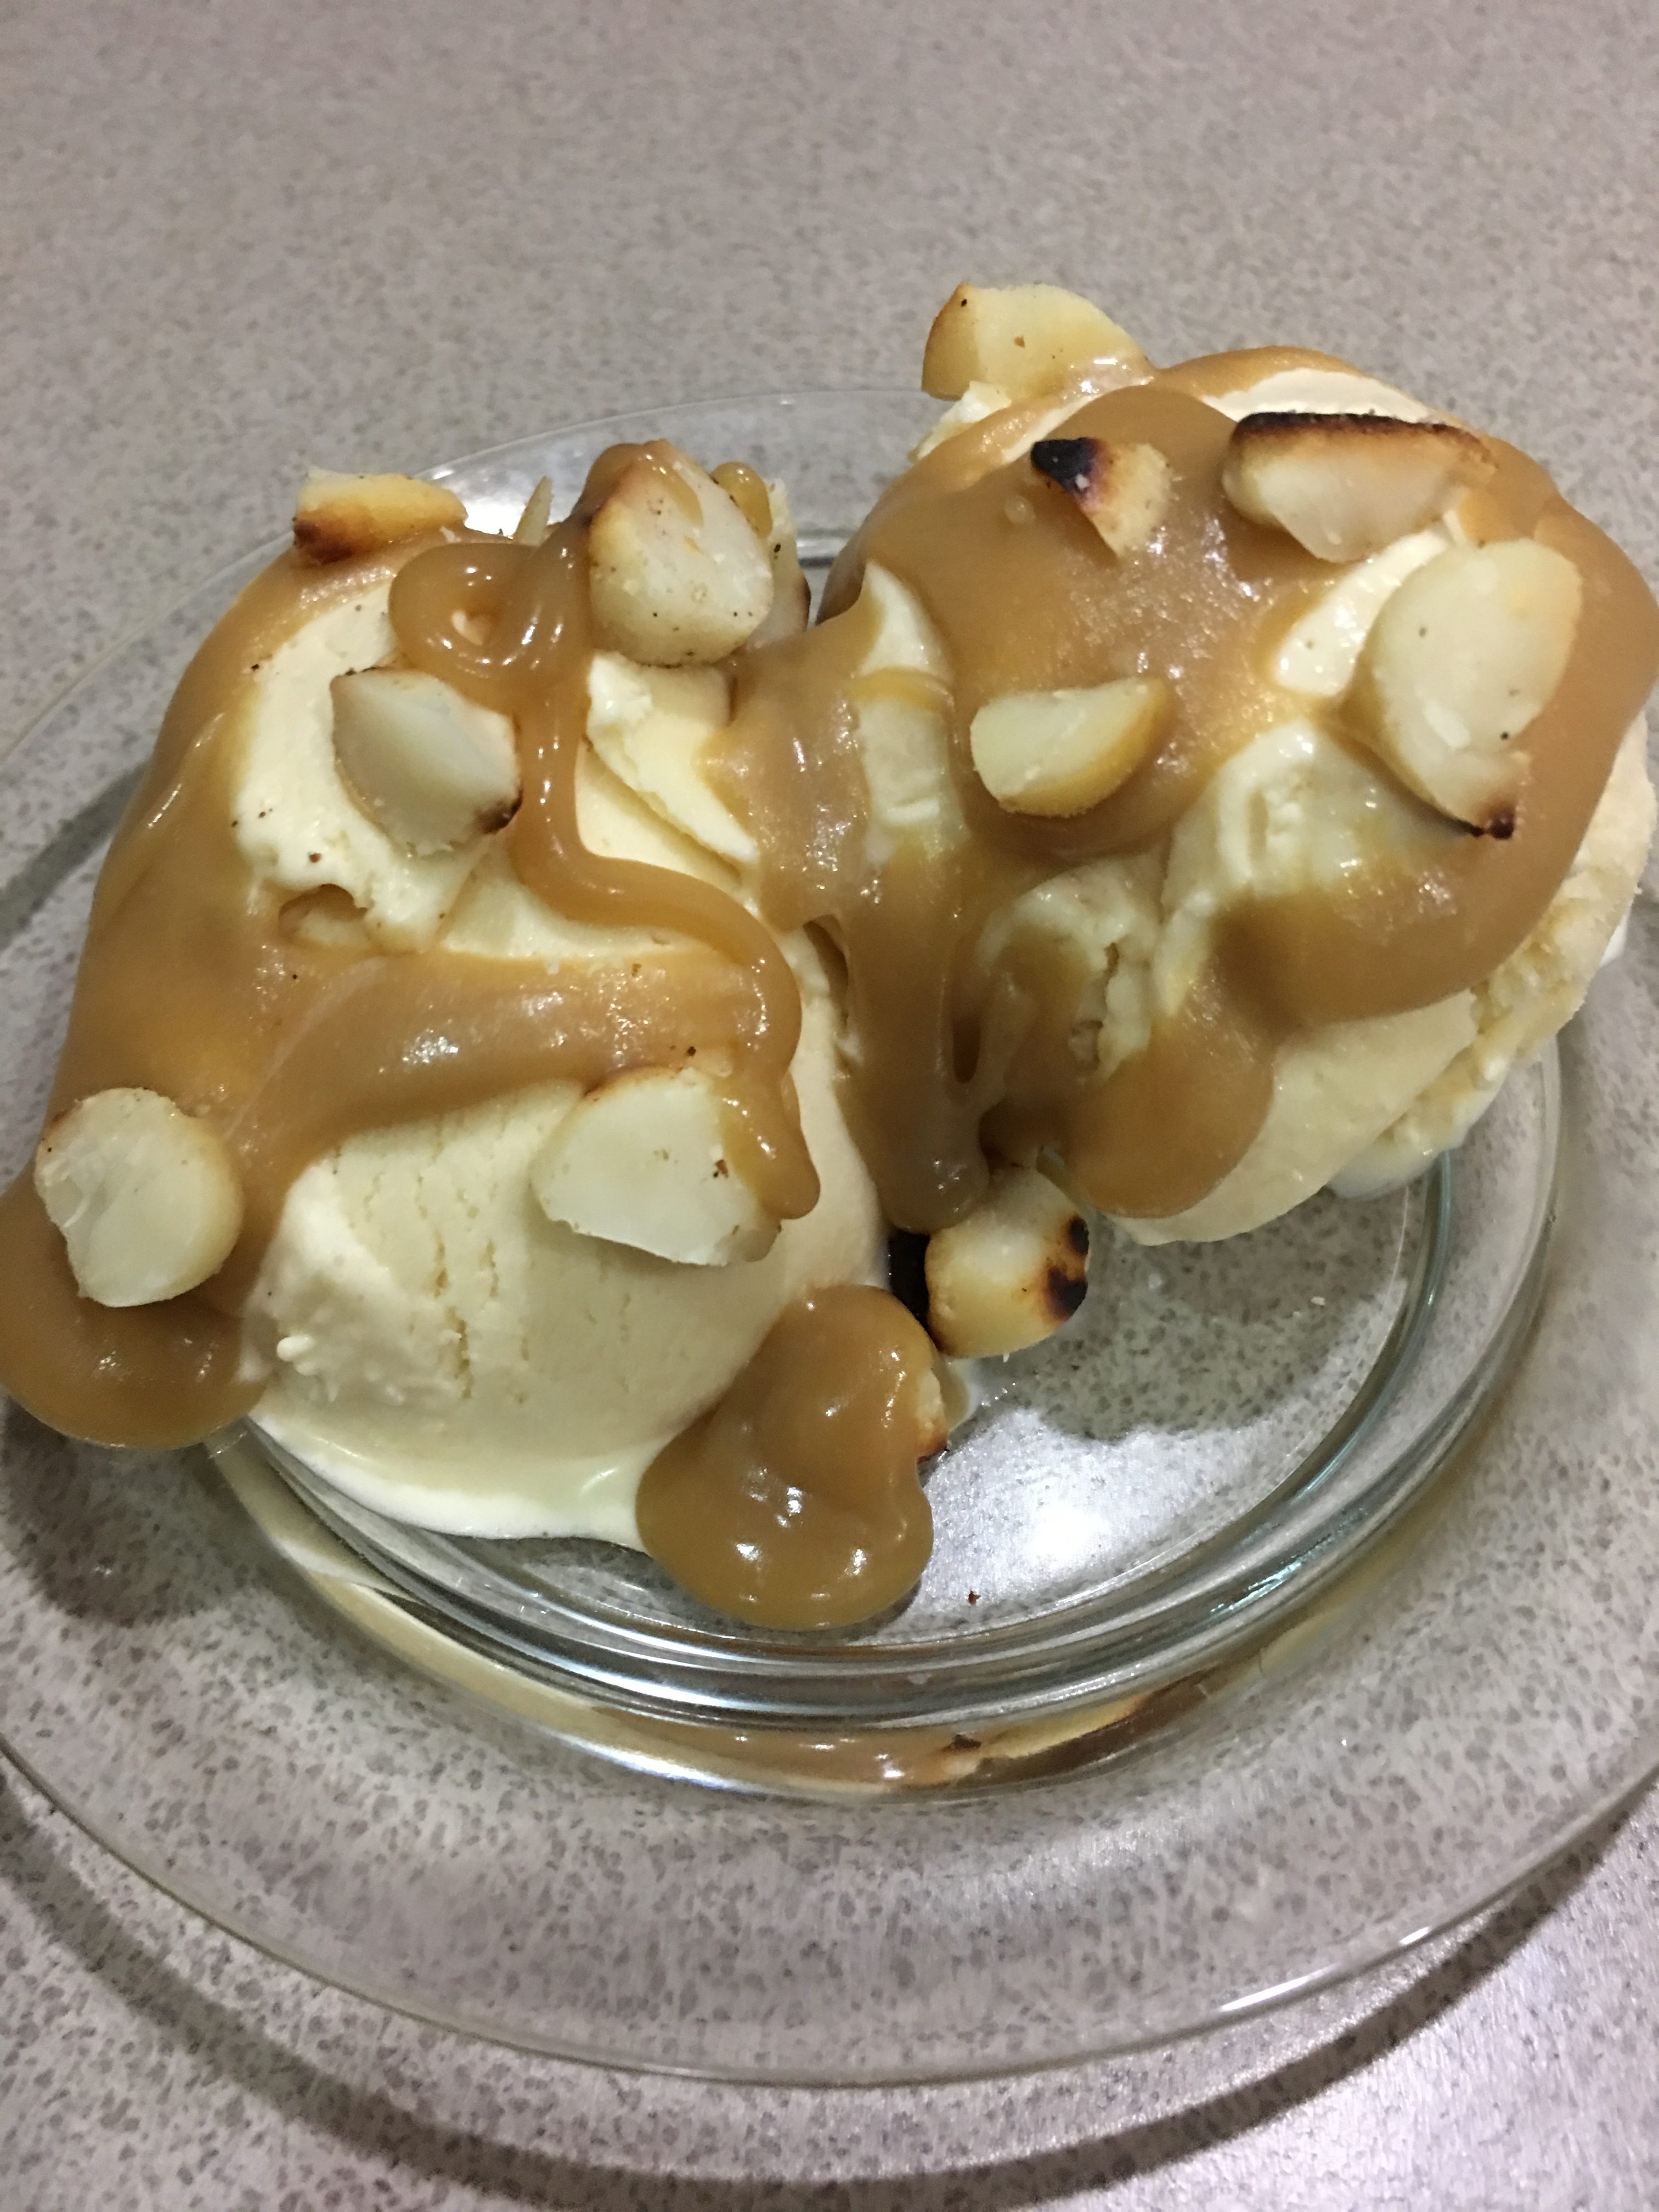
When I see blood plums in the shops I get the urge to make a recipe by Stephanie Alexander which she calls Mieze’s Plum Cake. It makes quite a big cake, so here I’ve fiddled around with the quantities to end up with about half the original recipe (but not exactly) and used it to make 8 individual puddings.

At school we were taught that once self-raising flour has come into contact with liquids the dish needs to go into the oven immediately, because the baking powder starts to work. However, I left these little plum puddings on the side, ready to bake, for an hour or two before they went in the oven and they were perfect. I didn’t want to be mixing cakes once our guests had arrived.

Plum Puddings with Vanilla Ice Cream

Cake:
4 large blood plums (dark red or purple inside)
125g butter at room temp
½ cup sugar
1 cup walnut or pecan halves
2 eggs
1 cup self-raising flour, sieved
2 Tbs milk
pinch salt
1 tsp vanilla essence
Topping:
1 egg
2 Tbs butter
2 Tbs sugar
1 Tbs flour
½ tsp ground cinnamon
To serve:
Icing sugar
Vanilla ice cream

Butter 8 individual pudding dishes and arrange on a baking tray. Or you can use large non-stick muffin tins, buttered well. Pre-heat oven to 180°C. For cake place butter and sugar in food processor and mix until light and fluffy. Add the nuts and eggs and process until the nuts are coarsely chopped, stopping to scrape down the sides. Add flour, milk and vanilla and process just enough to combine, stopping again to scrape down the sides. Divide mixture evenly between the dishes or muffin tins.

Cut plums in half and remove stones. Place one plum half in each cake, cut side up. Press down on the plum so the cake comes up level with it. Place topping ingredients in food processor (no need to wash it out) whiz till smooth, then divide among the cakes and spread over. Bake cakes for 25 mins or until well risen and golden. If you have made them in muffin tins, cool for a minute or two then carefully remove from the tins but if they are in dishes serve them as they are. Dust with icing sugar and serve with vanilla ice cream.

Serves 8

ANZAC Apple and Rhubarb Crumble

Each year on the 25th of April, Australians and New Zealanders remember those who lost their lives fighting for their country.

Over the ANZAC Day long weekend we had a house full, so I decided to make a fruit crumble because everyone loves them. The latest edition of Australian Gourmet Traveller featured a recipe called Apple ANZAC Pie which used the same ingredients you use to make ANZAC Biscuits, so I adapted it slightly to make an ANZAC Crumble.

ANZAC biscuits were sent by Australian and New Zealand wives to soldiers who were fighting abroad. They were popular because they kept well during naval transportation.

Rhubarb grows like a weed in our garden so I often mix it with apples. If preferred just leave it out and increase the number of apples by 2 or 3. The fresh ginger was a great addition to the fruit layer, but some of the smaller kids didn’t like it. If preferred just leave it out. And if you’re concerned that it will be too sweet, leave out the brown sugar.

The verdict on this recipe was that it’s the best crumble ever. Actually the topping isn’t very crumbly, it’s more like a fruit cobbler. Sorry it wasn’t published in time for ANZAC day, but I’m confident it will go down well any time of year.

@Read(in=FeatureSet.sky)

Fruit layer:
5 large Granny Smith apples or cooking apples
About 10 sticks of rhubarb, washed and cut into 2-3cm lengths
¼ cup sugar
1 Tbs grated fresh ginger (optional)
6 Tbs water
Topping:
185g butter
¼ cup each treacle and golden syrup
1 tsp bicarbonate of soda
2 cups plain flour
1 cup rolled oats
¼ cup brown sugar
1 cup desiccated coconut (preferably coarse flakes)
To serve:
Vanilla ice cream or cream

Peel and slice apples and place in a saucepan with the rhubarb, sugar, ginger and water. Cook for 8-10 minutes until slightly softened then spread into a greased 25cm pie dish.

In a large bowl melt butter, treacle and golden syrup in the microwave then mix in the bicarbonate of soda, flour, oats, sugar and coconut. Spoon all over the apple and rhubarb mixture, using a fork to cover any gaps. Refrigerate until serving time.

Pre-heat oven to 180°C then bake the crumble for 25-30 mins or until crisp and golden. Serve warm with vanilla ice cream or cream.

Serves 12

Notes: if you don’t have any treacle, double the amount of golden syrup. If you don’t have either use honey or maple syrup instead.

Crispy Chicken with Herb Sauce

My mother could make a chicken last three days, even though there were five of us in the family.

Roast on Sunday, curried or cold on Monday and soup on Tuesday. Nothing was wasted and the idea wasn’t to fill up on chicken, but on the accompaniments. There were always lots of roast vegetables with the Sunday roast, rice with the curry and herb dumplings and vegetables in the soup. Fortunately those days of austerity are gone.

I’m always looking for new ways to roast a whole chicken and this recipe, where you immerse it in brine overnight, caught my eye. It really does make a difference, resulting in very crispy skin and succulent meat. Serve it with roast potatoes and a green vegetable or salad. The sauce is delicious served with pretty much anything. Yes I know there’s only one lemon in the photo, but we were at the farm (45 minutes from the nearest shop) and I only had two and used one in the sauce!

Crispy Chicken with Herb Sauce

1 whole chicken, weighing about 1.8kg
3 lemons, cut in halves
Olive oil
Fresh herbs to garnish
Brine
3 Litres water
¾ cup salt
¾ cup sugar
1 tsp each coriander and cumin seeds
½ an onion peeled and chopped
3 cloves garlic, crushed
Freshly ground black pepper
1 Tbs chopped fresh thyme or 2 tsp dried
Herb Sauce
A handful each parsley, coriander and mint leaves
A handful of baby spinach leaves
2 Tbs tahini
100ml extra virgin olive oil
Finely grated rind and juice 1 lemon
1 clove garlic, crushed
2 Tbs water
Salt and freshly ground black pepper to taste

Place chicken on a chopping board, breast side down. Using poultry shears cut along one side of the backbone, then along the other side, remove and discard or keep for making stock. Turn chicken over and press hard on the breast bone to flatten it out.

Place all ingredients for brine in a large saucepan and bring to the boil. Cool then place chicken in the brine and refrigerate overnight, covered. Next day remove chicken from brine, pat dry with paper towels, then leave in the fridge on a plate, uncovered, for at least an hour and up to several hours, so the skin dries out. Discard the brine.

For the Herb sauce, place herbs and spinach leaves in a bowl and cover with boiling water. Drain, rinse under a cold tap, then squeeze out all the water, put into food processor with remaining ingredients and whiz till you have a thick green sauce.

Brush chicken and lemon halves all over with oil then place in a roasting pan and roast in a hot oven at 200°C or on a barbecue for about an hour, or until chicken is browned and crispy. Turn chicken and lemon halves over about halfway through cooking time.

When chicken is ready carve and arrange on serving platter with the lemon halves and some fresh herbs.

Serves 4

Boris and the Barbecue

Early in our marriage we were posted to Israel where we lived in the leafy suburb of Herzliyah Pituach, on the outskirts of Tel Aviv. It was one of the few times in our lives that we didn’t have a dog, but our neighbours had a boxer called Boris. They travelled a lot and Boris got lonely, so he spent as much time at our house as he did at theirs. When he felt the need for company he’d just turn up and we were always pleased to see him. Well, almost always.

A Minister was visiting from Queensland with his wife and secretary, so we invited them to join us for a very informal barbecue lunch. Matthew headed off late Saturday morning to pick them up, wearing jeans and an open-neck shirt.

Our guests arrived dressed to kill in white linen suits or similar attire. We sat in the garden sipping a glass of wine while Matthew lit the barbecue. Within five minutes Boris had arrived, his little stubby tail wagging excitedly as he sniffed the air in anticipation of things to come. He could smell a barbecue from a mile off.

Boris was a friendly soul and his usual way of greeting new friends was to slobber his way along their knees. As Matthew tried to stop him and apologise Mrs Minister said through clenched teeth “It’s okay we don’t mind dogs.” Her face said differently as she studied the remains of Boris’s breakfast, now smeared all over her white pants.

Matthew poured more wine, everyone relaxed and we moved to the table for lunch – barbecued lamb cutlets and salad, followed by apple strudel. Boris was starting to be a pain, snuffling under the table looking for scraps. Matthew escorted him home twice, but he kept coming back. We decided to give him a couple of chop bones at the far end of the garden, to keep him quiet.

Suddenly the sound of Boris choking interrupted the conversation. Matthew leapt up, rolled up his sleeve and thrust his hand down the dog’s throat to retrieve the bone. Our guests looked on in horror.

You will be relieved to know that Boris survived the ordeal and went on to attend many more barbecues, although bones were strictly off the menu. In honour of our dearly departed four-legged friend here’s a barbecue recipe without bones. It was given to me by an Australian friend in Israel and is very simple but always a winner. The quantities are flexible – if you use more pork just add more soy sauce, garlic and ginger!

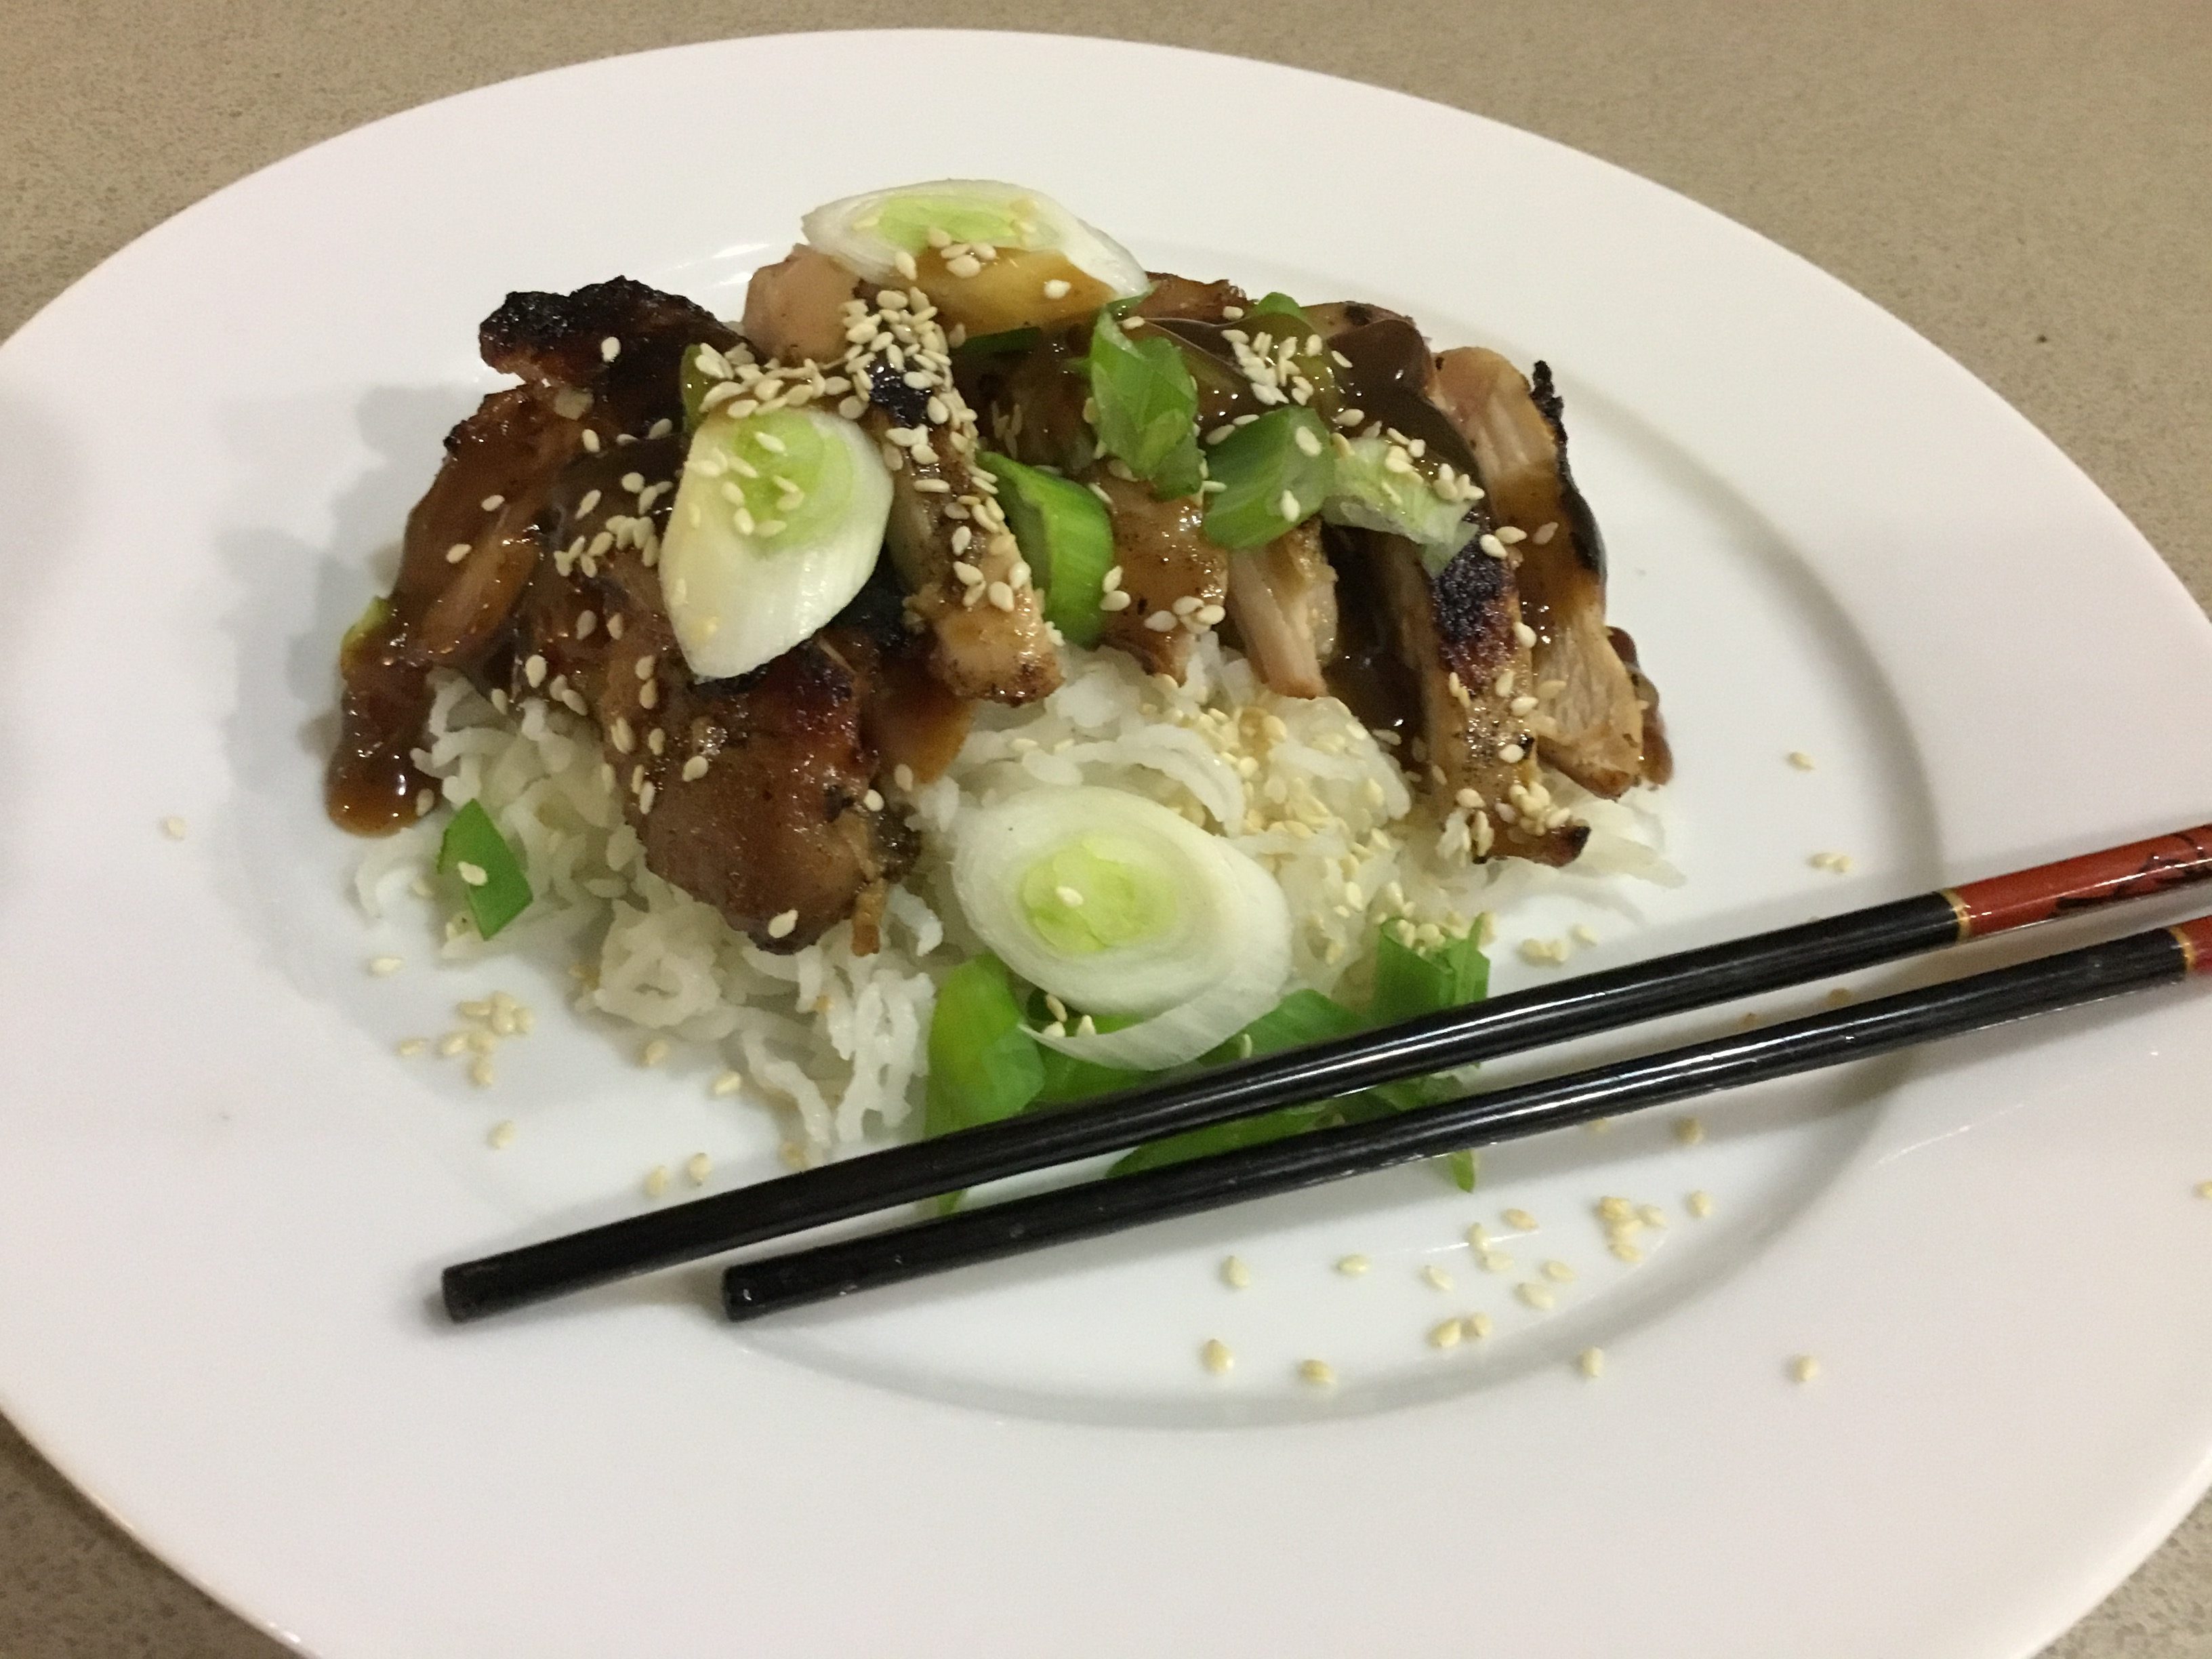
Candy’s Barbecued Pork Rashers Candy's Barbecued Pork Rashers

800g to 1 kg pork belly rashers/slices
1/3 cup soy sauce
4 cloves garlic, crushed
1 Tbs grated or very finely chopped fresh ginger

If the pork slices have skin, remove it. If they’re very thick slices hammer them out a bit with a meat hammer. Mix soy sauce, garlic and ginger in a shallow dish. Add the pork and turn to coat thoroughly. Leave to marinate for a couple of hours or overnight. Cook for about 15 minutes or so on a hot barbecue, turning a couple of times, or until well cooked and crispy.

Serves 4

Warm Chickpea and Zucchini Salad

As I ate this salad I thought of my brother, who has been a vegan for the past few years. It’s one of the most delicious vegetarian dishes I’ve eaten in a long time.

If you’ve never tried frying canned chickpeas give it a try – it elevates them to a whole new level. Instead of the zucchini you could use broccoli, cauliflower, green beans or snow peas.

The recipe serves two as a light main course or four as a side dish, accompanied by grilled chicken or steak. It would also go well with barbecued lamb. To bulk up the salad to serve more people place a layer of rocket or other salad leaves, lightly dressed with vinaigrette over the base of the serving dish, then pile the salad on top.

Warm Chickpea and Zucchini Salad3 Tbs olive oil
3-4 zucchinis (courgettes) cut into 2cm chunks
1 can chick peas, rinsed, drained and dried with paper towel
3 cloves garlic, thinly sliced
2 Tbs balsamic vinegar (see note)
1 tsp coriander seeds
½ tsp cumin seeds
½ cup pepitas (shelled pumpkin seeds)
Salt and freshly ground black pepper
2 handfuls chopped fresh mint
2 handfuls chopped fresh parsley
100g marinated goat’s cheese or feta cheese

Heat about half the oil in a frying pan and cook the zucchini, chick peas and garlic for 5-8 minutes or until softening and browning a bit. Add salt, pepper and the vinegar and continue to cook, stirring for a minute or so. Scrape out into a serving dish. In a mortar and pestle, crush the seeds. Wipe out the pan and add the remaining oil. Add the pepitas and the crushed seeds and cook, stirring for 2-3 minutes or until the pepitas are starting to change colour and the pan smells fragrant. Add to the zucchini in the serving dish and mix gently. Top with the herbs and cheese and serve while still warm.

Serves 2 as a light main course

Note: I used caramelised balsamic vinegar which is a bit sweeter

The Best Guacamole

Many years ago I tried a fabulous Guacamole at the house of a Mexican diplomat. It’s so long ago I can’t even remember her name, but she gave me the recipe and I’ve been making it ever since. I guess you’d expect a Mexican to know how to make Guacamole.

I had been making my own version for years, but this authentic recipe taught me a couple of tricks. Firstly, don’t puree the avocados – mash them roughly with a fork so they remain a bit chunky. Secondly, a dash of cumin powder works wonders, although if you don’t like cumin you can always leave it out. Another tip is not to use overripe avocados as the dip will discolour very quickly if you do.

IMG_4089

2 large ripe but not overripe avocados, seeded and peeled
1 very small onion, grated (or ¼ medium onion)
½ clove garlic, crushed
2-3 tsp lime juice
2-3 tsp olive oil
2 Tbs chopped coriander
Salt and freshly ground black pepper, to taste
1 tsp ground cumin
½ tsp dried oregano
1 large tomato, peeled, seeded & diced (optional)
To serve:
Corn chips

Mash avocados roughly with a fork, then gently mix in remaining ingredients, except tomato. Cover with plastic wrap and chill. Fold in tomato just before serving. Garnish with extra chopped coriander or a few pieces of tomato and serve with corn chips.

Makes 1-2 cups

Note: instead of one large tomato use 3-4 baby ones (I used baby Roma). No need to peel, just remove seeds and dice.

Chocolate & Vanilla Cheesecake with Raspberries

I’ve always been a cheesecake fan, but I don’t like all cheesecakes, especially ones which are dry. This one is rich and creamy and not too sweet.

Chocolate, vanilla and raspberries go together extremely well, but if you prefer leave the cocoa powder out and just have a simple biscuit base. Vanilla paste is nicer than essence because it has the little black vanilla seeds in it.

Chocolate & Vanilla Cheesecake with Raspberries

Crust:
170g plain sweet biscuits (digestives, Nice, any will do)
3 Tbs cocoa powder
¼ cup sugar
125g unsalted butter, melted
Filling:
500g ricotta cheese
250g cream cheese at room temp
1 cup sugar
4 eggs
2 tsp vanilla essence or paste
Finely grated rind one lemon
Pinch salt
Topping:
2 cups sour cream
1 Tbs sugar
1 tsp vanilla essence or paste
Raspberries:
500g frozen raspberries
1 Tbs sugar (or to taste)

Place biscuits in food processor and process to fine crumbs. Add cocoa and sugar and blitz for 30 secs. Meanwhile in a mixing bowl melt the butter in microwave. Add biscuit crumbs and mix well.

Preheat oven to 150°C. Butter or oil a 22cm springform pan. Press biscuit crumbs over the base and about three quarters up the sides of the pan. Use your hands to coat the sides and a small glass to press down the bottom – try to avoid it being too thick where the sides meet the bottom. Place in the fridge or freezer.

Rinse out food processor. Place all ingredients for filling in food processor and mix until smooth, stopping to scrape down sides and checking there aren’t any large lumps of cream cheese left. Scrape into the biscuit lined pan, then bake for 40-50 mins or until cheesecake is set around the edges but still a bit wobbly in the middle. Mix all ingredients for topping and spread over the top. Put back in the oven for 8-10 mins until just set, then remove and cool. Run a knife around the edge to loosen and  when cold refrigerate overnight, covered.

Serve cheesecake with the raspberries which have been left to thaw in a bowl with the sugar, then gently stirred.

Serves 12-16

Variations: use gingersnap biscuits instead of plain ones and omit cocoa. Serve with fresh or frozen berries such as raspberries, strawberries, blueberries or slices of fresh mango.

Pork Fillets with Crunchy Potatoes and Mango Salsa

Roast Pork with apple sauce is a marriage made in heaven, but pork also goes well with other fruit. This mango salsa can be made in a jiffy and goes well with pork or chicken. If preferred just serve it with some grilled or pan-fried pork chops. Instead of mango try using fresh peaches or nectarines.

I’m a bit old-fashioned when it comes to pork, because (unlike beef) I like it cooked until it’s no longer pink, as you can see in the photo.

Pork Fillets with Crunchy Potatoes and Mango Salsa

4 medium potatoes, peeled
1 large or 2 smaller pork fillets (about 600g total)
Salt and freshly ground black pepper
Olive oil to spray or drizzle
1 Tbs butter
Salsa:
1 mango, peeled and cut into small cubes
1 small red chilli, seeded and finely chopped
½ red onion, finely chopped
1 Tbs fresh coriander, chopped
1 Tbs white wine or cider vinegar
1 Tbs olive oil
To serve:
A green vegetable such as steamed asparagus

Cook potatoes in boiling salted water until almost cooked. Drain then place on a baking tray lined with foil. Spray or drizzle with olive oil on both sides, then squash them a bit with a potato masher. Season with salt and pepper.

Preheat oven to 200°C. Heat butter in a frying pan with a metal handle that can go in the oven. Season pork all over then brown on all sides in the butter. Place potatoes in the top of the oven and 10 minutes later place the pork on the shelf below. Cook pork for 10-15 mins, by which time the potatoes should be nice and crispy. After ten minutes pork will still be a bit pink in the middle (except at the very thin end) whereas by 15 mins it should be more medium.

Meanwhile cook the asparagus and make the Salsa. For the Salsa mix all ingredients in a small bowl.

Slice pork and serve on a bed of crispy potatoes garnished with the asparagus and the salsa.

Serves 4