With a jar of Nutella chocolate spread you can easily whip up a few quick recipes which will be popular with kids, grandkids and chocolate fans generally.
Chocolate Sauce
½ cup Nutella
½ cup cream or evaporated milk
pinch salt (optional)
Place ingredients in a small saucepan and heat, stirring, until smooth. Serve with ice cream, waffles or pancakes. If sauce is too thick add a bit more cream or evaporated milk. Makes 1 cup.
Chocolate Icing
250g unsalted butter at room temperature
1 cup Nutella
1 cup icing sugar, sifted
1 tsp vanilla essence
Place butter and Nutella in a mixing bowl an beat until smooth. Gradually add icing sugar and when incorporated add vanilla. Use to ice a chocolate cake or cup cakes.
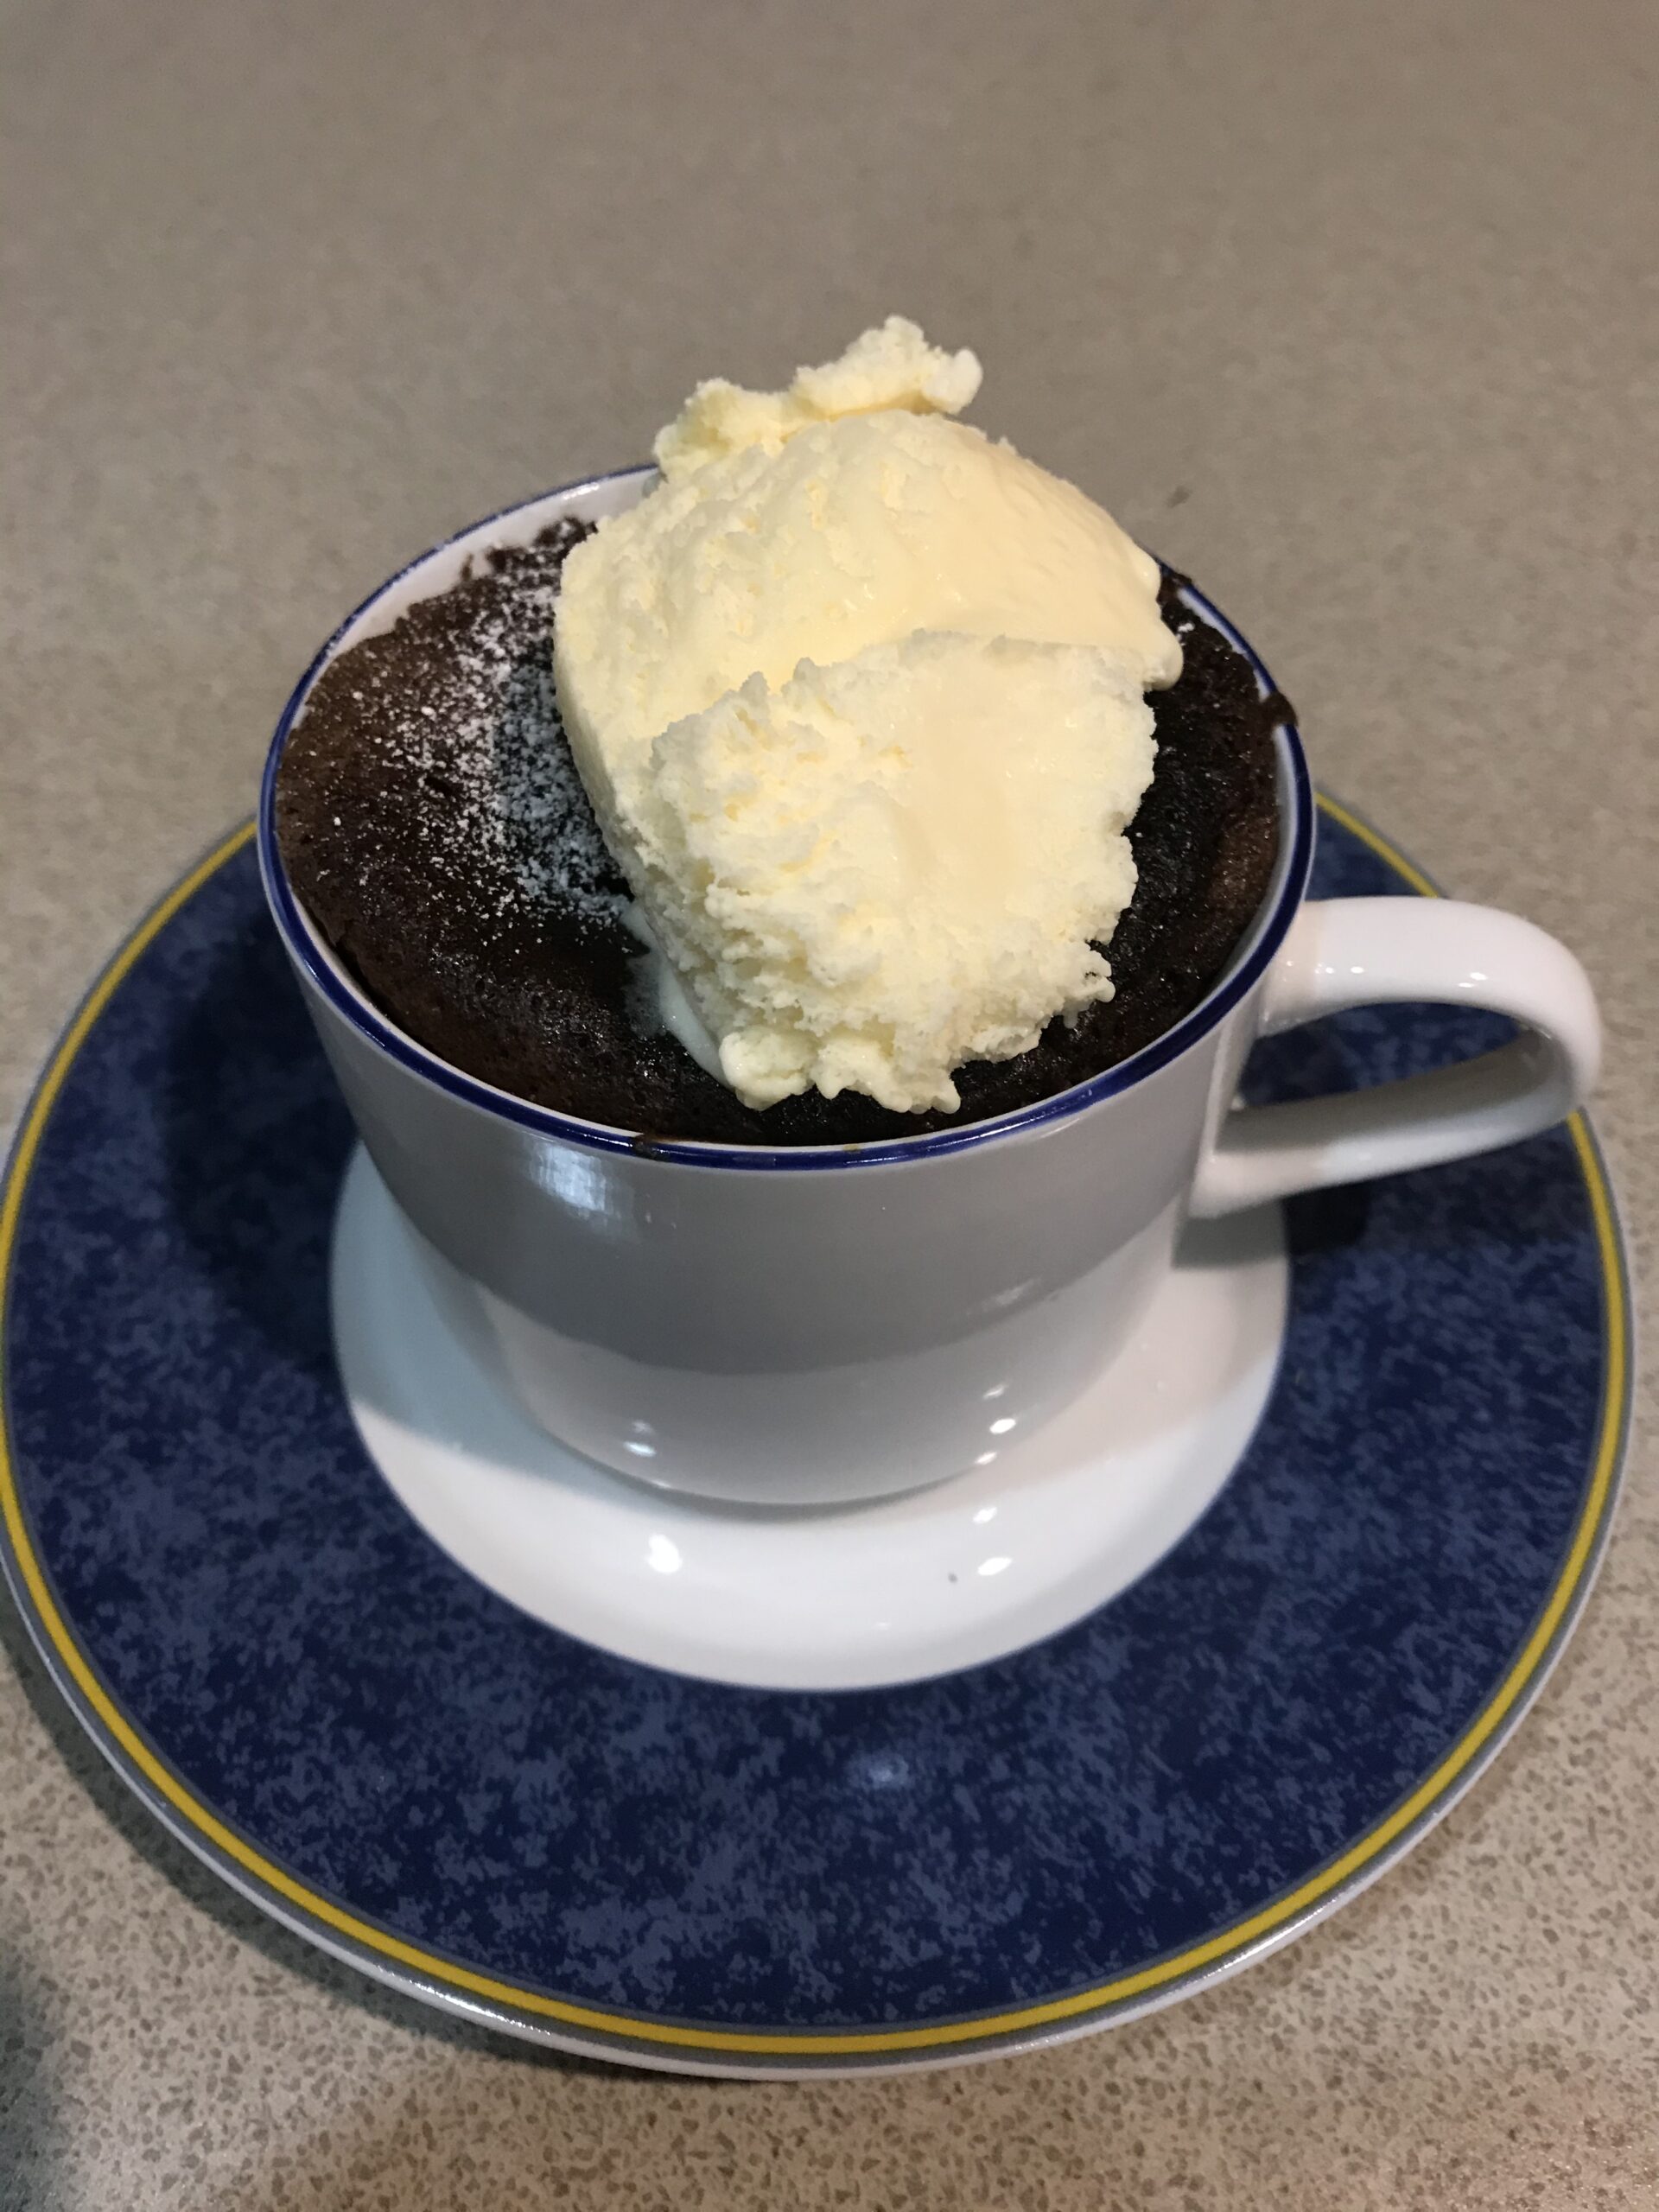
Microwave Chocolate Pudding in a Mug
2 Tbs self-raising flour
2 Tbs brown or white sugar
2 Tbs cocoa powder
2 Tbs milk
1 Tbs oil
1 egg
2 Tbs Nutella
Place all ingredients except Nutella in a mixing bowl and mix well with a balloon whisk. Spoon into one large (approximately 435ml) mug, or two smaller coffee cups, buttered. Spoon the Nutella into the middle of the mixture and push it to submerge. Cook in Microwave on High for 70 seconds, or until risen. Serve with cream, ice cream or chocolate sauce.
Nutella Hot Chocolate
1¼ cups milk
6 level tsp cornflour
1 Tbs cocoa powder
¼ cup Nutella
Sugar to taste
Whipped cream and grated chocolate or some marshmallows
Mix cornflour and cocoa with a small amount of the milk until smooth. Heat the remaining milk in a saucepan, then add the cornflour mixture and the Nutella and cook, stirring, until thick and smooth. Taste and see if it needs any sugar.
Divide between two mugs and serve topped with whipped cream and grated chocolate or marshmallows.
Serves 2

 250g pork mince