
We were staying with Catherine in Newcastle for a few days when she said “Oh by the way, we’re invited to a BBQ lunch tomorrow and we’re taking a dessert. What shall we make?”
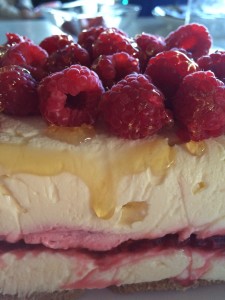
We found cream cheese, cream and 2 punnets of raspberries in the fridge and a few other ingredients in the pantry. The result was this delicious no-bake cheesecake which was popular with the adults and kids alike.
Make this the day before serving.
 300g white chocolate
500g Philadelphia-style cream cheese (at room temp)
300ml thick cream
3 Tbs caster sugar
1 cup fresh or frozen (thawed) raspberries
½ cup red jam (preferably raspberry)
About 12 sweet biscuits or sponge fingers
To serve:
1-2 cups fresh raspberries
Honey to drizzle
Melt chocolate in a bowl over simmering water. In another bowl, with electric beaters, beat cream cheese, cream and sugar until smooth. Add melted chocolate and mix well.
Line a loaf tin with plastic wrap, leaving a generous overhang. With a fork, mash 1 cup raspberries with the jam on a plate. Spread half the cream cheese mixture in the loaf tin. Spread the berry mixture over the top. Then spread the rest of the cream cheese mixture over the jam mixture. Arrange a single layer of biscuits or sponge fingers over the surface, pushing them in slightly – this will be the base. Rectangular or square ones are easier than round ones. Bring excess plastic wrap over the top to cover, then refrigerate overnight.
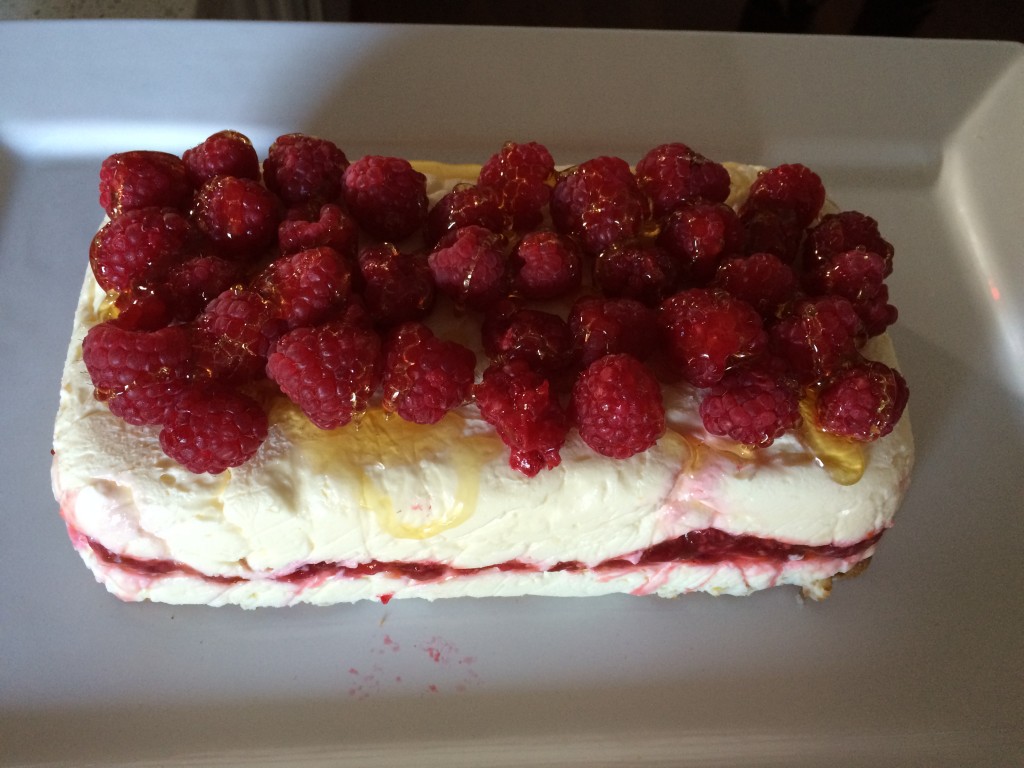
To serve, tip cheesecake onto serving plate and remove plastic. Arrange raspberries over the top and drizzle with honey.
Serves 12
Variation: use strawberries instead of raspberries
 Sweet and Sour Chicken

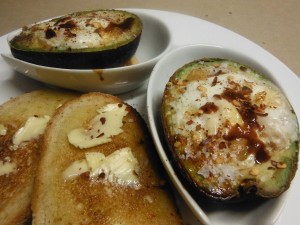 2 large ripe avocados
 250g puff pastry, either ready-rolled or in a block
 1 Tbs oil
 4 fresh figs