When our kids were in their teens we had a dinner roster. I still did most of the cooking, but once or twice a month each of the kids was responsible for the feeding the clan. It didn’t have to be elaborate – just something tasty which I had taught them how to make.
I’m a great believer in this roster approach to dinner time. It gives the Chief Cook and Bottle Washer the occasional night off and means that when the kids leave home – and eventually they do – they won’t starve.
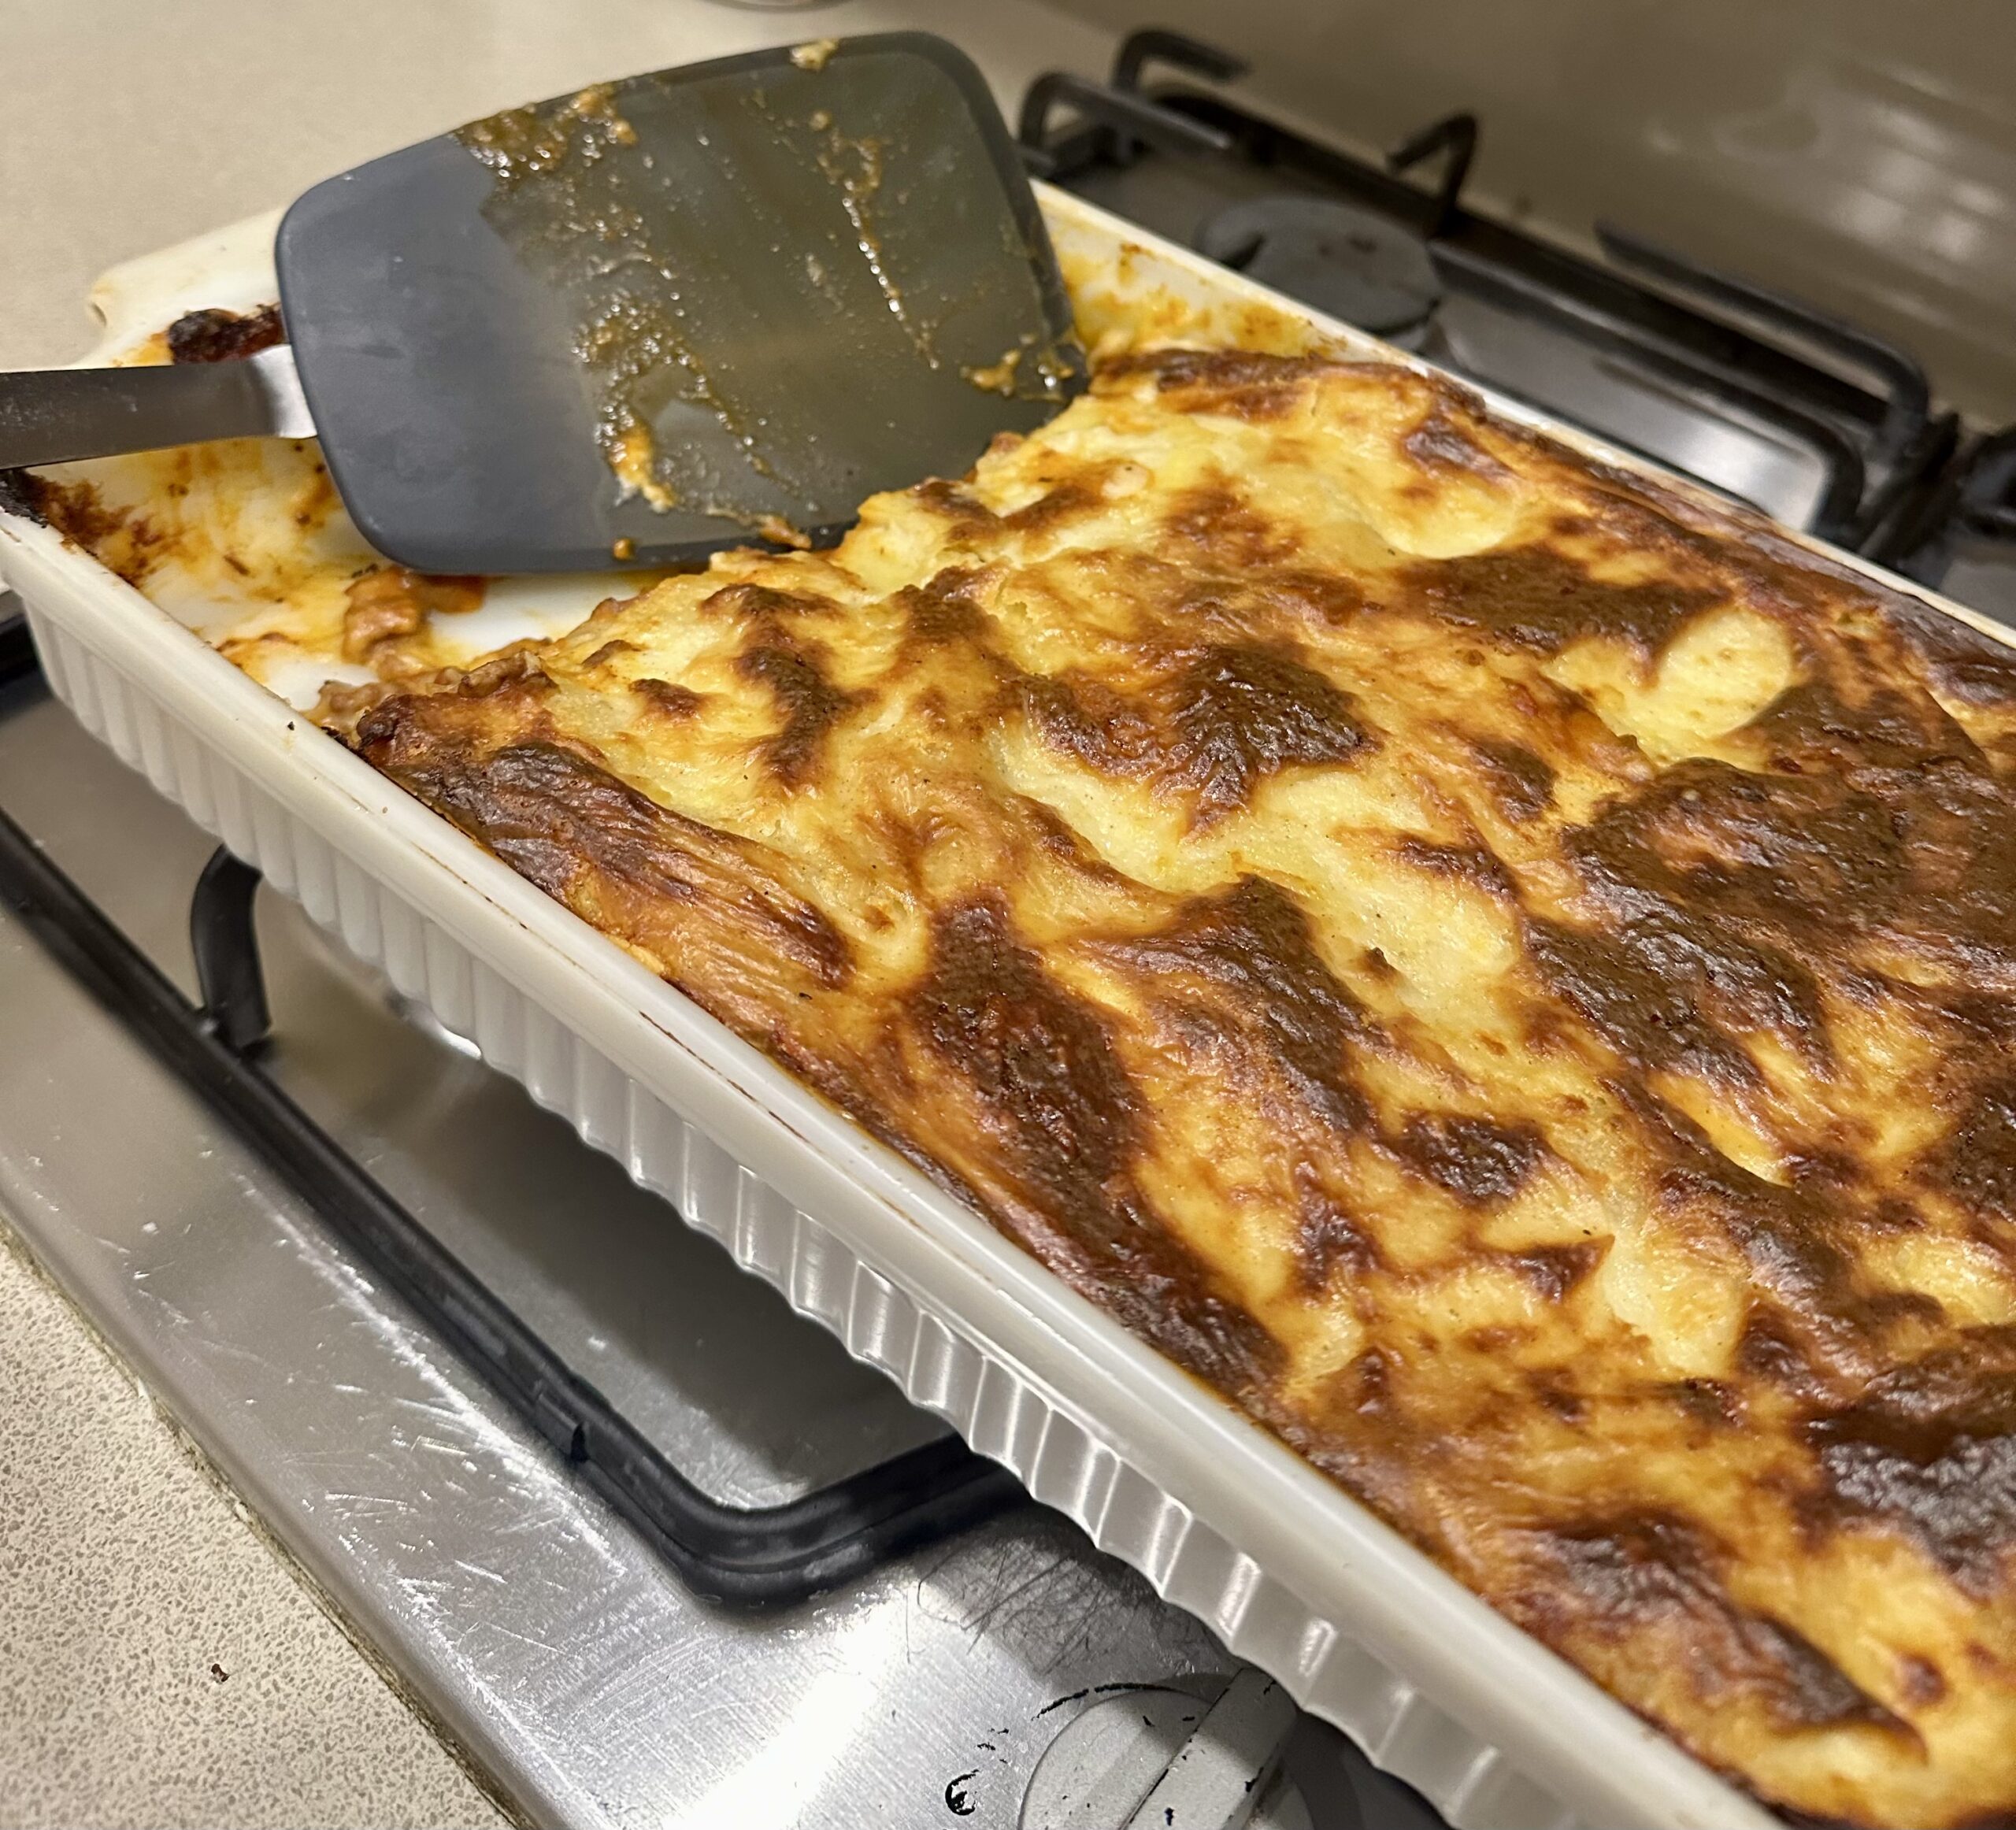
Working on the same principle, my Mum taught me to make this casserole when I was in my early teens. The fact that I still make it is testimony to its success. Served with creamy mashed potatoes and peas it’s still one of my favourite “comfort foods” in winter.
We were given a slow cooker called a Crock Pot as a wedding present and I used it for years. Every busy cook should have one. Somehow in a house move it disappeared and I really missed it, so when I saw one in a garage sale I snapped it up.
Slow cookers are great because you can leave dinner to cook in your absence. Switch it on Low as you leave, then when you get back check how its going. It just needs an occasional stir and you can turn it up to High if it’s not cooking fast enough, or down to Low if it’s cooking too fast.
I used to brown the chops before putting them in this casserole, but one time I was really pressed for time and skipped this stage. Honestly, you couldn’t tell the difference. Just make sure you cut off all visible fat.
It may seem strange to see a recipe which can take anything from 4 to 8 hours to cook. But that’s the whole point of a slow cooker – you can adjust the temperature to suit your timetable.
 1.5 kg lamb chops (cheap cuts like neck or forequarter chops) trimmed of all excess fat
1 x 425g tin tomatoes, including the juice, chopped (or 500ml tomato passata)
1 cup water
2-3 carrots, sliced thickly
1 beef stock cube, crumbled (I use the Oxo brand my mother used)
1 large onion, chopped
3 Tbs dry sherry or red wine
1 Tbs tomato paste
2 bay leaves or a sprig of fresh rosemary
1 tsp sugar
S and P to taste
To serve:
Peas

Place chops in slow cooker with remaining ingredients, apart from the potatoes and peas. Cover and cook on high for 4-6 hrs or on low for 6-8 hrs, until meat is very tender. Stir every hour or two if you are around – if not don’t worry, it can look after itself for quite a while. If the meat has fallen off the bones you might like to remove all the bones and just put the meat back before serving. Once ready the casserole will stay that way for a while if you switch it to Low. Serve with creamy mashed potatoes and cooked frozen peas.
Serves 6
Variations: add a tin of drained chickpeas and 1-2 tsp cumin, then serve with couscous instead of potatoes and peas.
Notes: If you don’t have a slow cooker use a large heavy casserole with a lid and cook in the oven. It will take 3-4 hours at 160°C and will need a little more water – check and add as necessary.
Useful tip: Recipes usually call for a tablespoon or two of tomato paste, leaving you with the rest of the jar or tin which goes off in the fridge within a week or so. To avoid this, fill ice cube trays with leftover tomato paste. When frozen tip cubes into a plastic container to use when you need them.