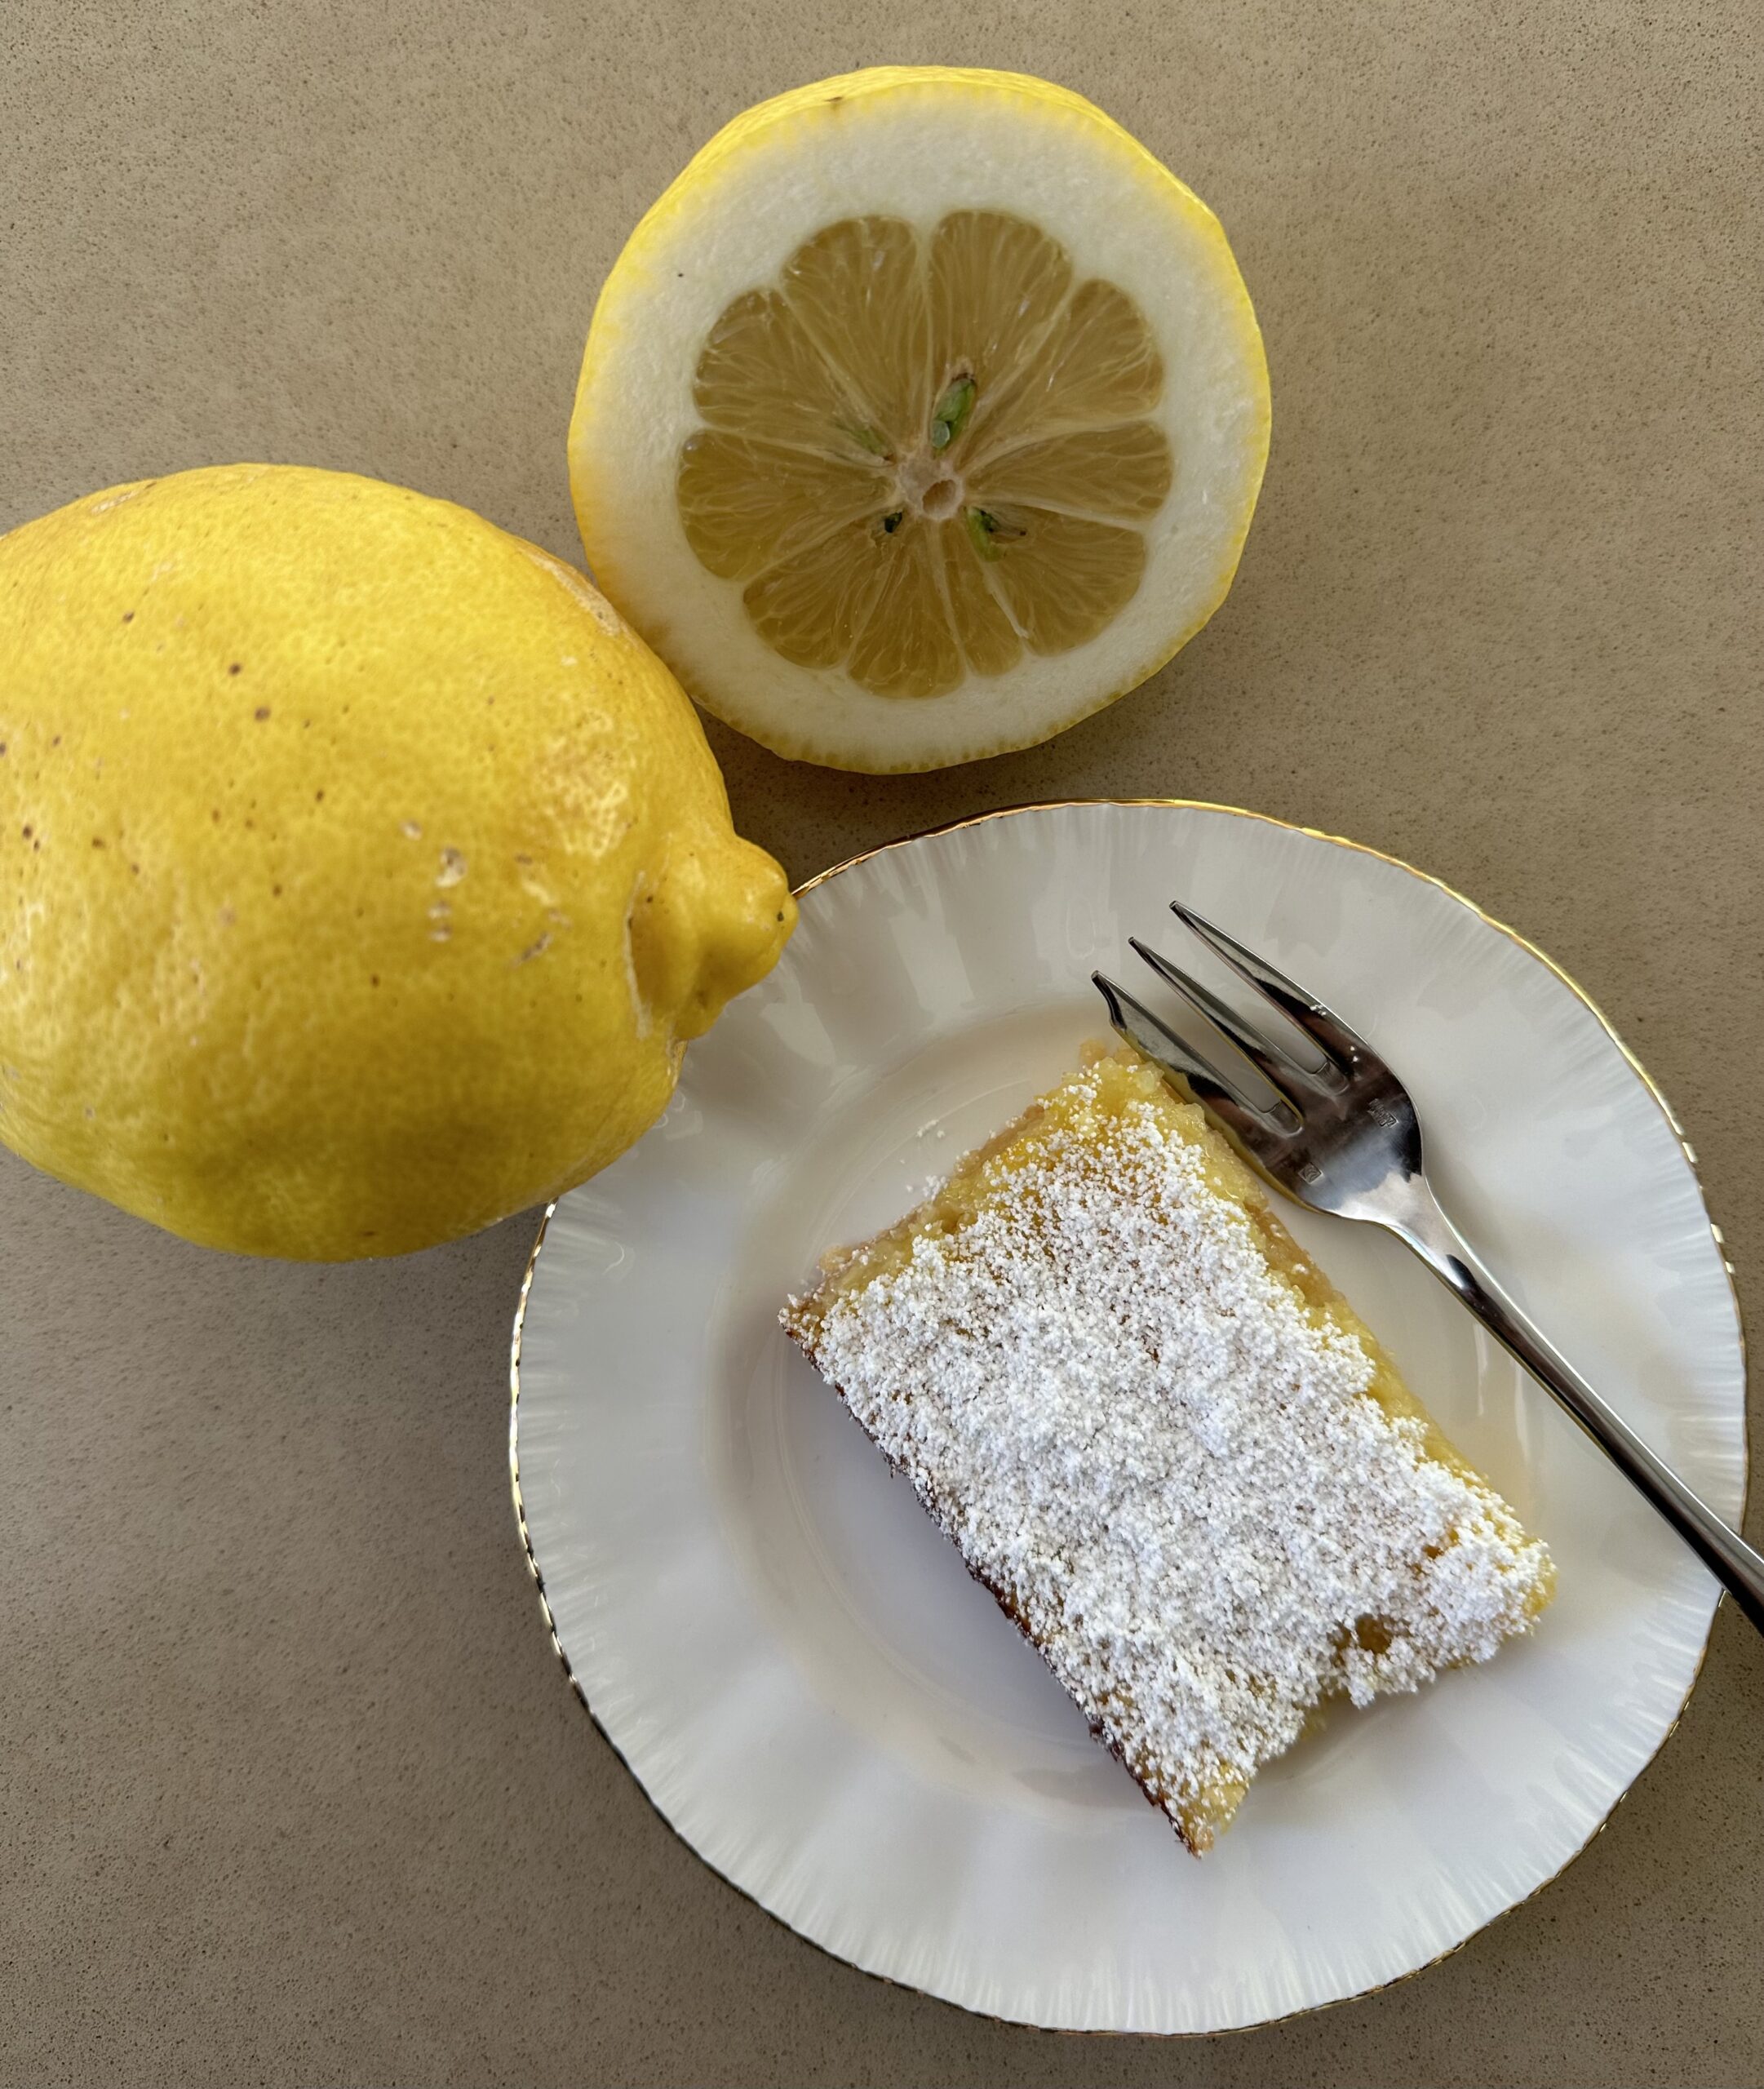
When we were living in Copenhagen from 2003 to 2006, we were often served lemon cake by the locals. I came away with this recipe from a Danish friend called Hanne, whom I met at the dog park. Sadly Hanne is no longer with us, but I still make her delicious lemon and almond cake.
My local supermarket sells 250g packets of marzipan in the section where they have all the cake ingredients.
We don’t like things too sweet, so I only made half the icing recipe. If you’re feeling indulgent, serve with a dollop of cream!
1 cup almonds, blanched or not, it doesn’t matter
200g butter, at room temperature
1 cup sugar
250g marzipan
4 eggs
1 tsp vanilla essence
Grated zest 1 lemon
1½ cups plain flour, sifted
1 tsp baking powder
½ tsp salt
Juice of 1 lemon
Icing:
2 cups icing sugar
1 Tbs lemon juice
1-2 Tbs boiling water
To garnish:
Lemon slices (glacé or fresh)
Preheat oven to 170°C. Place almonds in food processor and process till they look like fine breadcrumbs. Tip out.
Place butter (cut into pieces) and sugar in food processor and process until smooth and creamy. Scrape down the sides of the bowl and add the marzipan. When thoroughly incorporated add the eggs and lastly the sifted flour, baking powder, ground almonds, salt and lemon juice.
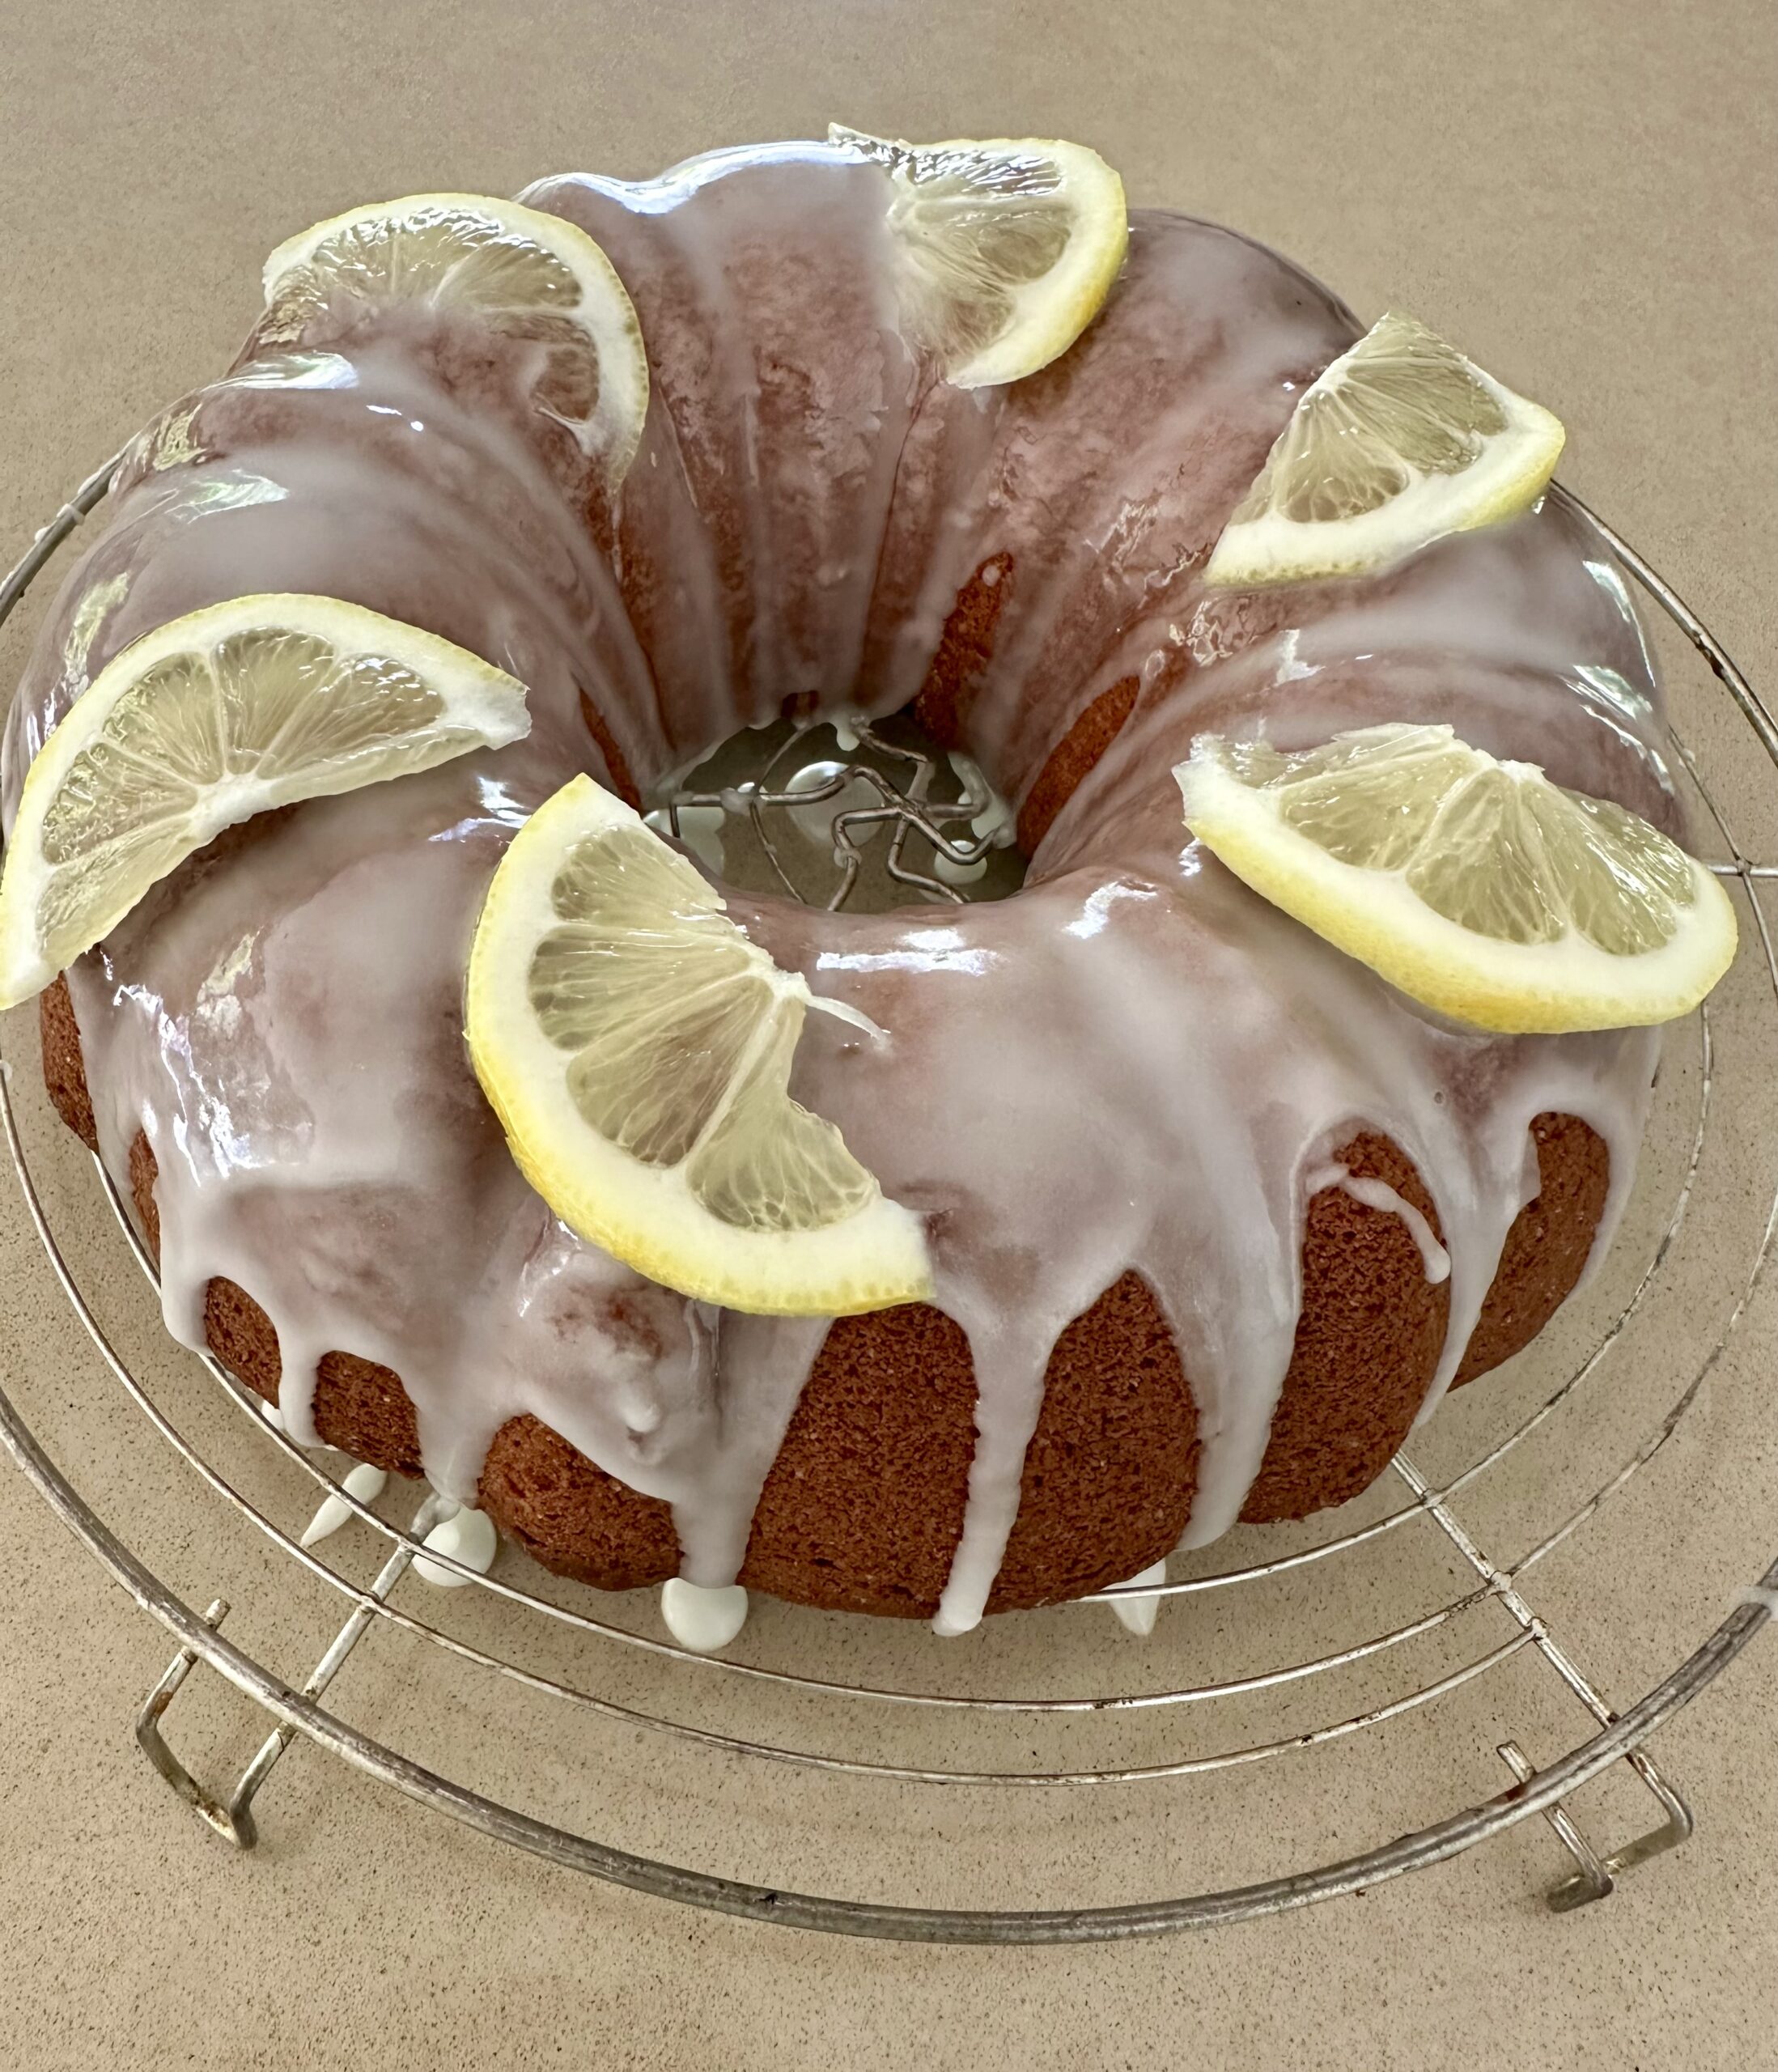
Grease a 22cm cake pan. I used a fluted ring mould and sprayed it with canola oil, but an ordinary round cake pan lined with baking paper will do. Scrape the cake mixture into the pan, then bake for 45 minutes, or until well-risen and golden and a skewer inserted in the middle comes out clean. Ovens vary so it may take a bit longer, but don’t overcook. Cool the cake, tip it out of the pan, then spread with the icing, allowing it to drizzle down the sides. Garnish with thin slices of fresh lemon.
To make the icing, sift icing sugar into a bowl. Add the lemon juice and one or two tablespoons of boiling water – enough to make a thick but spreadable consistency. Note: photo shows cake with only half the icing recipe.
Serves 12