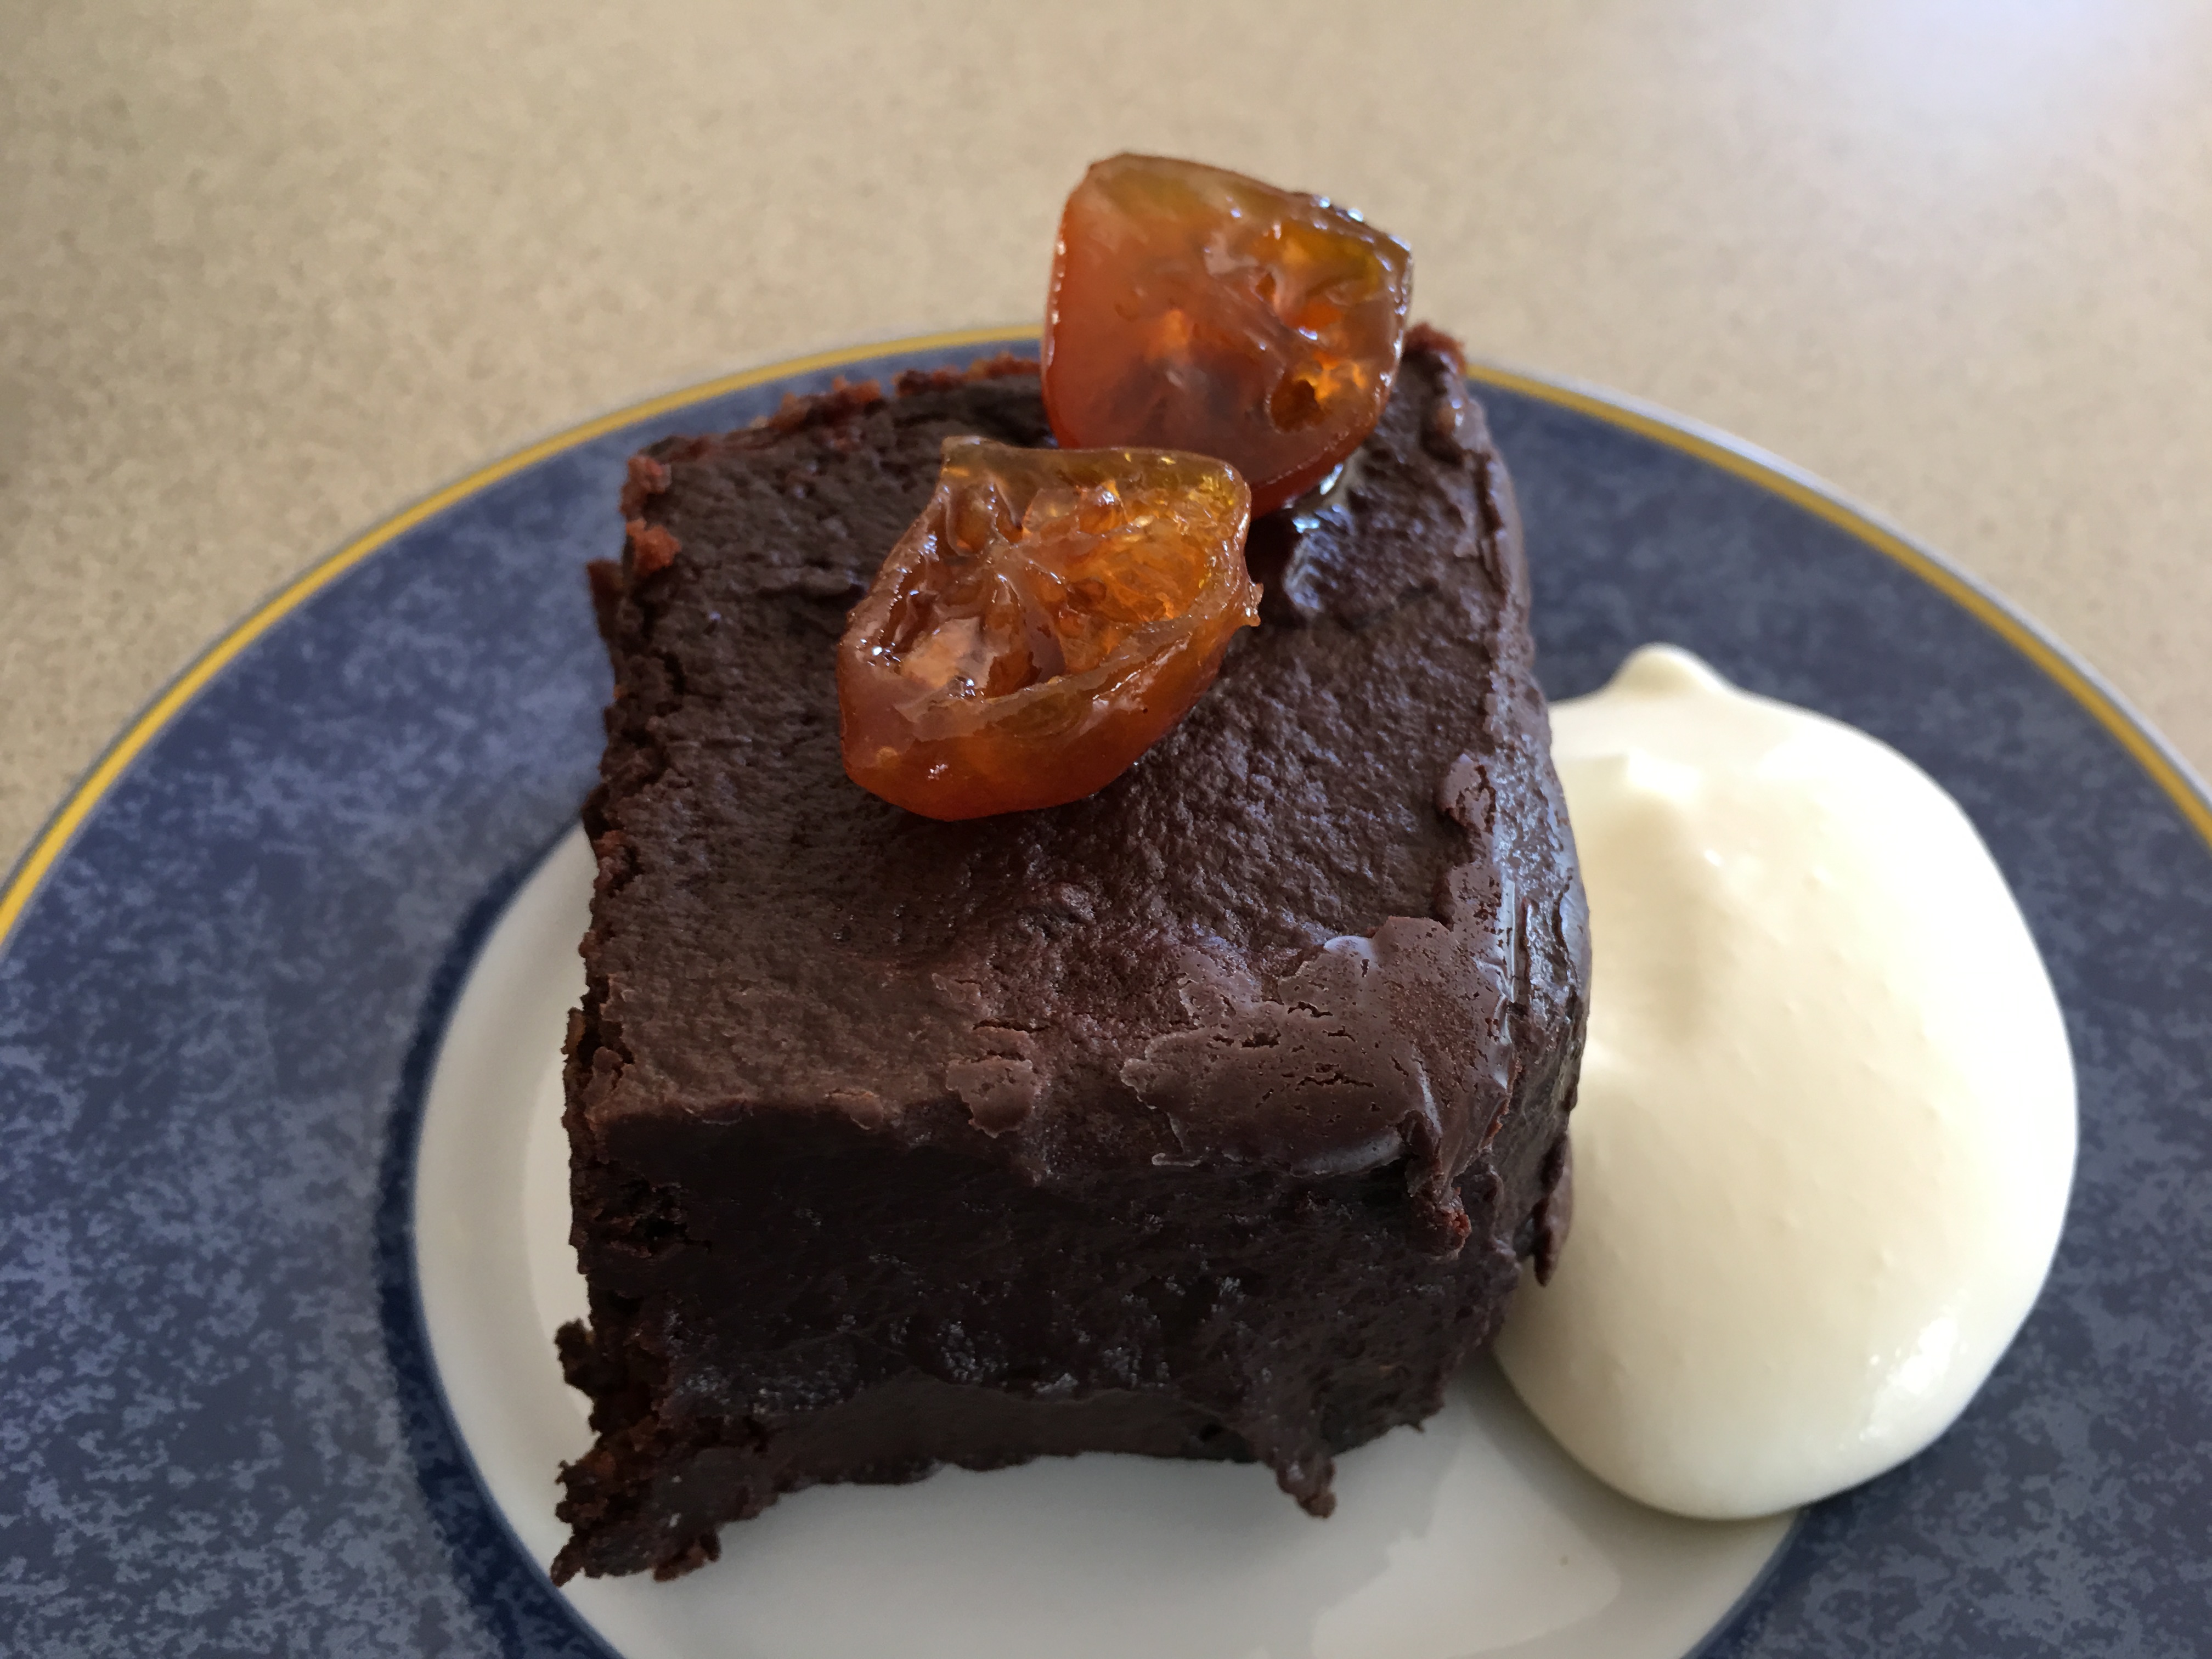
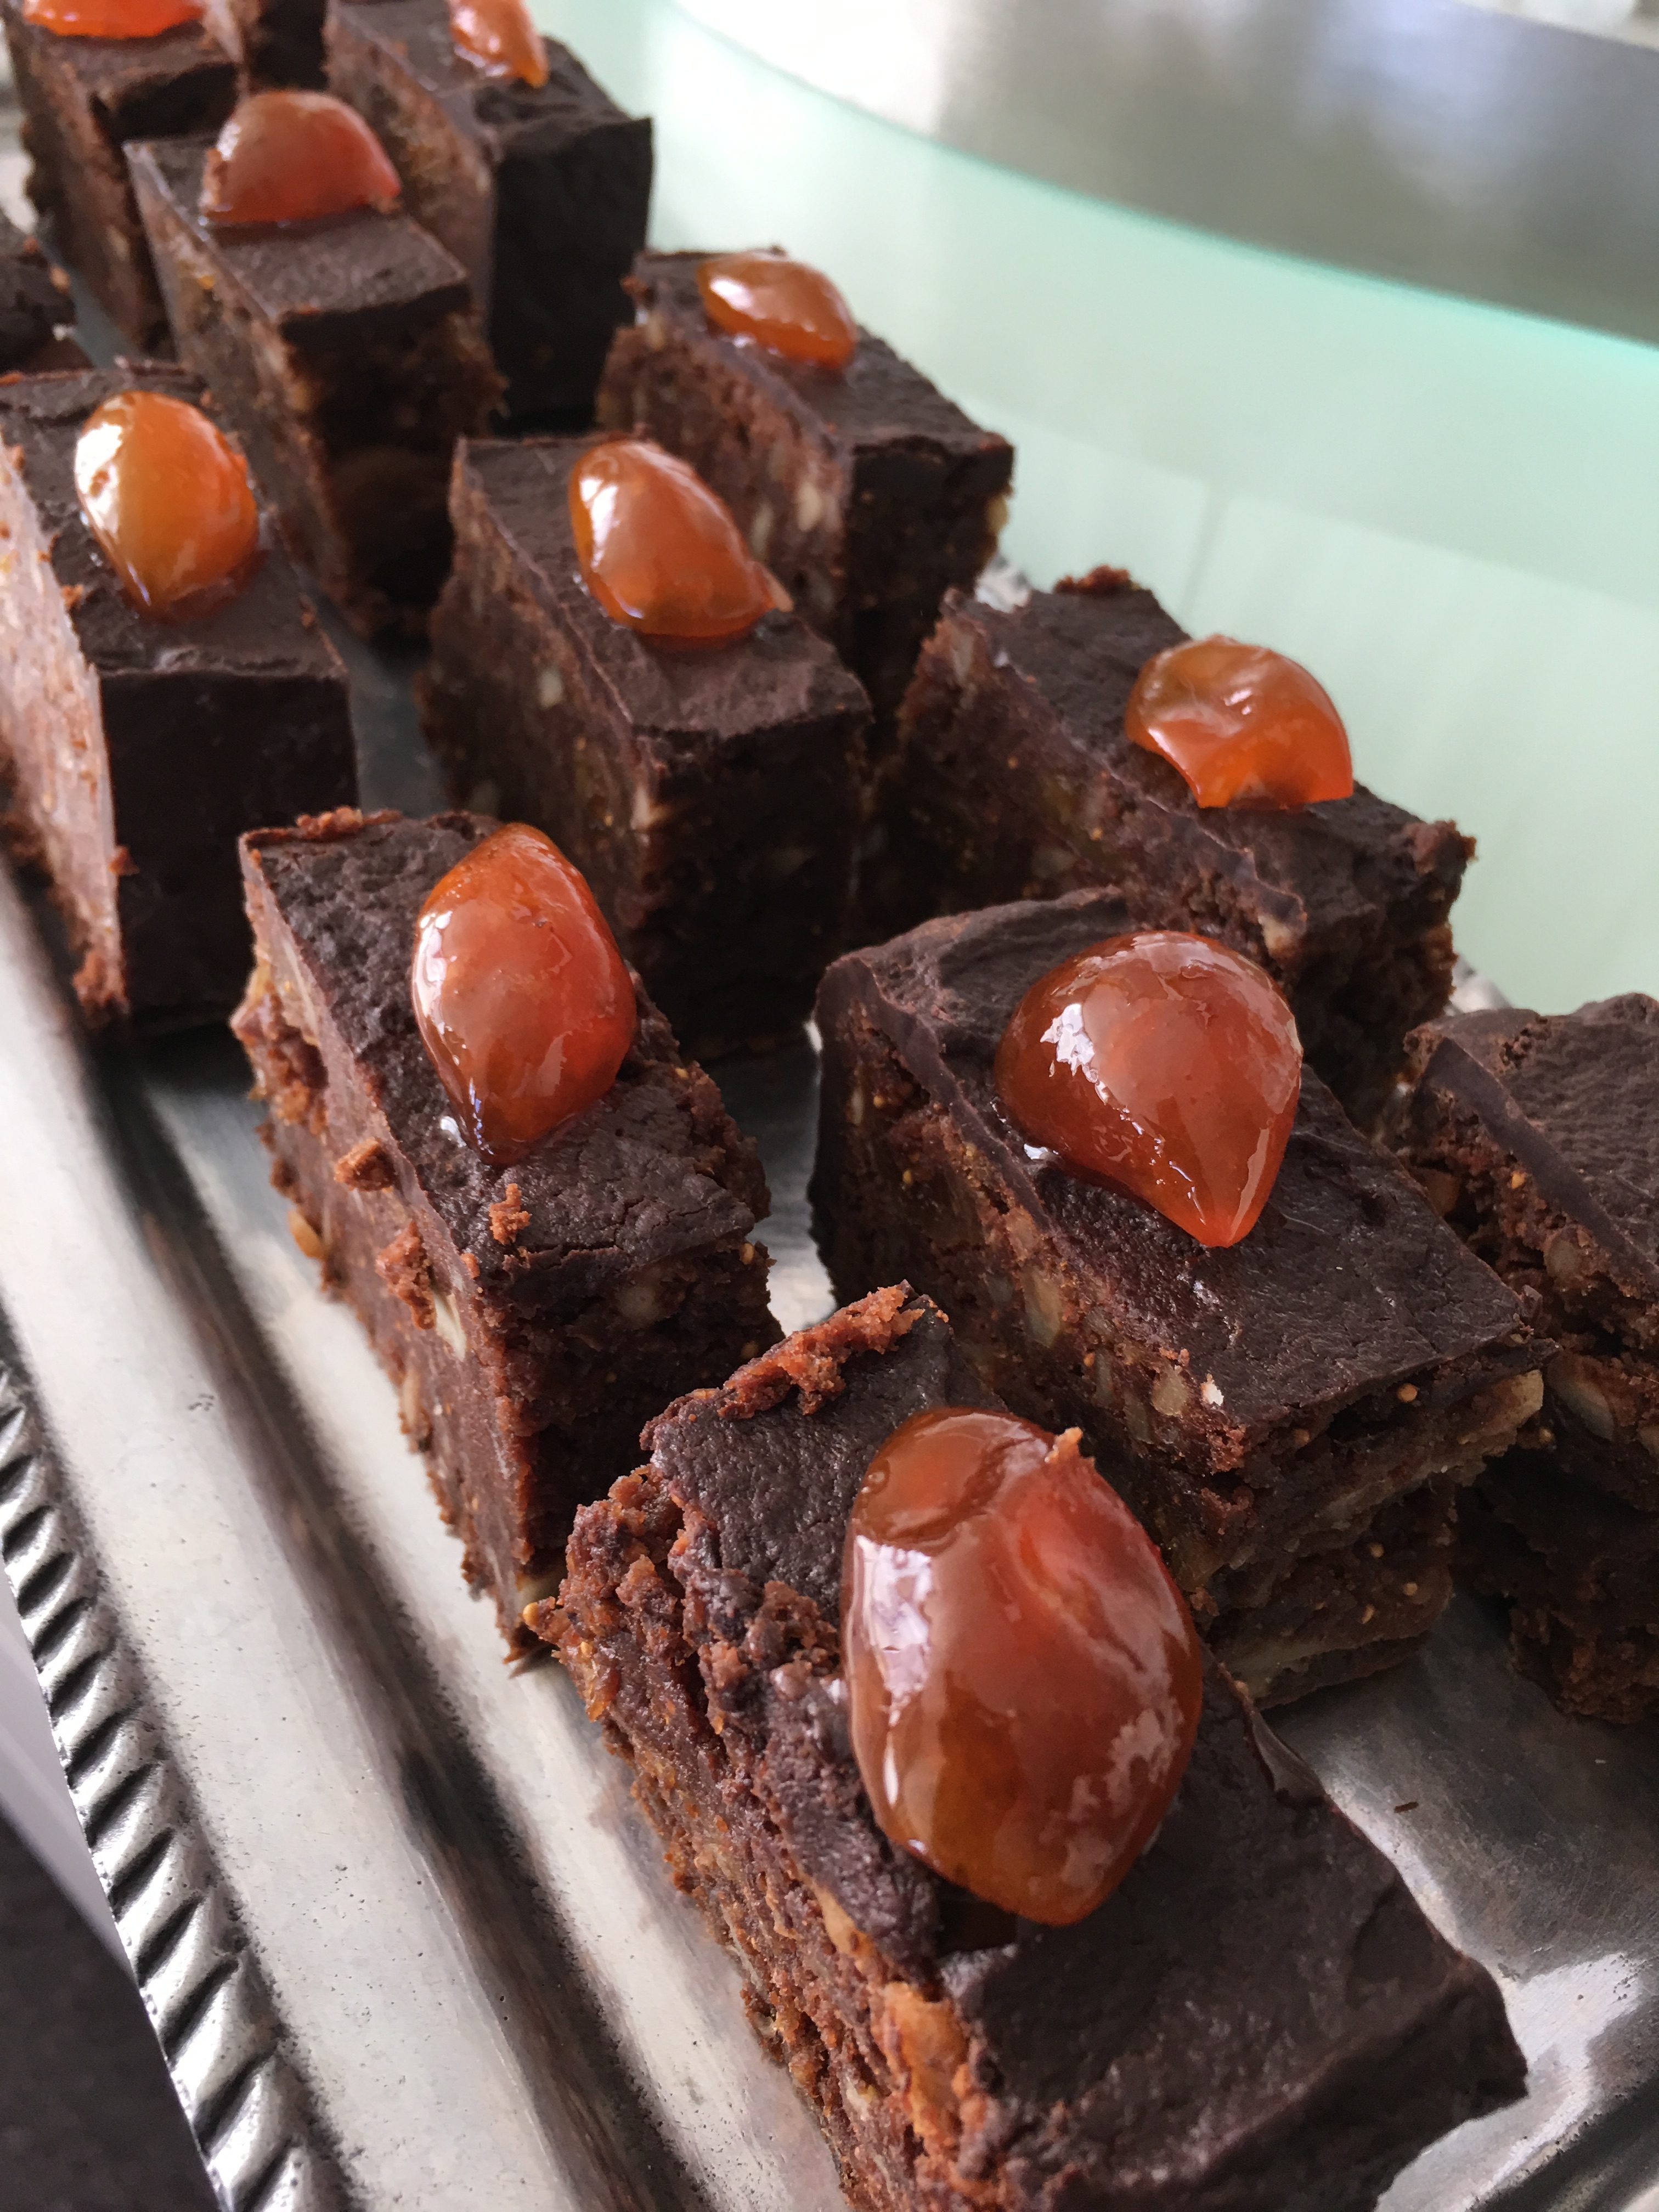
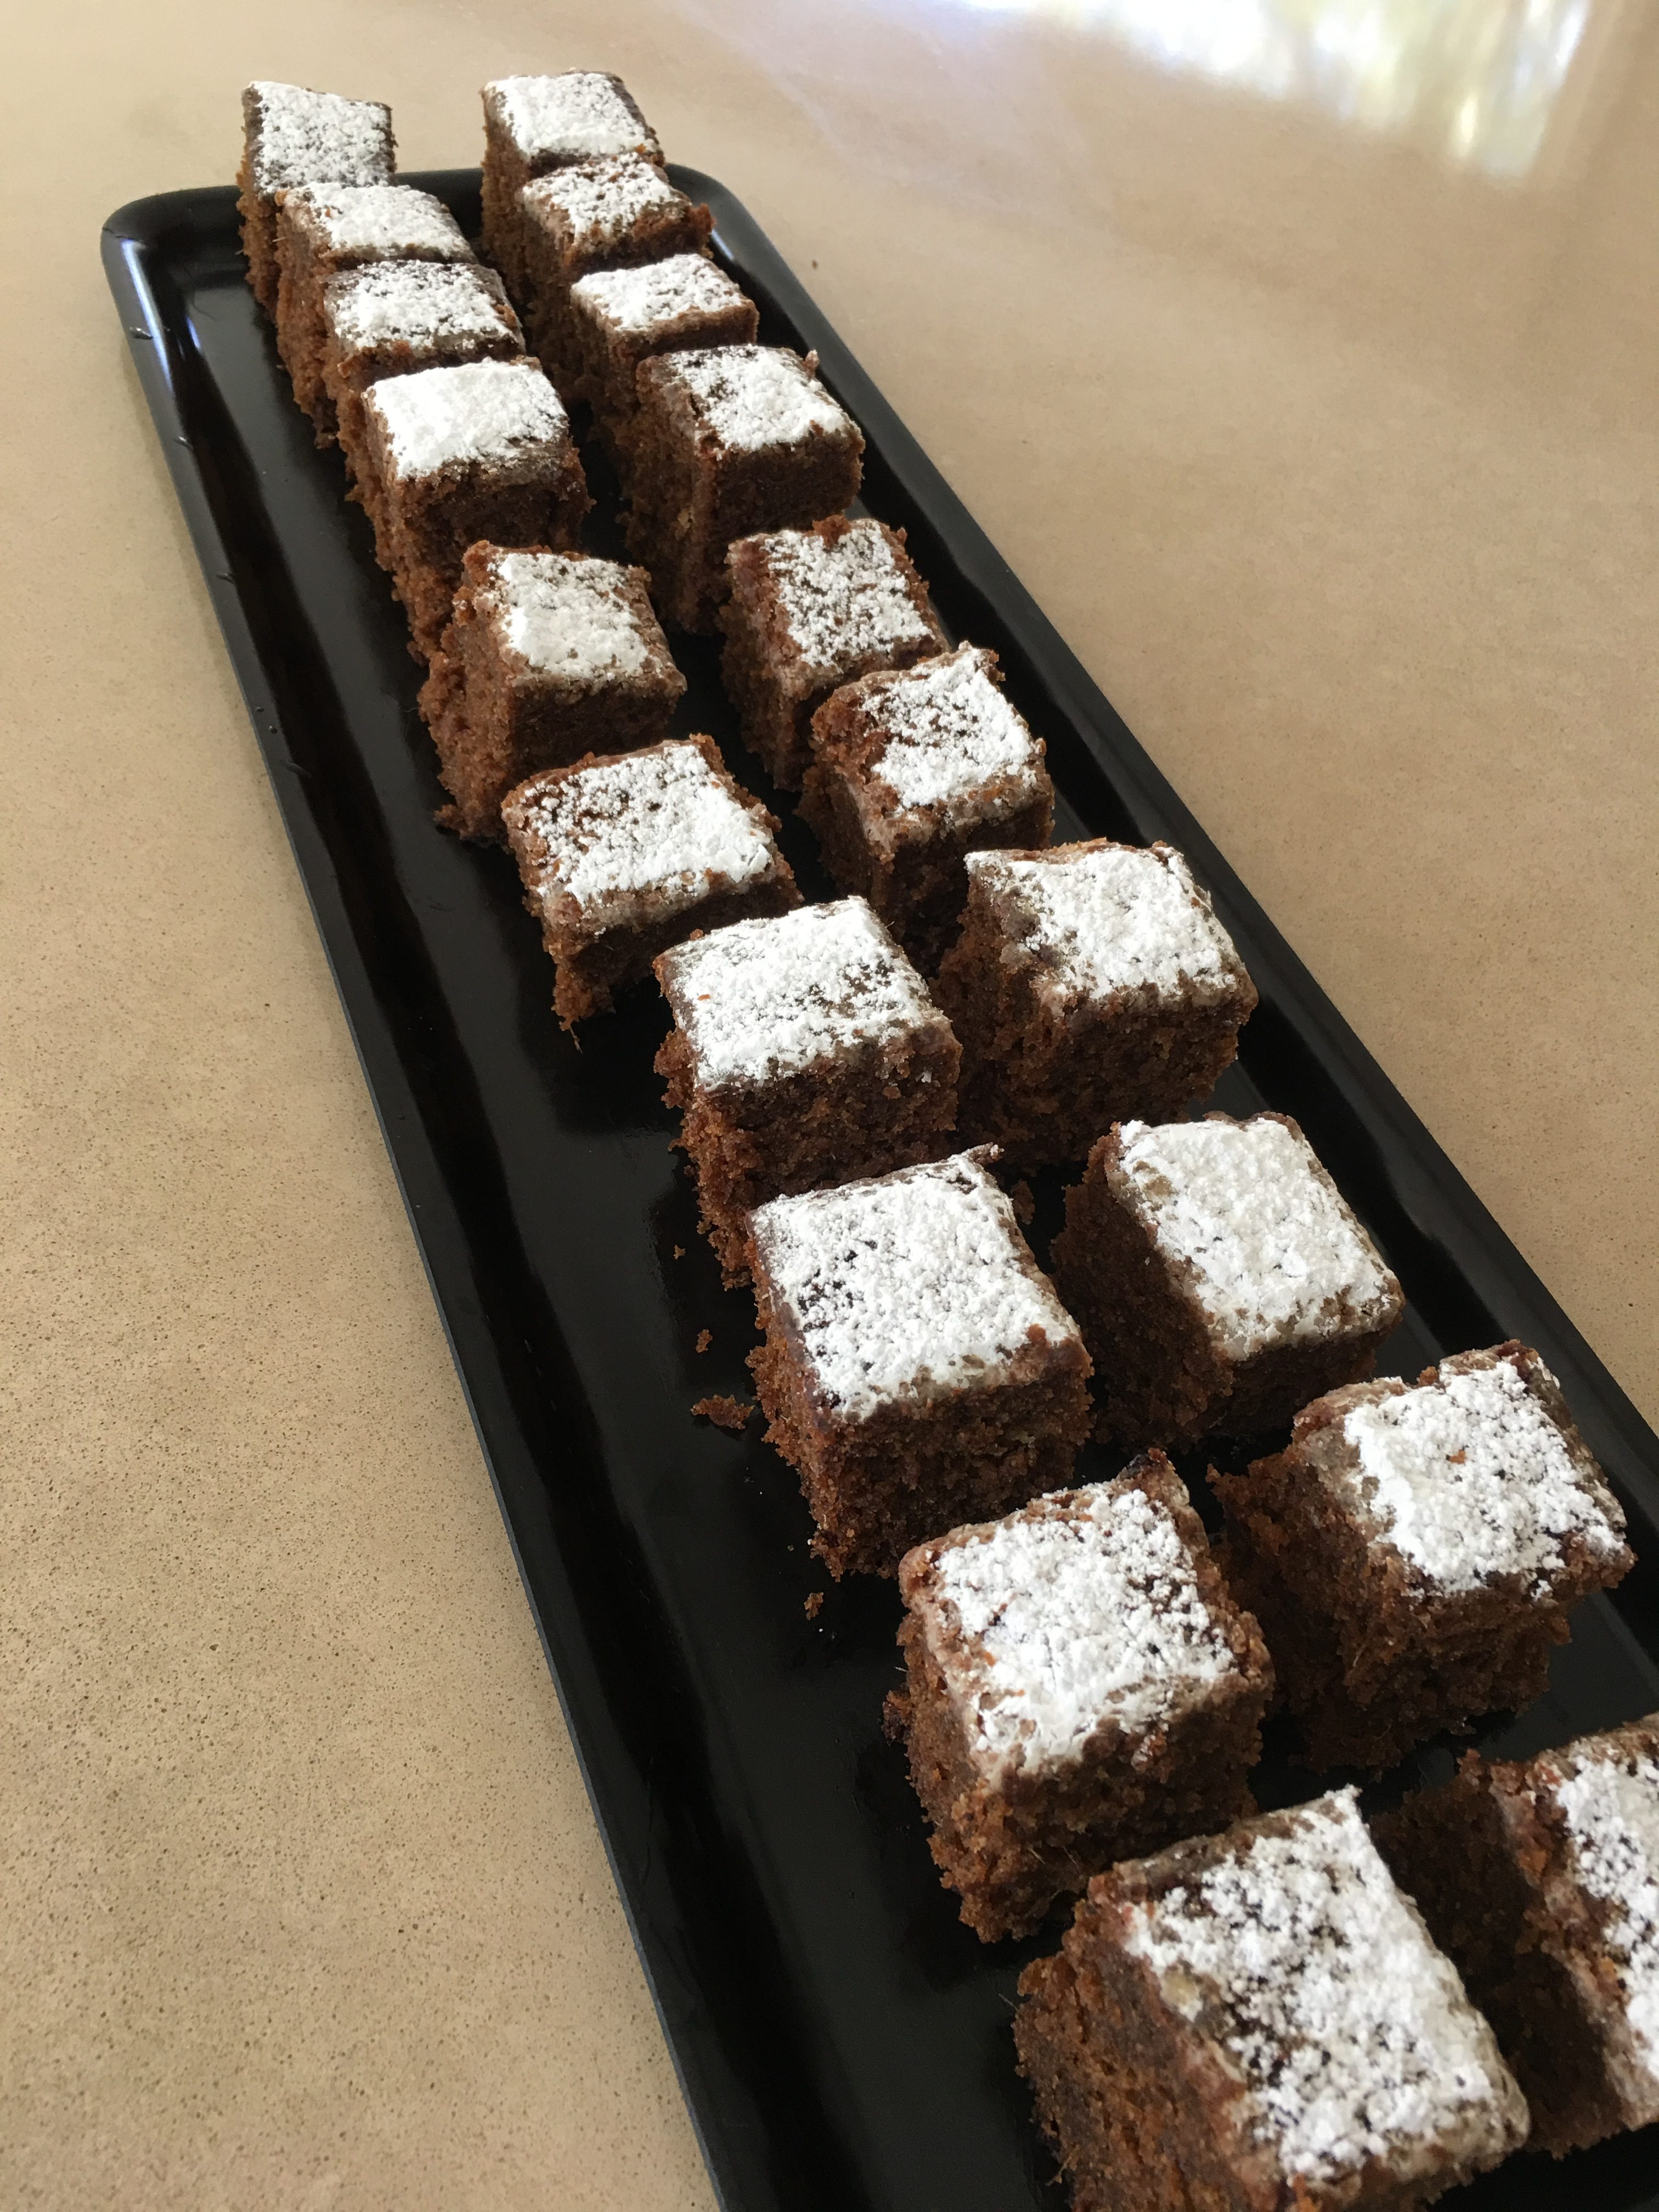
Chocolate Biscuit Cake

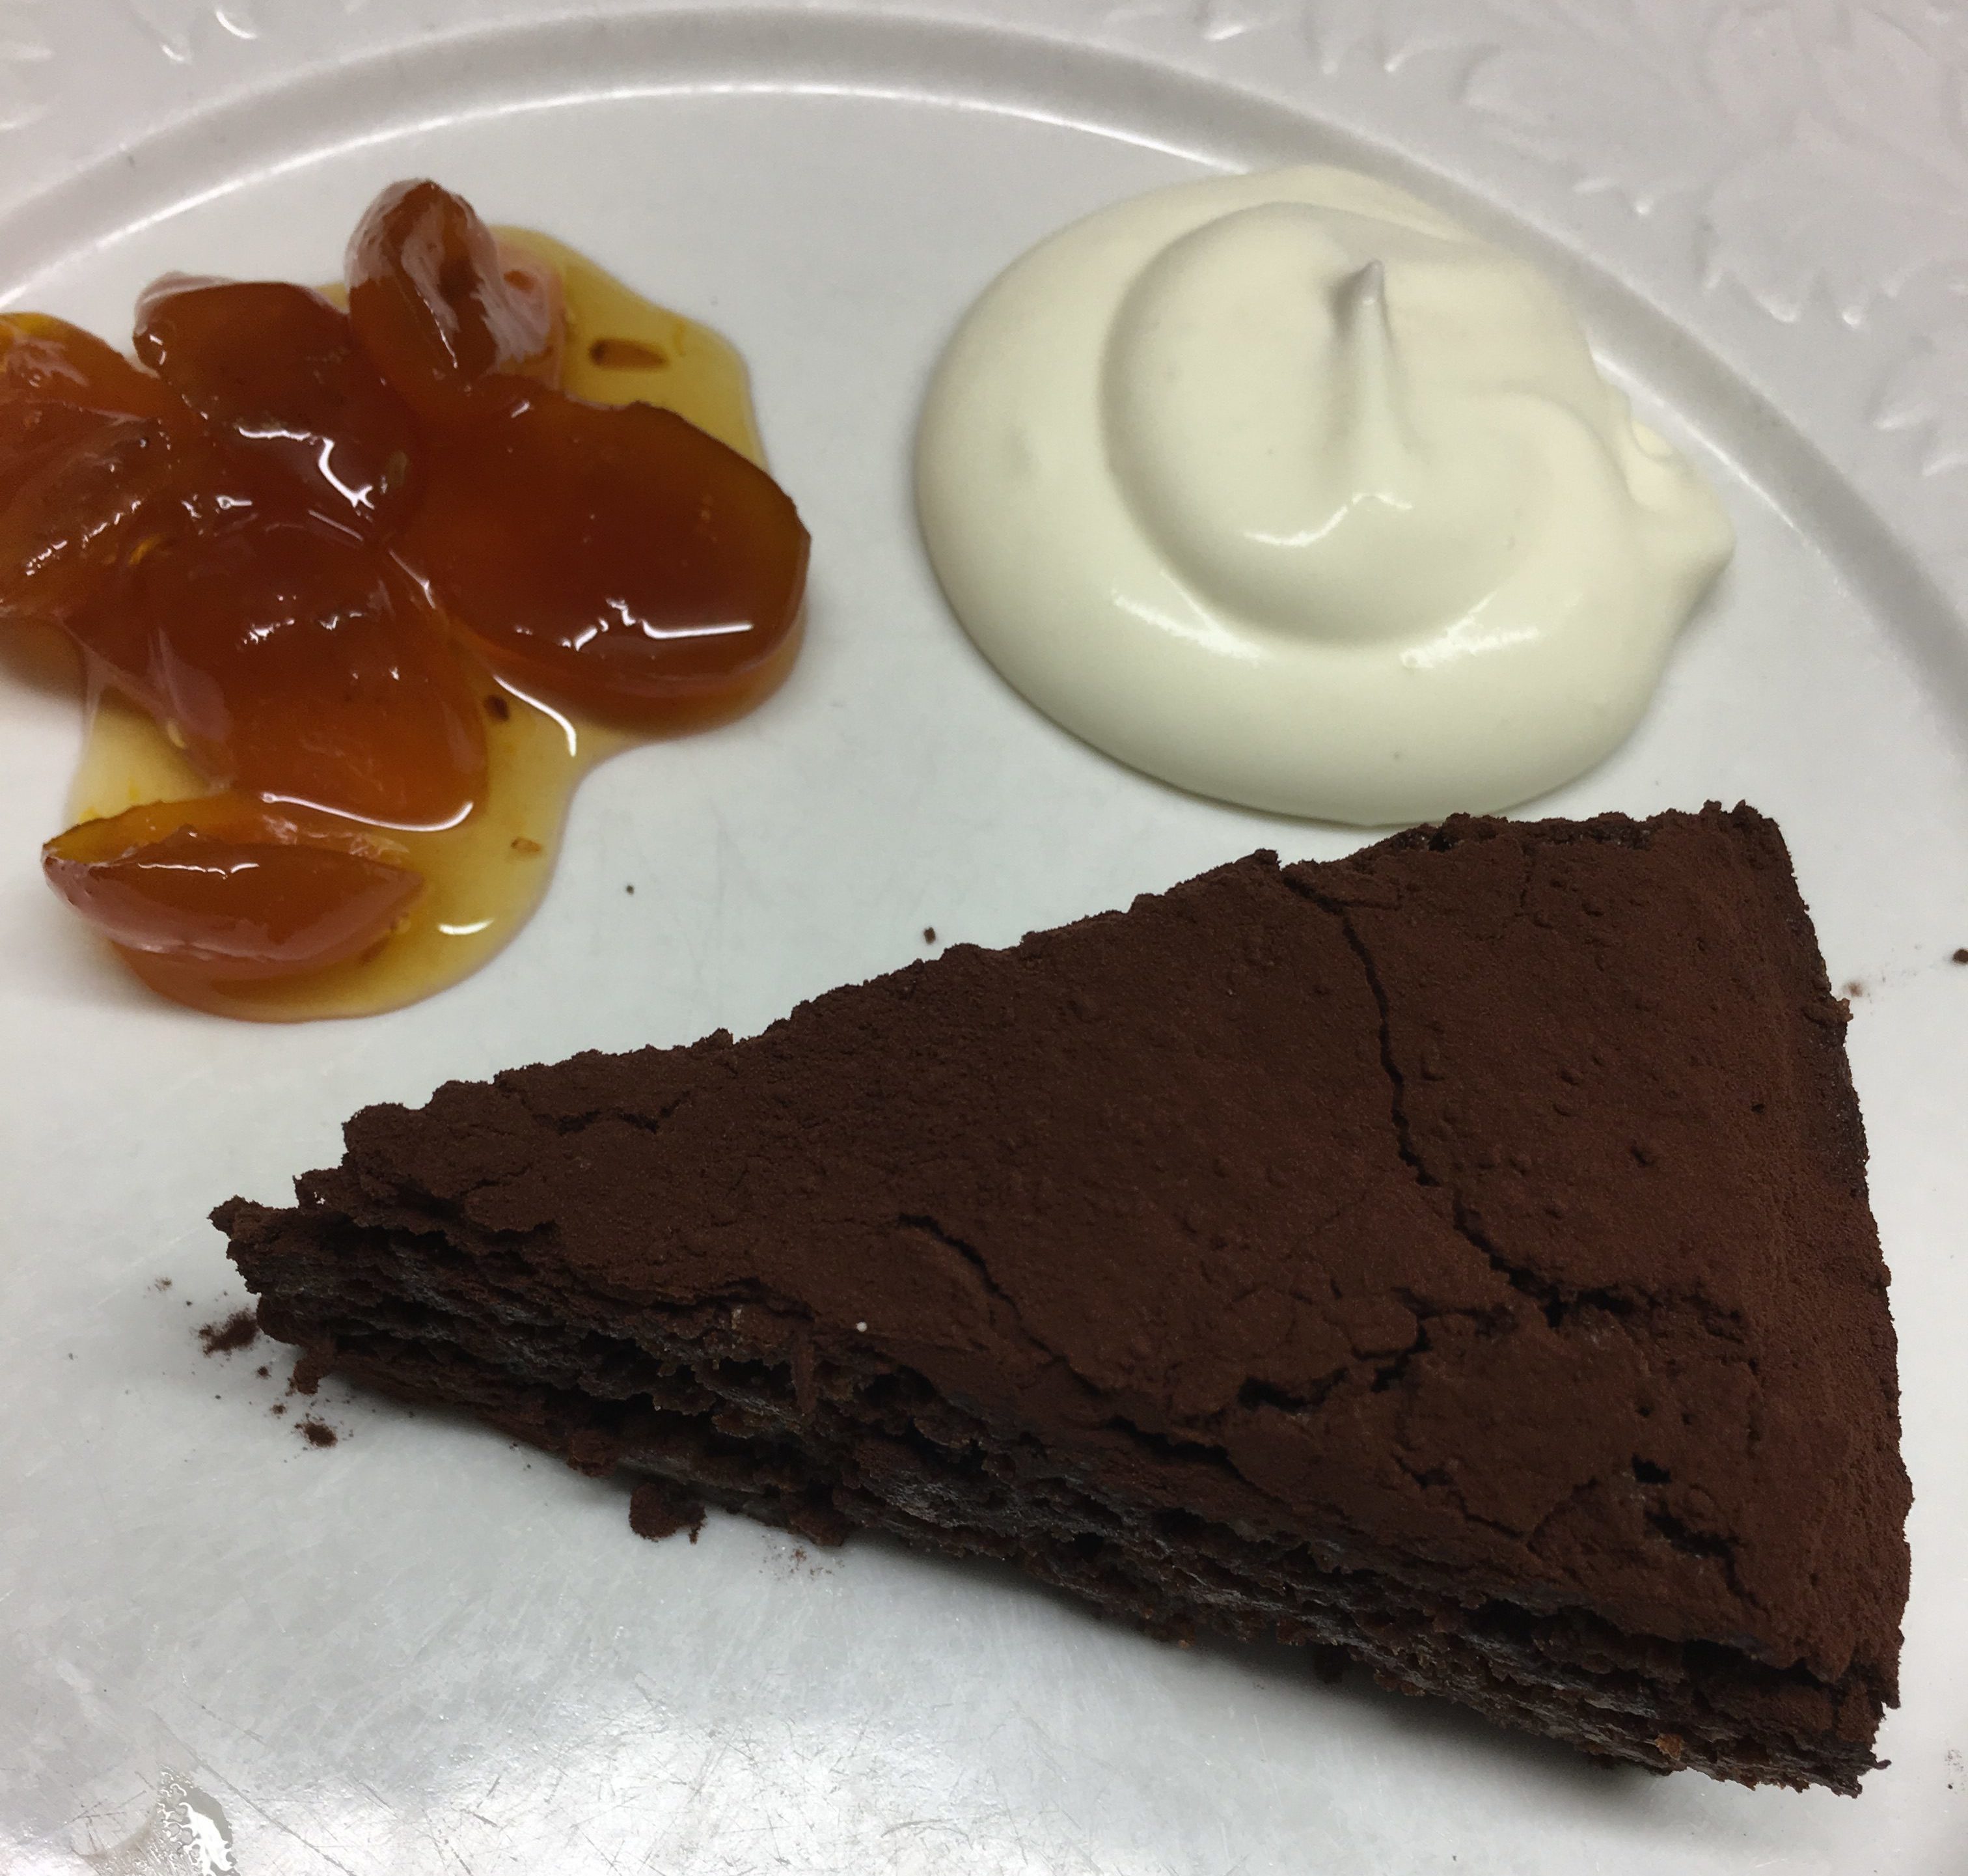
This quick cake requires no baking making it great for last-minute entertaining. Serve it with raspberries or raspberry coulis and cream. Add a dash of brandy or a liqueur to the coffee mixture for a more grown-up flavour. It’s adapted from a recipe I found in an IKEA cook book.

250g unsalted butter
250g dark chocolate
1 cup icing sugar
2 eggs
1 tsp vanilla essence
1 cup hot water mixed with 1 heaped Tbs instant coffee
1 packet of plain rectangular biscuits such as Marie (you need 23-25)
To serve:
Icing sugar
Raspberries or raspberry coulis
Whipped cream or pouring cream

Cut butter into cubes and place in microwave-safe bowl with the chocolate, broken into squares. Cover, otherwise it will splatter. Heat for about 2 minutes on high, stopping halfway to stir, or until melted.

Meanwhile place icing sugar in food processor and process to remove any lumps, then add the eggs. When mixed add the melted butter and chocolate and the vanilla essence.

Line a loaf pan with foil or plastic wrap. If using a silicone pan you don’t need to line it. Spoon about 4 tablespoons of chocolate mixture into the pan and spread over the base. Dip each biscuit briefly in the coffee mixture before arranging them in the cake pan. Lay a single layer of biscuits over the chocolate, then continue alternating chocolate and biscuits, ending up with chocolate.

Refrigerate for several hours or overnight. Remove cake from loaf pan, dust with icing sugar, then slice and serve with fresh or frozen raspberries or raspberry coulis and whipped or thick pouring cream.

Serves 8-10

Scones

Scones with jam and dollop of cream, otherwise known as Devonshire tea, is a treat few can say no to.

They are not difficult to make, but as with all easy recipes – scrambled eggs for example – a lot of people don’t get it right. The secret is to handle the dough as little as possible and get the scones into the oven quickly. It’s not bread dough and should not be kneaded: over-handling will make them tough.

With practice you can make scones in just under half an hour – perfect for a last minute afternoon tea. Ring your friends, switch the oven on and as they walk in the door you’ll just be taking the scones out of the oven.

Sour milk or buttermilk works well in scones. They say it makes them rise more and I remember as a child if the milk went sour (which it seemed to do more regularly back then) scones were on the menu. You can also use fresh milk, buttermilk or a mixture of milk and plain yoghurt. Serve with any kind of berry jam – in the photo I used blackberry. The recipe is easy to double.

250g self raising flour (or use plain flour and 2 level tsp baking powder)
½ tsp salt
50g butter (at room temp)
1 Tbs sugar
About 1 cup (250ml) buttermilk, sour milk or fresh milk
To serve:
Whipped cream
Berry jam

Heat oven to 200°C. Sieve flour (and baking powder) into a bowl. Lightly rub in the butter with fingertips until there are no more lumps. Add sugar then milk, stirring with a knife, till it all comes together. It should all stick together, just, but don’t make it too wet.

Tip onto a floured surface and form into a ball, then pat into a circle 2.5 to 3 cm thick. Cut scones with a round 2.5 to 3 cm cutter. Gather the scraps together and cut out 2-3 more from the remaining dough. Arrange on a greased shallow baking sheet. Brush tops with some extra milk. Bake for about 15 minutes until well-risen and lightly browned.

Serve slightly warm with whipped cream and berry jam.

Makes about 8

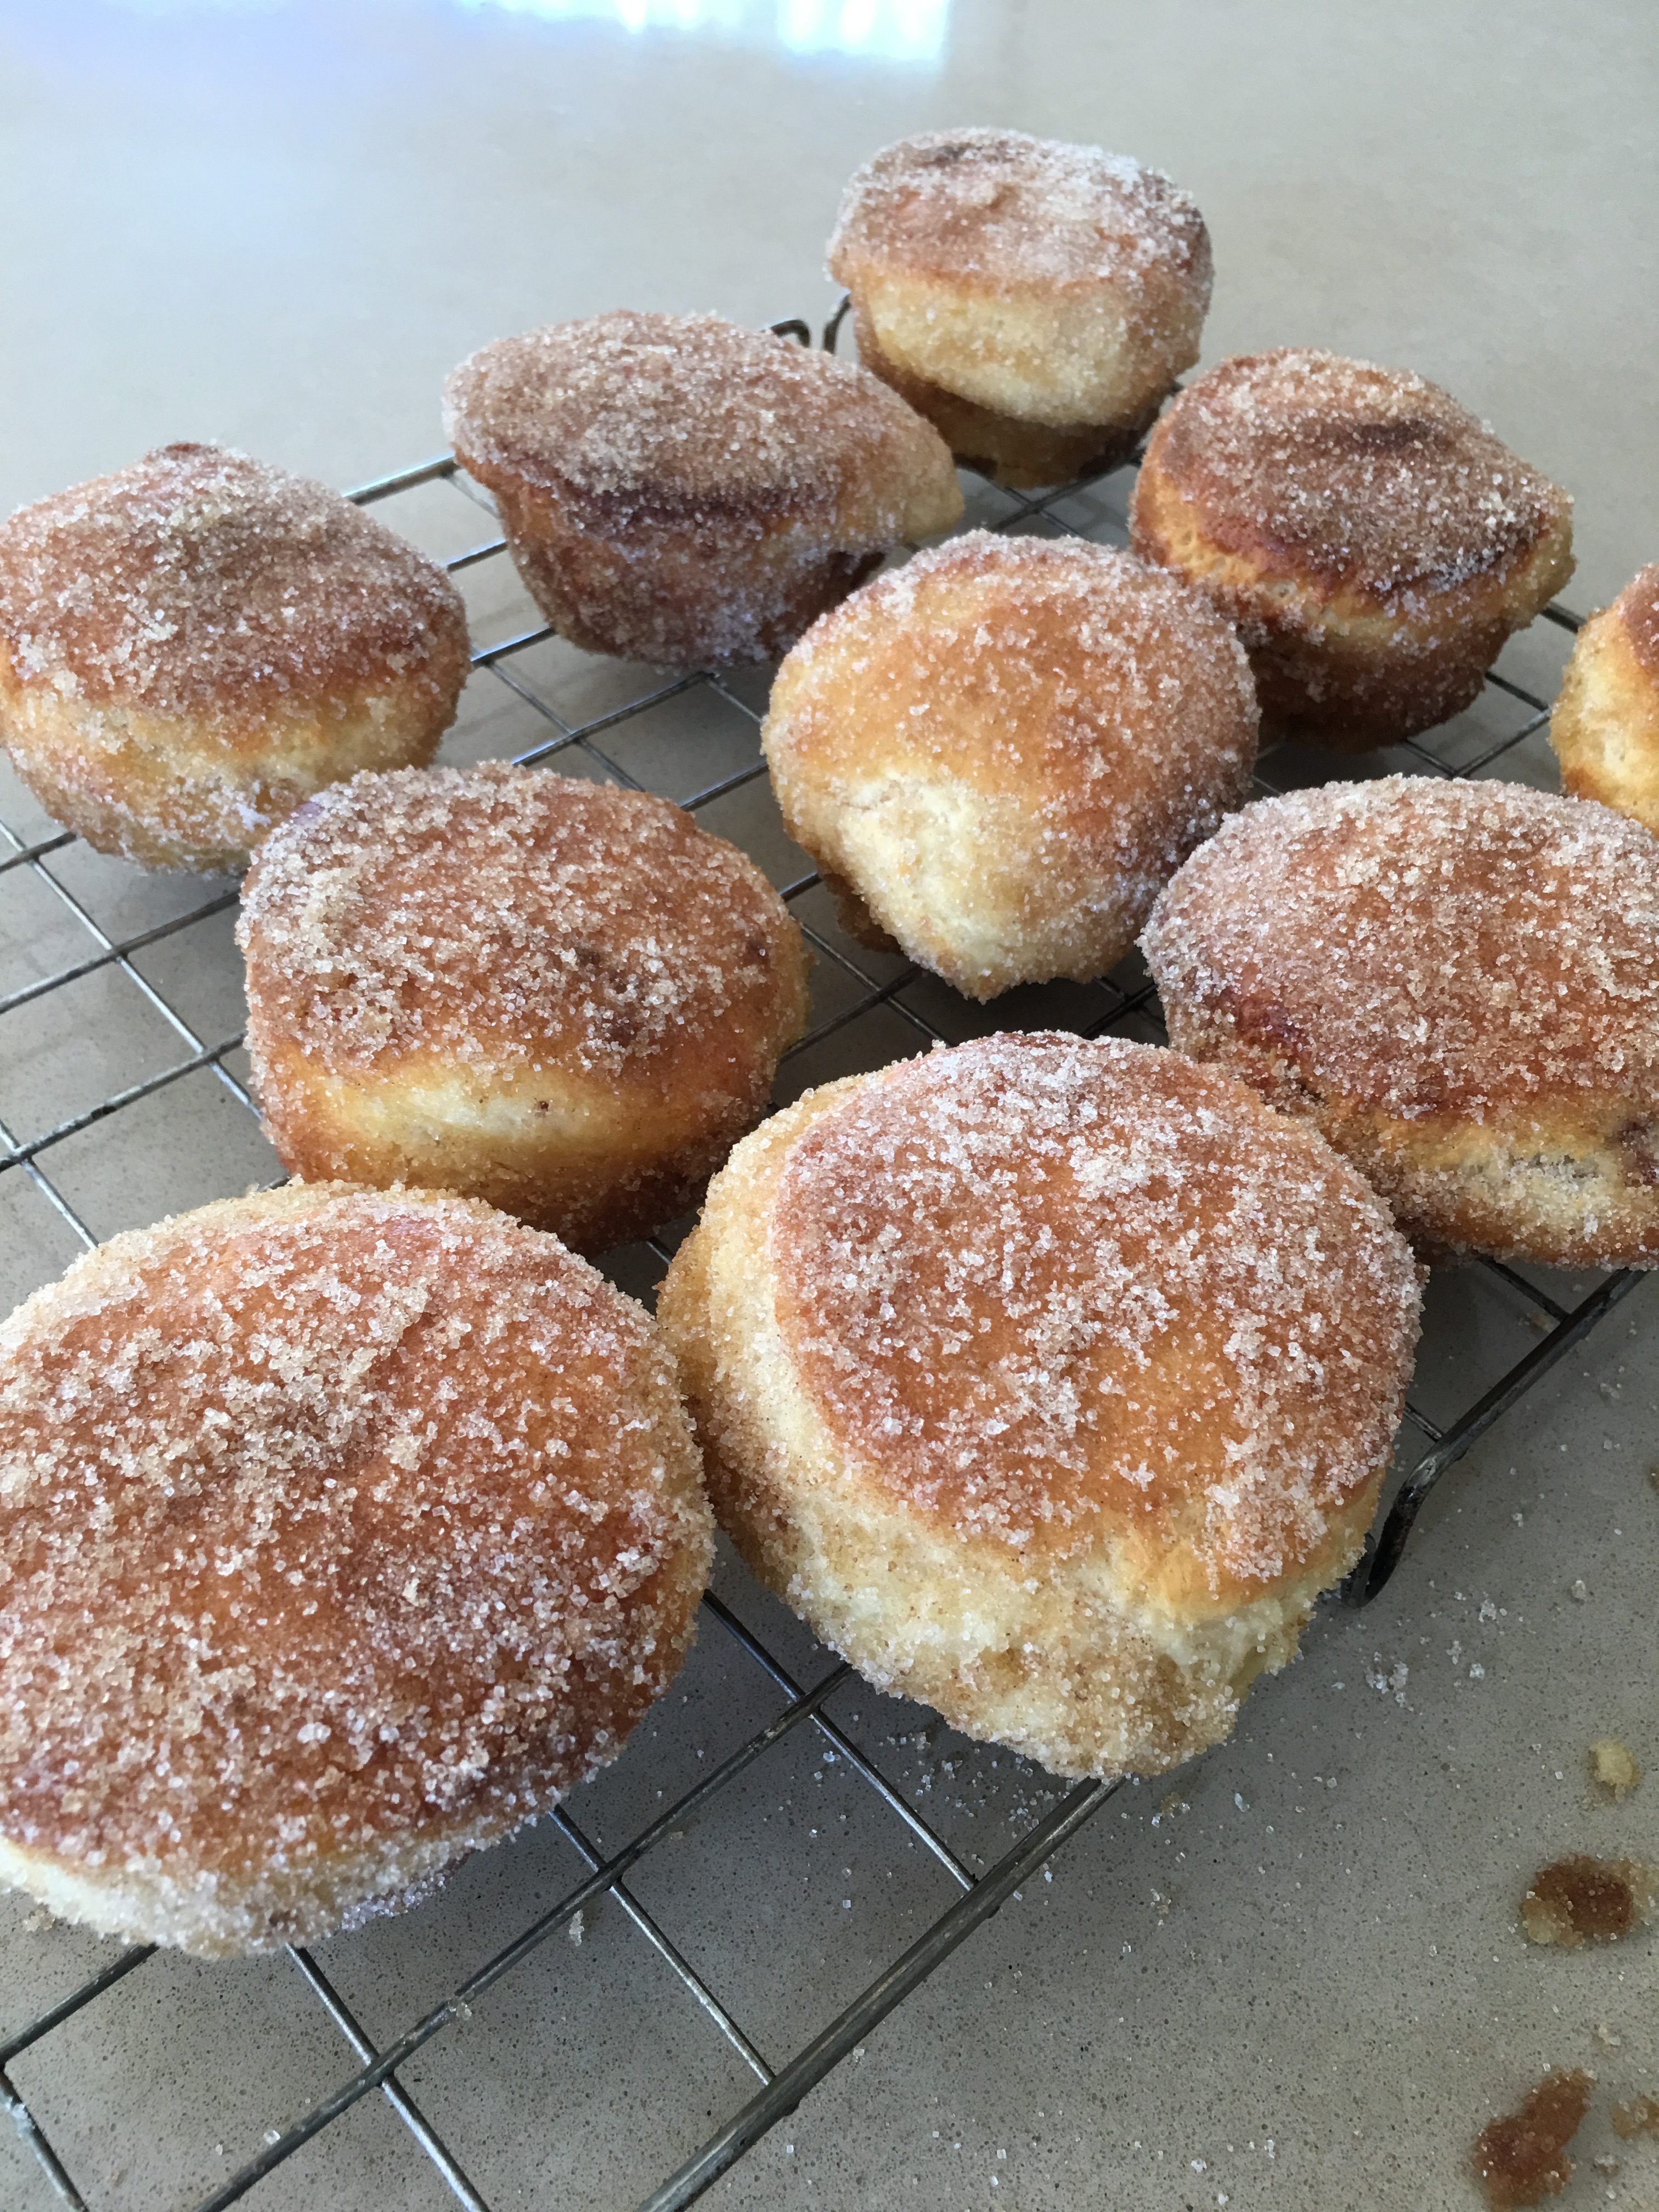
Cinnamon Doughnuts

Cinnamon doughnuts are a guaranteed winner with kids. You’ll be their best friend for life.

I recently came across this quick and easy recipe based on choux pastry and decided to make them for afternoon tea while the grandkids were staying. Traditional doughnuts contain yeast, which means making the dough in advance and I never seem to get around to it when we have a house full.

You don’t need a deep fat fryer – I just used a wok. The doughnuts don’t come out as perfect rounds, but it doesn’t matter, they taste delicious.

Sixteen cinnamon doughnuts were made and polished off in less than half an hour. You know you’ve hit the jackpot with the grandkids when instead of saying “Try it, you might like it” you’re saying “Okay how many have you had?” in order to work out who gets the last one.

The grown ups liked them too. You could serve them as dessert for “big kids” with chocolate sauce and a scoop of vanilla ice cream.

Love the half-peeled lurid green nail polish, don’t you?

100g butter
½ tsp salt
1 Tbs sugar
1 cup SR flour
4 eggs
About half a litre vegetable oil
To coat the doughnuts:
3-4 Tbs sugar
1 tsp cinnamon

Place butter, salt and sugar in a medium saucepan and heat until butter has melted. Remove from the heat and using electric beaters add the flour and mix until combined. Beat in the eggs, one at a time. If you have time you can refrigerate the mixture for a while at this stage to make it firmer for scooping. I didn’t have time.

Meanwhile heat the oil in a wok or deep saucepan until hot enough to cook the doughnuts – test it by putting a small bit in. Cook about 8 doughnuts at a time, using a large spoon or an ice cream scoop to make them. Cook on one side for a minute or so then then flip them over.

Remove doughnuts from the oil with a slotted spoon and roll them in the mixed sugar and cinnamon. Serve immediately.

Makes about 16

Little Edna’s Eccles Cakes

My mother’s best friend Edna was affectionately known as Little Edna because she was so tiny.

She loved to bake and watching friends and family eat what she had made gave her a great deal of pleasure. You rarely saw Little Edna eat anything herself, which is one of the reasons she was so tiny. My mother was always trying to shed a few kilos so we would avoid calling in at afternoon tea time. This wasn’t easy, as time-wise afternoon tea was a movable feast. Any time visitors popped in was an excuse to put the kettle on and get the cakes out. Edna was what is known as a “feeder” and saying no thank you wasn’t an option.

Edna and Stan kept a caravan on one of the beaches in northern France. They went there for a month each summer, often taking their grandchildren with them. One year Edna was on the beach, holding hands with two of her grandchildren as they ran in and out of the waves, laughing and splashing. Suddenly Edna’s false teeth shot out and into the sea. Despite a long search, they were nowhere to be found.

Driving back to England to get a new set wasn’t an option – they had only just arrived. So poor Edna spent a miserable two weeks feeling embarrassed and avoiding conversation. One day as she was strolling along the beach feeling glum she looked down and lo and behold “There they were, laffing up at me” she explained, with her broad Yorkshire accent “so I picked them up and put them straight back in again”.

Eccles cakes are traditional British pastries named after the town of Eccles and they were one of Little Edna’s specialities. I always thought her method of cutting the pastry into squares rather than circles (which is quicker and avoids any off-cuts) but still ending up with round cakes was pretty neat.

2 sheets ready-rolled puff pastry, approx 25x25cm
Filling:
1 cup mixed dried fruit or half sultanas and half currants (see note below)
25g butter, melted
2 Tbs brown sugar
2 Tbs jam or marmalade
Pinch of nutmeg
Grated rind of 1 lemon
To finish:
1 egg white, beaten with a fork
Sugar

Preheat oven to 180°C. Cut each square of pastry into six even pieces – down the middle, then into three cross-wise. Mix filling ingredients and put a heaped teaspoonful or so in the middle of each square. Draw up the sides of each square into the middle and pinch the ends together firmly, to form a little round purse.

Turn each one over and press firmly with the palm of your hand, so you have a neat round cake, or roll over each one lightly with a rolling pin. Cut two or three slashes with a sharp knife on the top of each cake. Brush each one with egg white, then dip in some sugar and shake off the excess. Arrange cakes on a baking sheet and bake for 15 minutes, or until golden brown. Serve warm or cold. Best eaten the same day.

Makes 12

Note: if preferred, make the cakes smaller by cutting each sheet of pastry into 9 instead of 6 – as shown in this photo.

Currants are dried small grapes not dried blackcurrants. If unavailable use more sultanas or some chopped raisins.


Chocolate Fudge Cake with Tim Tams

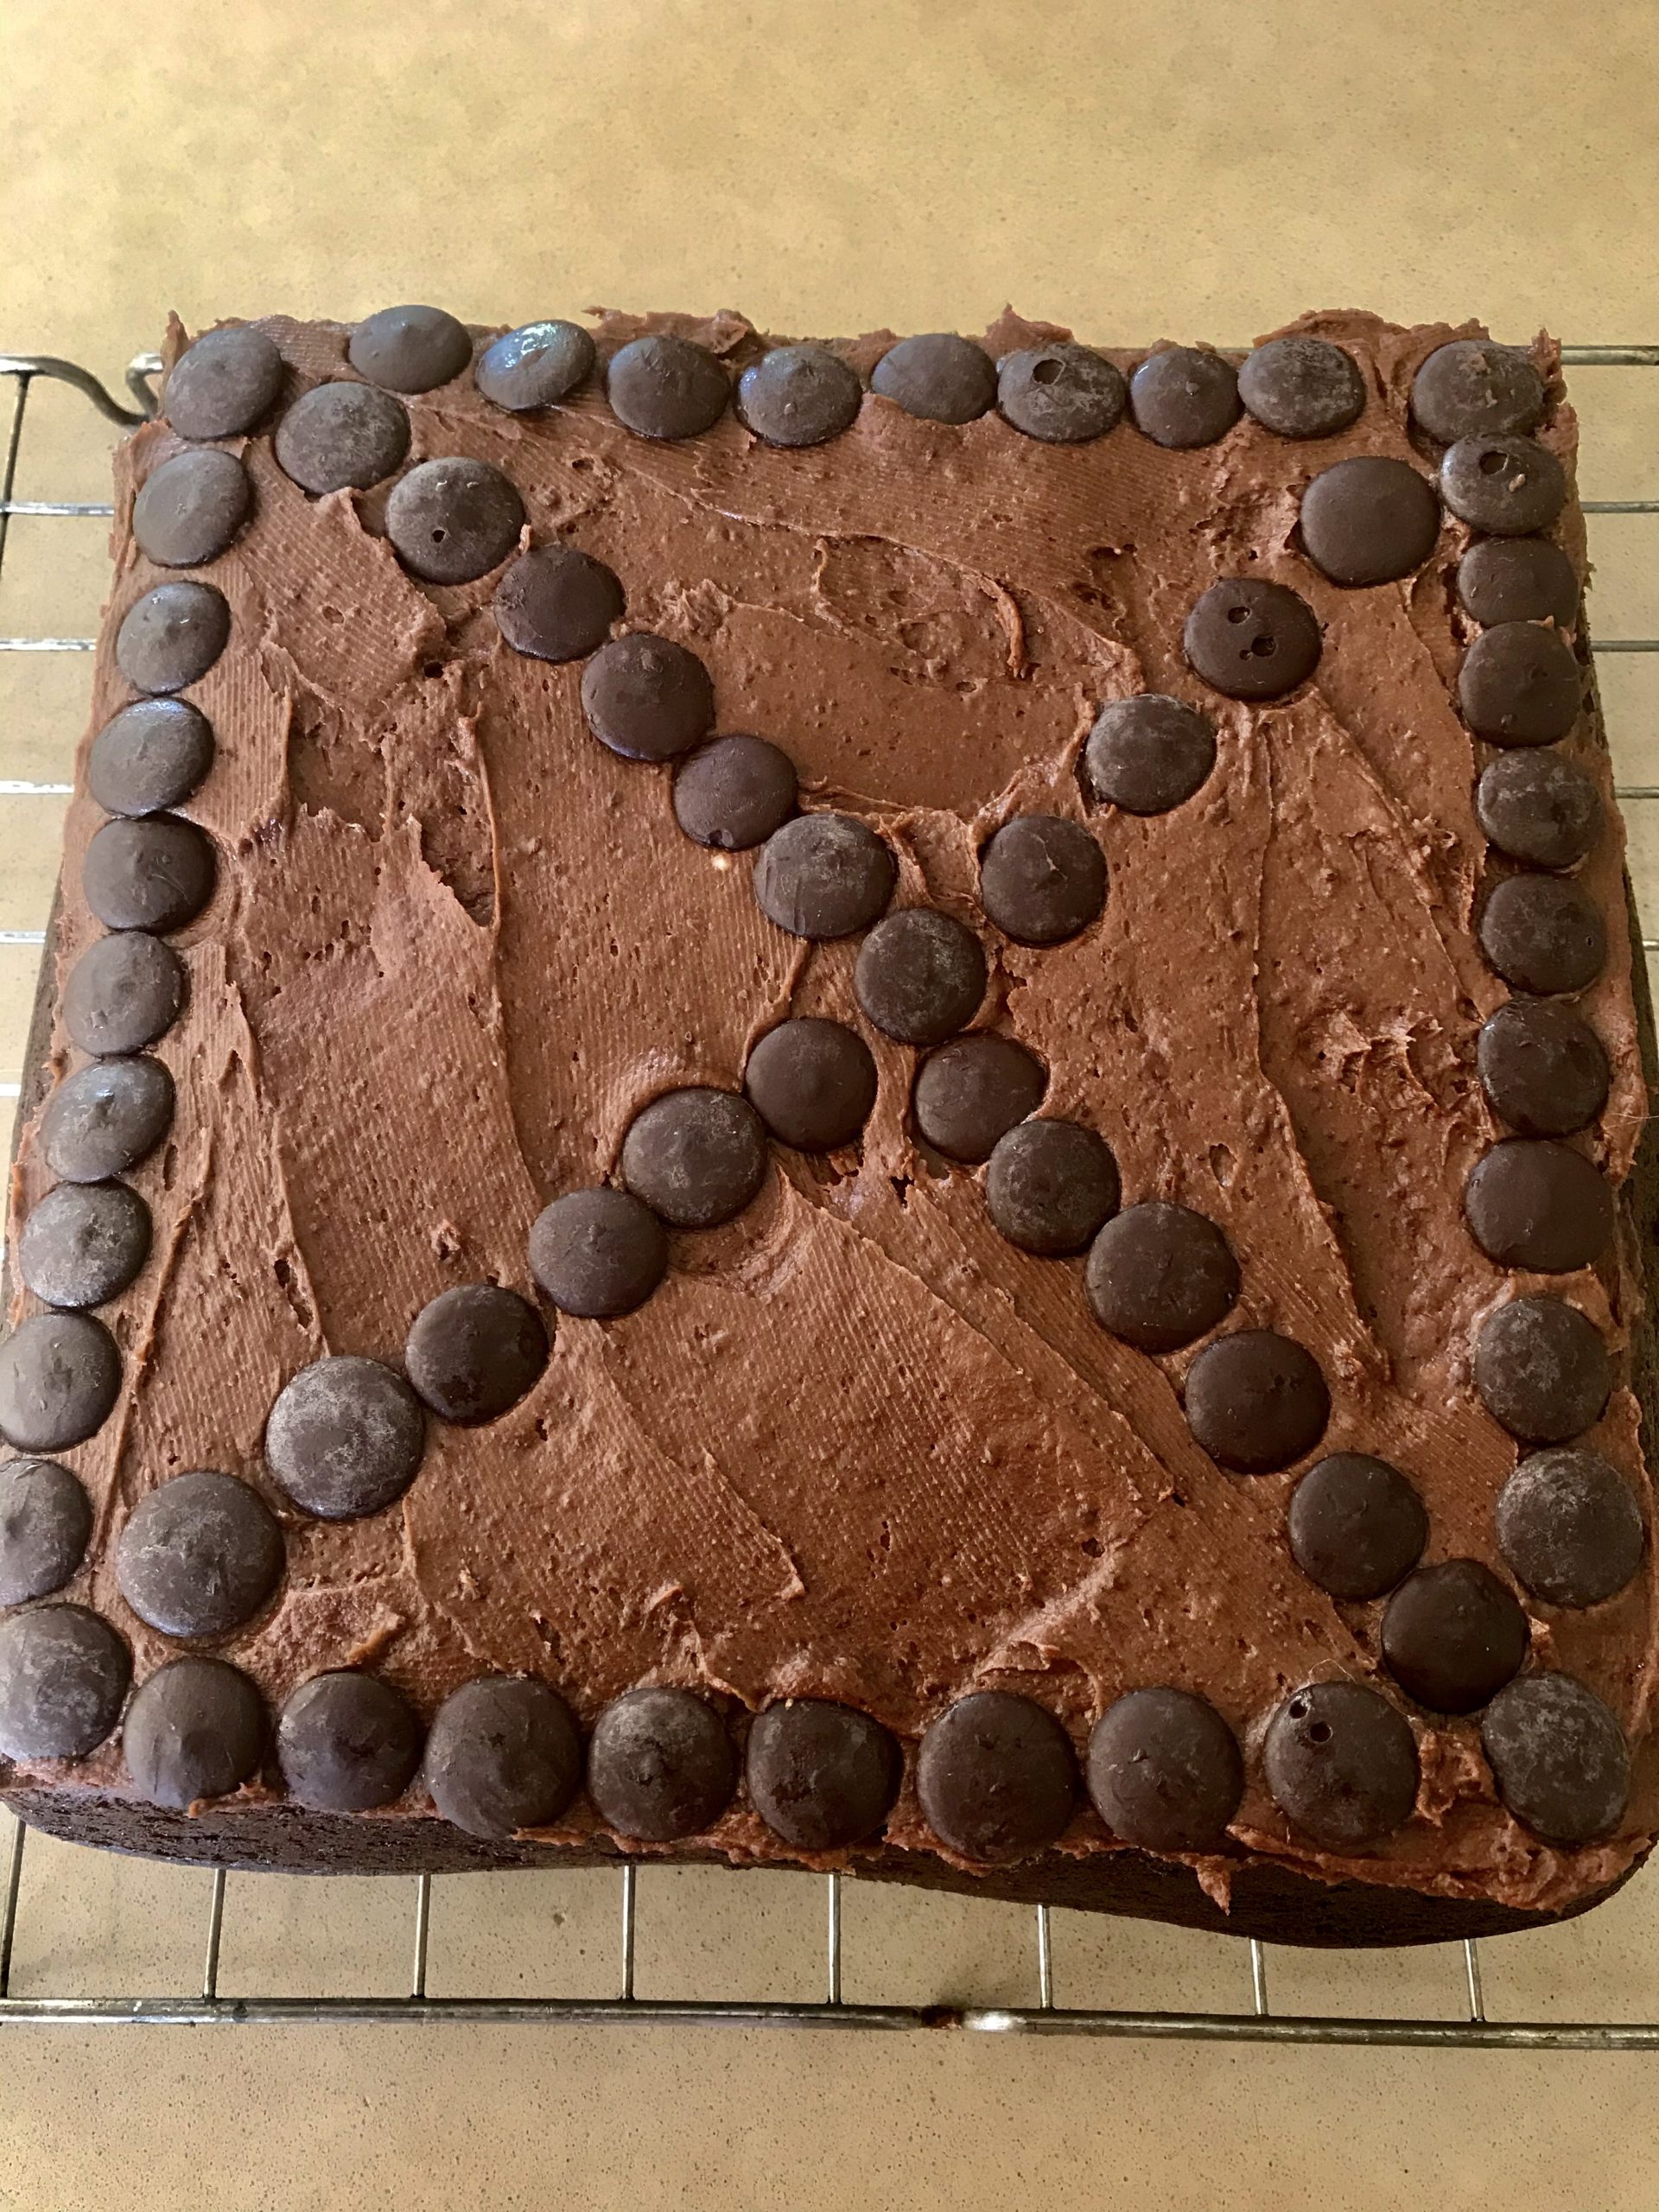
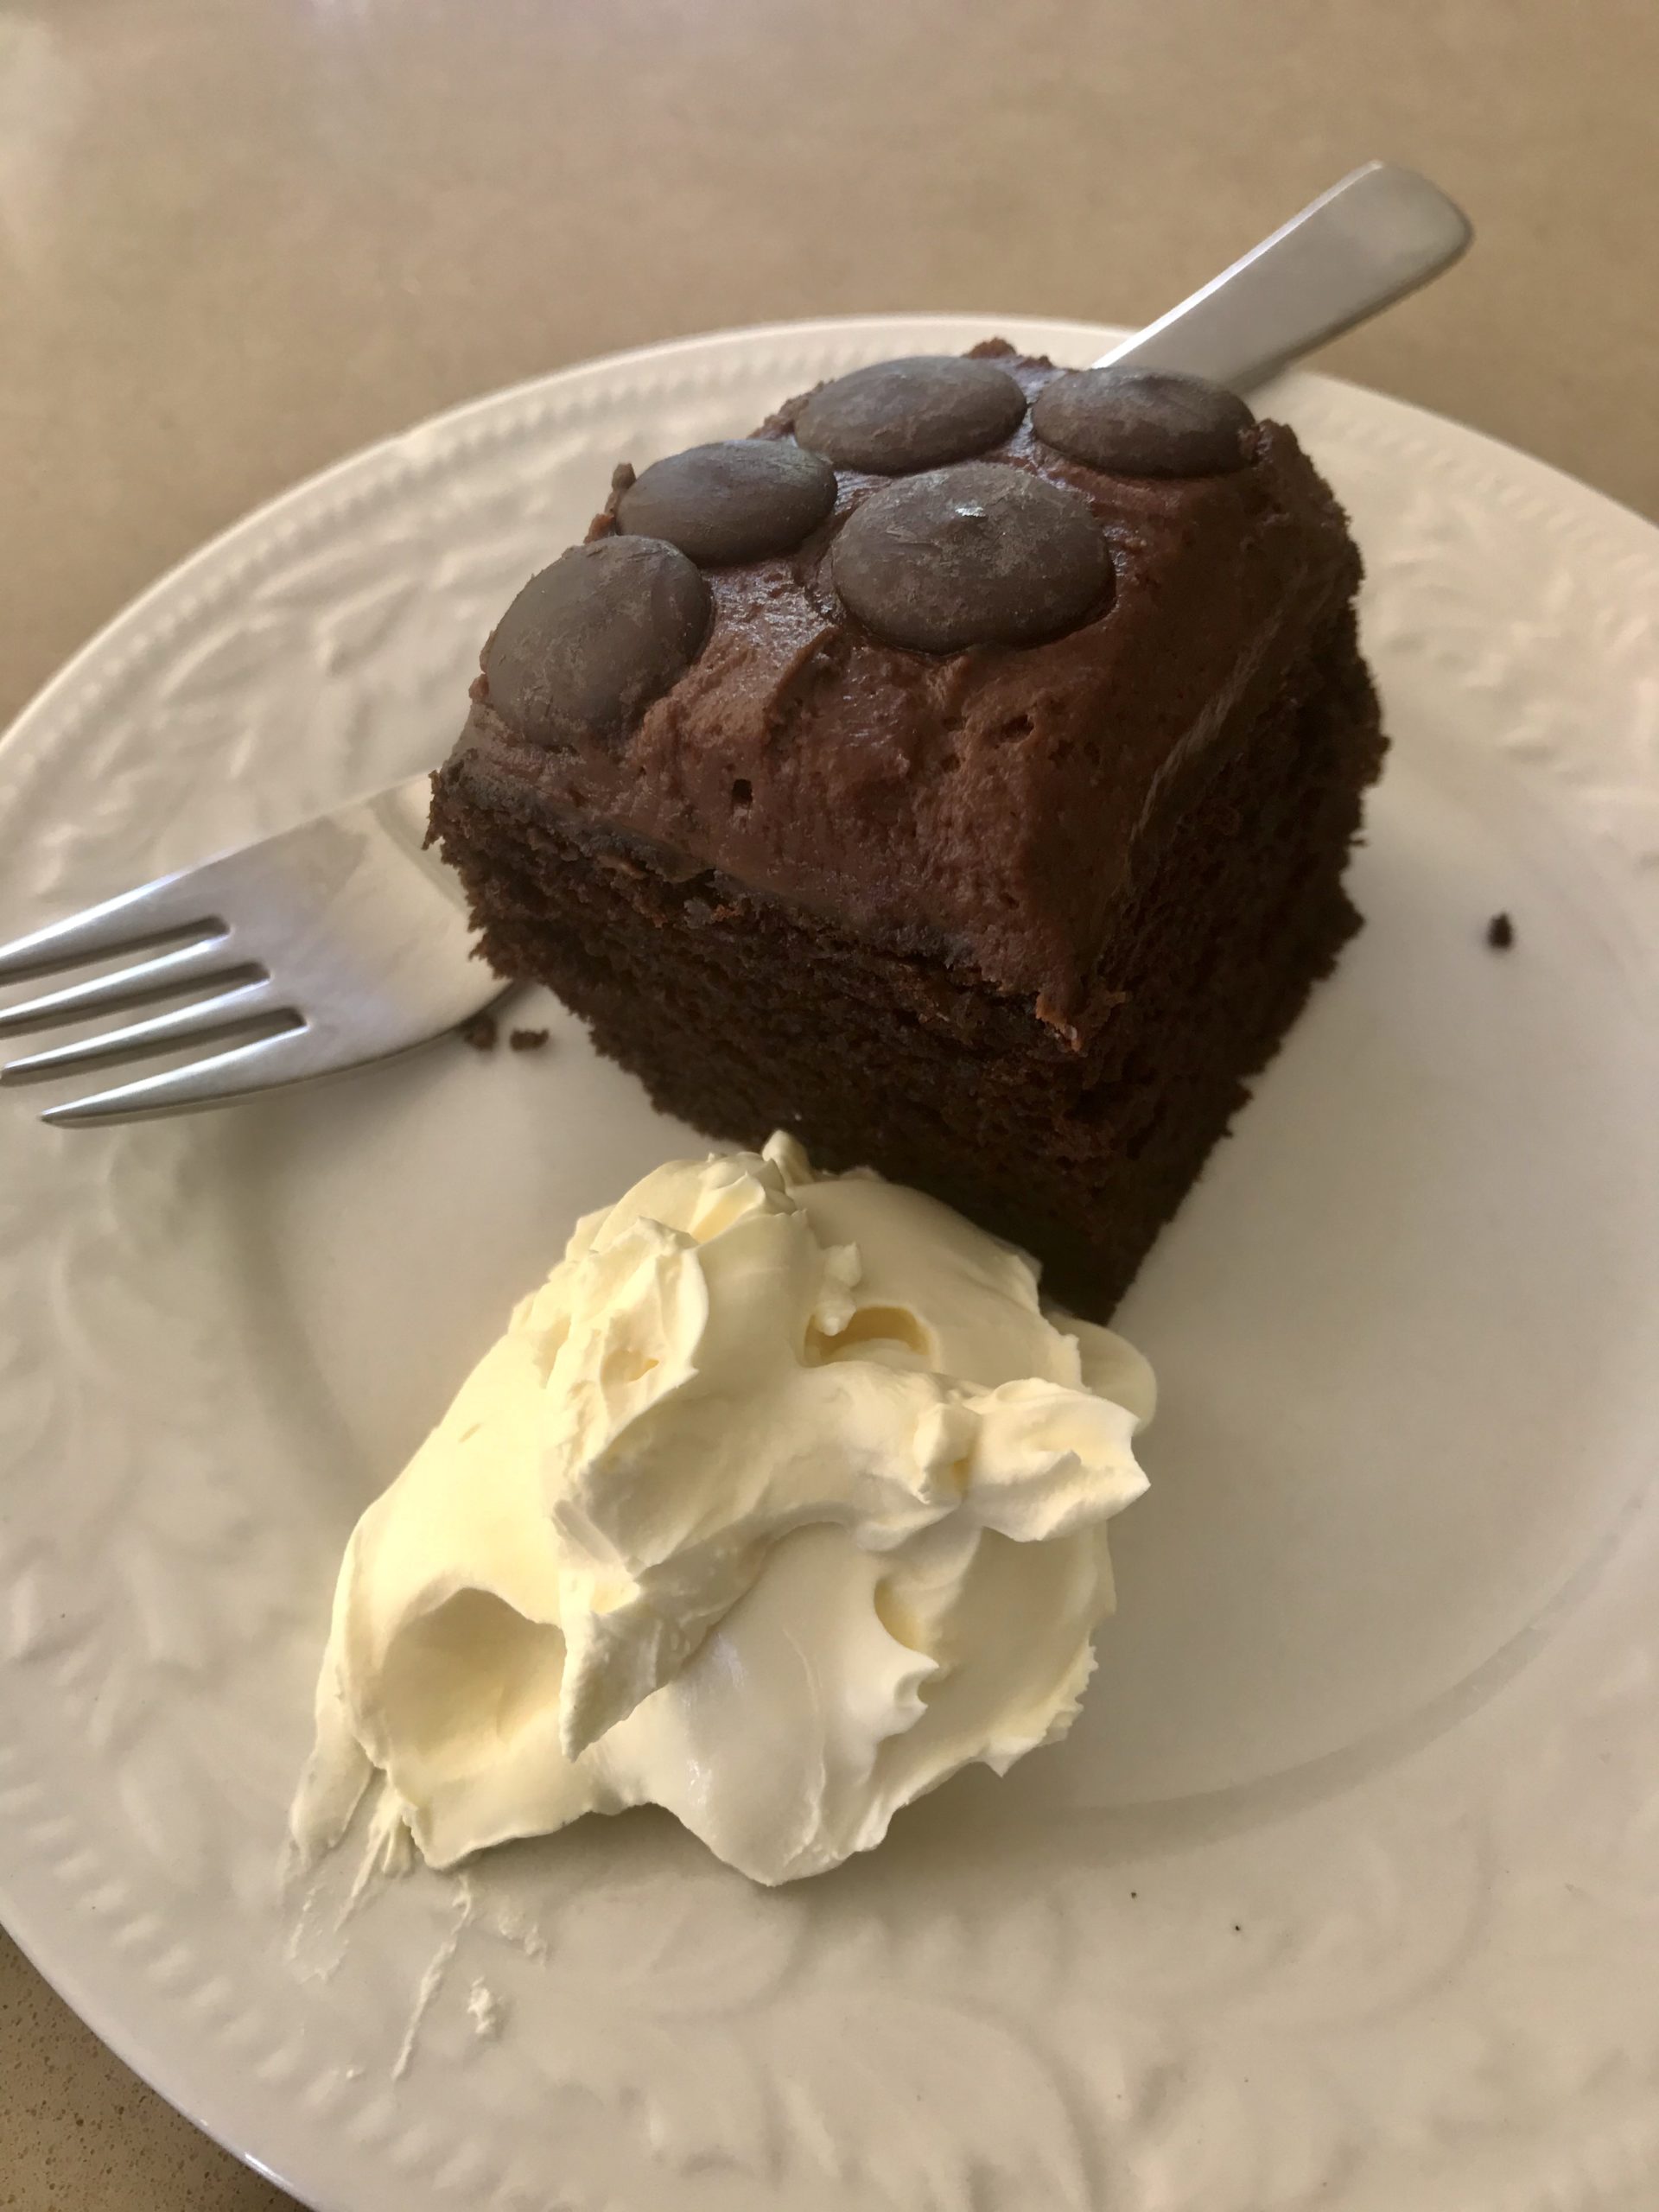
This chocolate fudge cake has been our family’s birthday cake for decades. Twice it was promoted to the status of a three-tiered wedding cake – once covered with dark chocolate ganache and shaved chocolate and the second time with white chocolate ganache. It continues to be the preferred celebration cake in our family.

For the unenlightened, a Tim Tam consists of two layers of chocolate malted biscuit, separated by chocolate cream filling and coated with a thin layer of chocolate. These biscuits have become something of an Australian icon since their launch by Arnotts in 1963. Over the years new flavours and fillings have been introduced to keep up with modern trends. Tim Tams now come in dark or milk chocolate and with fillings such as salted caramel and peanut butter.

Matthew is a staunch Tim Tam fan so I decided to use them to decorate his birthday cake this year. Unfortunately white chocolate ends up rather yellow as you can see in the photo – but it tasted good! Make the cake the day before the birthday as it’s much easier to ice next day.

Chocolate Fudge Cake with Tim Tams

Cake:
¾ cup cocoa powder
½ cup hot water
¼
 cup vegetable oil
1¼ cups sugar
2 eggs
1½ cups self-raising flour, sifted (or use plain flour plus 2 tsp baking powder)
2 tsp bicarbonate of soda
1 cup buttermilk (for substitute see below)
½ tsp salt
Chocolate Ganache: (option 1)
300ml thick cream
250g chocolate (dark, milk or white)
Cream Cheese Icing: (option 2)
125g unsalted butter at room temperature
125g cream cheese at room temperature
¾ cup cocoa powder
1½ cups icing sugar, sifted
2-4 Tbs cold milk, as required
To decorate:
2 x 200g packets Tim Tams
1 packet Maltesers (optional)
3 Tbs cream and 50g white chocolate, melted, to drizzle over

Preheat oven to 180°. In a fan-forced oven it’s best to lower the temperature to 170ºC so cake doesn’t rise too fast. Grease a 20-22cm round cake tin and line the bottom with baking paper. Alternatively use two shallow sandwich tins and line them both.

Place all ingredients for cake in a large mixing bowl. Using electric beaters, mix well for 2-3 minutes. Use a spatula to scrape down any bits stuck to the sides of the bowl.

Scrape mixture into cake tin and smooth the top. Bake for 35-45 mins in the centre of the oven, or until a skewer inserted in the middle comes out clean. Don’t overcook as you want the cake to be moist and fudgey. Two thinner cakes will take less time, around 25 mins. Cool 10 minutes in tin. Turn out and cool on a cake rack. Ice the cake the following day.

Make Chocolate Ganache or Cream Cheese Icing – see below. Either ice cake just on the top and sides, or if you’ve cooked it in two sandwich tins use some of the ganache in the middle to stick them together. You can also cut one large cake in two horizontally with a serrated knife. If cake has risen into too much of a domed shape shave a bit off with a serrated knife.

To ice cake in the middle as well as top and sides you will need to make one and a half times the Ganache recipe. With the cream cheese icing there should be enough.

While the cake is perfectly nice without any adornment, if liked stick Tim Tams around the sides, cover the top with Maltesers and drizzle with melted and cooled white chocolate mixture. Cake keeps for 3-4 days in a tin.

Chocolate Ganache: Heat cream in a small saucepan until boiling then remove from the heat and add chocolate, broken into squares. Stir to dissolve then cool until thick enough to spread over cake.

Cream Cheese Icing: With electric beaters, beat butter and cream cheese, gradually adding the cocoa, then the icing sugar and enough milk to make desired consistency.

Substitute: if you don’t have buttermilk use ½ cup plain yogurt and ½ cup milk or 1 cup milk mixed with 1 tsp vinegar and left to stand for an hour.

Serves 14


PT45M
PT15M
PT60M

Plum Puddings with Vanilla Ice Cream

Cooking classes were part of the weekly schedule at the all girls Grammar school I attended in the UK. In the first lesson, when I was 11, we made cheese on toast which we polished off immediately and in the second we made cauliflower cheese. After that they all blur into one. Each week I headed off on the school bus with the ingredients packed into my school bag and returned home with what was often destined to be the family’s evening meal, sitting precariously on my knees.

When I left school 7 years later I had covered all the basics – pastries, breads, sauces and cakes, roasting, steaming, braising and more. We also learnt about nutrition, planning meals for people on special diets such as the elderly or diabetics, writing shopping lists and sticking to a very tight work schedule. Finishing on time with the table set, the food ready to serve and all the washing up done was a requirement when we had practical examinations. I often wonder what happened to my somewhat unpredictable classmate Janet Richardson. She could produce a great meal or a clean kitchen, but not both. Her work station looked as if a bomb had hit it when we were told that time was up.

I now realise how lucky we were to have this training. A surprising number of kids leave home these days with few cooking skills. This means they spend a fortune eating out or survive on takeaways. Small wonder that obesity is on the increase. When a friend of one of our offspring got married he and his new wife wandered around a supermarket for half an hour studying the shelves and came out with a jar of peanut butter, a loaf of bread, a packet of spaghetti and a jar of Paul Newman’s spaghetti sauce. Neither of them felt confident to buy anything else which needed cooking.

When I see blood plums in the shops I get the urge to make a recipe by Stephanie Alexander which she calls Mieze’s Plum Cake. It makes quite a big cake, so here I’ve fiddled around with the quantities to end up with about half the original recipe (but not exactly) and used it to make 8 individual puddings.

At school we were taught that once self-raising flour has come into contact with liquids the dish needs to go into the oven immediately, because the baking powder starts to work. However, I left these little plum puddings on the side, ready to bake, for an hour or two before they went in the oven and they were perfect. I didn’t want to be mixing cakes once our guests had arrived.

Plum Puddings with Vanilla Ice Cream

Cake:
4 large blood plums (dark red or purple inside)
125g butter at room temp
½ cup sugar
1 cup walnut or pecan halves
2 eggs
1 cup self-raising flour, sieved
2 Tbs milk
pinch salt
1 tsp vanilla essence
Topping:
1 egg
2 Tbs butter
2 Tbs sugar
1 Tbs flour
½ tsp ground cinnamon
To serve:
Icing sugar
Vanilla ice cream

Butter 8 individual pudding dishes and arrange on a baking tray. Or you can use large non-stick muffin tins, buttered well. Pre-heat oven to 180°C. For cake place butter and sugar in food processor and mix until light and fluffy. Add the nuts and eggs and process until the nuts are coarsely chopped, stopping to scrape down the sides. Add flour, milk and vanilla and process just enough to combine, stopping again to scrape down the sides. Divide mixture evenly between the dishes or muffin tins.

Cut plums in half and remove stones. Place one plum half in each cake, cut side up. Press down on the plum so the cake comes up level with it. Place topping ingredients in food processor (no need to wash it out) whiz till smooth, then divide among the cakes and spread over. Bake cakes for 25 mins or until well risen and golden. If you have made them in muffin tins, cool for a minute or two then carefully remove from the tins but if they are in dishes serve them as they are. Dust with icing sugar and serve with vanilla ice cream.

Serves 8

Chocolate & Vanilla Cheesecake with Raspberries

I’ve always been a cheesecake fan, but I don’t like all cheesecakes, especially ones which are dry. This one is rich and creamy and not too sweet.

Chocolate, vanilla and raspberries go together extremely well, but if you prefer leave the cocoa powder out and just have a simple biscuit base. Vanilla paste is nicer than essence because it has the little black vanilla seeds in it.

Chocolate & Vanilla Cheesecake with Raspberries

Crust:
170g plain sweet biscuits (digestives, Nice, any will do)
3 Tbs cocoa powder
¼ cup sugar
125g unsalted butter, melted
Filling:
500g ricotta cheese
250g cream cheese at room temp
1 cup sugar
4 eggs
2 tsp vanilla essence or paste
Finely grated rind one lemon
Pinch salt
Topping:
2 cups sour cream
1 Tbs sugar
1 tsp vanilla essence or paste
Raspberries:
500g frozen raspberries
1 Tbs sugar (or to taste)

Place biscuits in food processor and process to fine crumbs. Add cocoa and sugar and blitz for 30 secs. Meanwhile in a mixing bowl melt the butter in microwave. Add biscuit crumbs and mix well.

Preheat oven to 150°C. Butter or oil a 22cm springform pan. Press biscuit crumbs over the base and about three quarters up the sides of the pan. Use your hands to coat the sides and a small glass to press down the bottom – try to avoid it being too thick where the sides meet the bottom. Place in the fridge or freezer.

Rinse out food processor. Place all ingredients for filling in food processor and mix until smooth, stopping to scrape down sides and checking there aren’t any large lumps of cream cheese left. Scrape into the biscuit lined pan, then bake for 40-50 mins or until cheesecake is set around the edges but still a bit wobbly in the middle. Mix all ingredients for topping and spread over the top. Put back in the oven for 8-10 mins until just set, then remove and cool. Run a knife around the edge to loosen and  when cold refrigerate overnight, covered.

Serve cheesecake with the raspberries which have been left to thaw in a bowl with the sugar, then gently stirred.

Serves 12-16

Variations: use gingersnap biscuits instead of plain ones and omit cocoa. Serve with fresh or frozen berries such as raspberries, strawberries, blueberries or slices of fresh mango.

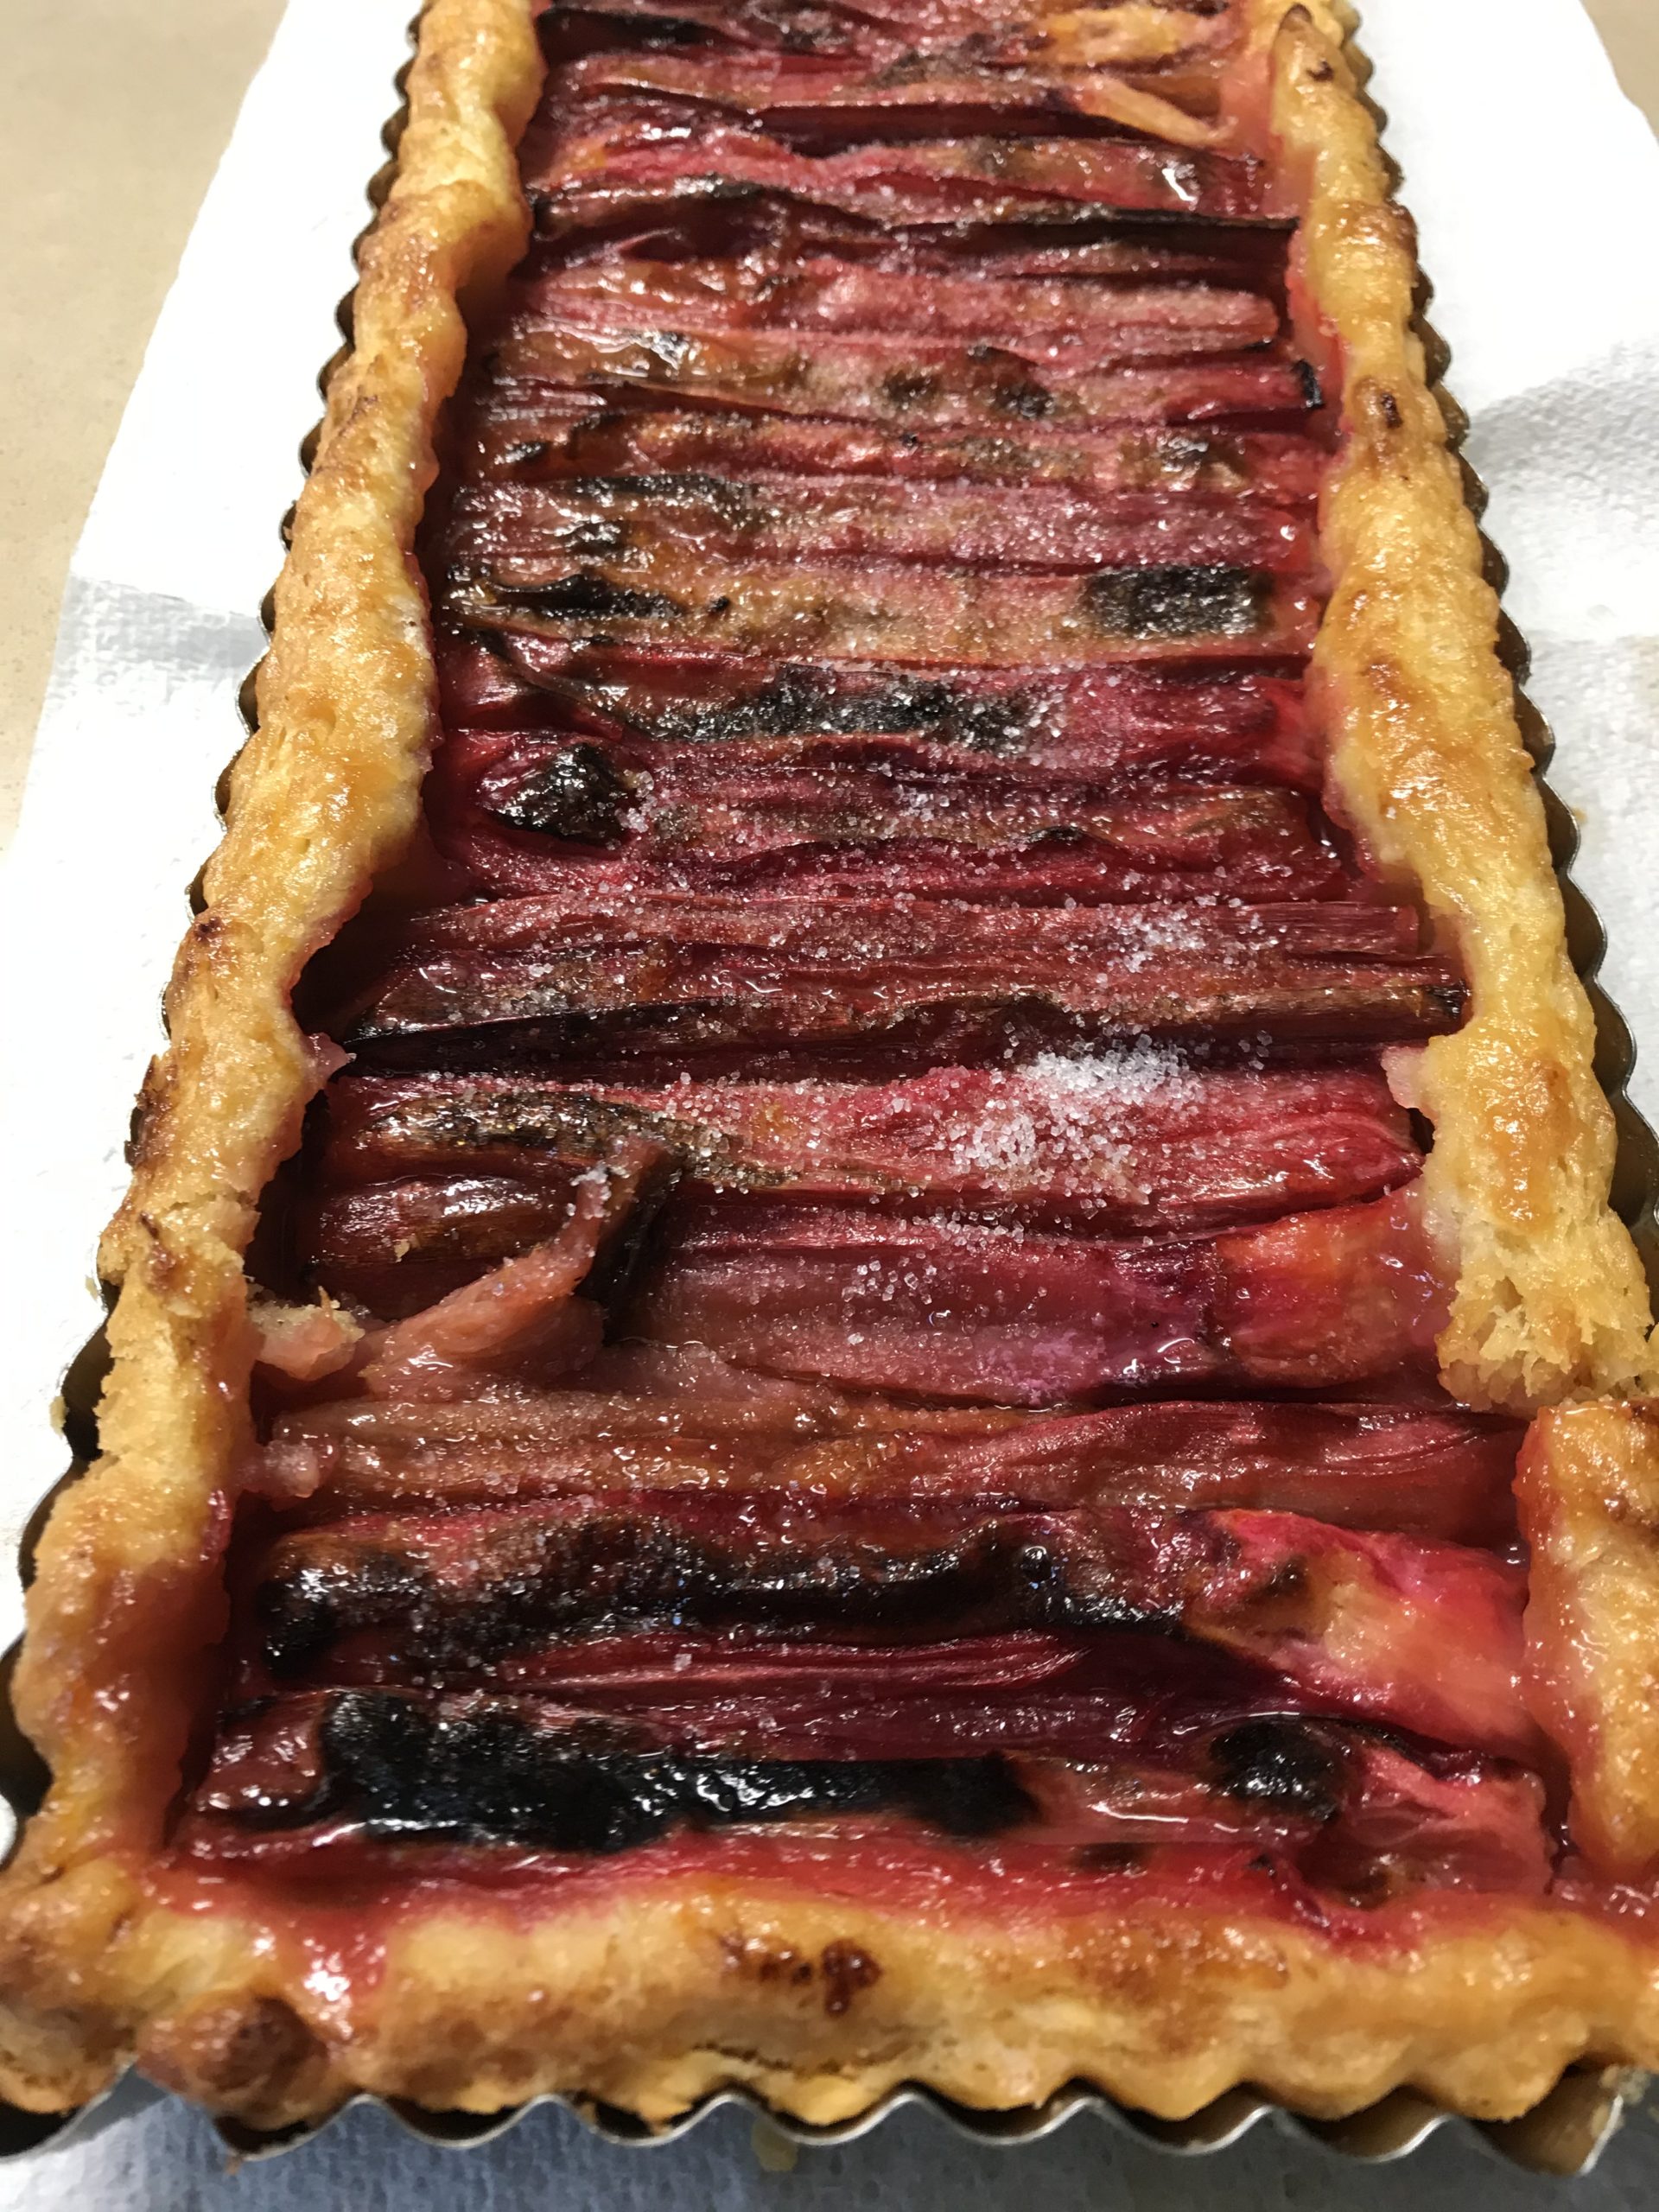
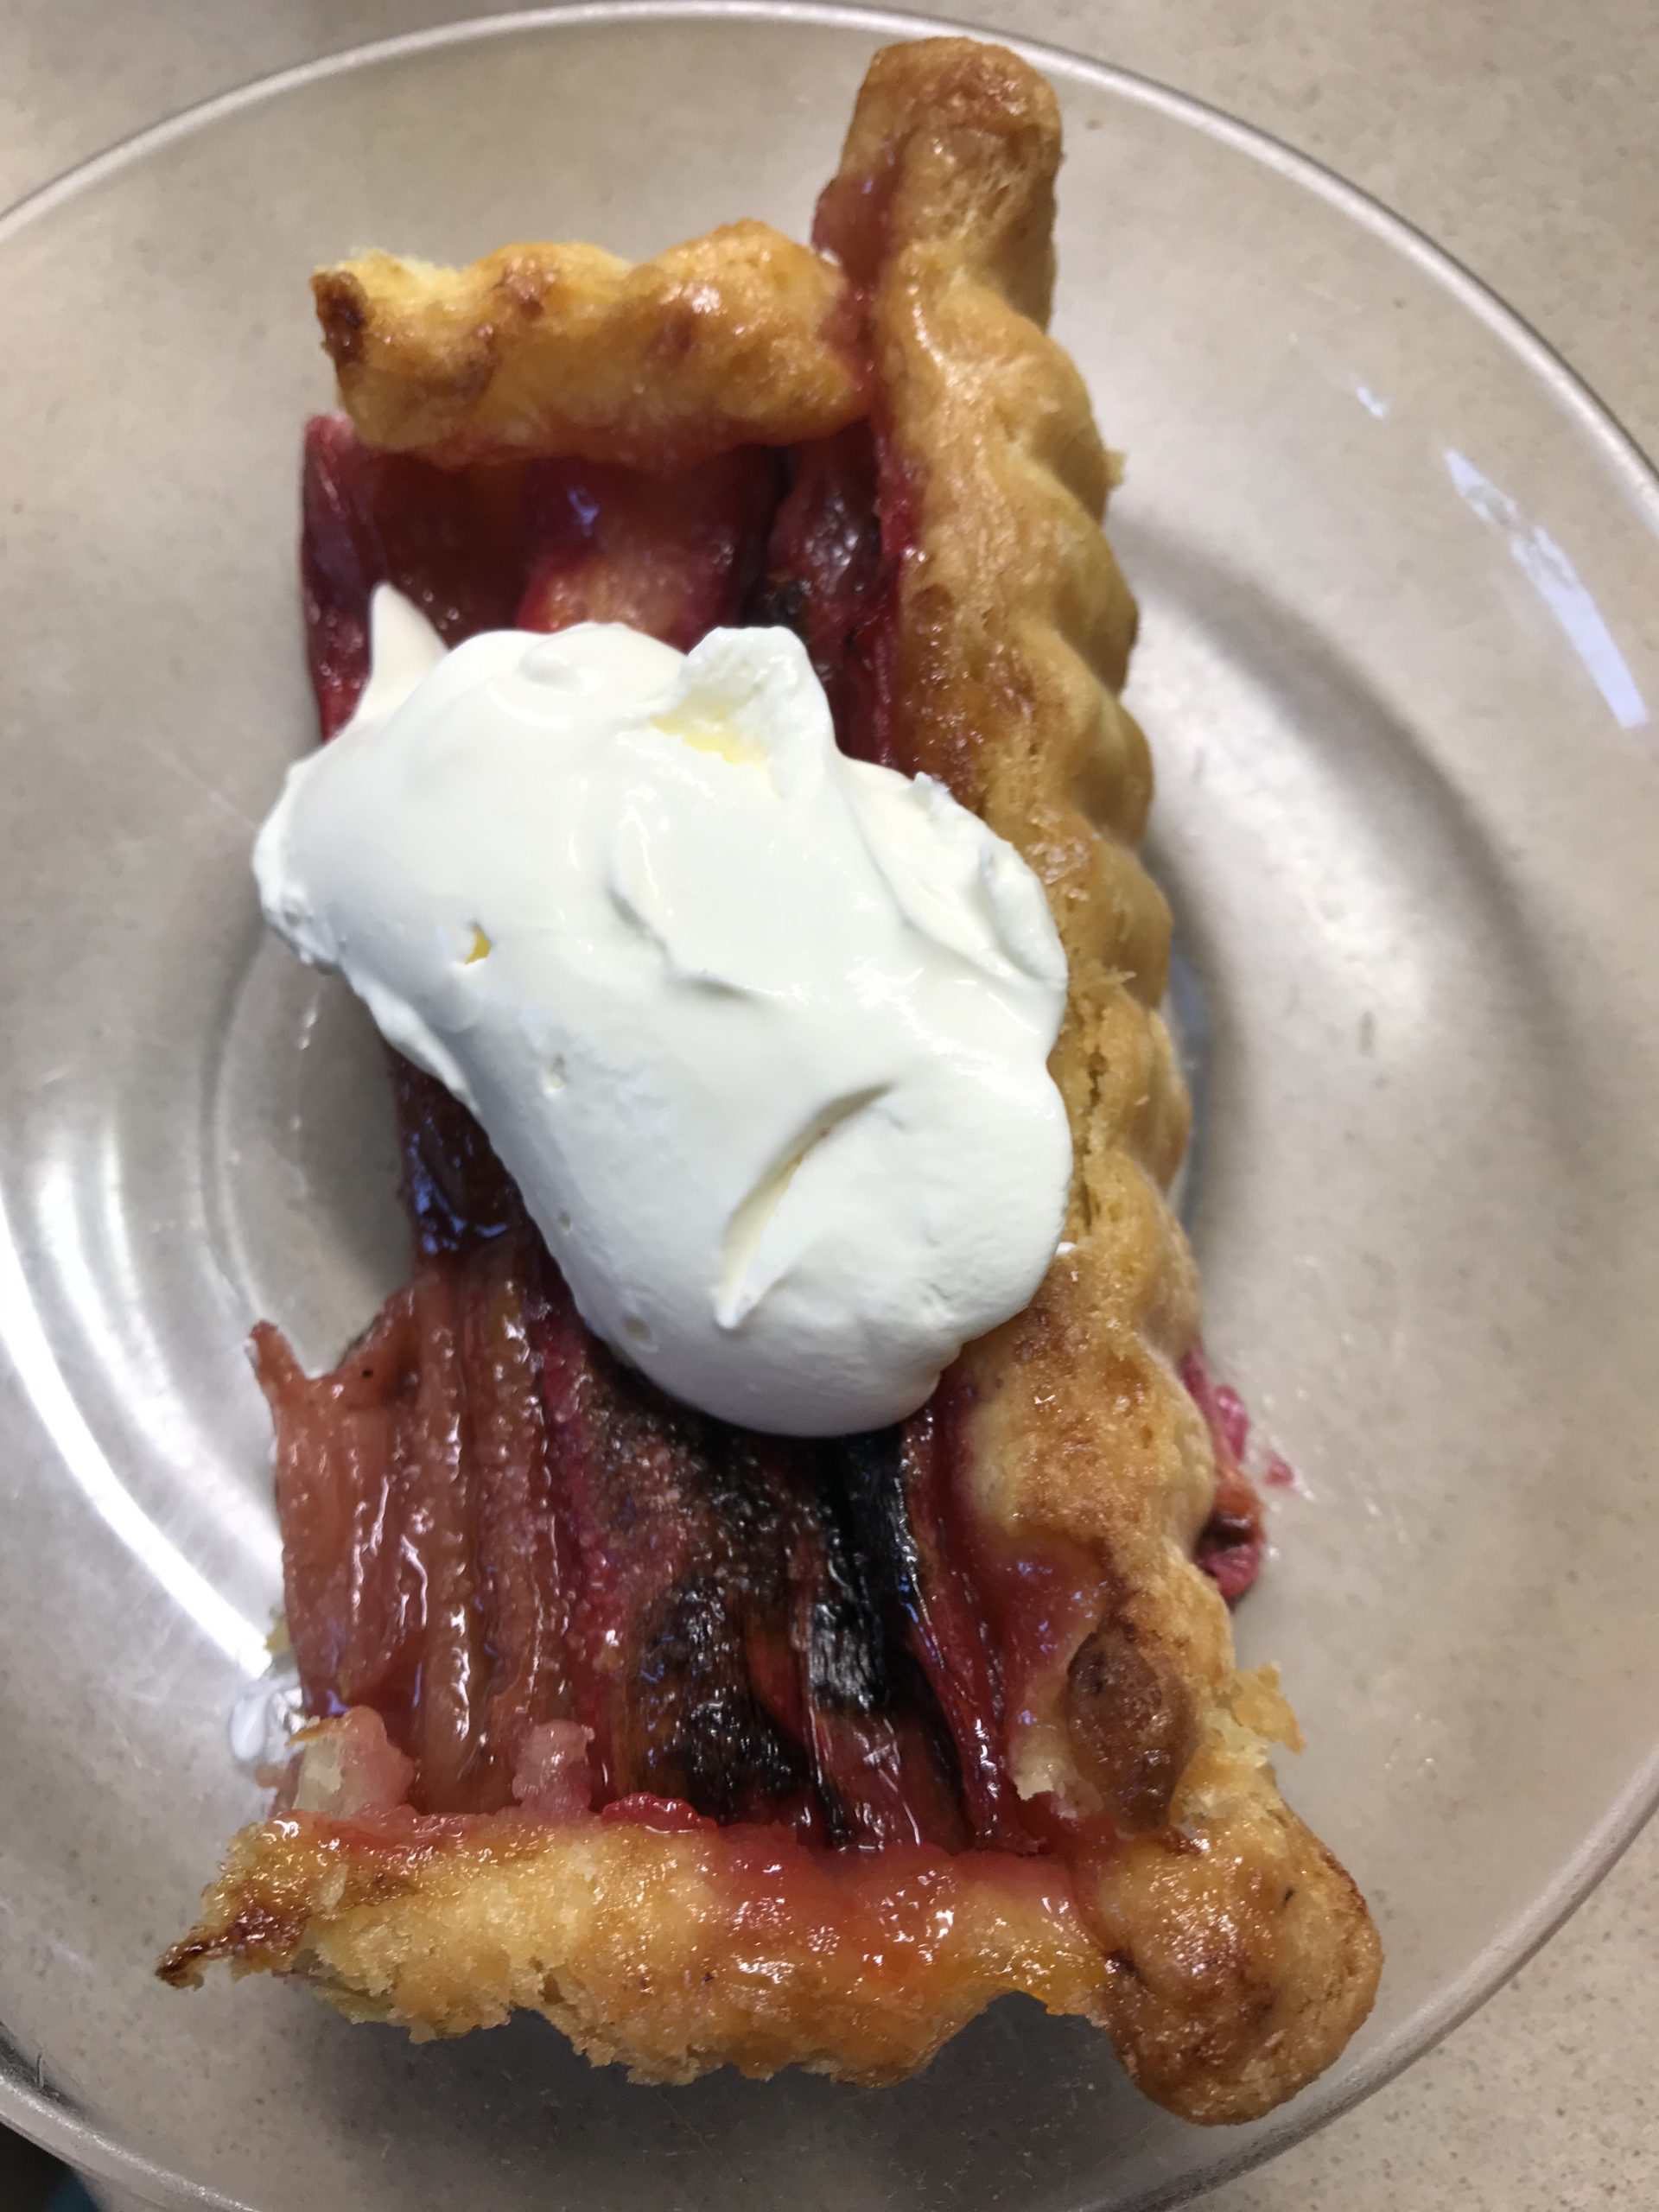
Rhubarb Syrup Crumb Cake

Rhubarb grows like a weed in our garden, so I’m constantly looking for new ways to cook it and giving away what we can’t eat.

This recipe by Annabel Crabb is so good you simply have to try it. I’ve adjusted the method slightly and cut down a bit on the sugar in the rhubarb. The cake would go well with other poached fruit, such as quinces, pears or figs and instead of almonds you could use walnuts or other nuts.

If you don’t like the acidity of sour cream or crème fraîche, serve with whipped cream or vanilla ice cream, but I think sour cream provides a perfect contrast to the sweetness of the cake.Rhubarb Syrup Crumb Cake

Cake:
100g almond meal (or make from whole or slivered blanched almonds)
1 heaped cup stale coarse breadcrumbs (preferably sourdough but any kind will do)
75g whole un-blanched almonds
1 cup caster sugar
4 eggs
¾ cup vegetable oil
½ tsp baking powder
Rhubarb:
400g rhubarb (as red/pink as possible)
½ cup water
3-4 Tbs sugar
To serve:
Sour cream or crème fraîche

Preheat oven to 170°C and grease a 20cm cake tin. If tin is metal line with baking paper, but if it’s silicone just spray with oil.

If you don’t have almond meal make your own: place blanched almonds in food processor and process till fairly fine, then tip into a bowl. Blitz bread in the processor until you have coarse crumbs then tip onto a baking tray. Add whole un-blanched almonds to the processor and chop coarsely, leaving some bits the size of a pea. Add to the breadcrumbs on the baking tray and spread out evenly. Place in the oven for about 5 mins or until golden then remove and cool. Watch carefully as they burn easily.

Place eggs and caster sugar in a large mixing bowl and whip with electric beaters until thick. Continue to whip while gradually adding the oil. With a spatula, fold in the almond meal, toasted breadcrumbs/almonds and baking powder, sifted. Tip into cake tin and bake for 45 mins or until golden, risen and firm to touch. Remove from the oven and when cool remove from tin. If cake has puffed up leaving a big air pocket underneath (mine did) just flatten it down gently with your hand.

Wash and trim rhubarb and cut into 4cm lengths. Place in a bowl with the water, mix to wet them all, then tip into a baking dish with the water and spread out in a single layer. Sprinkle evenly with sugar then bake for 10-15 mins or until tender but still holding its shape.

An hour or so before serving, drain rhubarb and keep the syrup. Pierce cake all over with a skewer and drizzle with the syrup. Serve each slice of cake with a pile of poached rhubarb and some crème fraîche or sour cream.

Serves 10

Useful Tip: don’t throw stale bread away. Make breadcrumbs in the food processor and store them in the freezer to make this cake or to use in a stuffing for roast chicken.

Glazed Cinnamon Rolls

This delicious recipe is adapted from one which appeared recently on the New York Times Cooking site.

The original version used two cups of brown sugar and one cup of icing sugar which seemed an awful lot, so I’ve cut it down to one cup of brown sugar and a quarter of a cup of icing sugar. The result is sweet enough for most people’s tastes, but if you have a sweet tooth make double the amount of glaze.

I left the bourbon whisky out of the glaze and made 12 slightly larger rolls instead of 18. If you like, add a tablespoonful of any whisky to the glaze. I made the dough in a food processor rather than a mixmaster because I do pretty much everything in my Magimix.

Glazed Cinnamon Rolls

1 cup milk
75g butter
3 cus plain flour
¼ cup brown sugar
2 tsp dry yeast
1 tsp salt
¾ tsp ground cardamom (or cinnamon)
1 egg
Filling:
50g butter
½ cup brown sugar
1½ tsp ground cinnamon
½ tsp ground nutmeg
Glaze:
¼ cup brown sugar
2 Tbs water
25g butter
1 tsp vanilla essence
¼ cup icing sugar, sifted

Heat milk for a minute in the microwave then add the butter and allow to melt. Place flour, sugar, yeast, salt and cardamom or cinnamon in a food processor. Process for a minute then gradually add the warm milk and butter and the egg through the feed chute with the motor running. When mixture forms a sticky ball stop the motor and tip dough onto a floured surface and knead for 3-4 minutes until smooth. Form into a ball and place in an oiled bowl. Cover with a tea towel and leave to rise in a warm place for 2-3 hours.

Meanwhile for the filling, heat butter in a small saucepan, swirling the pan from time to time, until it turns nut brown. Watch carefully as it won’t take long. Cool. Mix the brown sugar with the spices.

When dough has doubled in size tip onto a floured surface and roll into a 30×40 cm rectangle with a rolling pin. Brush with the brown butter leaving about a centimetre all round. Drizzle with any remaining butter, so you use it all. Sprinkle sugar and spice mixture all over then roll up from the long side. Cut into 12 even slices. Arrange slices evenly in a buttered 20x30cm rectangular roasting pan or baking tray – 3 one way and 4 the other – they will expand to fill the gaps. Leave to stand for 45 mins or until doubled in size.

Pre-heat oven to 180°C. Bake rolls for 20-25 mins then remove from the oven and allow to cool for 10 mins. Meanwhile for the glaze heat brown sugar, water and butter in a small saucepan for 2-3 mins, or until thickening. Add vanilla and icing sugar and continue to cook, stirring, until you have a nice thickish icing. Leave to cool until rolls are ready.

Drizzle glaze all over the rolls, then cool a bit so the icing firms up. Serve warm. Any leftover buns can be frozen or refrigerated for up to 3 days. Reheat in the oven before serving.

Makes 12 rolls

Lemon Slice

Having offered to take a dessert to a family picnic for more than twenty people I decided that a slice, which could be cut into 20 or 30 squares, was the answer.

For some time I’ve been wanting to create a lemon version of Galaktoboureku, the traditional Greek Custard Slice. I thought I would make a lemon-flavoured custard instead of the usual vanilla one, sandwich it between layers of crispy fillo pastry and drizzle it with lemon syrup, rather than a plain syrup which the Greek version uses.

Well here is the result. Matthew enjoyed the leftovers which I called Lemon Slice for his benefit. Any mention of custard would have put him off. For a smaller version just halve the recipe and make it in a standard 22cm cake tin.

Lemon Slice

125g butter, melted
About half a packet of Fillo pastry, thawed if frozen (about 16 sheets)
2½ cups milk
2 cups cream
1 cup sugar
1¼ cups (200g) semolina
4 eggs, beaten
2 cups Lemon Curd (preferably home-made)
Syrup:
Juice of 1 large or 2 smaller lemons
¾ cup sugar
To serve:
Whipped or pouring cream (optional)

Line a buttered 20x30cm roasting pan or deep baking tin with about 8 layers of fillo pastry, brushing each sheet with melted butter and cutting or overlapping the sheets as necessary. If the pan is non-stick you don’t need to line it with baking paper, but if in doubt you’re better off doing so.

Preheat oven to 160°C. Heat milk, cream and sugar until simmering point, then add semolina and cook, stirring, until thickened. Add lemon curd and beaten eggs and mix thoroughly. Pour into the pan and spread evenly. Cover with another 8 layers or so of fillo pastry, brushing each one with melted butter.

Bake for 45 mins or until set and lightly golden. Meanwhile heat lemon juice and sugar in a small saucepan and simmer the syrup for a minute then cool a bit.

Remove slice from the oven and drizzle the warm lemon syrup evenly over the top. Cool then cut into squares. Serve warm or cold, with or without whipped cream or pouring cream.

Cuts into about 20 or more small squares