
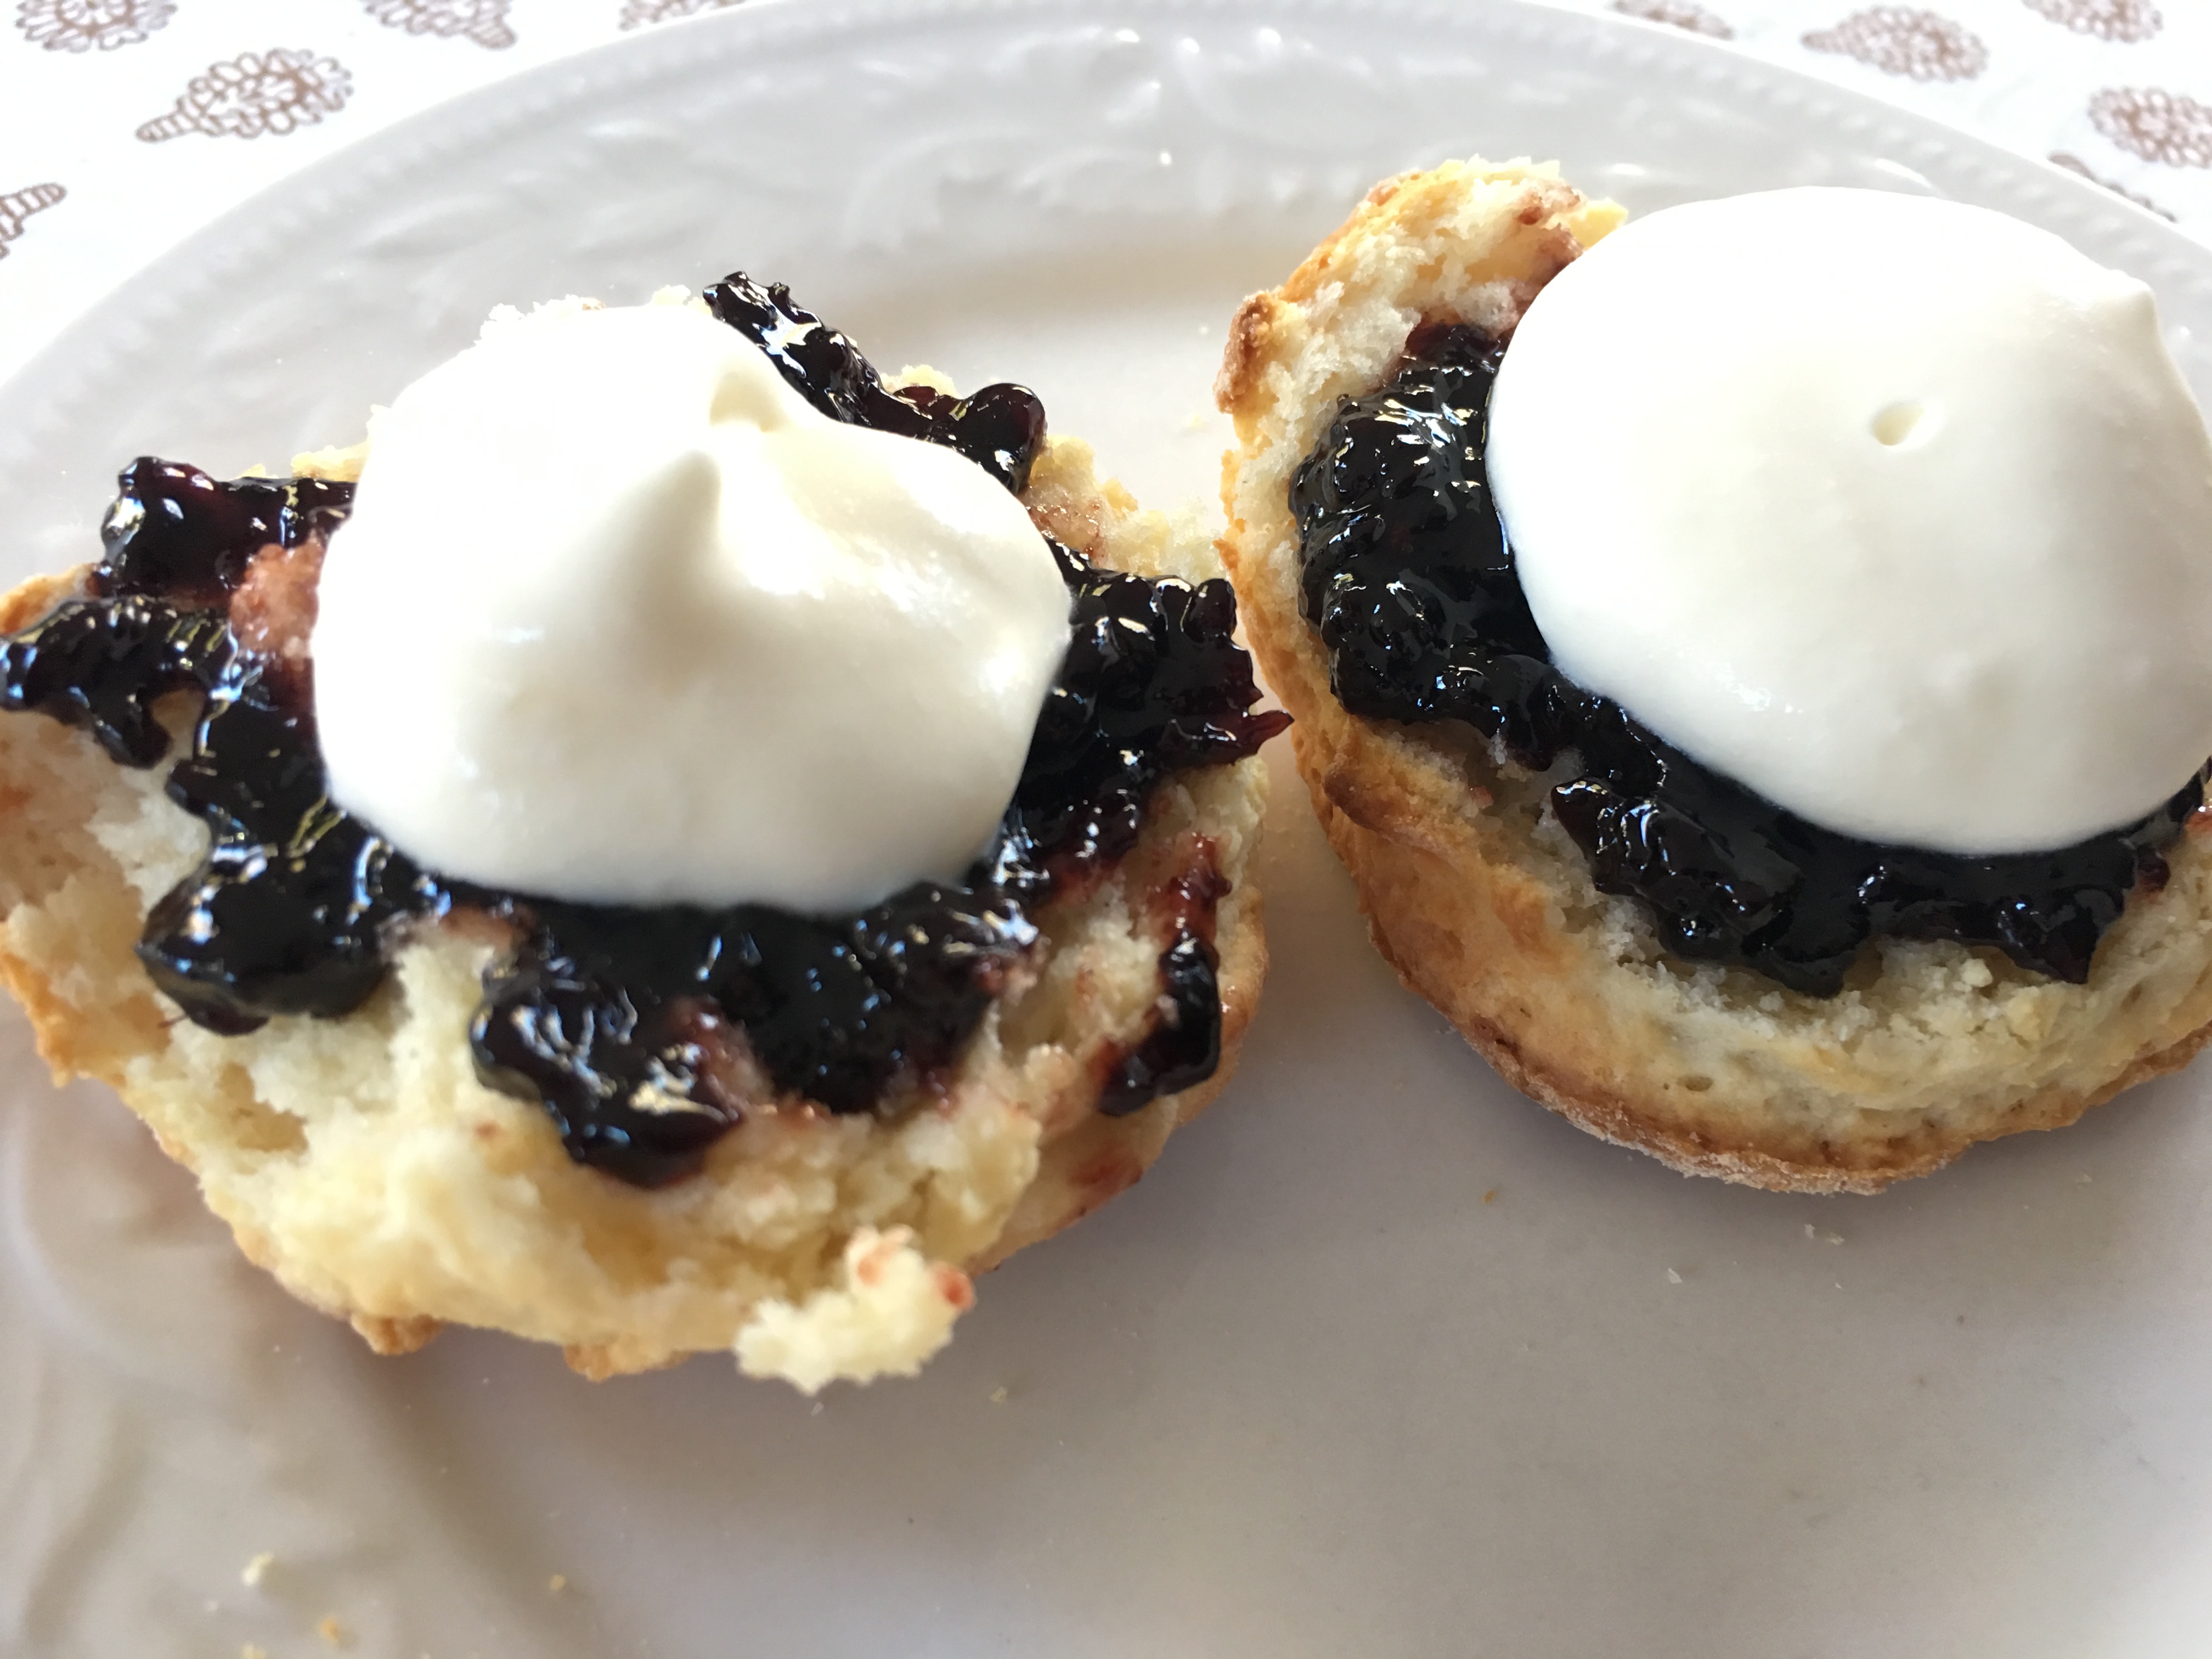
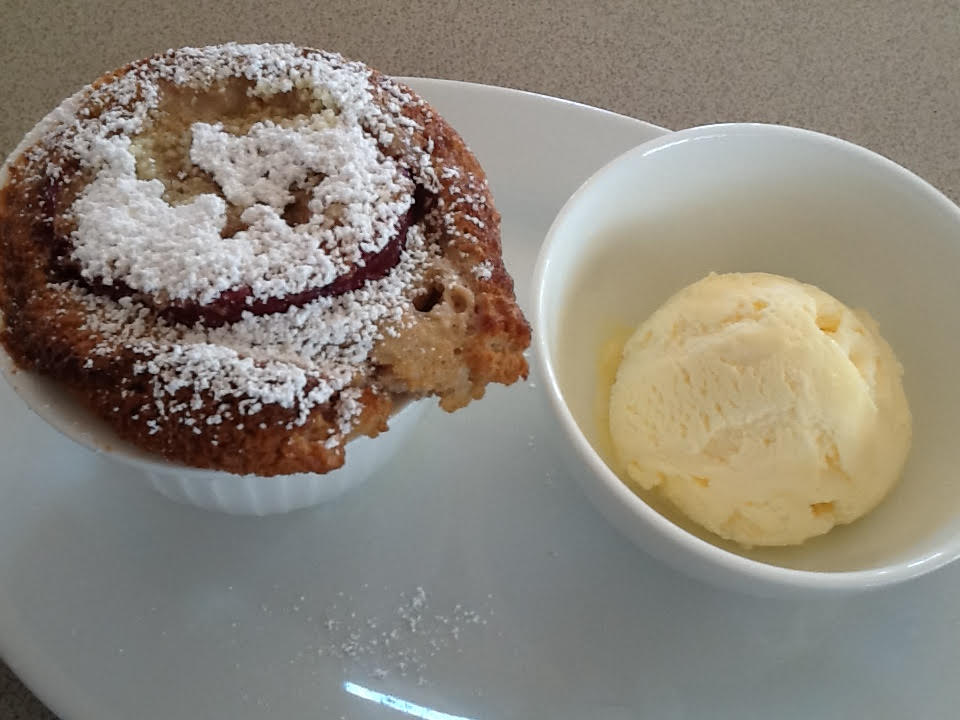
Scones with jam and dollop of cream, otherwise known as Devonshire tea, is a treat few can say no to.
They are not difficult to make, but as with all easy recipes – scrambled eggs for example – a lot of people don’t get it right. The secret is to handle the dough as little as possible and get the scones into the oven quickly. It’s not bread dough and should not be kneaded: over-handling will make them tough.
With practice you can make scones in just under half an hour – perfect for a last minute afternoon tea. Ring your friends, switch the oven on and as they walk in the door you’ll just be taking the scones out of the oven.
Sour milk or buttermilk works well in scones. They say it makes them rise more and I remember as a child if the milk went sour (which it seemed to do more regularly back then) scones were on the menu. You can also use fresh milk, buttermilk or a mixture of milk and plain yoghurt. Serve with any kind of berry jam – in the photo I used blackberry. The recipe is easy to double.

250g self raising flour (or use plain flour and 2 level tsp baking powder)
½ tsp salt
50g butter (at room temp)
1 Tbs sugar
About 1 cup (250ml) buttermilk, sour milk or fresh milk
To serve:
Whipped cream
Berry jam
Heat oven to 200°C. Sieve flour (and baking powder) into a bowl. Lightly rub in the butter with fingertips until there are no more lumps. Add sugar then milk, stirring with a knife, till it all comes together. It should all stick together, just, but don’t make it too wet.
Tip onto a floured surface and form into a ball, then pat into a circle 2.5 to 3 cm thick. Cut scones with a round 2.5 to 3 cm cutter. Gather the scraps together and cut out 2-3 more from the remaining dough. Arrange on a greased shallow baking sheet. Brush tops with some extra milk. Bake for about 15 minutes until well-risen and lightly browned.
Serve slightly warm with whipped cream and berry jam.
Makes about 8

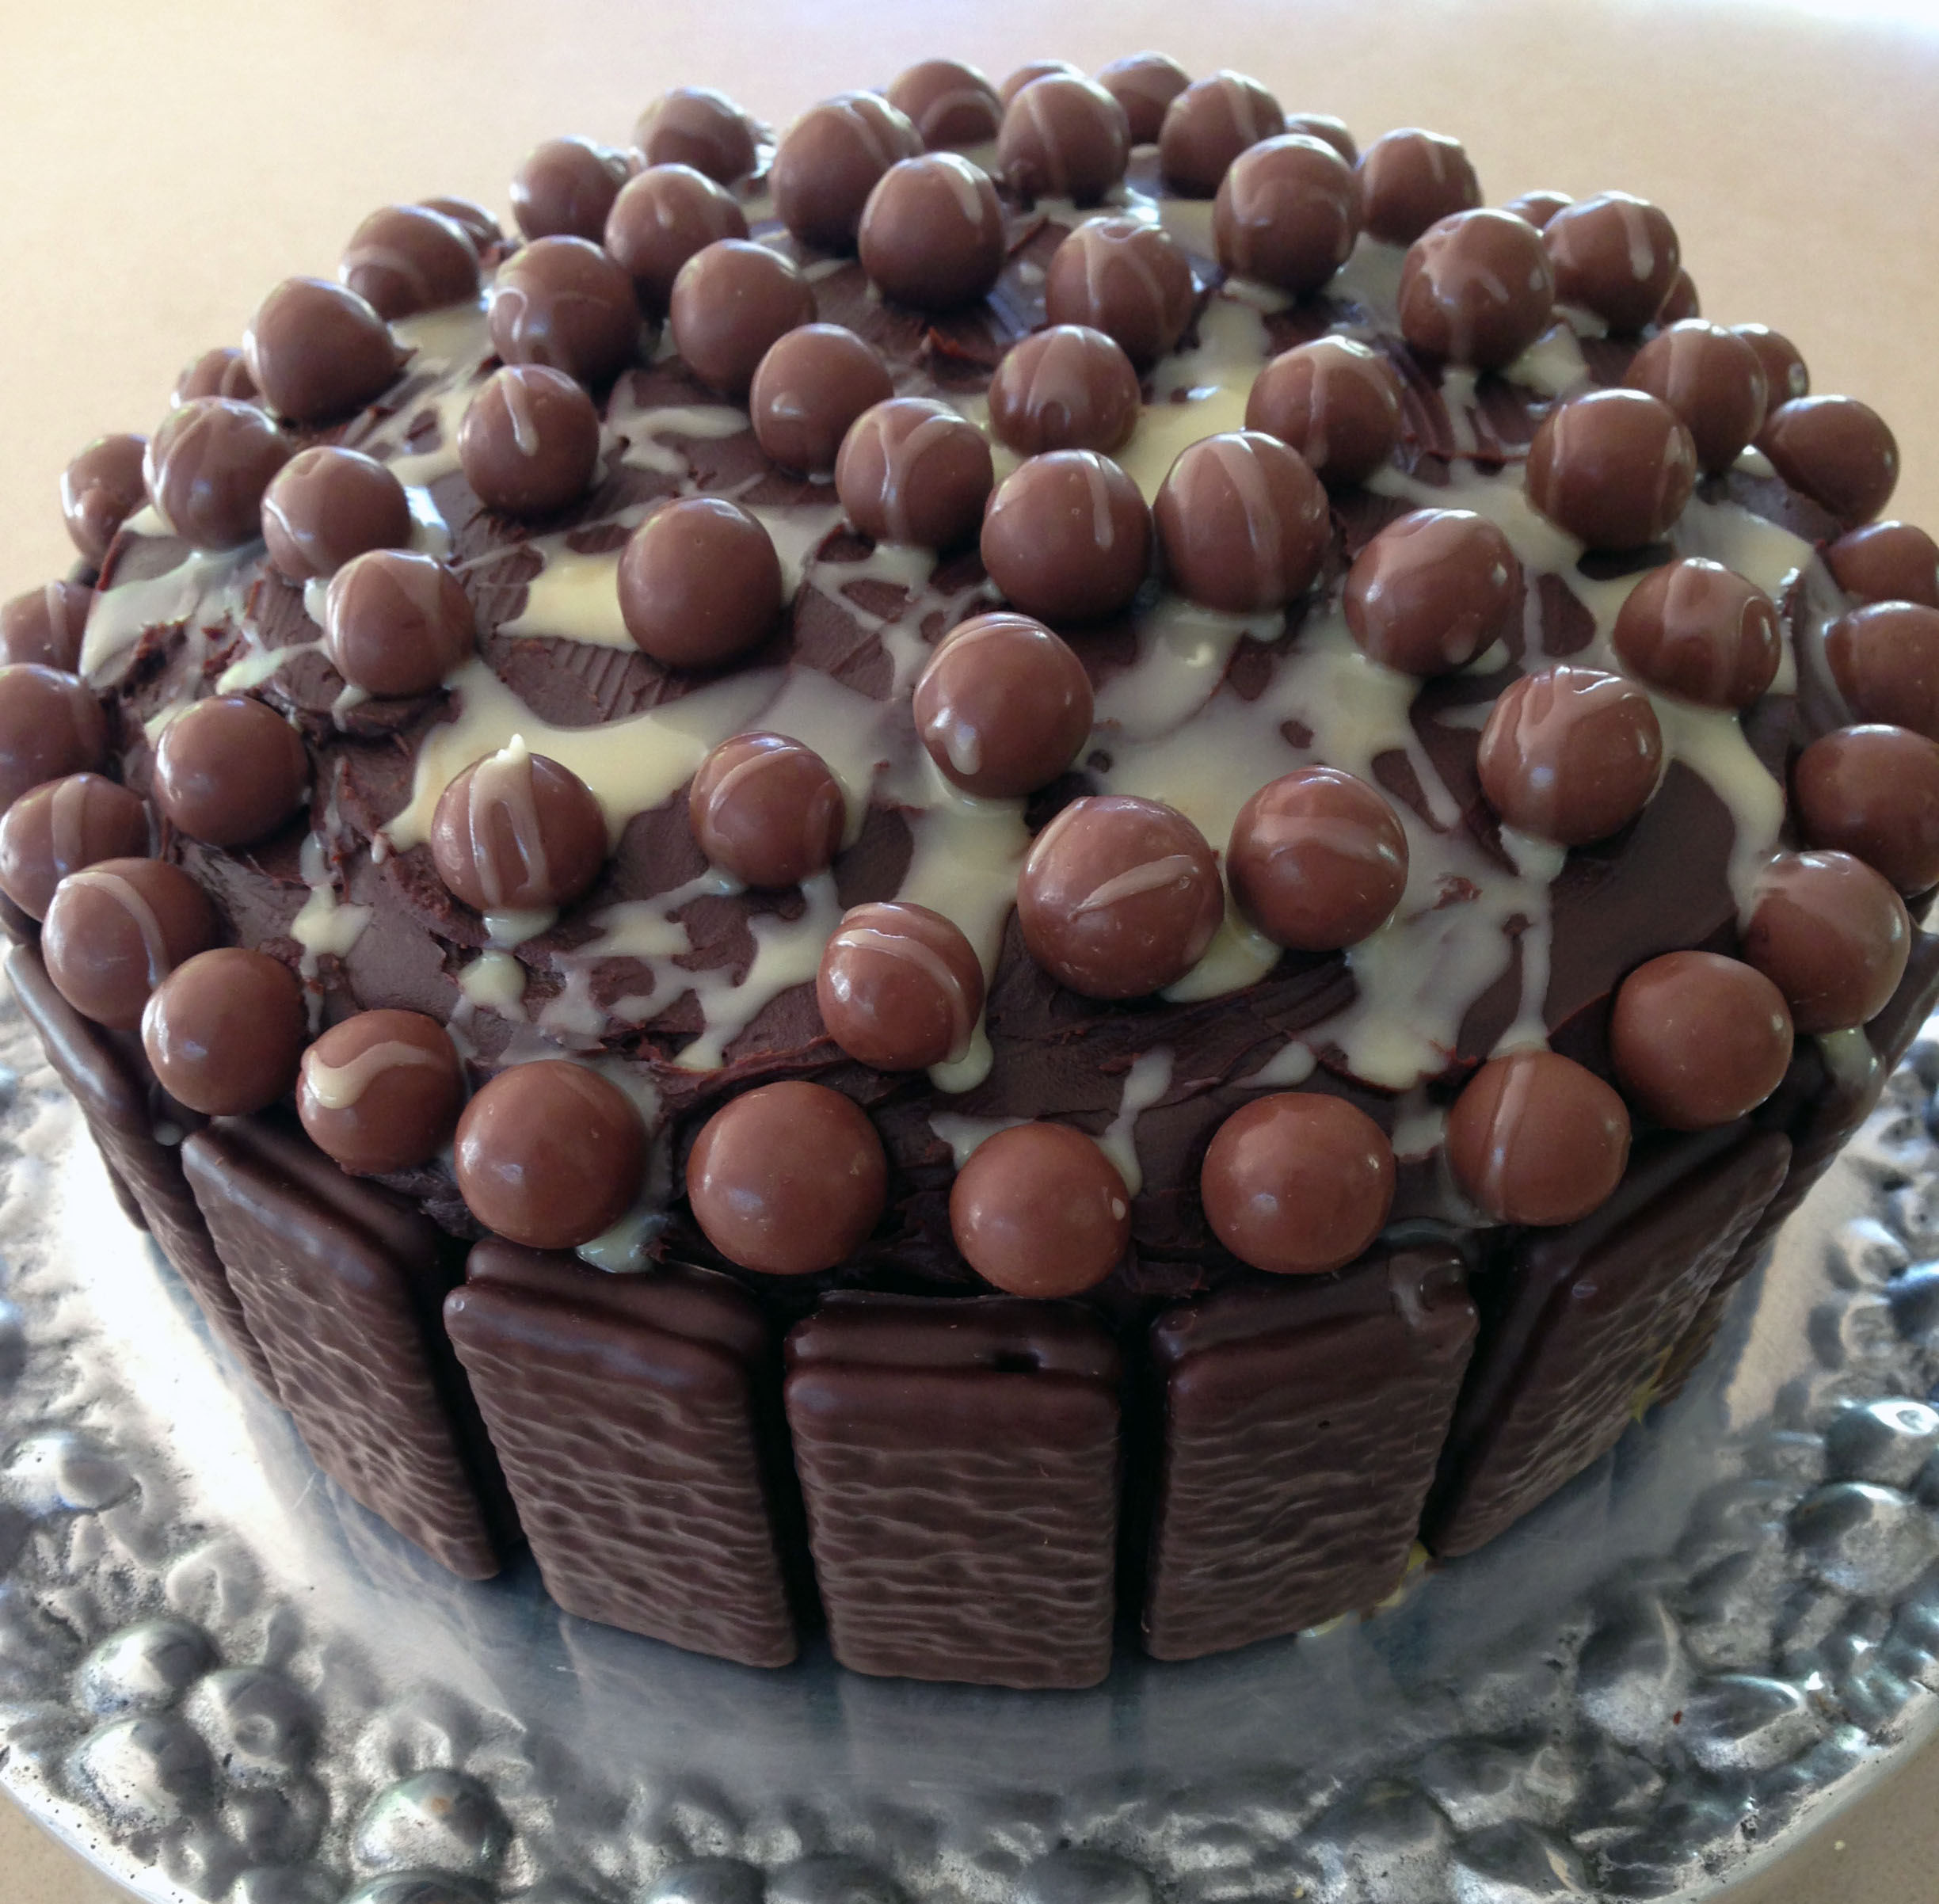

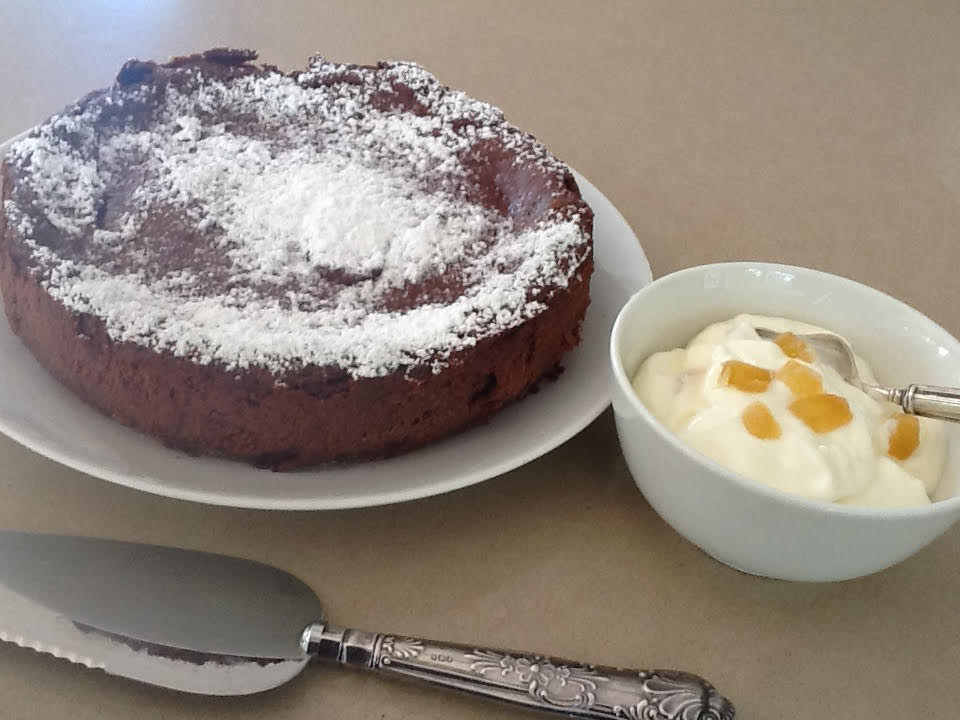 With a food processor this dessert is quick to make. Really chocolatey and not too sweet.