I’m always looking for new ideas for weekend lunches. Something light and tasty to go with a glass of wine. This delicious combination of scrambled eggs, smoked salmon and crisp pastry comes from Gordon Ramsey.
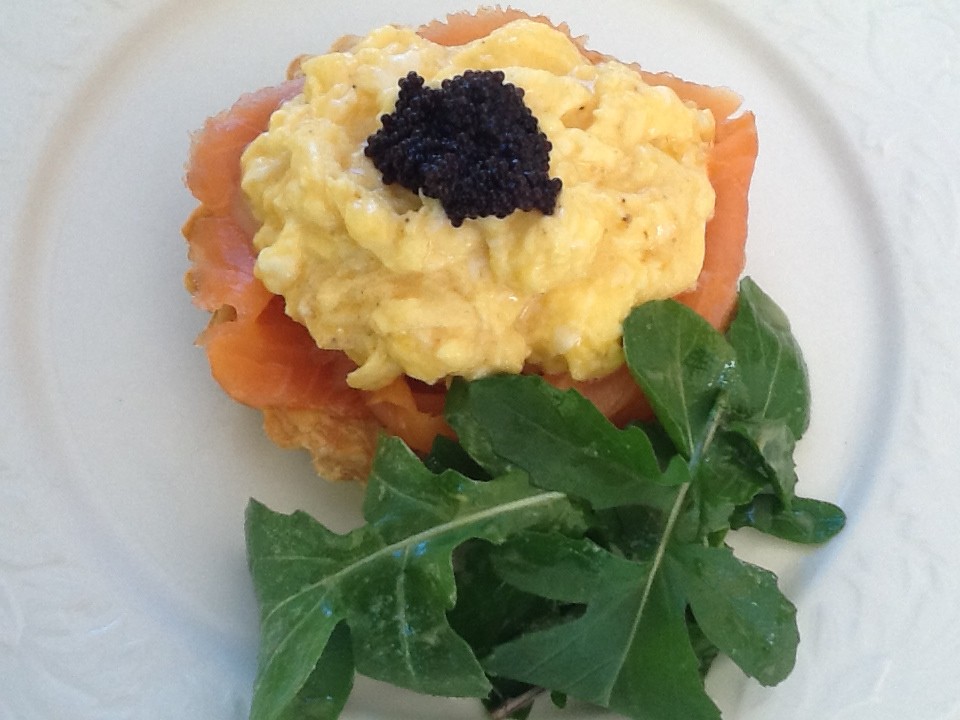
Once cooked the pastry shells will keep for several days in a sealed container in the fridge and just need to be reheated in a hot oven for 2-3 minutes. For the garnish I prefer salmon roe which is a dark pink colour, but had to make do with the fake black “caviar” shown in the photo, because it’s easier to find at the weekend in a suburban supermarket. The rocket leaves look huge, I know, but that’s how they grow in our garden.
 Puff pastry, bought or home-made
3-4 eggs
2-3 Tbs milk
Salt and freshly ground black pepper
25g butter
4 slices smoked salmon
Salmon roe or Lumpfish roe (fake caviar)
Rocket salad, lightly dressed
Preheat oven to 200ºC. Line two individual quiche tins with pastry, rolled out thinly. Line with foil then add dry beans or corn to hold the foil flat. Bake blind for 10 mins then remove foil, prick pastry with a fork to make sure it stays flat and put back in the oven for another 5 mins or until golden and crisp. These can be made ahead and kept in a container with a lid for up to a week.
If tarts have been made ahead and are cold, reheat them in a hot oven for 2-3 minutes. Beat eggs with milk and add salt and pepper to taste. Melt butter in a non-stick pan and scramble the eggs. Place two slices smoked salmon in each tart shell, with the darker edges towards the middle. Top with the eggs, garnish with the salmon roe or lumpfish caviar and serve with a rocket salad.
Serves 2