Kale with Quince

This healthy and delicious side dish from Australian cook Maggie Beer goes well with roast meats, particularly pork, turkey or chicken.

For lunch the following day I heated up the leftovers and served them on toasted sourdough, with a dollop of fresh ricotta cheese, a slice of crispy bacon, a drizzle of extra virgin olive oil and balsamic glaze.

Quinces are in season in winter, so they are in the shops in Australia now. At other times of the year you could substitute a sharp cooking apple.

Find more quince recipes here and here and here.

1 large quince, peeled, cored and cut into small cubes
1 bunch of kale
50g butter
2 Tbs olive oil
2 shallots or 1 small to medium onion
Salt and freshly ground black pepper
1-2 Tbs lemon juice

Wash kale and strip the leaves from the stalks. Discard the stalks. Cook in boiling salted water for 3-5 minutes or until tender. Drain, squeeze out excess water and chop.

Heat butter and oil in a large non-stick frying pan and cook the onion and quince over moderate heat, stirring often, until cooked and starting to turn golden. Add the kale and toss together over the heat for a couple of minutes. Season to taste and drizzle with lemon juice.

Serves 4-6 as a side dish

Persimmon Fennel and Orange Salad

Persimmons are in the supermarkets at the moment. Ready to eat when they feel like a ripe but not overripe tomato, this unusual fruit makes a delicious, slightly sweet, addition to salads.

Persimmons pair particularly well with fennel and this salad goes well with seafood, salmon and chicken. Here’s a similar salad, without the orange.

1 bulb fennel
1 or 2 persimmons
1 orange
2-3 Tbs Basic salad dressing

Trim then thinly slice the fennel, then cut into smaller pieces and place in a bowl. Thinly slice the persimmons, cut into halves or quarters and add to the bowl. Peel the orange, remove the segments and add to the bowl. Add salad dressing and mix well. While it’s nicer fresh, any leftover salad will keep in the fridge for up to 24 hours.

Serves 4

No Bake Chocolate Mousse Cake

I belong to a group which meets once a month to speak French over a pot luck lunch. We take it in turns to host the lunch and the food is always amazing. All you have to do is let the hostess know you will be attending and whether you will bring a sweet or savoury dish, to make sure we don’t end up with too many desserts and not enough savoury dishes.

This delicious dessert was brought last month by Vanessa, one of the members whose husbands work at the French Embassy. It’s very easy to make and Vanessa kindly shared the recipe. It’s not really a cake, more a sliceable chocolate mousse. The texture is more like a panna cotta or a rich chocolate jelly than a mousse.

4 Tbs cocoa powder
¼ cup water
2 cups milk
1¾ cups cream
½ cup condensed milk
5 Tbs sugar (I cut it back to 3 Tbs)
200g dark chocolate, chopped
5 tsp gelatine powder
½ cup water
To serve:
Cocoa powder
Thick pouring cream
Fresh berries

Mix cocoa powder and ¼ cup water to a smooth paste. Heat milk, cream, condensed milk and sugar in a saucepan. Add chocolate paste and chopped chocolate and stir until melted. Mix gelatine powder with ½ cup water in a small bowl, then zap briefly in the microwave to dissolve. Add to the mixture in the pan.

Line a loaf tin with a capacity of about one and a half litres or six 250ml cups with non-stick baking paper. I used a triangular one, but a rectangular one is fine. Pour the chocolate mixture into the pan through a sieve, in case there are any undissolved bits. Refrigerate overnight.

Tip the mousse out onto a serving platter and remove the paper. Cover with sifted cocoa powder. Cut into thick slices and serve with cream and berries.

Serves about 12

Tips and Hints

Instead of the usual weekly recipe, today’s blog is just a collection of money-saving or time-saving tips and hints.

  • Peel half a kilo or more of fresh ginger and chop it very finely in a food processor. Freeze in ice cube trays, tip into a ziplock bag or container and keep in the freezer. Perfect for stir-fries and marinades.
  • Make a batch of Pesto during summer when fresh basil is available. Freeze in ice cube trays, store in a ziplock bag and use over the winter months.
  • Other ingredients to freeze in ice cube trays are lemon juice, lime juice, tomato paste and passionfruit pulp. Better than having them sit in the fridge till they go off.
  • Freeze whole fresh chillies in a ziplock bag so you always have them on hand. Chopped lemon grass also freezes well.
  • Make your own Za’atar by mixing 1 Tbs each of ground cumin, coriander, thyme or oregano, sumac, toasted sesame seeds and 1 tsp salt. Keep in a small jar.
  • Make your own labneh using this recipe.
  • Make your own dukkah using this quick and easy recipe.
  • Make your own mayonnaise in less time than it takes to nip to the local shop.
  • Freeze whole green grapes and use to chill a glass of white wine when the weather is hot, without making it watery.
  • Save hotel shower caps and use to cover large bowls and platters, such as a plate of sandwiches, in the fridge. Easier than plastic wrap which doesn’t always stick. Toss in the washing machine, dry on the line and use again.
  • Wash salad greens, spin dry, then store in the salad spinner in the fridge where they will stay crisp for several days. My favourite salad spinner is made by Zyliss and I have two.
  • Keep fresh herbs in the fridge in a tall tumbler or jar with just enough water to cover the bottoms of the stalks. Cover loosely with a small plastic bag over the top. It should cover the leaves and come halfway down the glass, allowing air to circulate.
  • Don’t throw away leftover or stale cornflakes, savoury crackers, corn chips, rice crackers, potato chips and other savoury snacks. Blitz them all together in a food processor and keep in a jar. Use to make Healthy Oven-Baked KFC.
  • Make one of these seven quick desserts.

And here are three non-culinary tips:

  • Soak your kitchen cloth or sponge in just enough cold water to cover with a splash of bleach added and leave for half an hour. It will come up like new. Bleach isn’t so bad if you use it properly.
  • When a lipstick is finished there’s always a sizeable piece at the bottom you can’t use. Scrape several similar colours into a small jar – the size you get face cream samples in, or individual servings of jam in posh hotels. Have fun making your own new colour. Microwave for 30 seconds (stand on a sheet of kitchen paper) stir with a toothpick, then zap for 20-30 seconds longer, until melted and smooth. Keep checking and don’t overcook. If using a plastic container be extra careful as you don’t want the container to melt. Glass or thick plastic pots are best. Cool and apply with a lip brush.
  • Turn powder eyeshadows into cream ones. Crush the powder in a small container and mix in some lip balm until smooth. About 2/3 eyeshadow to 1/3 lip balm. No need to heat, just mix. I have a whole heap of lip balm sticks collected from the bags they give you on overseas flights.  Blend your own colour as I have done with the bluey grey shown in the photo. They look a bit lumpy (I probably should have crushed them more) but work just fine.

Gluten-free Banana & Nut Cake

This banana cake is moist and nutty. Give it a try, even if you’re not following a gluten-free diet. Regular self-raising flour can be used instead, if you’re not worried about gluten.

The mixture can also be used to make about a dozen banana muffins. Grease a 12-hole muffin pan, fill each one almost to the top with cake mix, arrange some banana pieces on top, then spoon over the topping. Serve as a cake or as a delicious dessert, with a scoop of vanilla ice cream.

Cake mix:
1 cup nut meal made in the food processor (almonds, walnuts or pecans)
2 eggs
1 tsp vanilla essence
¼ cup milk
¼ cup vegetable oil
2 Tbs maple syrup
1 cup gluten-free self-raising flour (or ordinary SR flour can be used)
½ tsp baking powder
Topping:
4-5 ripe bananas, peeled and halved lengthwise
¼ cup brown sugar
30g butter
To serve:
Icing sugar (optional)

Preheat oven to 180°C. Grease and bottom-line a shallow slab pan about 35x25cm. Or use a large loaf pan, two smaller ones or a 12-hole muffin pan.

Make nut meal in food processor by processing the nuts until they look like fine breadcrumbs. Add remaining cake mix ingredients and process till combined, scraping down the sides halfway through. You can use a balloon whisk to do this instead. Spoon cake mixture into the tin or tins and spread evenly with a knife.

Arrange banana halves over the cake mix, cut side up. Melt butter in a small saucepan and mix in the brown sugar, stirring to dissolve. Spoon butter and sugar mixture evenly over the bananas. Bake for 35-45 minutes or until golden brown all over and puffed. Check it’s cooked in the middle by inserting a toothpick which should come out clean. Individual muffins will take less time than one large cake.

Serve warm or at room temperature, dusted with icing sugar.

Makes about 12 servings

Note: buy nut meal/flour or make your own by blitzing shelled walnuts, pecans, almonds, or a mixture, in a food processor.

Sticky Gingerbread Loaf

I love trying new gingerbread or ginger cake recipes. I think this is the fourth one to appear on this blog since I started writing it, over ten years ago.

This recipe is adapted from one in The Great British Book of Baking by Linda Collister, written to accompany BBC2’s The Great British Bake-off with Mary Berry. She says it tastes just like a popular UK brand of sticky gingerbread, made by McVities.

Instead of using scales, I prefer to measure most of my ingredients with an Australian measuring cup, which holds 250 ml. While you can eat this cake as soon as it has cooled, if you leave it in a sealed tin for a couple of days it will get stickier. I made it in one large loaf pan, but you could use two small loaf pans, or a square or round cake pan. I used rounded to heaped teaspoons of all the spices, because I like my gingerbread to be nice and spicy.

125g butter, cut up
1/3 cup golden syrup
1/3 up black treacle (or substitute molasses)
½ cup firmly packed dark brown sugar
1 cup milk
1½ cups self raising flour
1 tsp bicarbonate of soda
1 teaspoon each ground ginger, cinnamon and mixed spice
1 egg

Grease and line one large loaf pan or two small ones. I used a large silicone pan which measures 23×13 cm or 9×5 inches. I just sprayed it with oil as silicone doesn’t need lining with paper. Preheat the oven to 180°C or 170°C if you have a fan-forced oven, which tends to be hotter.

In a medium to large saucepan, heat the butter, golden syrup, treacle or molasses, brown sugar and milk. Turn off the heat as soon as the butter has melted as you don’t want it to boil. Add the flour, bicarbonate of soda and spices through a sieve and mix well with a balloon whisk. Lastly thoroughly mix in the egg, then scrape mixture into the cake pan.

Bake for 35-45 minutes. Mine was ready in 35 minutes, but my oven tends to be a bit on the hot side. When ready the cake will be firm to touch in the middle. If you’re not sure test with a skewer or toothpick inserted in the middle. It should come out clean, but you don’t want to overcook this cake.

Makes one large cake.

Rich Beef Casserole

If you follow this blog you may have seen that I recently bought an air fryer and used it to make some amazing roast pork belly with crunchy crackling.

It had been quite some years since I last bought a new kitchen gadget. Many people rave about their Thermomix, but I haven’t been tempted, happy to stick with my trusty Magimix food processor, an old-fashioned blender (for when I want a really smooth soup) and a Kenwood stand mixer (which must be getting on for 50 years old) for making meringues and Christmas cakes. It’s been on permanent loan from my friend Ferne since the 1980s!

An air fryer works like a mini fan-forced oven and I love it. The main advantages are:

  • not having to turn on the oven in the middle of summer when you’re trying to keep the house cool.
  • being able to cook a roast without having to clean the oven afterwards (an air fryer is quick and easy to clean)
  • producing crispy food such as French fries with only a smidgen of oil, or sometimes none at all

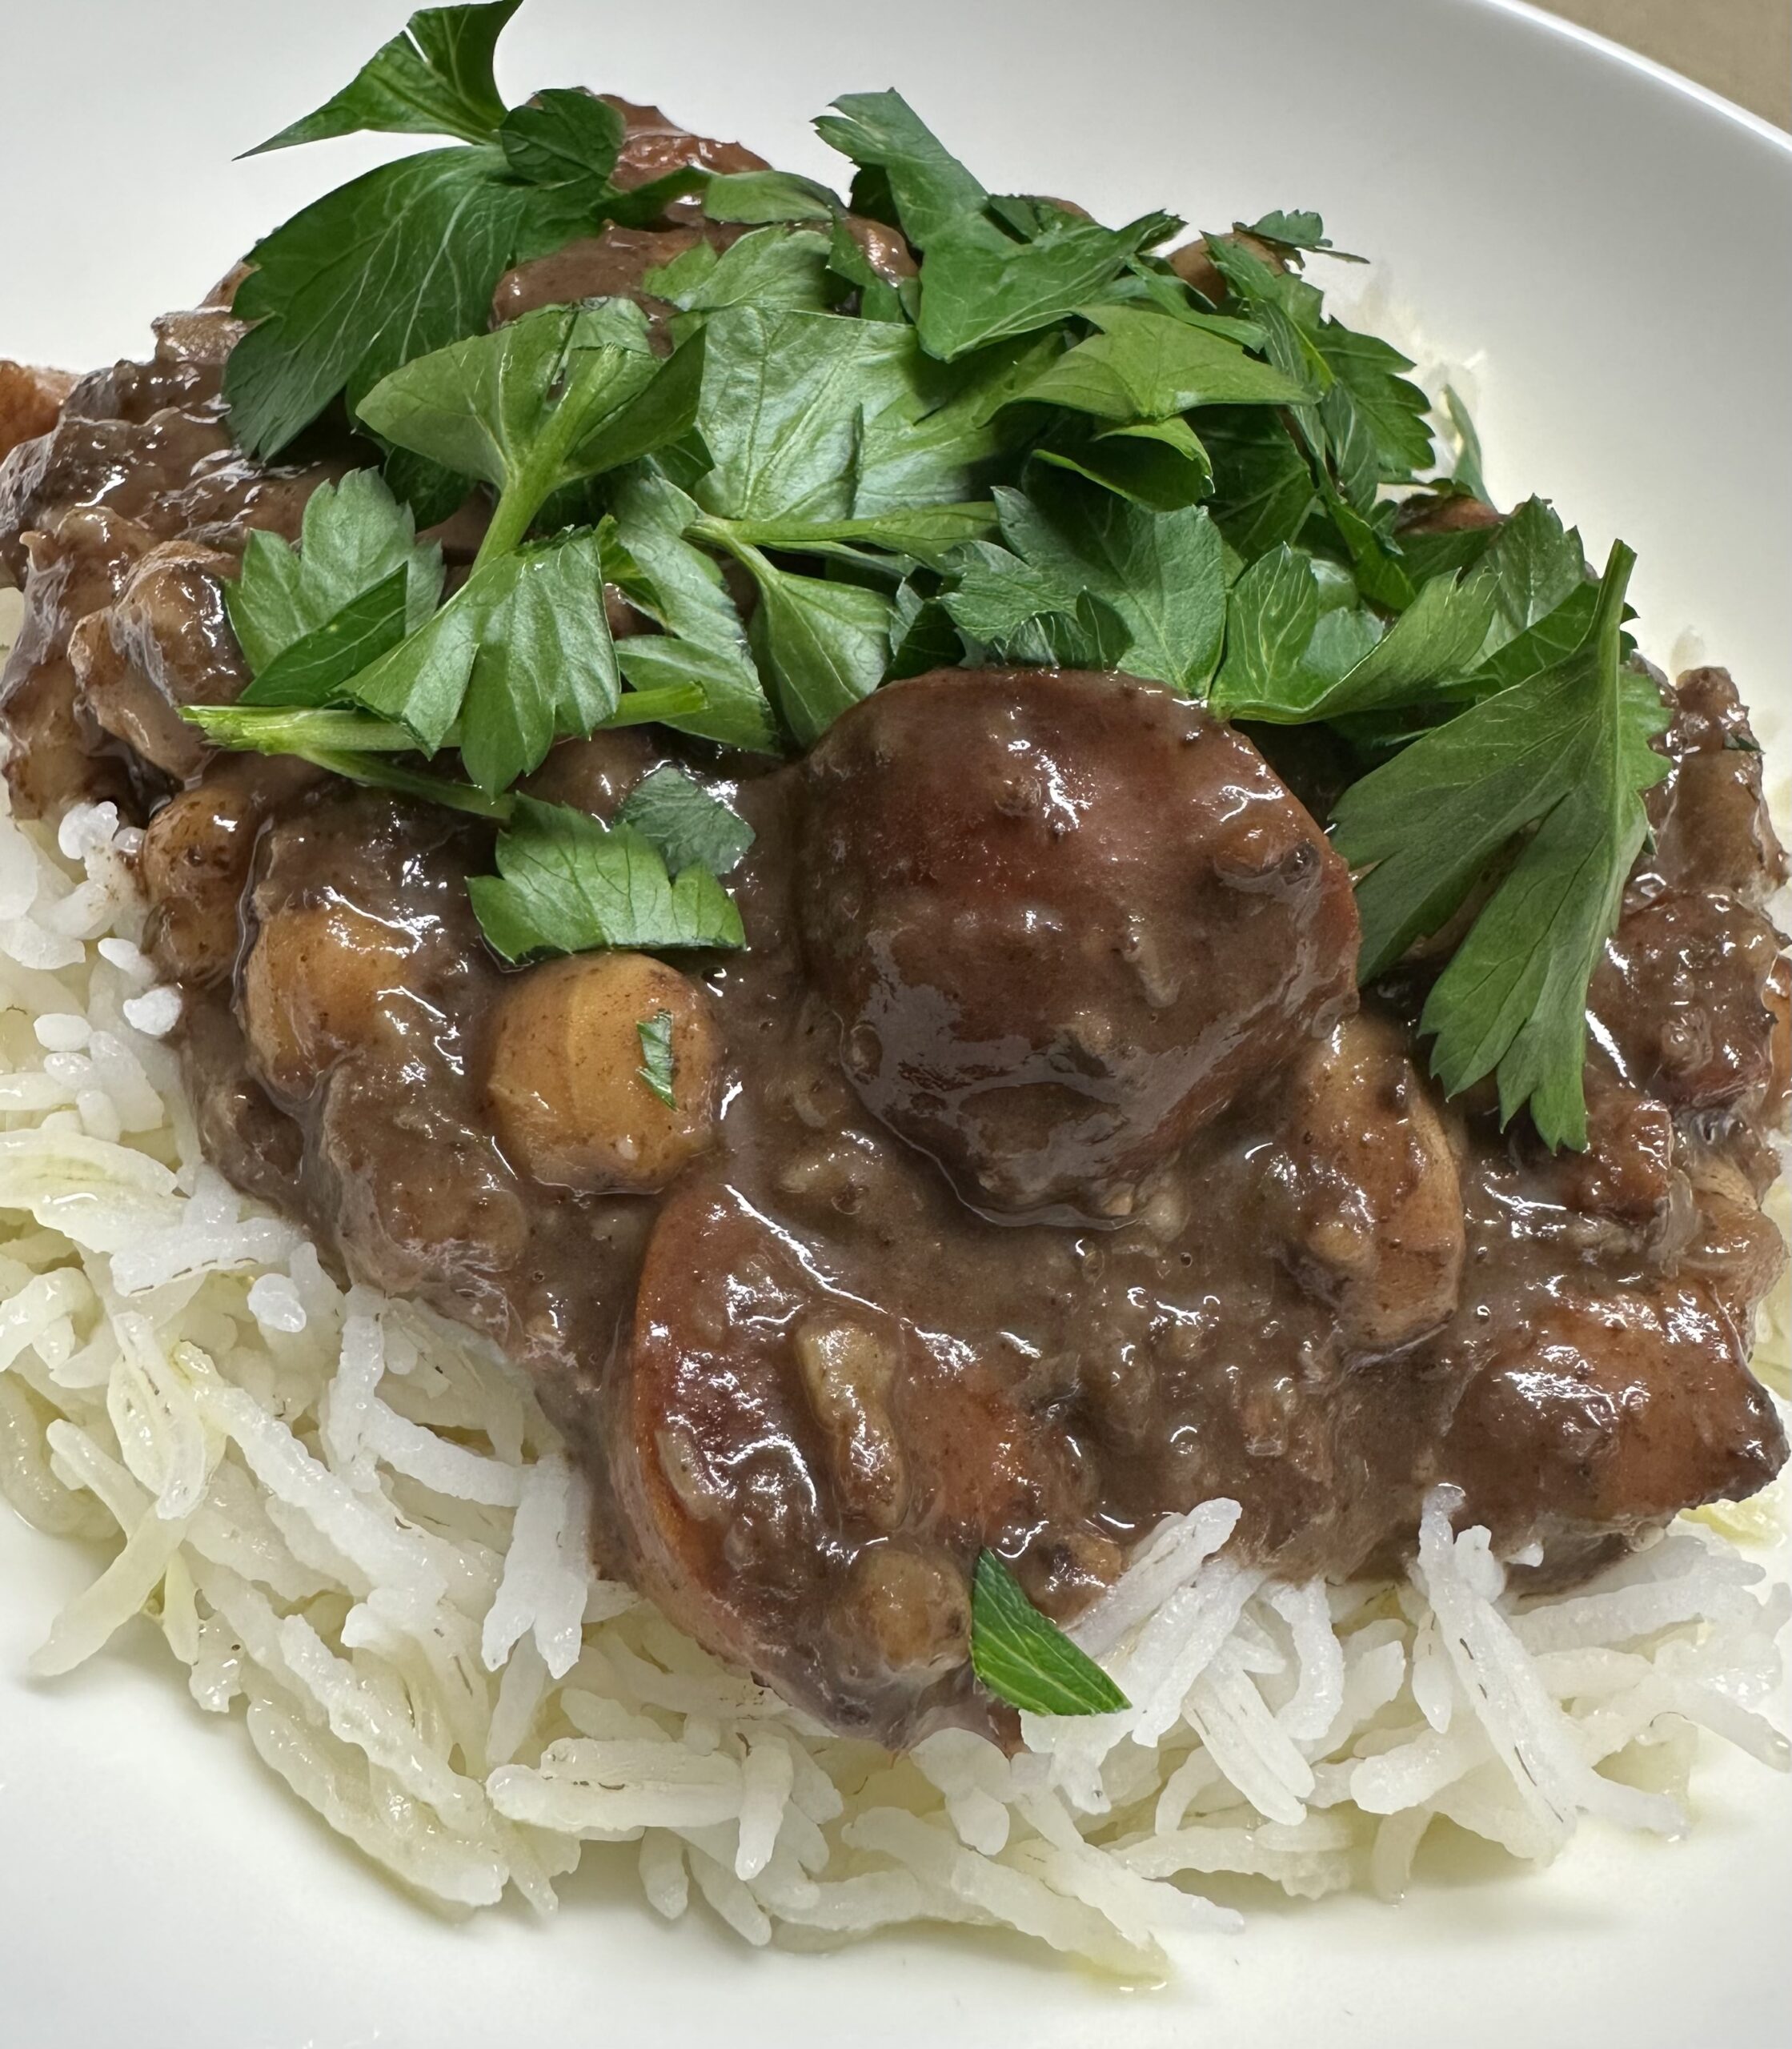
Today I discovered another use: browning meat before it goes into a casserole. Those who have done this will know that it usually involves browning the pieces in two batches and afterwards you need to clean the spattered hotplates. For today’s casserole I just put the sliced oxtail pieces in the air fryer, gave them 10 minutes at 200°C and Bob’s your Uncle, as they say in the classics. They came out beautifully browned all over.

Pressure cookers were all the rage when I got married many moons ago. Back then they weren’t electric and were probably a bit dangerous. Once the kids left home mine gradually found its way to the back of the cupboard and from there to the Op Shop. About five years ago I upgraded to an electric combined slow cooker and pressure cooker. I find it useful for making rich casseroles like this recipe, in a fraction of the time it takes in the oven.

2 kg oxtails, cut into thick slices (about 2kg)
1 carrot, peeled and diced
1-2 stalks celery, diced
2-3 cloves garlic, crushed
¼ cup tomato paste
1 cup beef stock
250g (more or less) store-bought caramelised onion jam or relish
1 Tbs chopped fresh thyme leaves
2 bay leaves
1 cup red wine
2 tsp brown sugar
2 Tbs Balsamic vinegar
2 tsp porcini mushroom powder (from specialty shops) (optional)
To serve:
Sour cream (optional)
Fresh herbs

Place beef pieces in the basket of an air fryer and cook for 10 minutes at 200°C. If you don’t have an air fryer, brown the meat all over in a large frying pan with a tablespoon of olive oil – you will need to do this in two batches.

Place the browned meat in a pressure cooker with remaining ingredients. If the juices left in the bottom of the air fryer look a bit fatty, discard them, or perhaps mix them with your dog’s next meal. Our golden retriever reckons it does wonders for those dry old biscuits. My oxtails weren’t very fatty, so there were just a couple of tablespoons of meat juices under the trivet of the air fryer and I added them to the ingredients in the pressure cooker. If you don’t have a pressure cooker, place the ingredients in a large casserole with a lid, or use a slow cooker.

Pressure cook for 45 minutes or cook for 2-3 hours in the oven set to 160°C, until the meat is falling off the bones. When cooking in the oven add a little more water if necessary during cooking time.

Serve garnished with a dollop of sour cream (optional), creamy mashed potatoes and roasted carrots (perhaps these carrots with harissa) or a green vegetable such as peas or beans.

Serves 6-8

Malaysian Spicy Chicken

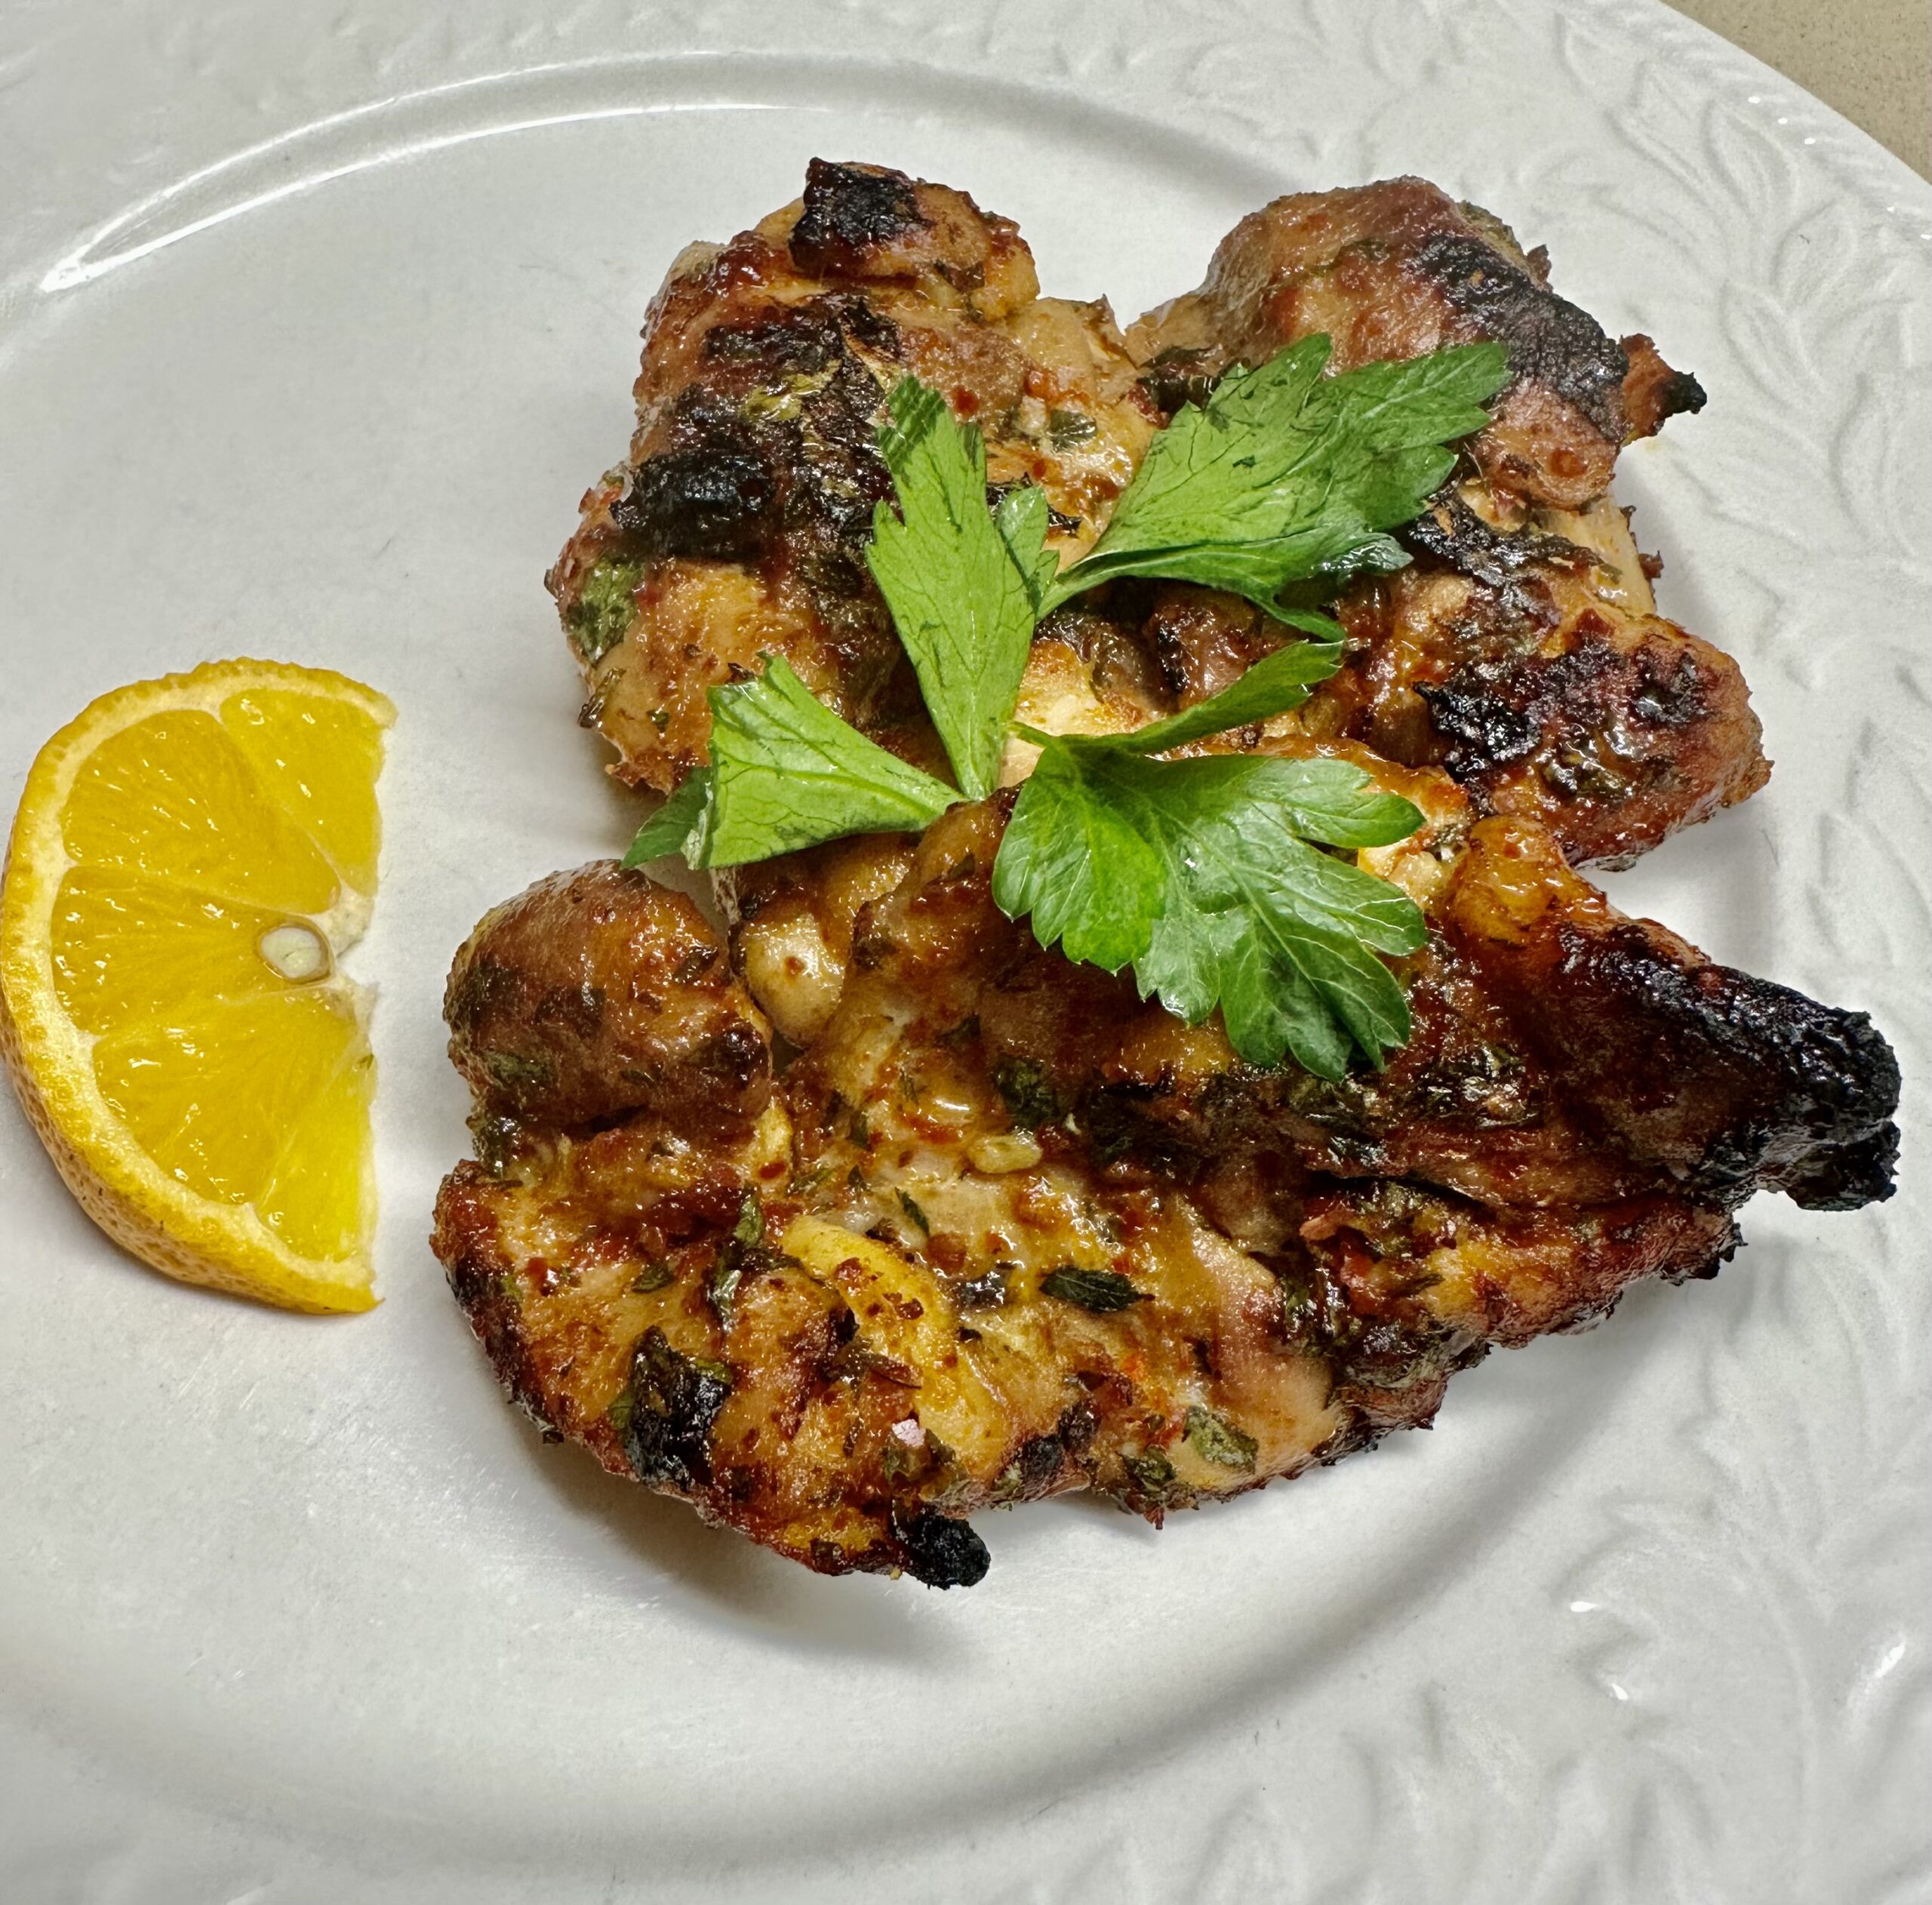
I prefer chicken thighs to breasts, both the texture and the flavour. Malaysians always use thighs to make their famous satays with peanut sauce, which we ate often at the street stalls when we were posted to Kuala Lumpur in the 1980s.

This quick and easy Malaysian recipe also uses chicken thighs. Serve it with steamed rice and a crunchy cucumber, onion and coriander salad, perhaps with some halved cocktail tomatoes added. Warm roti bread also goes well.

1 kg boneless, skinless chicken thighs
Marinade:
¼ cup tamarind paste
2 Tbs honey
1 Tbs vegetable oil
1 Tbs grated ginger
1 tsp five spice
1 tsp cinnamon
1 tsp curry powder
½ tsp cardamom
Salt and freshly ground black pepper to taste
Garnish:
Fresh lime wedges
1 red chilli, sliced on the diagonal
Fresh chopped coriander
½ cup crispy fried shallots (available from Asian shops and some supermarkets)

Combine marinade ingredients, add the chicken pieces, trimmed if necessary and halved or left whole. Mix well then cover and refrigerate overnight, or for at least a couple of hours.

Preheat oven to 180°C. Arrange chicken pieces in one layer in a shallow baking tin and cook for 30-40 minutes, turning once, until browned and cooked through.

Transfer chicken to a serving plate, drizzle over any liquid from the pan and garnish with the limes, chilli, coriander and fried shallots. Serve with rice.

Serves 4-6

Rich Fruit and Nut Cake

I inherited my love of cooking from my Dad’s mum, a Scottish lady called Jessie who had worked as a cook in a stately home before she married. Cooking was never my mother’s favourite pastime – she preferred gardening – so when I started to take an interest she gave me lots of encouragement.

And so did Dad. He loved to walk into a house with the smell of baking wafting through. “What are you making lass?” he would enquire. And when I told him he would give me his signature combined wink/nod/smile and head off with a spring in his step.

Dad loved fruit cake so Mum did her best to make sure there was usually one on the go. When she was newly-married and unable to boil an egg, her mother-in-law taught her to make a few basics, to keep body and soul together, otherwise we might have starved. Nana taught Mum to make a “ten, ten, twenty” cake mixture, which she made for the rest of her life. Well, until Dad died and there was nobody left to bake for. The recipe used 10 ounces of butter, 10 ounces of sugar and 20 ounces of self-raising flour, plus a couple of eggs and some milk. Mum learnt to add dried fruit and spices to half the mixture and make a fruit cake she called “Cut and Come Again”. Half of the remaining mixture became an Eve’s Pudding – stewed apples topped with cake mixture, baked and served with custard. With the last quarter Mum made a dozen cup cakes (which we called buns) or a slab cake, which she iced and decorated with glacé cherries. Sometimes she made a cake from stale bread, which I learnt later was a typical Maltese Bread Pudding.

Mum wasn’t a bad cook – what she made was always tasty – but she didn’t enjoy cooking and her repertoire was fairly limited. However, when I look back, I realise that we ate pretty well, compared with the rest of the British middle-class population at that time. When my friends were invited to stay for dinner, (or tea as we called it back then), they were shocked to be served one of Mum’s “foreign” dishes such as Kedgeree, Chicken Curry or  Spaghetti Bolognese.  Believe me, they weren’t common in England in the sixties, unless of course you were “foreign”. We came to think of these dishes as normal, but our friends usually pushed the food around their plates and said they weren’t hungry.

A rich fruit cake will keep for weeks in a sealed tin, although you’ll find it disappears quite quickly if you have any fruit cake fans in the house. I’m quite partial myself to a small piece with a cuppa. I thought of Dad as I made this cake. He would have loved it.

750g sultanas or raisins, or a mixture of the two
250g pitted dates
250g dried figs, stems removed
2/3 cup brandy, rum or whisky
2/3 cup any liqueur that needs using up!
250g butter, at room temperature
¼ cup peanut butter
200g soft brown sugar
4 eggs
250g plain flour
25g (¼ cup) cocoa powder
1 tsp each ground nutmeg and cinnamon
1 cup skinned hazelnuts (or almonds or walnuts or a mix), roughly chopped

Place the dates and figs in a food processor and process (using the pulse button) until coarsely chopped. Place all the dried fruit in a bowl, mix in the two alcohols (I used brandy and Bailey’s Irish Cream), then cover and leave for a few hours or overnight. Stir a few times.

Preheat oven to 150°C. If you have the option to turn off the fan then do so. Line a 22cm (9 inch) square or round cake pan with baking paper. In a large bowl, with electric beaters, mix the butter, peanut butter and sugar. When smooth add the eggs and lastly the sifted flour, cocoa and spices. Fold in the fruit and nuts by hand, then scrape into the cake pan and smooth the top.

Bake for two and a half to three and a half hours, or until cooked. Ovens vary so test with a skewer which should come out clean when inserted in the middle. Cake should feel firm on top when it’s ready.

Cool then store in an airtight tin. Keep for a week or two (perhaps I should say hide for a week or two!) to mature.

Note: If liked, swap some of the dried fruit for dried currants or chopped dried apricots.

Vegetable Curry

This simple vegetable curry is perfect for using up all the odds and ends of vegetables from the bottom drawer of the fridge to produce a tasty family meal. I used sweet potato, pumpkin, green beans, potatoes and frozen peas. Other vegetables such as cauliflower, zucchini, carrots, capsicum, broccoli and eggplants also work well in this recipe.

If you’re not sure how many vegetables to prepare, I filled a one-litre measuring jug twice to overflowing. The quantity is flexible, but basically you need a big bowl full. If you don’t have enough vegetables, add a drained can of chickpeas.

3 Tbs vegetable oil
1 large onion, diced
2 cloves garlic, crushed
1 red chilli, seeded and finely chopped (optional)
1 Tbs grated fresh ginger (optional)
3 Tbs curry paste or powder
1 tsp paprika or turmeric
1 can tomatoes, chopped
1 can coconut milk
2 cups chicken or vegetable stock
1 tsp sugar
8-10 cups prepared vegetables (see list above)
2 cups frozen peas or 2 handfuls spinach leaves
Extra water as required
Salt and freshly ground black pepper
To serve:
Steamed rice
Plain yoghurt
Chopped fresh coriander
Fruit chutney

Prepare vegetables by cutting them into large chunks and pieces that will cook in a similar time. Heat oil in a large, heavy-bottomed pan and cook the onion and garlic gently, until soft but not coloured. Add the chilli, ginger, curry paste and paprika or turmeric and cook, stirring for a couple of minutes. Add the tomatoes, coconut milk, stock, sugar and all the vegetables apart from the peas or spinach. Simmer, stirring from time to time, for 20-25 minutes, or until the vegetables are cooked. Add more water as required during cooking and season to taste with salt and pepper. Lastly add the frozen peas or spinach and cook for a minute or two.

Serve the curry garnished with coriander and accompanied by steamed rice, a bowl of plain yoghurt and some fruit chutney.

Serves 6

Note: if you prefer a non-creamy curry leave out the coconut milk and add more stock. If you have coconut cream rather than milk, that works too. This is a very flexible recipe.