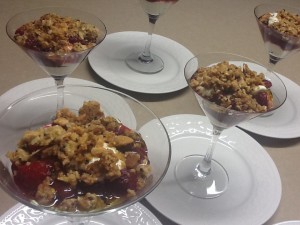
Adapted from a recipe by Yotam Ottolenghi, these Sweet and Salty Cheesecakes with Cherries and Crumble are delicious. The saltiness of the feta cheese and the final drizzle of olive oil gives this dessert the sophisticated Mediterranean flourish I have come to expect from recipes by this innovative chef.
Two other recipes you can find on this blog which use olive oil as the secret ingredient are Watermelon Sorbet with Olive Oil and Maldon Sea Salt and Labneh with Summer Berries, another great Ottolenghi recipe.
The three components can be made in advance and the dessert put together at the last minute, making it perfect for entertaining. Leftovers will keep for several days in the fridge if they’re not polished off sooner by family members foraging for sustenance.
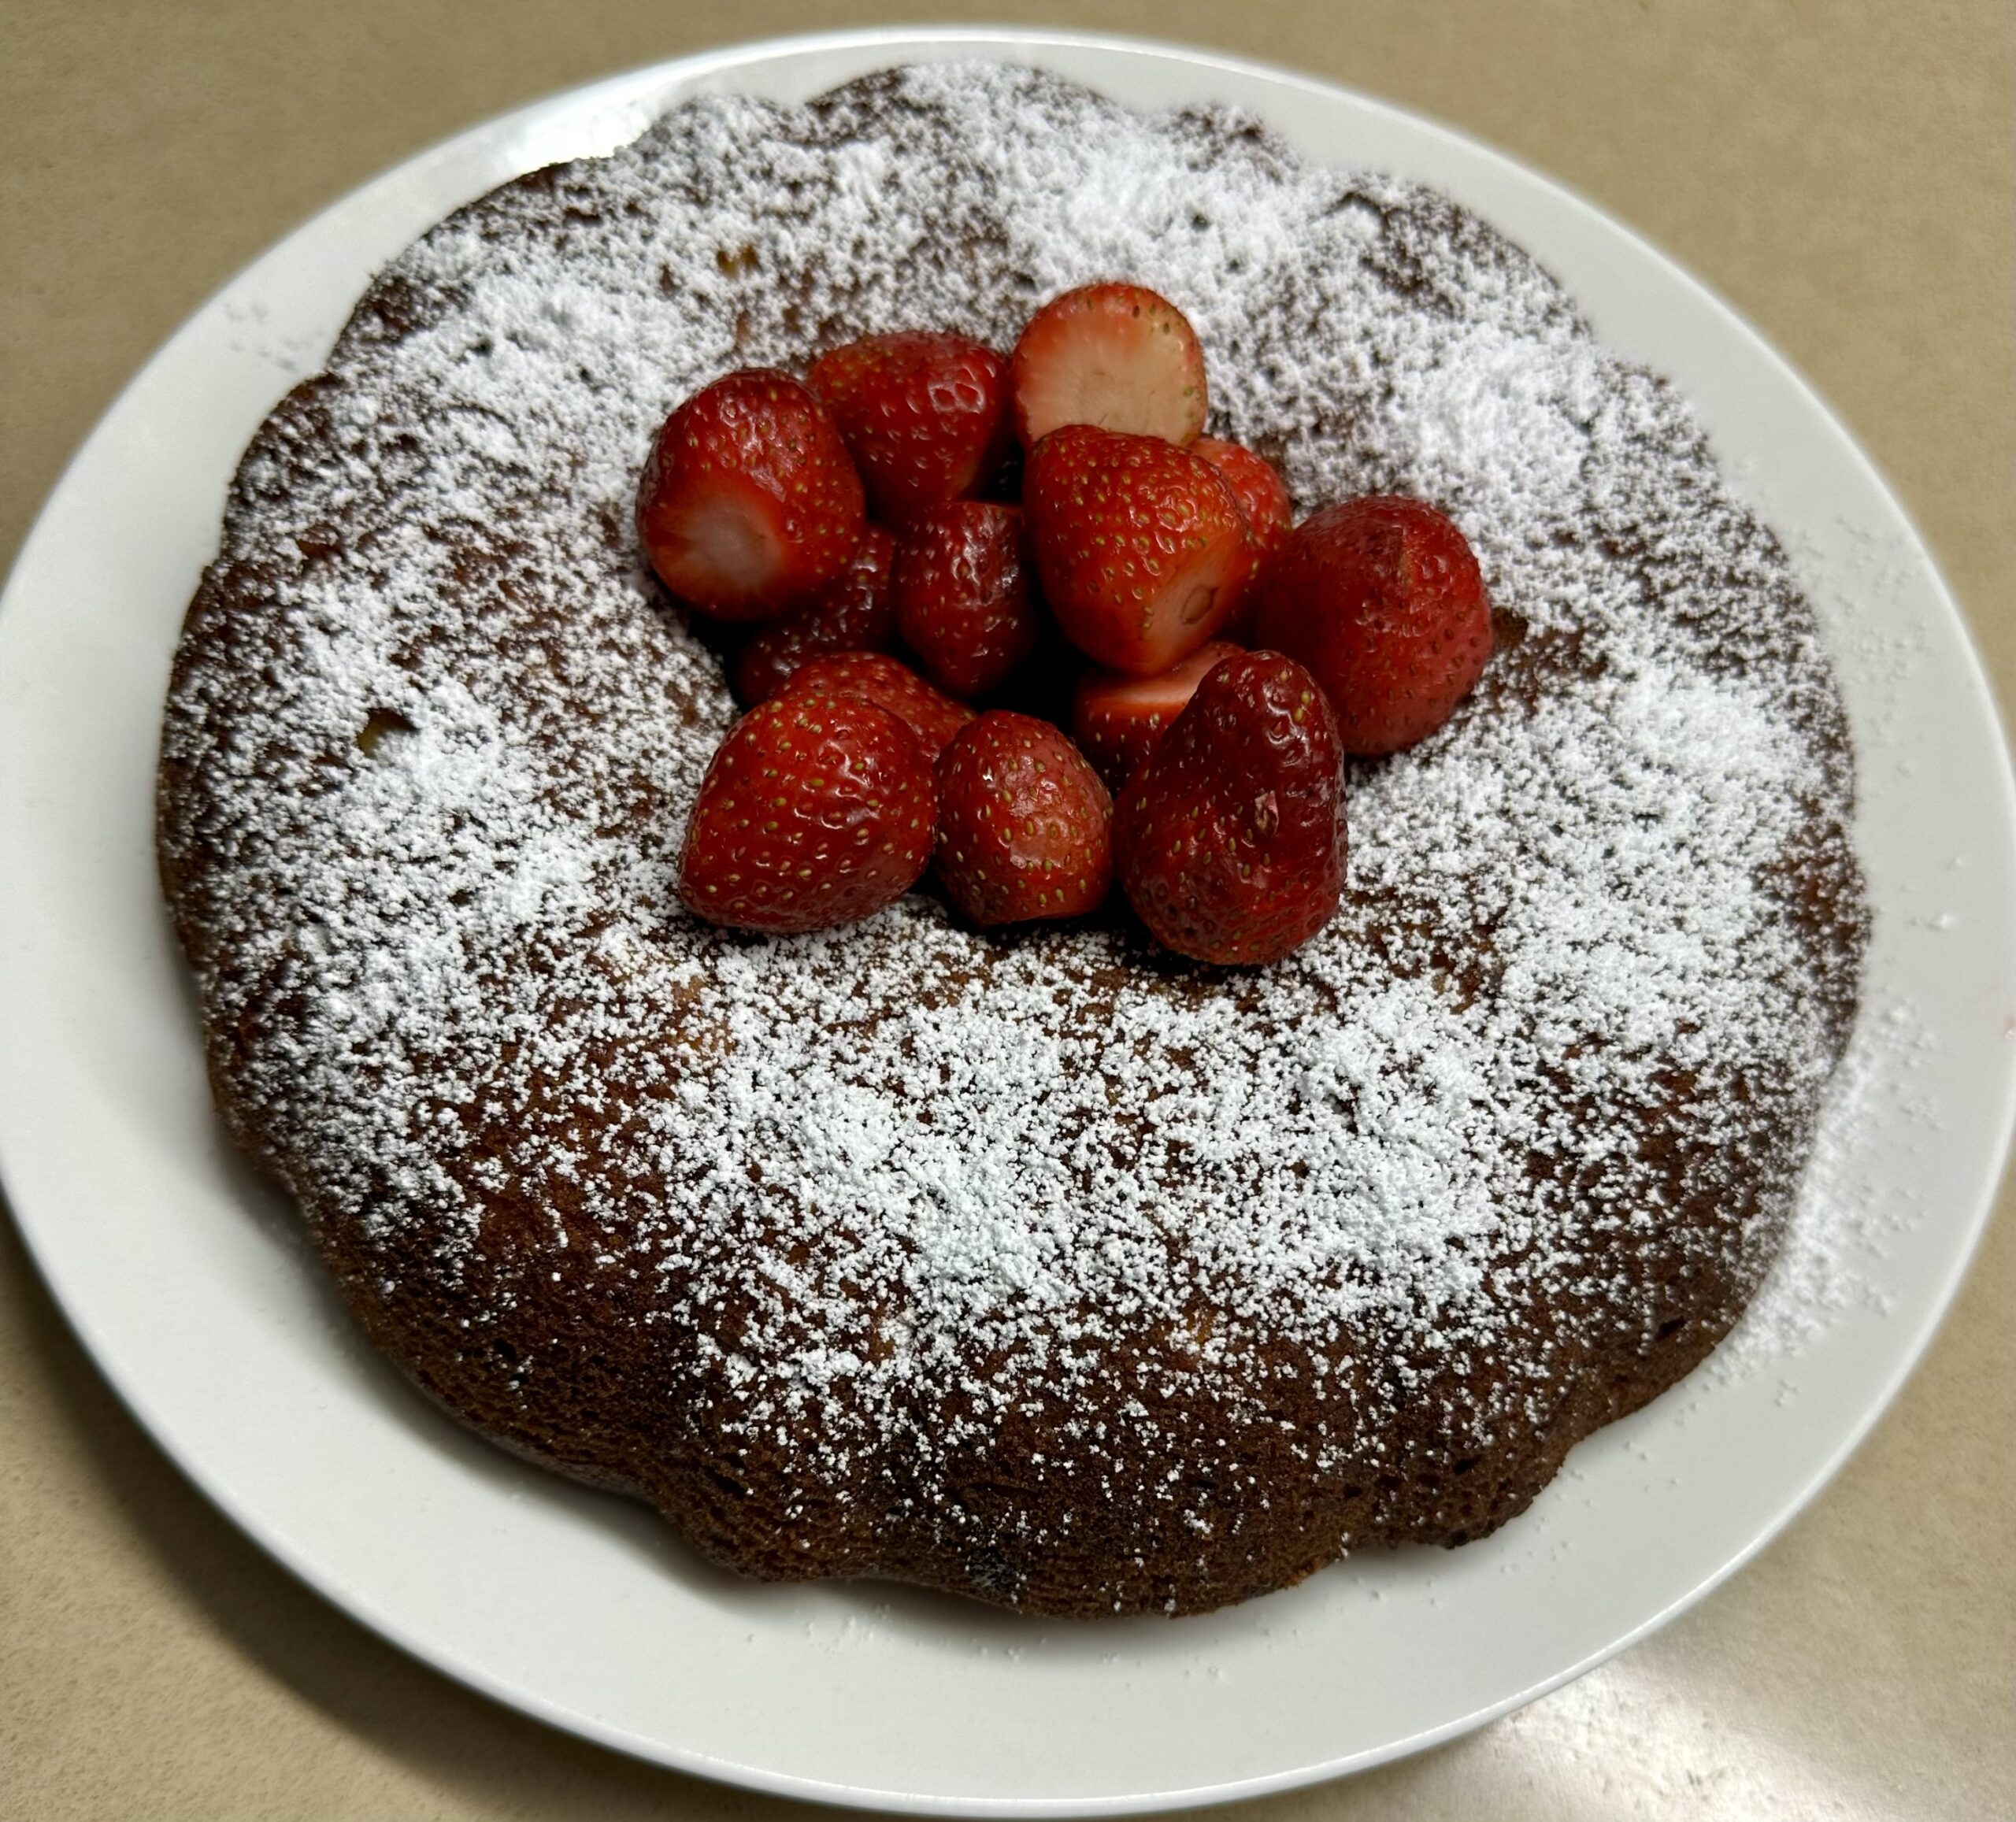
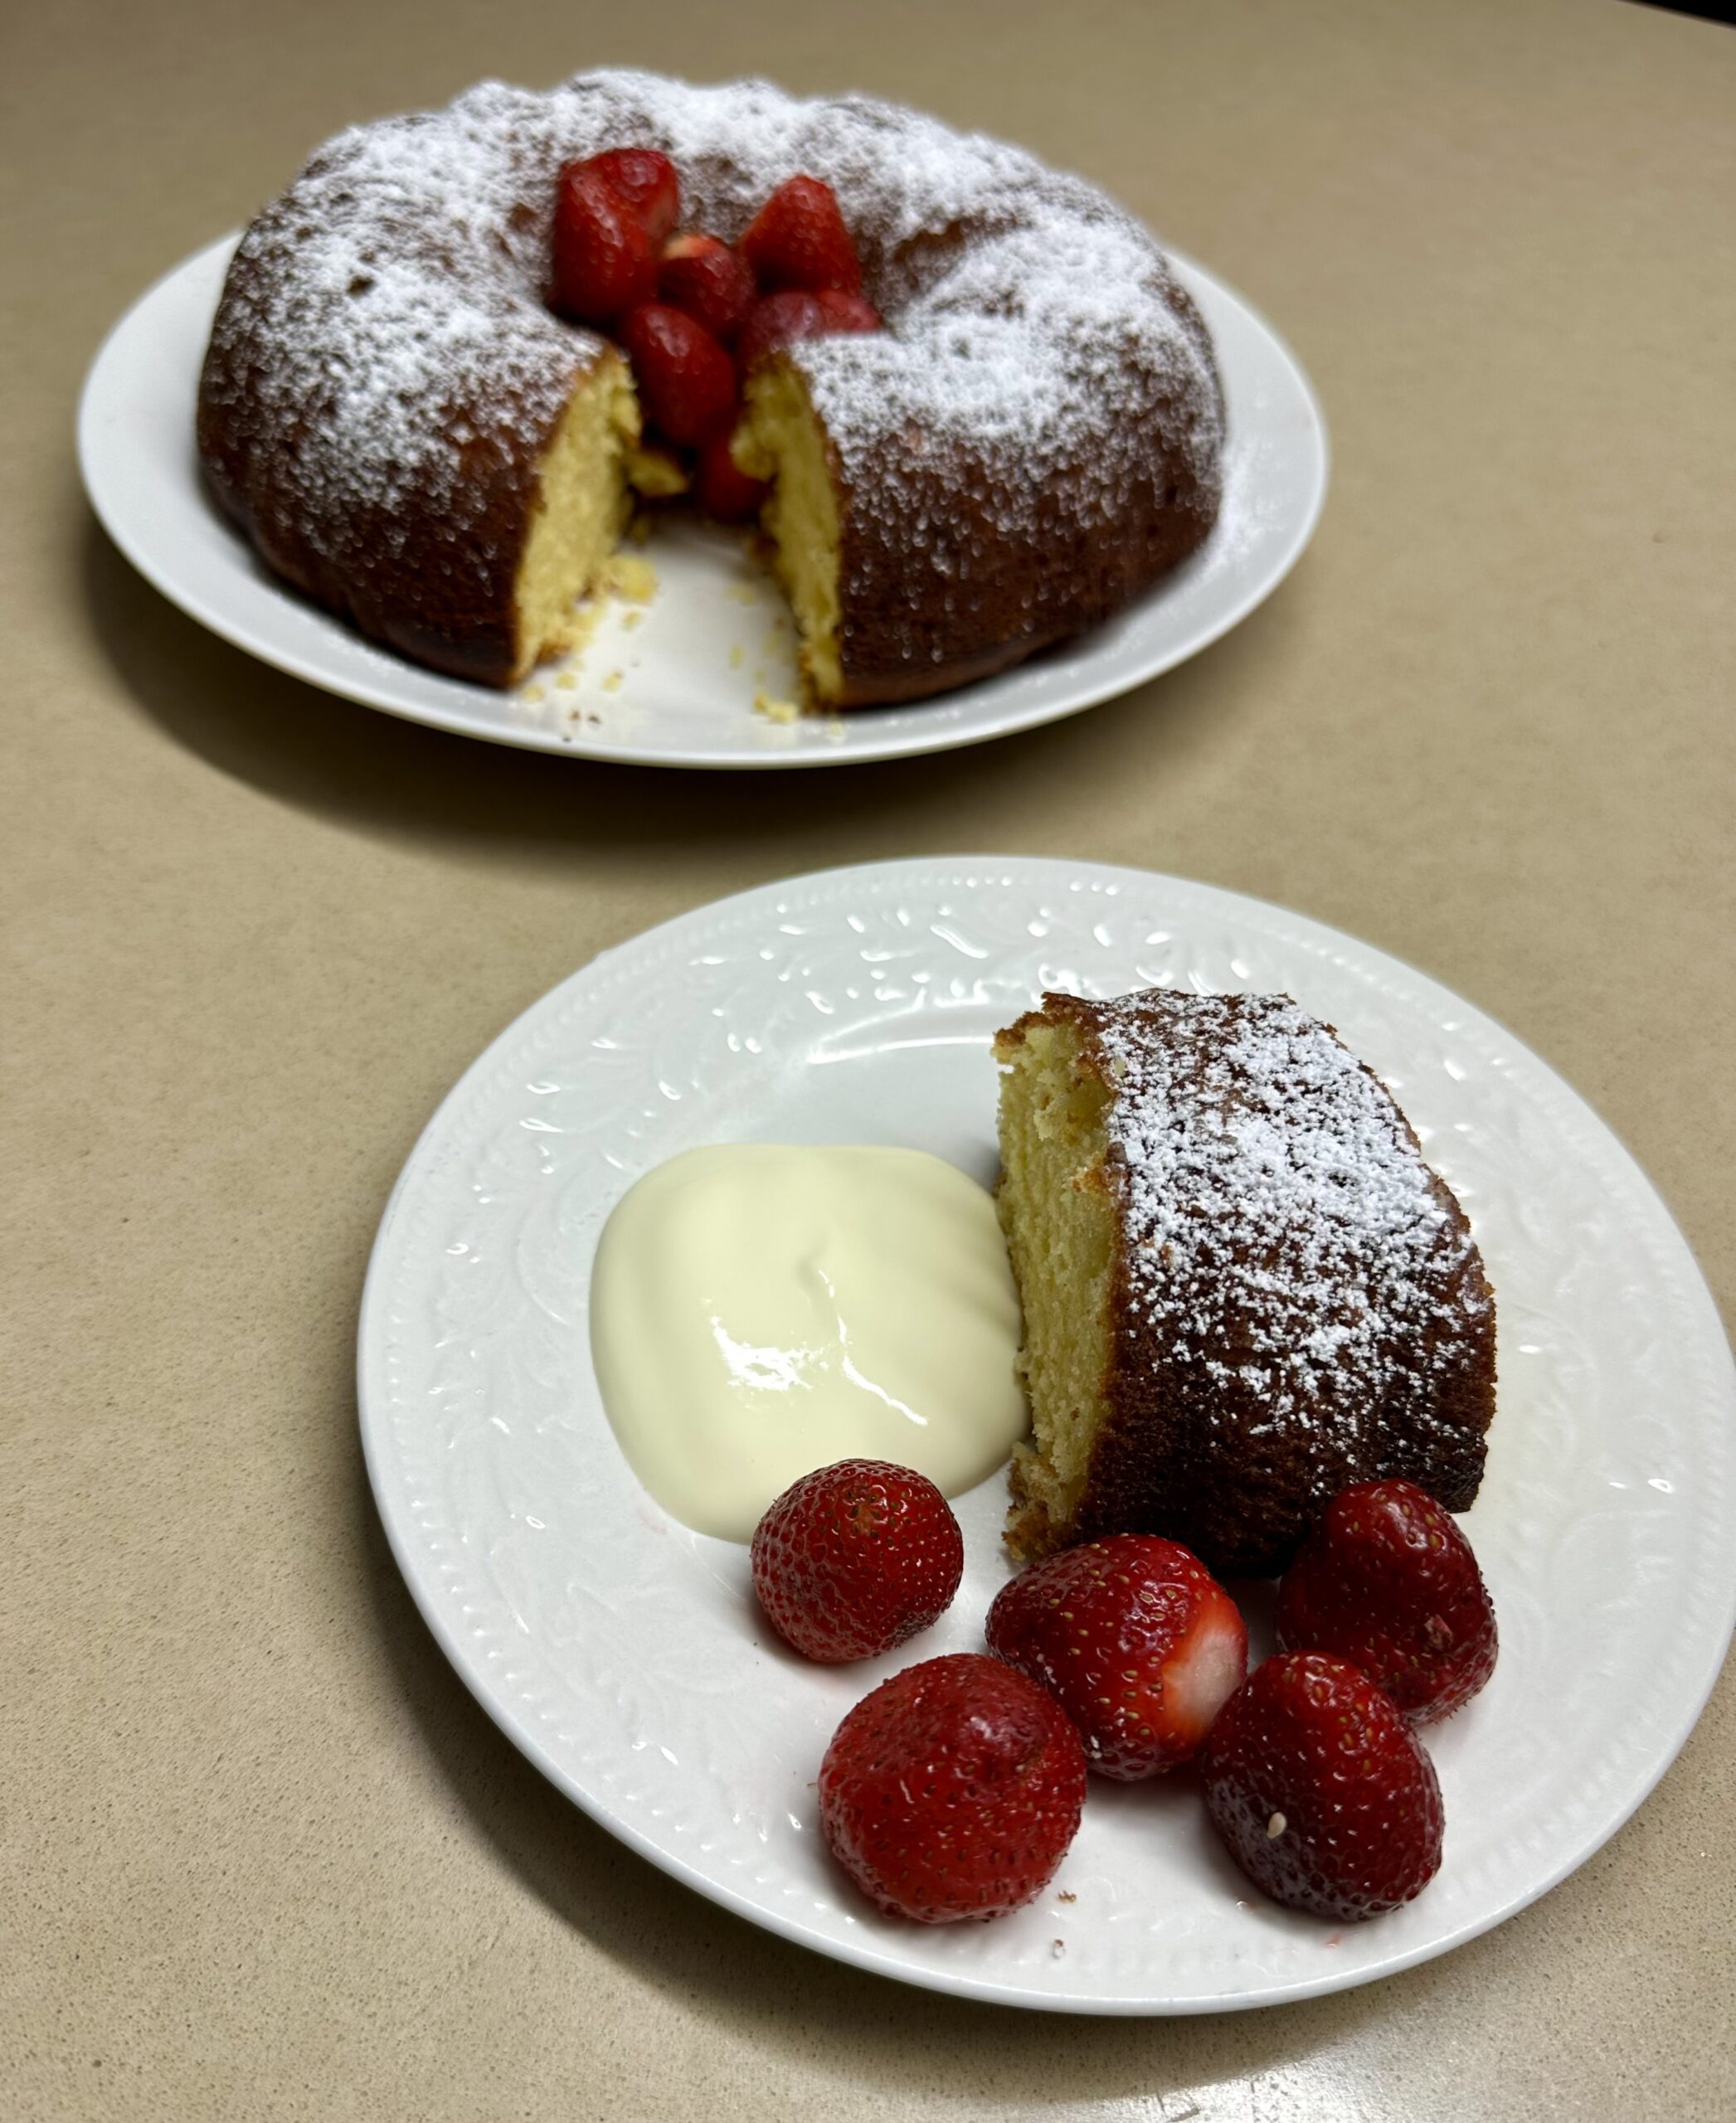
Instead of cherries you could use any fresh or poached fruit, such as sliced strawberries, poached rhubarb or peaches. For maximum impact serve in Martini or tall parfait glasses, although Ottolenghi just serves it scooped onto small flat plates.
Choose your best, fruity Extra Virgin olive oil to drizzle on top. You may be thinking “Olive oil, on a dessert?” Just give it a try.
 Cream Cheese Mixture:
200g feta cheese
250g cream cheese (at room temp)
Grated rind and juice 1 large lemon
2-3 Tbs caster sugar, to taste
250ml thick cream (1 cup)
Cherry Compote:
680g jar Morello cherries in syrup (see note below)
1 Tbs sugar
Juice 1 large lemon
4 whole star anise
3 Tbs Grand Marnier or Cointreau (optional)
1 rounded Tbs Arrowroot + 3 Tbs cold water
Crumble:
125g unsalted butter, cut into cubes
1 cup Plain flour
1/3 cup brown sugar
1 cup slivered or flaked almonds
1 Tbs sesame seeds (preferably black ones)
Good pinch salt
To serve:
A few fresh berries (optional)
Extra Virgin Olive oil
Place feta, cream cheese, sugar, lemon rind and juice in food processor and mix till smooth. In a small bowl, whip cream with electric beaters until soft peaks form. Scrape cream into food processor and mix for a few seconds, just enough to thoroughly combine with the cheese mixture, stopping to scrape down the sides. Scrape into a container with a lid and refrigerate till serving time.
Drain and reserve cherries. Place juice in a small saucepan with sugar, lemon juice and star anise. Simmer for 5-10 mins then strain and discard the star anise. Put back in pan with the cherries. Add combined arrowroot and water and cook, stirring, until thickened. Add liqueur, pour into a container with a lid and refrigerate till serving time.
Pre-heat oven to 180ºC. Place flour, butter and brown sugar in food processor and process until it starts to clump together. Add nuts, sesame seeds and salt and process briefly to combine. Line a biscuit tray with baking paper. Tip out the crumble and spread out evenly, breaking up the larger clumps. Bake for 10-20 minutes or until evenly golden brown. After 10 minutes move the crumble around with a fork, bringing the more cooked sides into the middle. Cool then store in a container with a lid.
To serve, place a dollop of the cream cheese mixture in 8 Martini glasses. Top with some of the cherries, a few fresh berries (optional) and lastly sprinkle with crumble. Drizzle with olive oil and serve immediately.
Serves 8-12
Note: I used a jar of cherries from Aldi, but in season you can use fresh cherries, stoned and cooked with a little more sugar, or frozen ones if you can find them. The fruit will probably make enough juice as it cooks, but if not add a dash of water. Arrowroot is sold in the baking section of most supermarkets.
Variation: instead of using cherries slice a couple of punnets of strawberries and put them in a bowl. Add sugar to taste and a splash of white balsamic vinegar and leave to macerate for an hour or so.