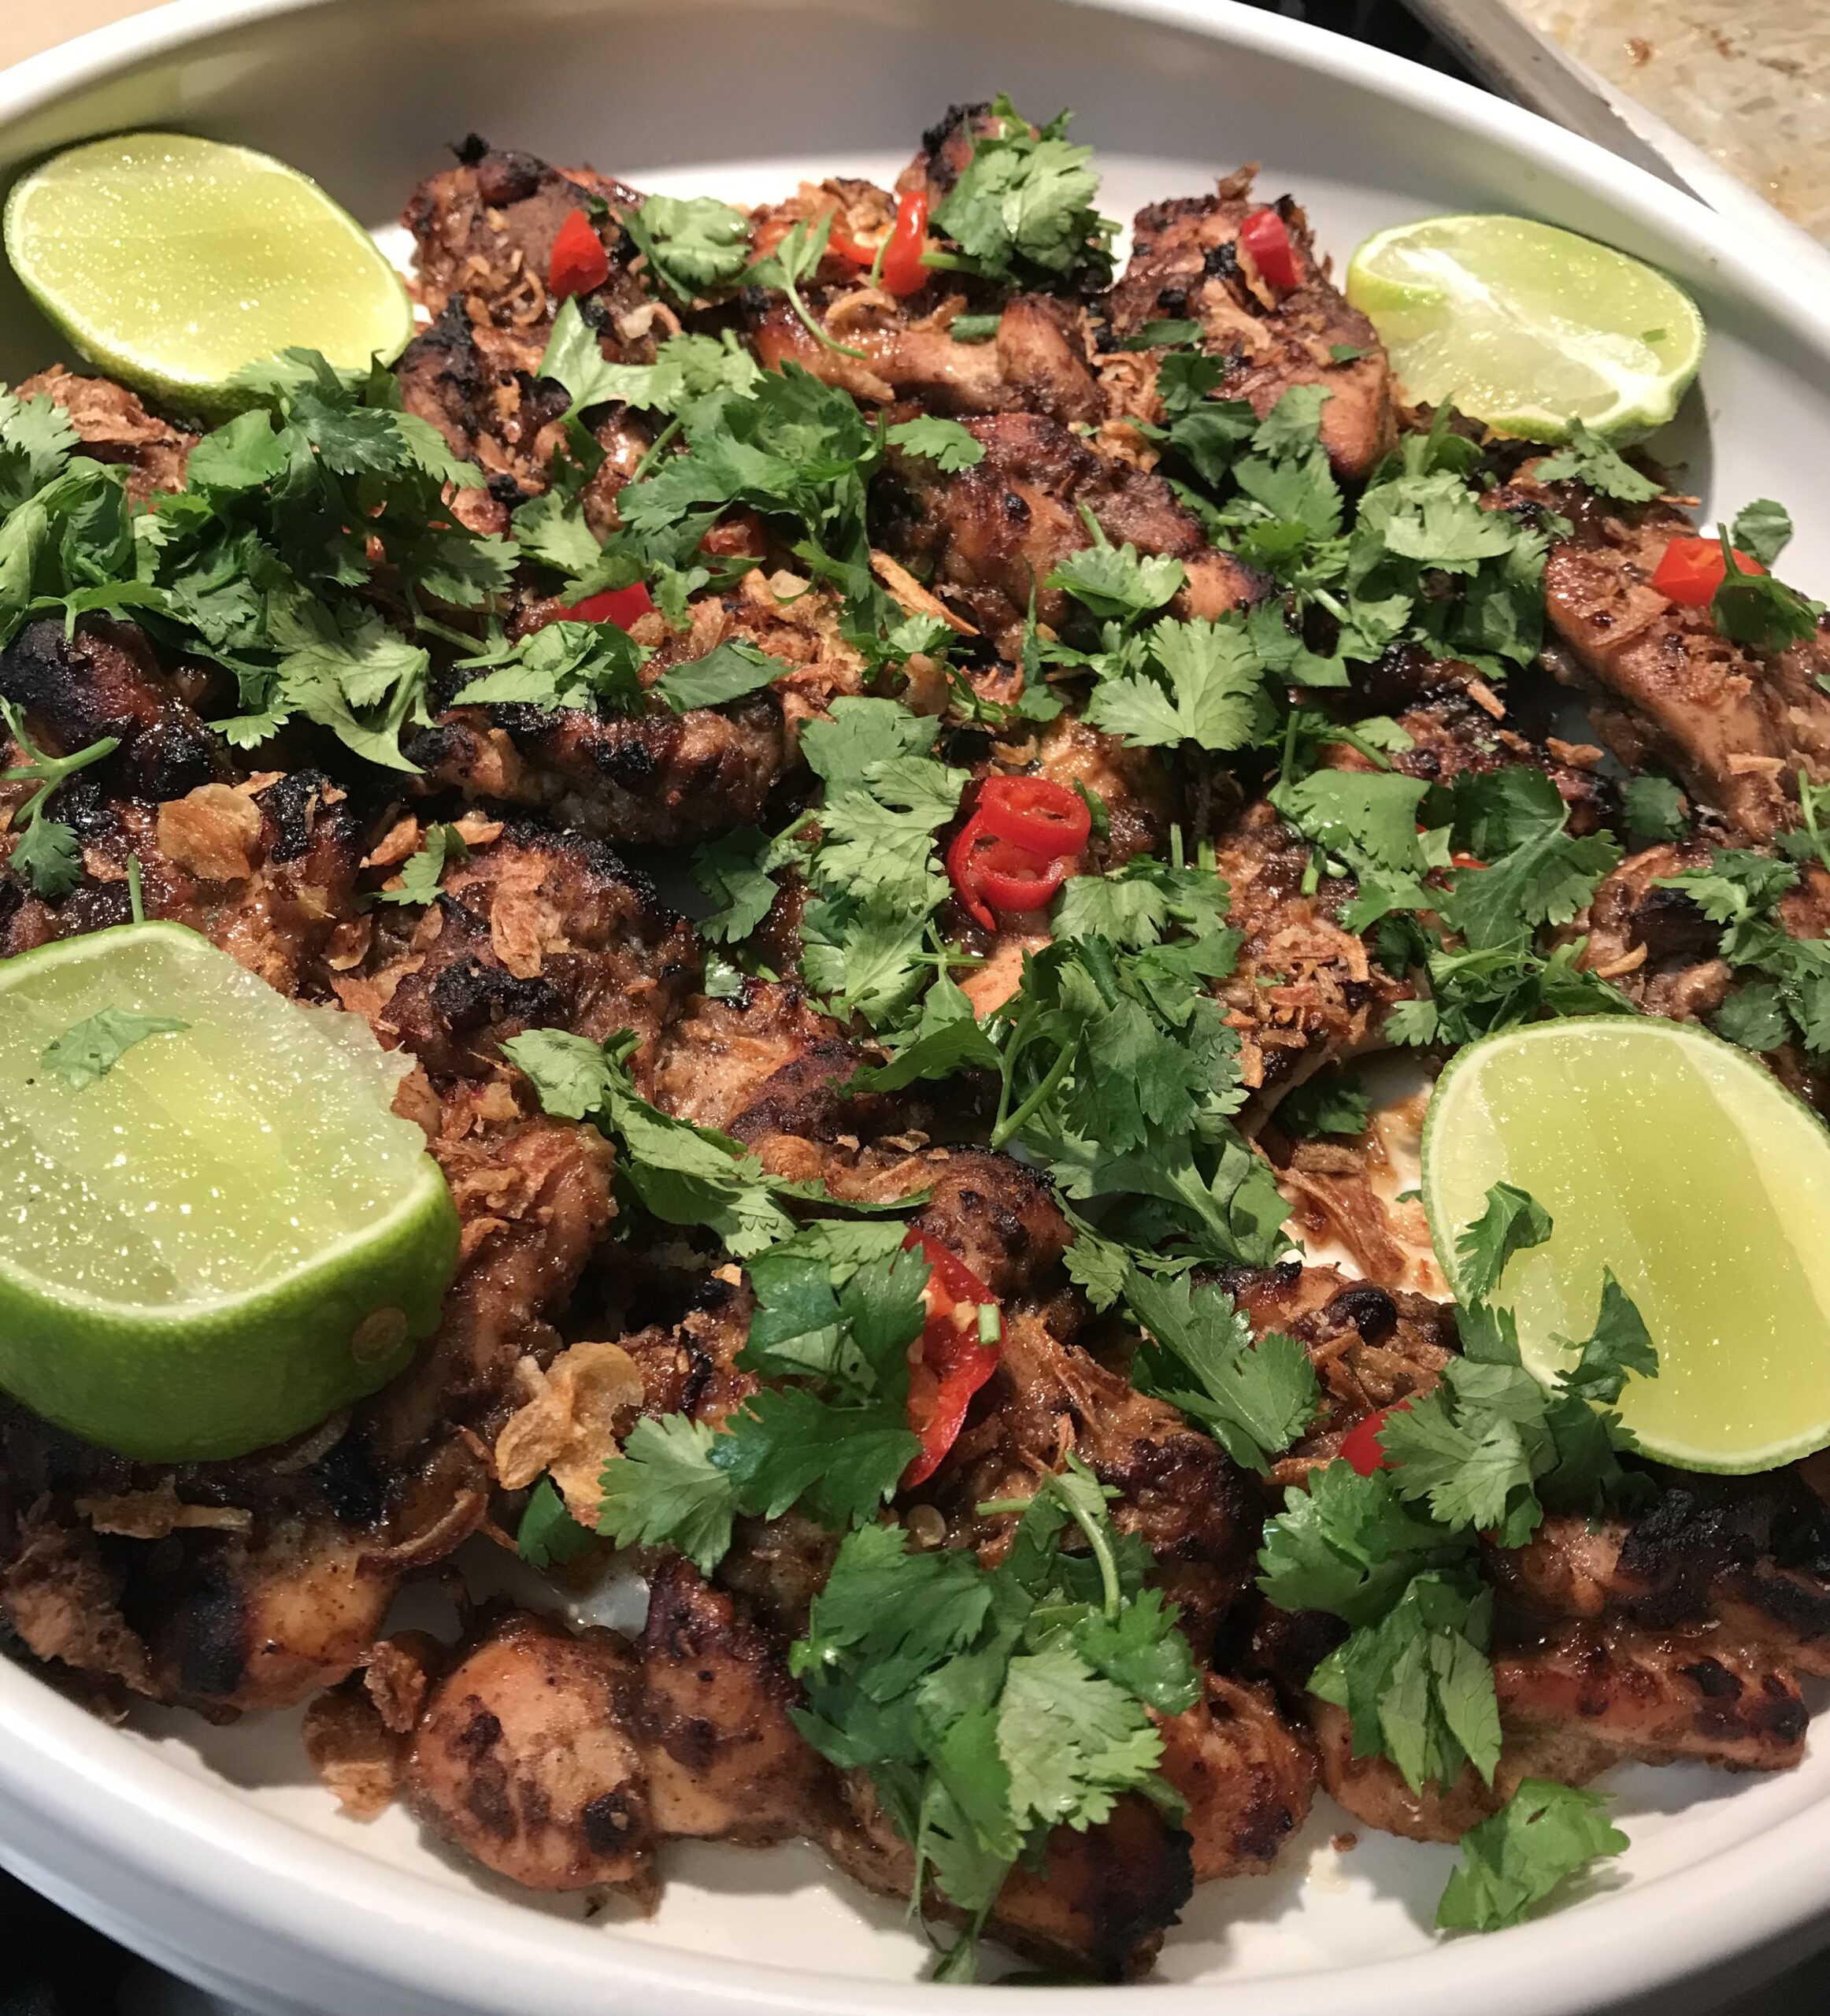
Malaysian Spicy Chicken

I prefer chicken thighs to breasts, both the texture and the flavour. Malaysians always use thighs to make their famous satays with peanut sauce, which we ate often at the street stalls when we were posted to Kuala Lumpur in the 1980s.

This quick and easy Malaysian recipe also uses chicken thighs. Serve it with steamed rice and a crunchy cucumber, onion and coriander salad, perhaps with some halved cocktail tomatoes added. Warm roti bread also goes well.

1 kg boneless, skinless chicken thighs
Marinade:
¼ cup tamarind paste
2 Tbs honey
1 Tbs vegetable oil
1 Tbs grated ginger
1 tsp five spice
1 tsp cinnamon
1 tsp curry powder
½ tsp cardamom
Salt and freshly ground black pepper to taste
Garnish:
Fresh lime wedges
1 red chilli, sliced on the diagonal
Fresh chopped coriander
½ cup crispy fried shallots (available from Asian shops and some supermarkets)

Combine marinade ingredients, add the chicken pieces, trimmed if necessary and halved or left whole. Mix well then cover and refrigerate overnight, or for at least a couple of hours.

Preheat oven to 180°C. Arrange chicken pieces in one layer in a shallow baking tin and cook for 30-40 minutes, turning once, until browned and cooked through.

Transfer chicken to a serving plate, drizzle over any liquid from the pan and garnish with the limes, chilli, coriander and fried shallots. Serve with rice.

Serves 4-6

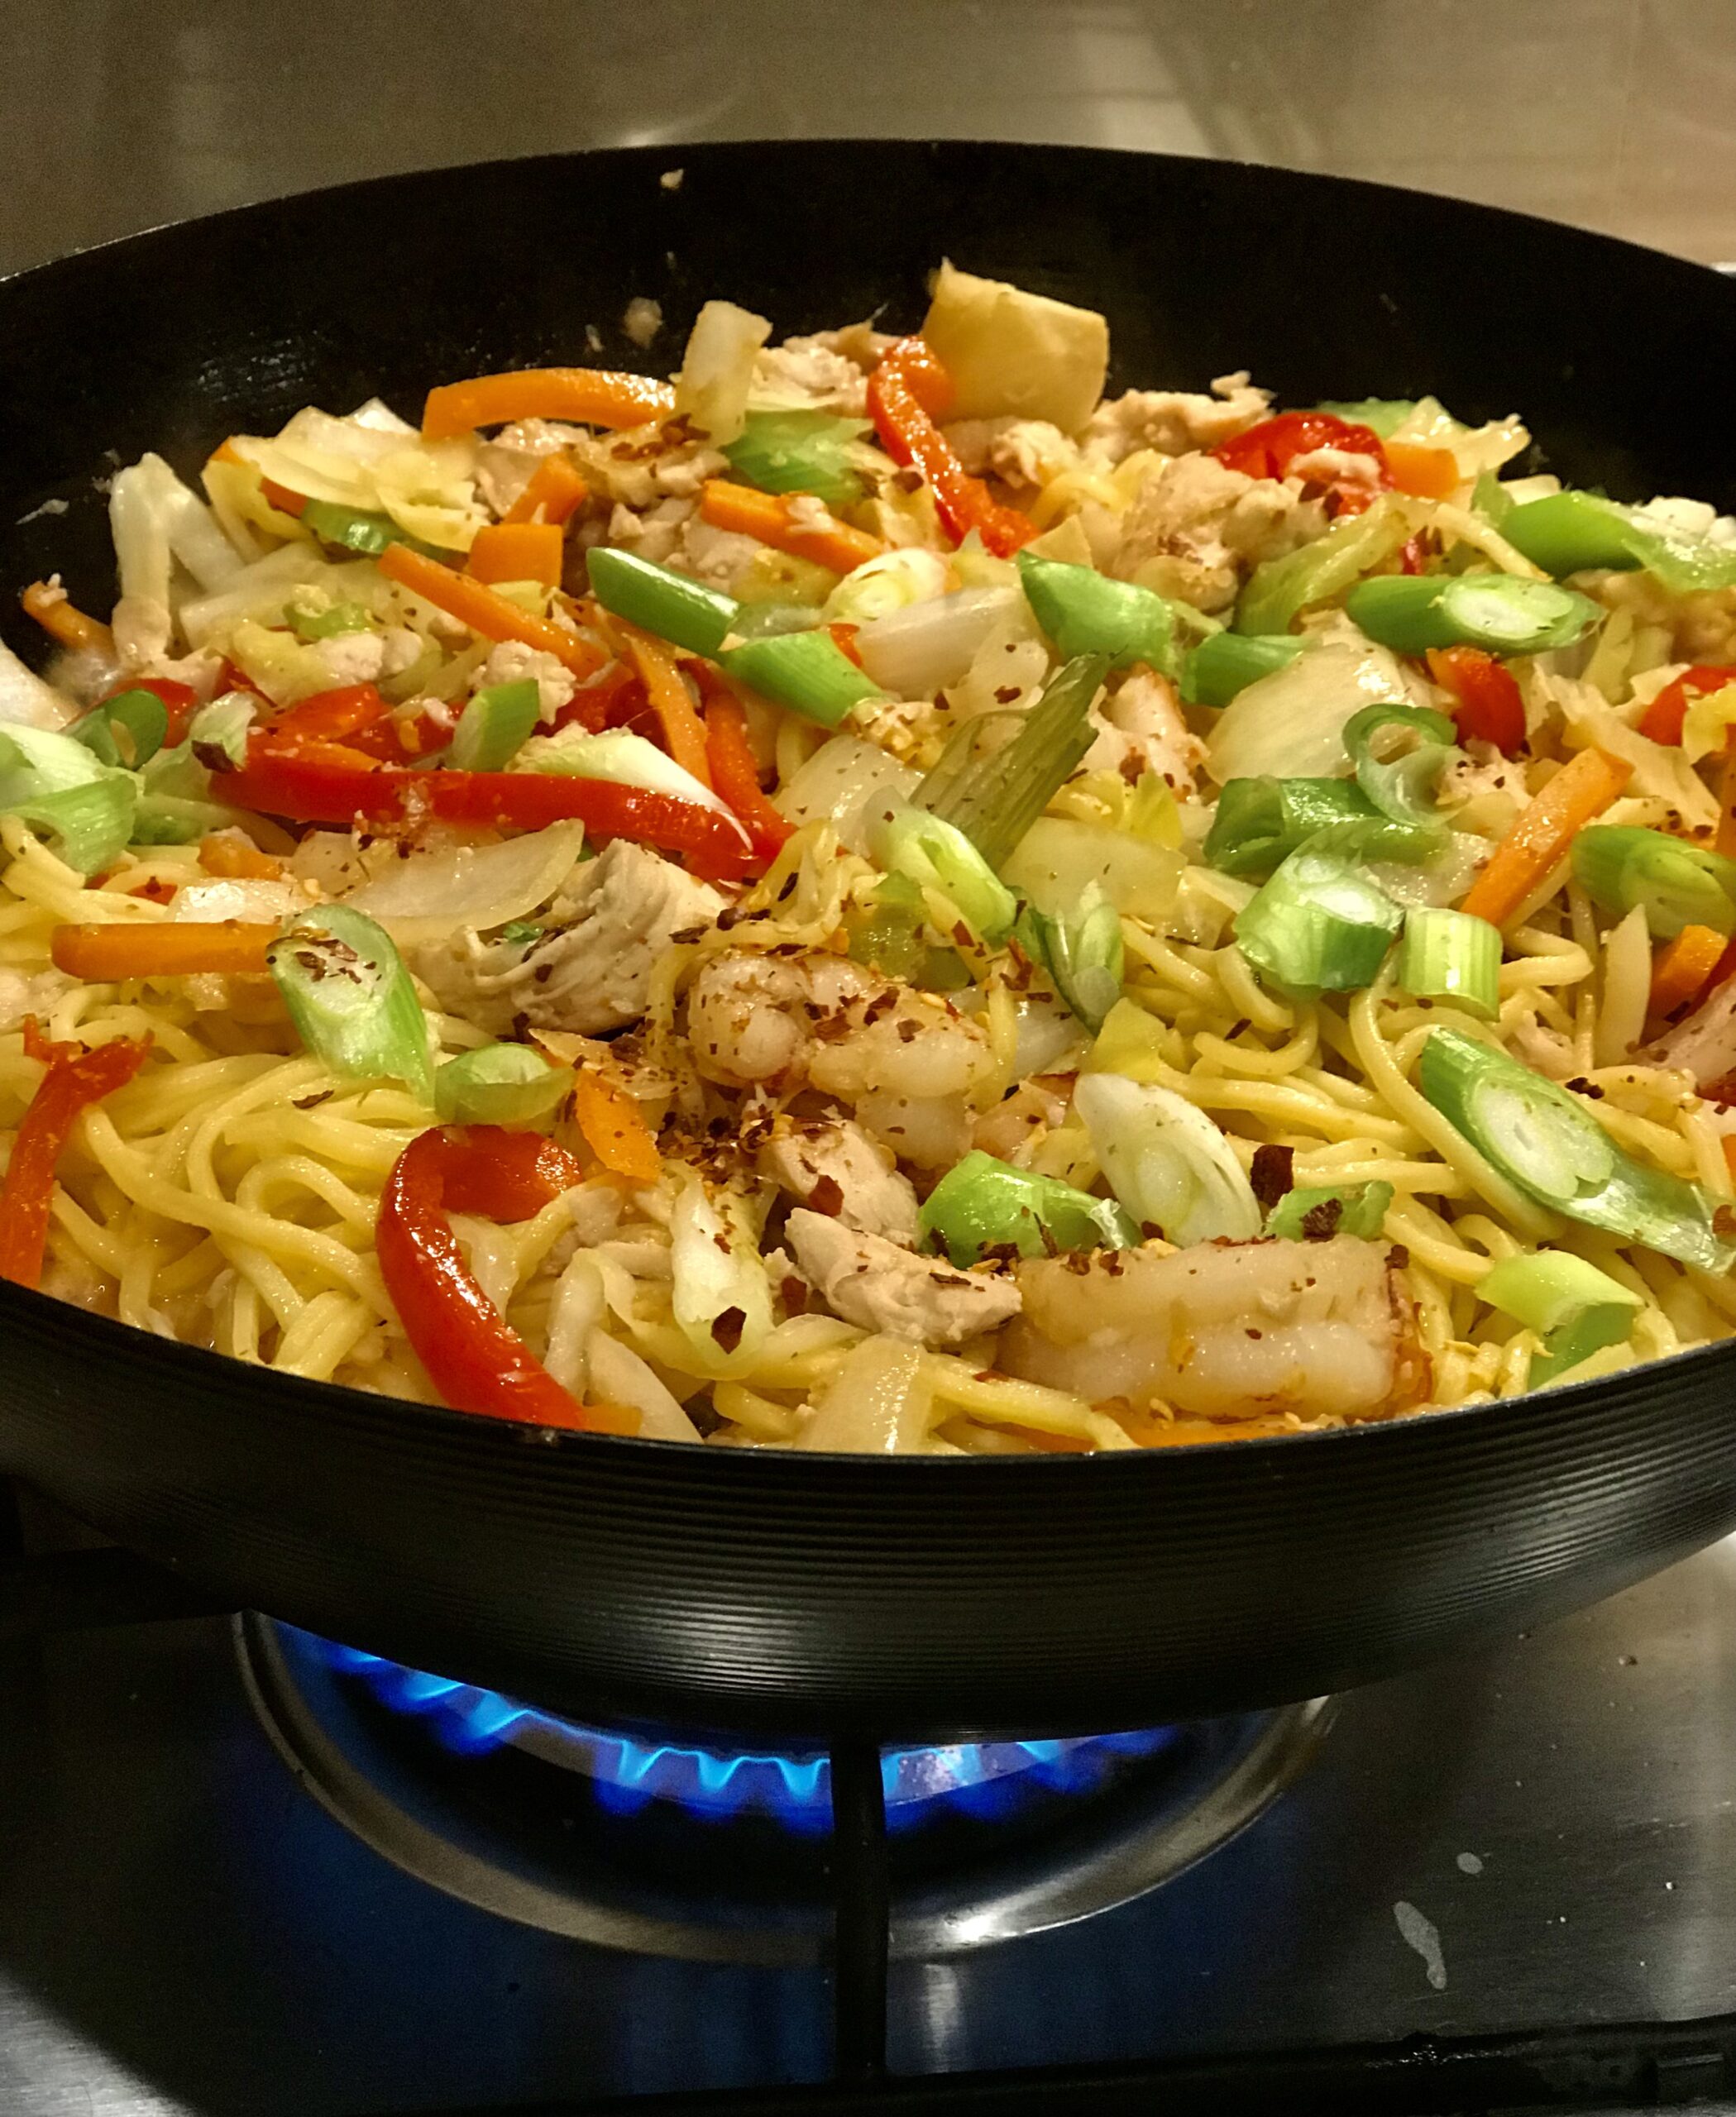
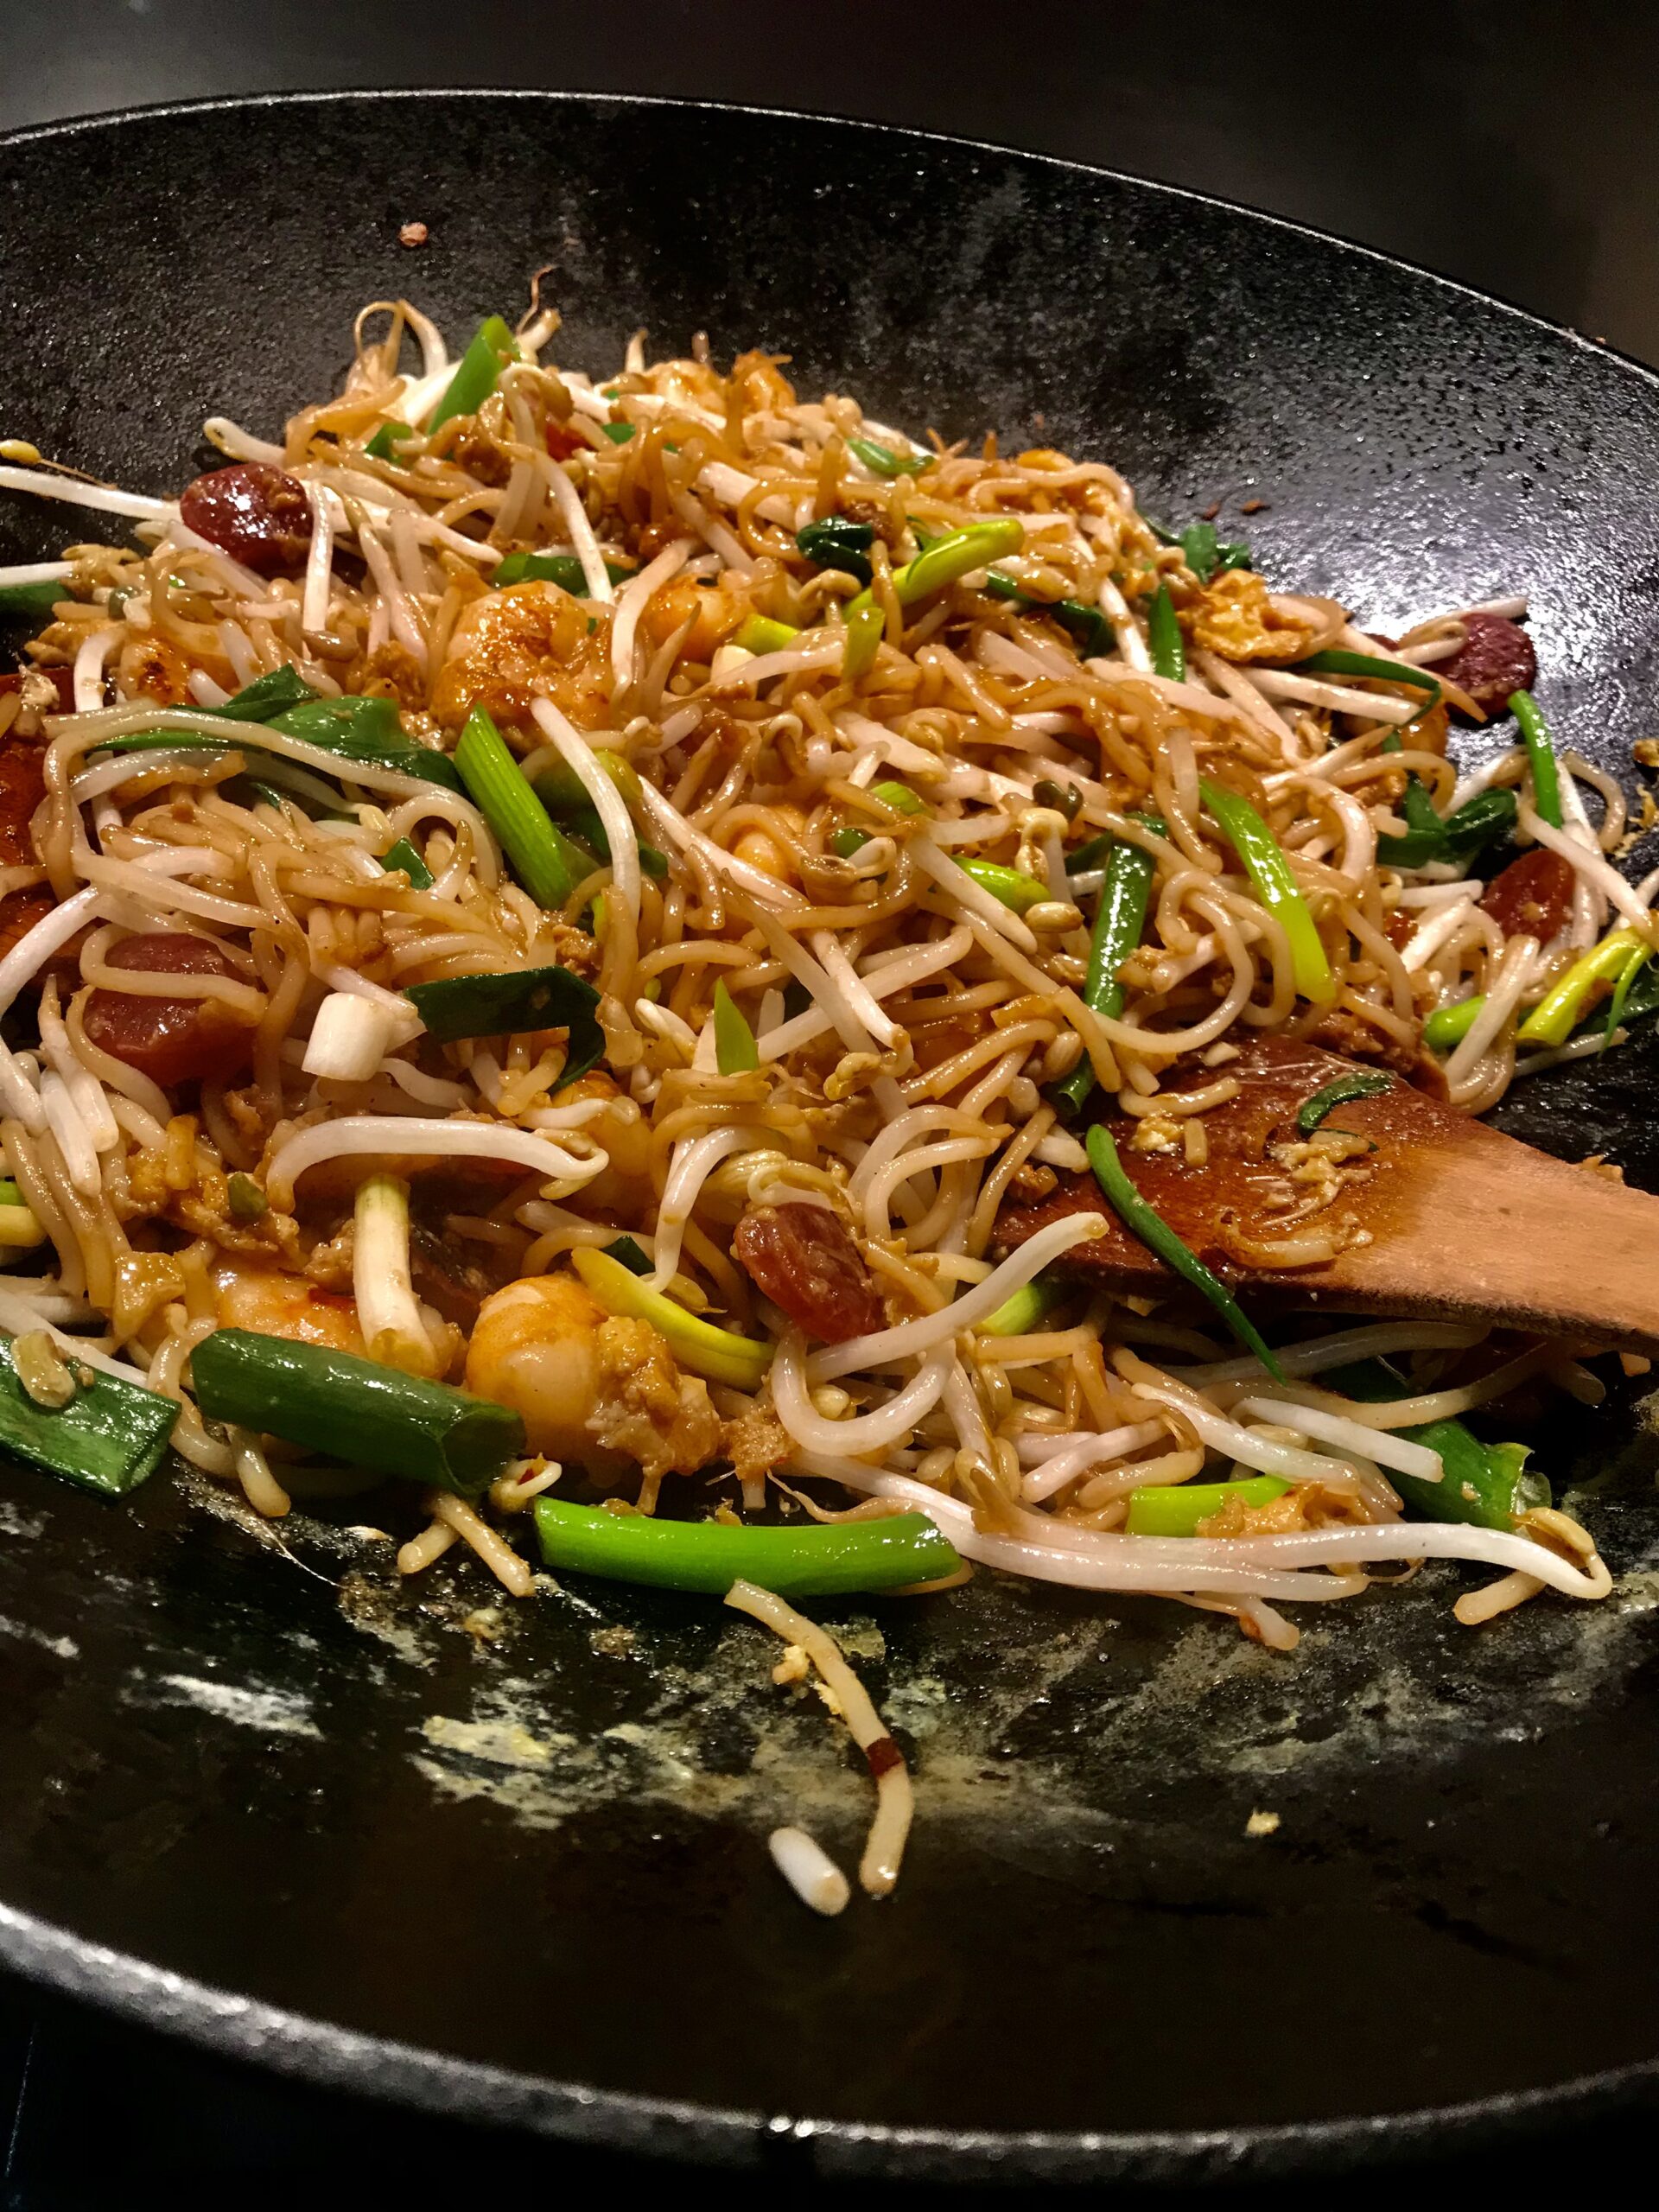
Char Kway Teow

We lived in Kuala Lumpur for three years in the mid-1980s. The street food sold by people called hawkers was fantastic and my favourite dish was char kway teow.

A delicious mix of rice noodles, prawns, egg, garlic and other flavourings, I’ve tried many times to make char kway teow taste exactly the way I remember it. Unfortunately I’ve come to the conclusion that it’s not possible. Even my Malaysian friends agree with me. You need to go to Malaysia or Singapore for the real thing.

My recipe has been adapted and tweaked over the years to produce a dish which might not be 100% authentic, but which you can make easily at home with readily-available ingredients. In Malaysia they add blood clams, known as kerang. If you can find them that’s wonderful, throw them in, but I just leave them out.

Fresh rice noodle sheets which you cut into strips are available in Asian grocers, but the ready to eat rice noodles sold in most supermarkets work well. Not quite the same, but still delicious. If you’re going to make a trip to an Asian grocer for the noodles you will also be able to find Chinese sausage and garlic chives there, as well as all the sauces.

This recipe serves 2. If you need to serve more people, make another batch, don’t double the recipe.

200g rice noodles (see note below)
2 Tbs vegetable oil
2 cloves garlic, finely chopped
12-15 peeled and deveined prawns (preferably uncooked, but cooked also work)
1 lap cheong (Chinese sausage) thinly sliced (see note below)
Good pinch of crushed dried chillies, to taste (or add a little Sambal Oelek paste)
2 eggs, beaten
2-3 tsp soy sauce, to taste
2-3 tsp kecap manis (see note below)
2-3 tsp oyster sauce
1 bunch garlic chives or spring onions
200-250g beansprouts

If using rice noodle sheets (available in Asian stores) cut them into 1cm strips and separate them with your fingers. If using ready to eat rice noodles, cut the end off the bag and zap it in the microwave for 1 minute.

If using garlic chives (available in Asian stores) cut them into 4cm lengths. If using spring onions, slice thinly on the diagonal.

Heat oil in a wok over high heat. Add the garlic, prawns and sausage and stir-fry for a minute or two. Add the noodles and the crushed dried chillies and toss well to combine. Let the noodles get a bit stuck and charred, before you scrape them off. Add the spring onions or garlic chives and beansprouts and mix in.

Push everything to one side, pour the eggs into the space and cook them like scrambled eggs, allowing them to set, then breaking them up.

Add the 3 sauces. Start with a couple of teaspoons of each, taste and add more if necessary. Gently mix everything together. The beansprouts and chives or spring onions will still be raw and crunchy. Don’t overcook – you want the egg to still be soft.

Serves 2

Notes: (1) in Australia shelf-stable (long life) rice noodles are located in the Asian aisle of big supermarkets under the Wokka brand. Inside the packet are two packets each weighing 200g. I used one for this recipe. You might also find ready-to-eat rice noodles in the refrigerated pasta and noodles section of your supermarket. (2) Chinese sausage is sold in a shelf-stable (long life) packet in the Asian aisle of Woolworths and Coles. (3) if you can’t find kecap manis (sweet soy sauce) use more ordinary soy sauce and add a good pinch of sugar.


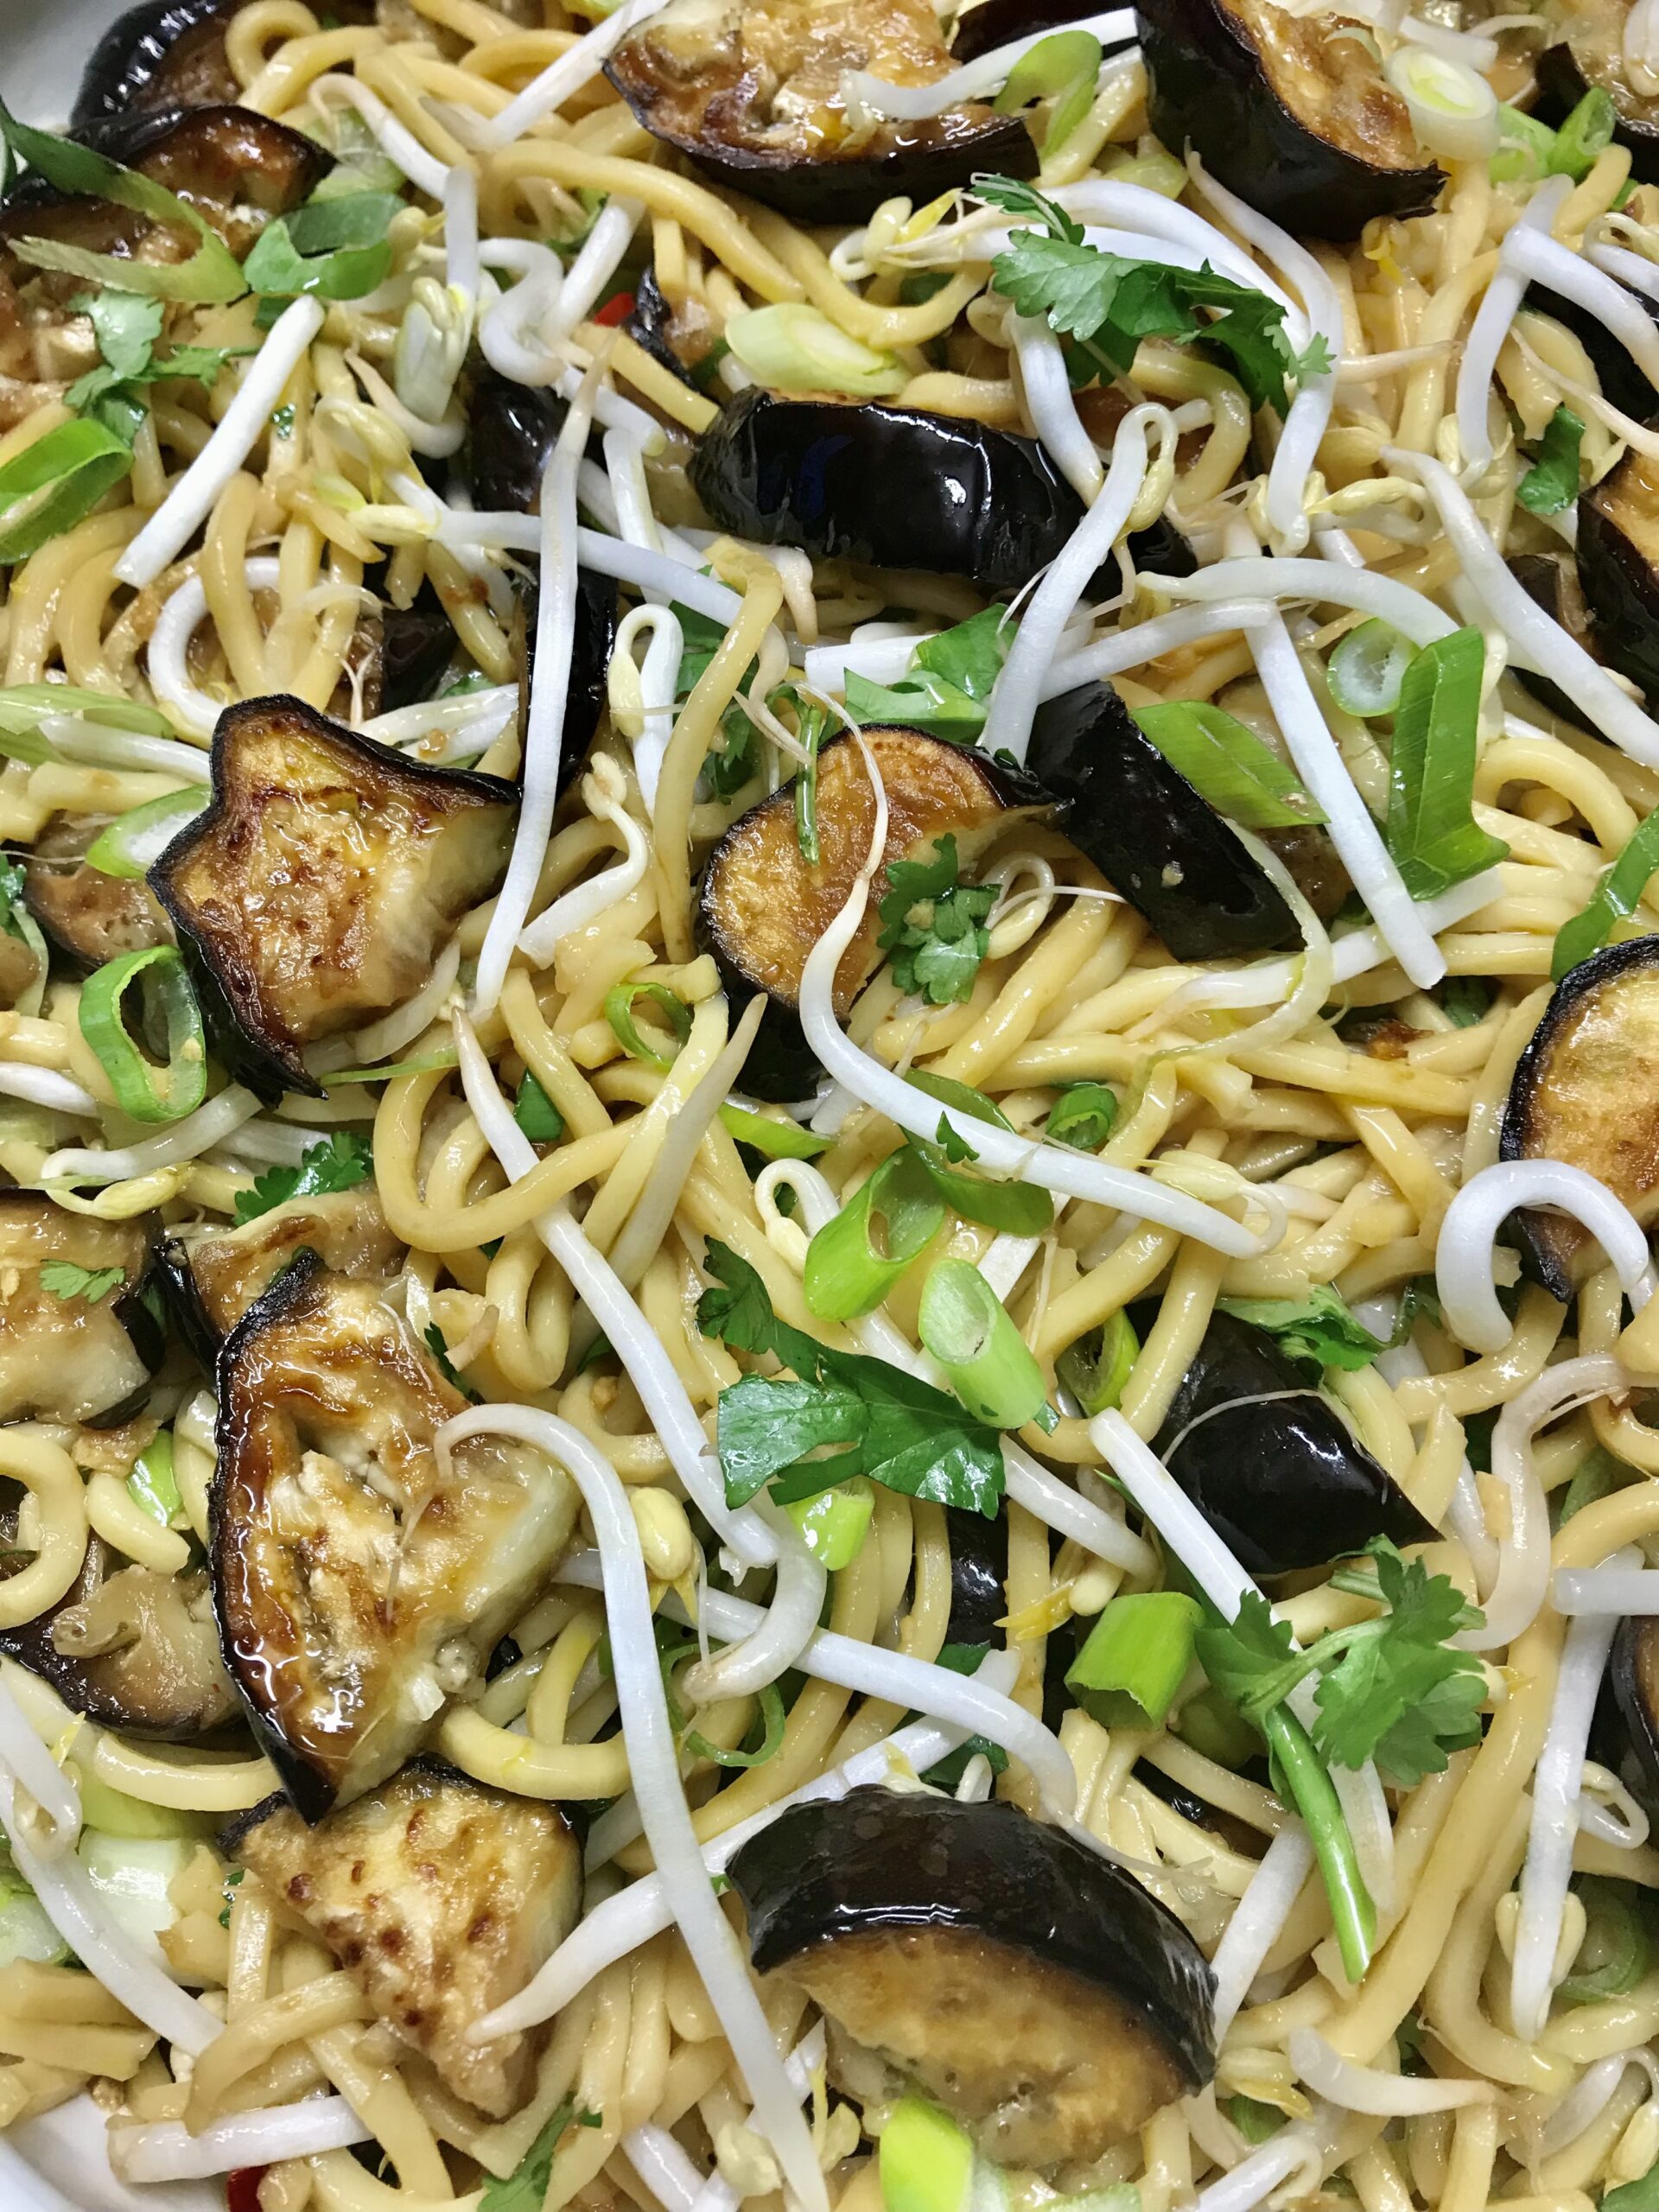
Chinese Sesame Noodles with Eggplant

These Chinese Sesame Noodles with Eggplant always leave me thinking that if I had to be a vegetarian, this is one of the dishes I would make often. Some vegetarian dishes are satisfying and others just don’t hit the spot.

The original version came from Australian cook Belinda Jeffery, cooking presenter on the TV show Better Homes and Gardens for many years. I’ve been making it for over 20 years and yes I’ve tweaked it slightly (I know, I’m incorrigible) and added the optional pine nuts which were suggested by Matthew.

Served at room temperature it’s perfect for a shared buffet or as a light family dinner. Also great for lunch boxes.

This week’s recipe is especially for Moya and John and my brother David.

2 large eggplants, cut into 1cm thick slices
3 spring onions, sliced finely on the diagonal
125g bean sprouts
A good handful chopped fresh coriander
450g fresh noodles (Hokkien or Singapore)
Lightly toasted pine nuts to garnish (optional)
Basting mixture:
2 Tbs sesame oil
2 Tbs olive oil
3 Tbs soy sauce
2 Tbs vinegar
¼ cup sugar
1 small red chilli, finely chopped (with or without seeds, up to you)
2 tsp finely chopped or grated fresh ginger (I tend to use more, like double!)
1 large clove garlic crushed

Cook noodles according to packet directions and drain. Preheat oven to 200°C. Mix basting ingredients. Arrange eggplants on two large shallow baking trays lined with baking paper. Brush both sides with the basting mixture. Bake for 20-25 minutes or until tender, brushing them again about halfway through the cooking time.

When eggplant is cool enough to handle cut into quarters, halves or thick slices and mix with remaining basting mixture. In a large shallow serving dish mix the eggplants with the noodles, bean sprouts, spring onions and coriander, keeping a little for decoration. Taste and add some extra olive oil or soy sauce, if necessary. Garnish with the reserved coriander and a few toasted pine nuts (optional, but they do add a nice bit of crunch) and serve warm or at room temperature.

Serves 4

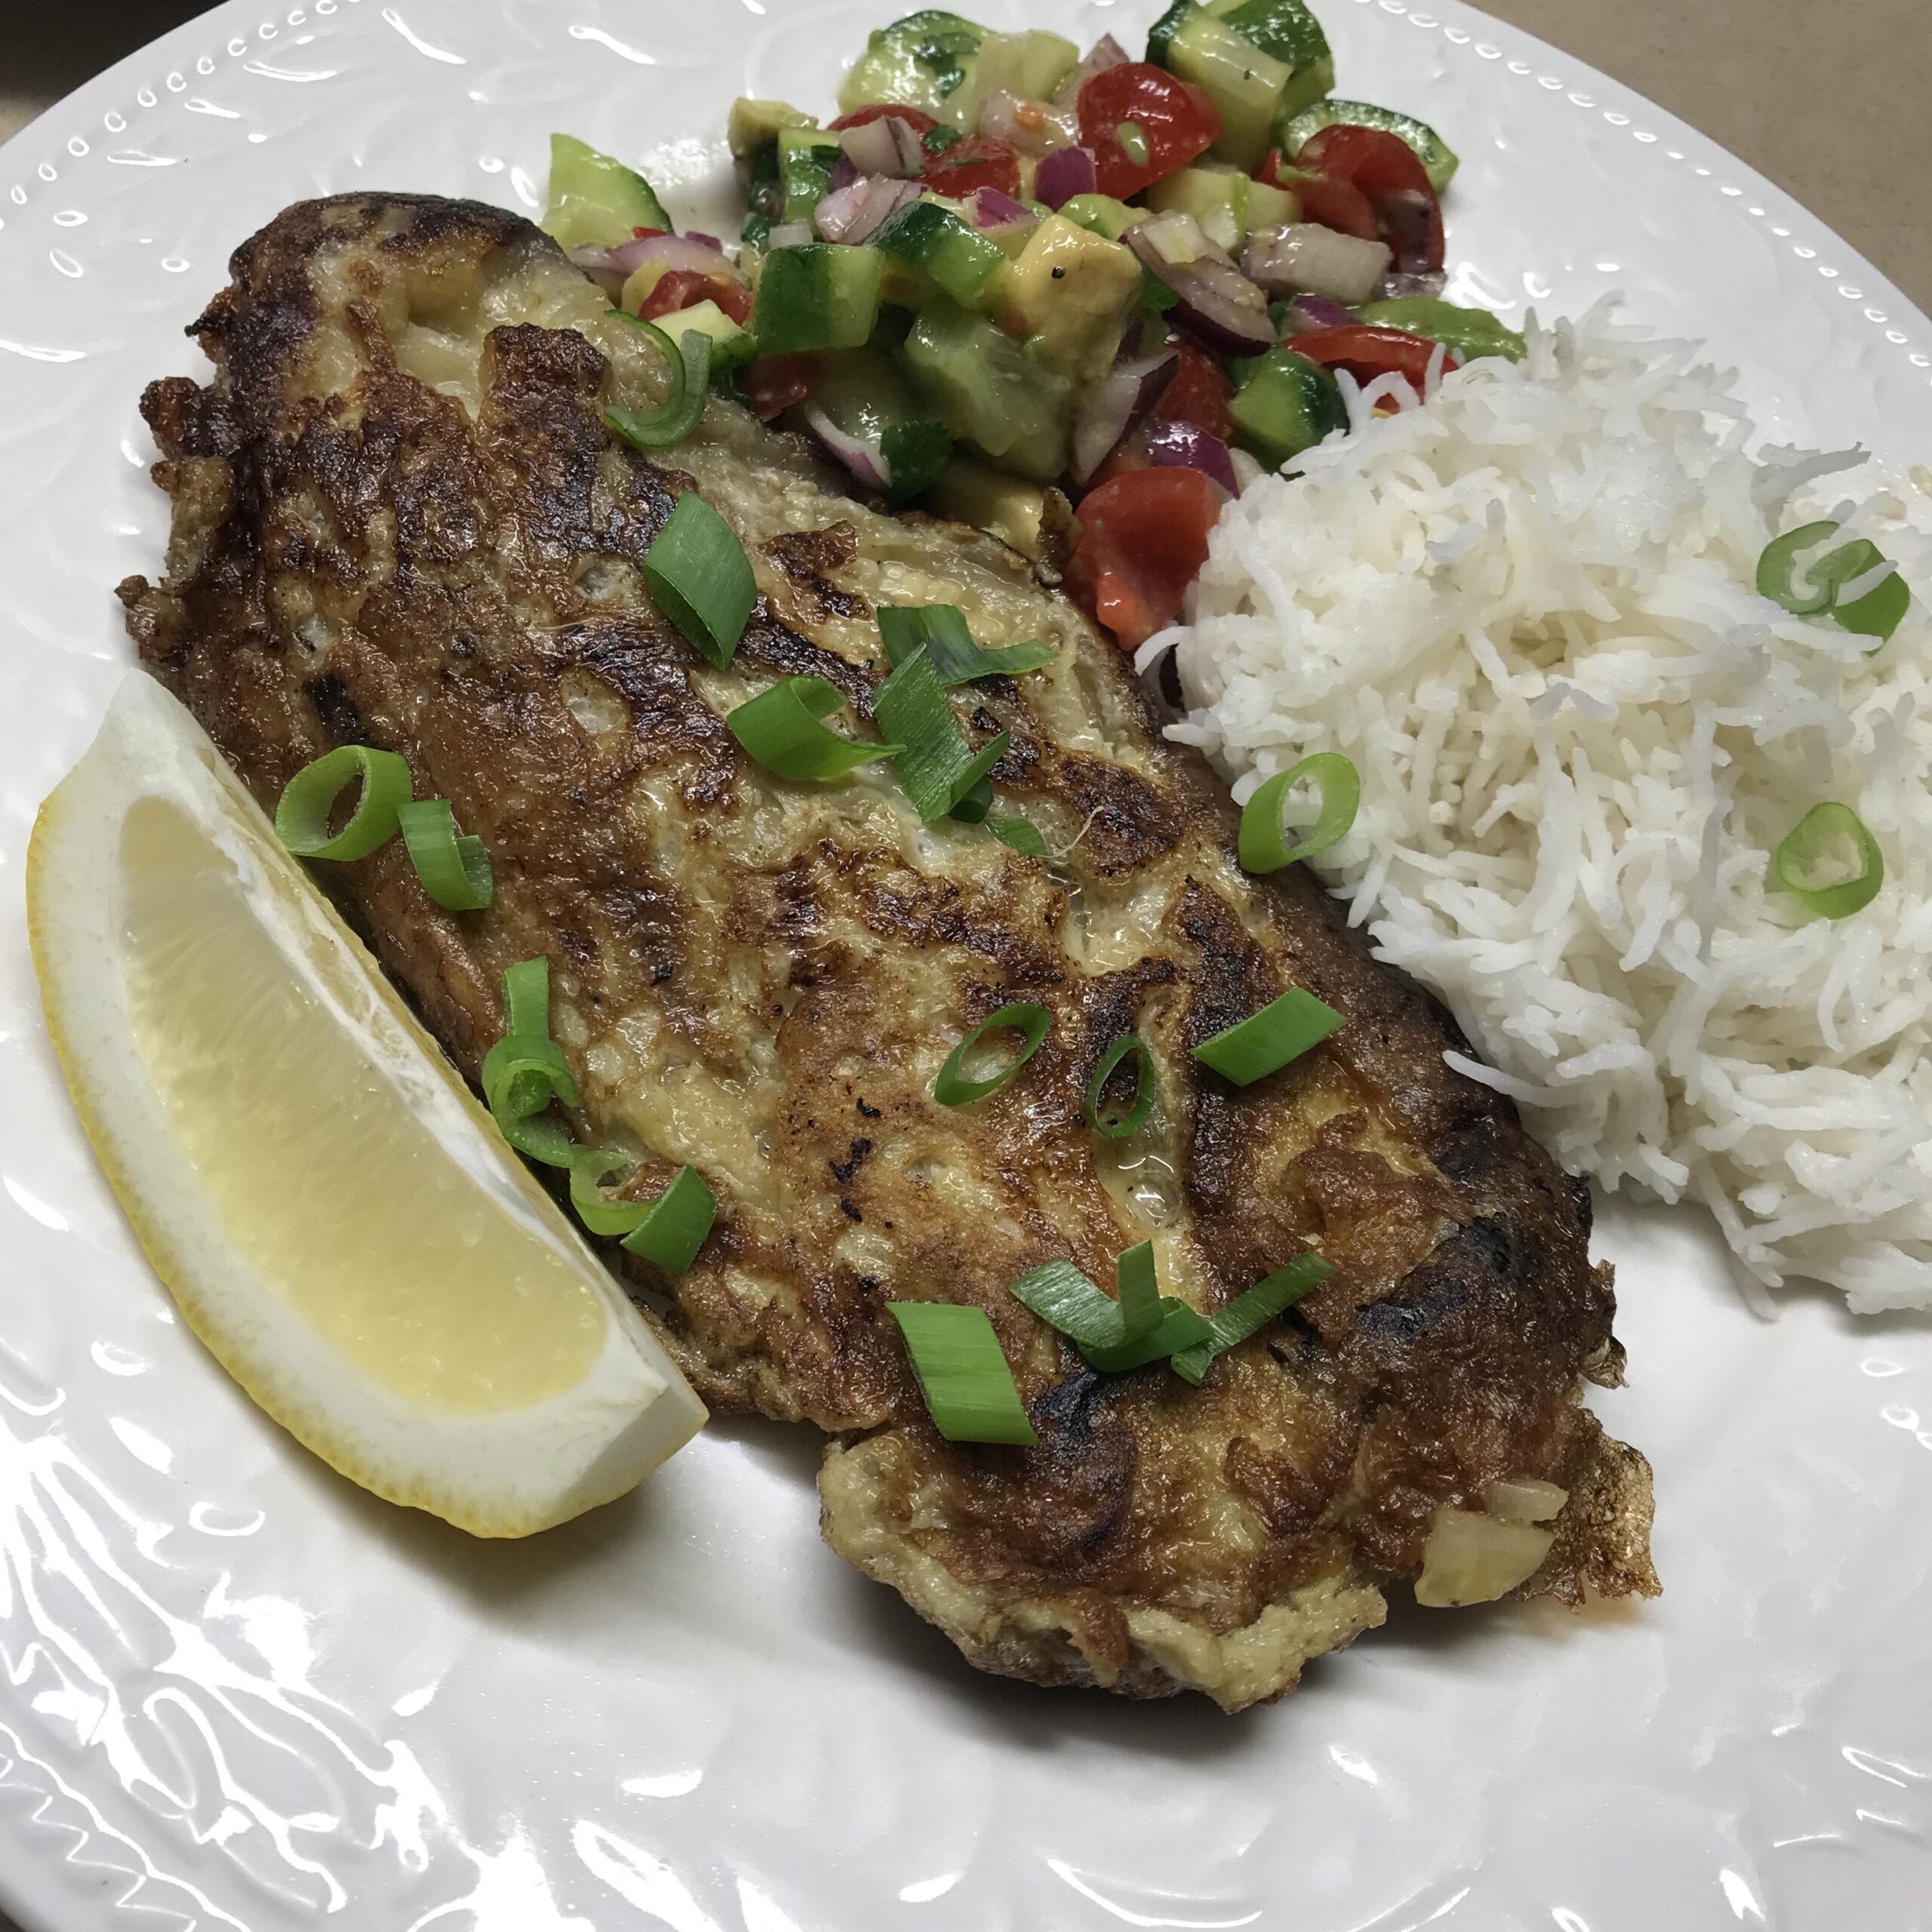
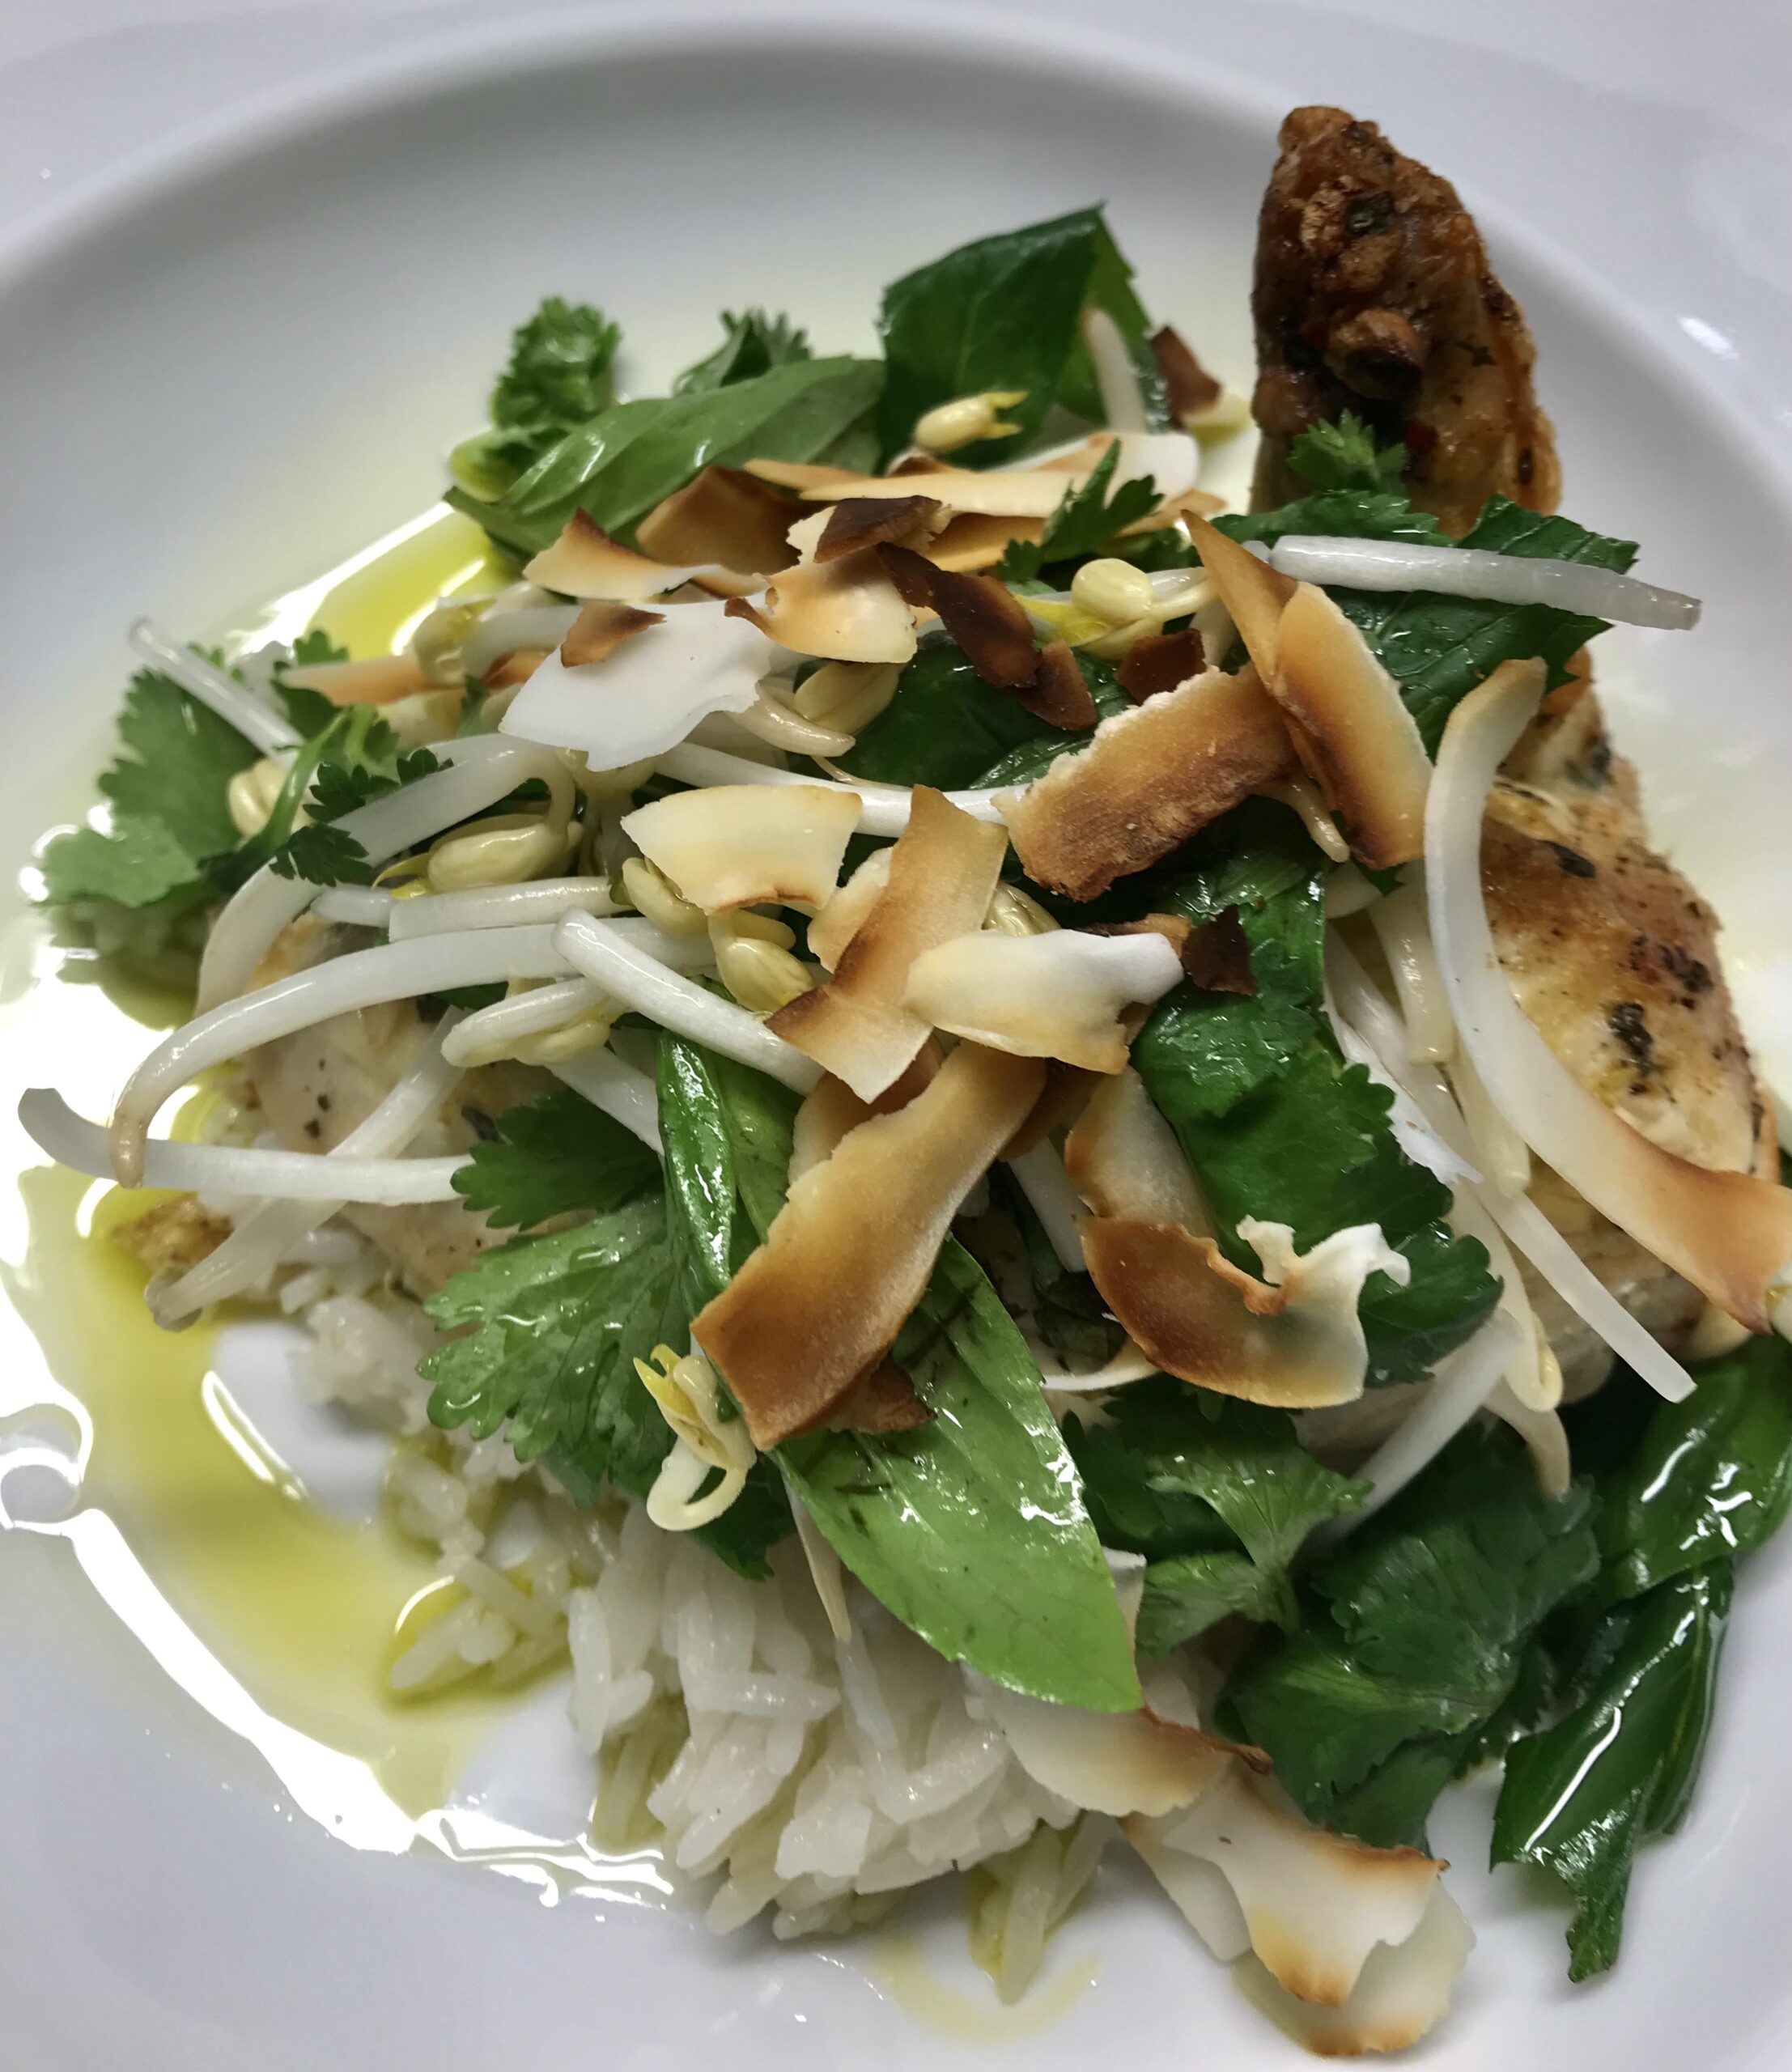
Chicken with Coconut Pilaf

We recently hosted a 60th birthday dinner on a balmy summer’s evening, for a friend who follows a gluten-free, dairy-free diet.

Watermelon and Feta squares went down well with drinks on the verandah, then we started the meal with Gin-Cured Salmon with Kewpie Mayonnaise and Pickled Grapes and finished with Big Mary’s Mexican Bombe. I replaced the dairy cream with Organic Coconut Whipping Cream, made by The Tender Table and sold in some specialty shops. With six candles, one for each decade, this dessert doubled as a birthday cake.

For the main course I served this chicken dish which was given to me by my daughter’s friend Mel over a decade ago. Mel is a fabulous chef and now makes special cakes to order in Canberra.

A chicken supreme is a boneless breast with the skin and first section of the wing left on. If you’re not sure what it looks like watch this video. There’s a shop in a nearby shopping mall that specialises in chicken. They didn’t have supremes on display, but the butcher knew what I wanted and prepared them for me.

Chicken:
6-8 chicken supremes (boneless breasts with skin & first piece of wing attached)
Grated rind 1 lemon
1-2 small red chillies, very finely chopped
2 Tbs finely chopped coriander
2 Tbs olive oil
S and P
Pilaf:
2 Tbs  butter (or olive oil to keep it dairy-free)
2 cups basmati rice
1 x 400ml can coconut milk or cream and about 2 tins water
Juice of 1 lime or half a lemon
Salt and freshly ground black pepper to taste
Salad:
2 cups beansprouts
2 cups coriander leaves – broken off, not chopped
2 cups Vietnamese mint leaves (or ordinary mint)
2 cups purple basil leaves (or ordinary basil)
Dressing:
2 Tbs sugar
2 Tbs vinegar
To serve:
toasted shredded coconut

Trim any untidy bits off the chicken and if you think they look a bit too big, remove the fillets and keep them for a stir fry another day. Mix the chicken with the marinate ingredients and leave for several hours, or overnight if possible, in the fridge. Arrange chicken on a shallow baking tray (lined with baking paper if liked) and bake for 25-30 mins at 180°C, or until cooked and tender. Be careful not to overcook it, or it will be dry.

For the pilaf melt butter, add rice and stir to coat. Add coconut cream or milk and stir over low heat until the rice starts to thicken. Add water, lime juice, salt and pepper. Bring to the boil, then cover tightly and cook on a very low heat until liquid has all been absorbed. You may need to add slightly more or less water, so don’t add it all at the beginning and see how it goes, stirring and adding more if necessary. You can also do the rice in a rice cooker, just putting all the ingredients in together and adding a bit more water towards the end, if necessary.

Remove any stringy bits from the beansprouts. For the salad dressing, heat vinegar and sugar in a small pan, bring to the boil. Boil for a minute then cool. Mix all the salad ingredients together and at the last minute add the dressing, mixing gently using your fingers, so you don’t bruise the leaves.

To serve, divide rice among six serving plates. Place chicken on rice, top with the salad and finally the toasted coconut. I used large dried coconut from Aldi, stirred in a dry frying pan over moderate heat until lightly browned.

Serves 6-8

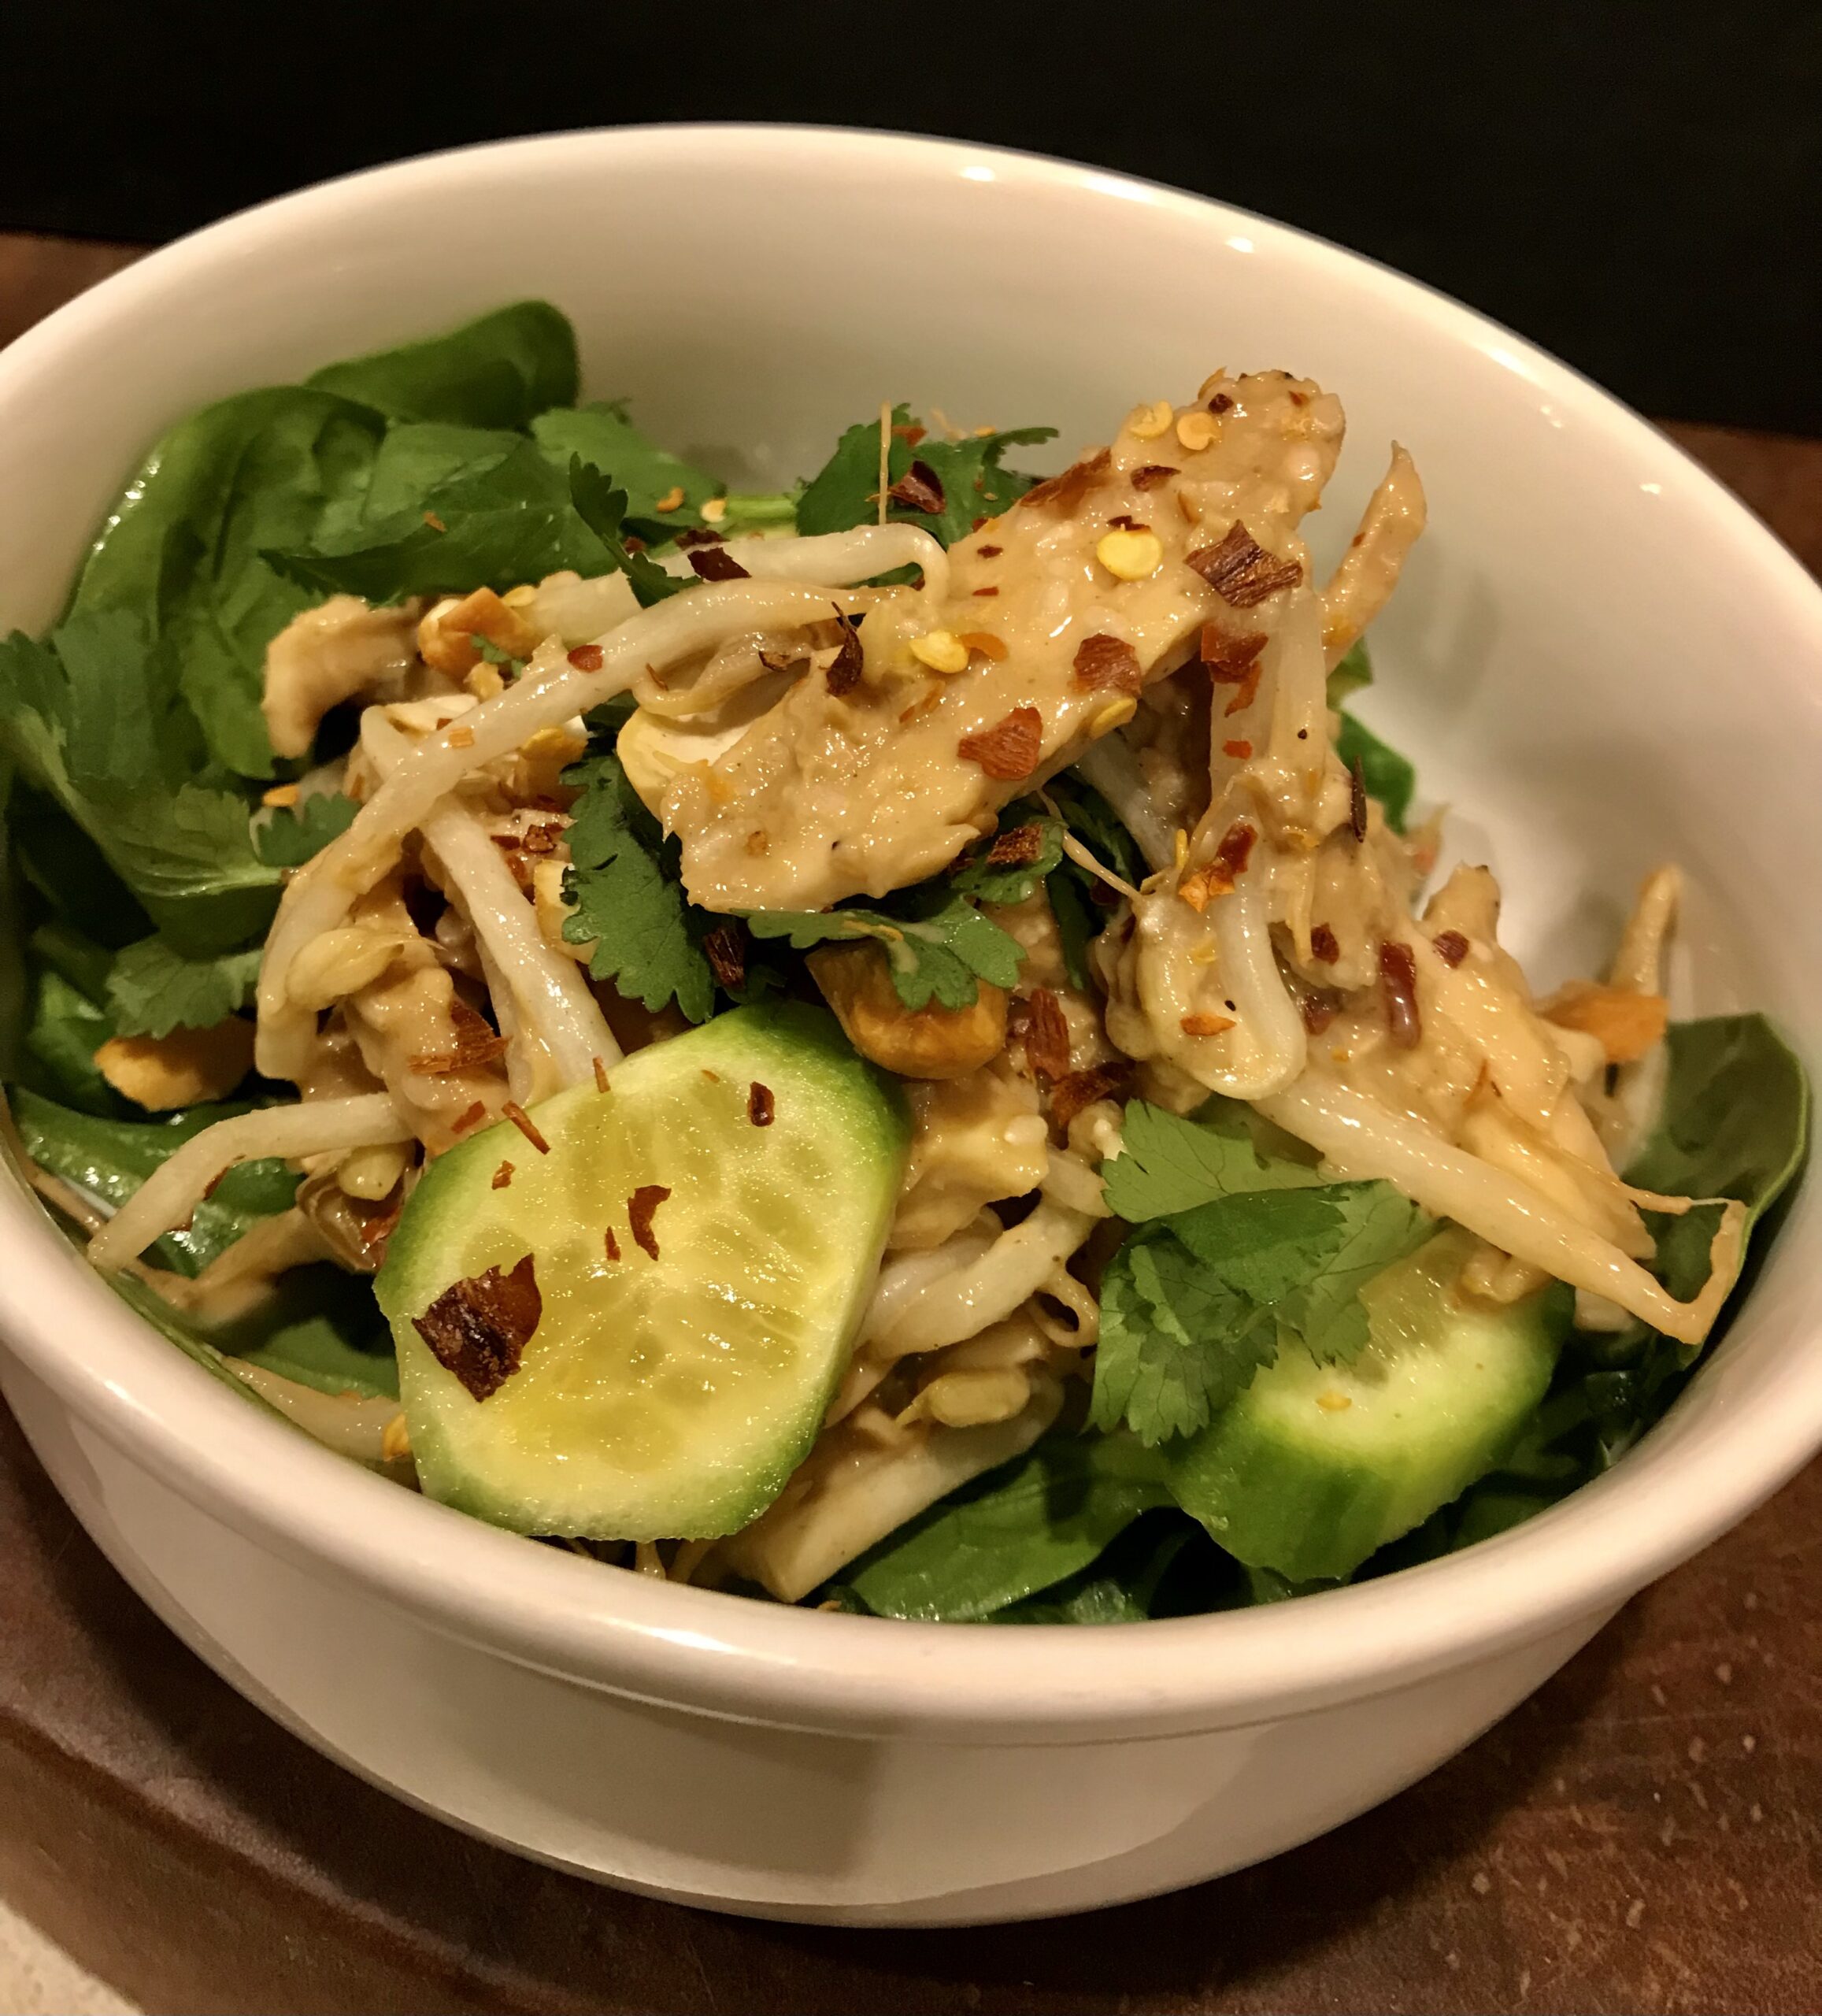
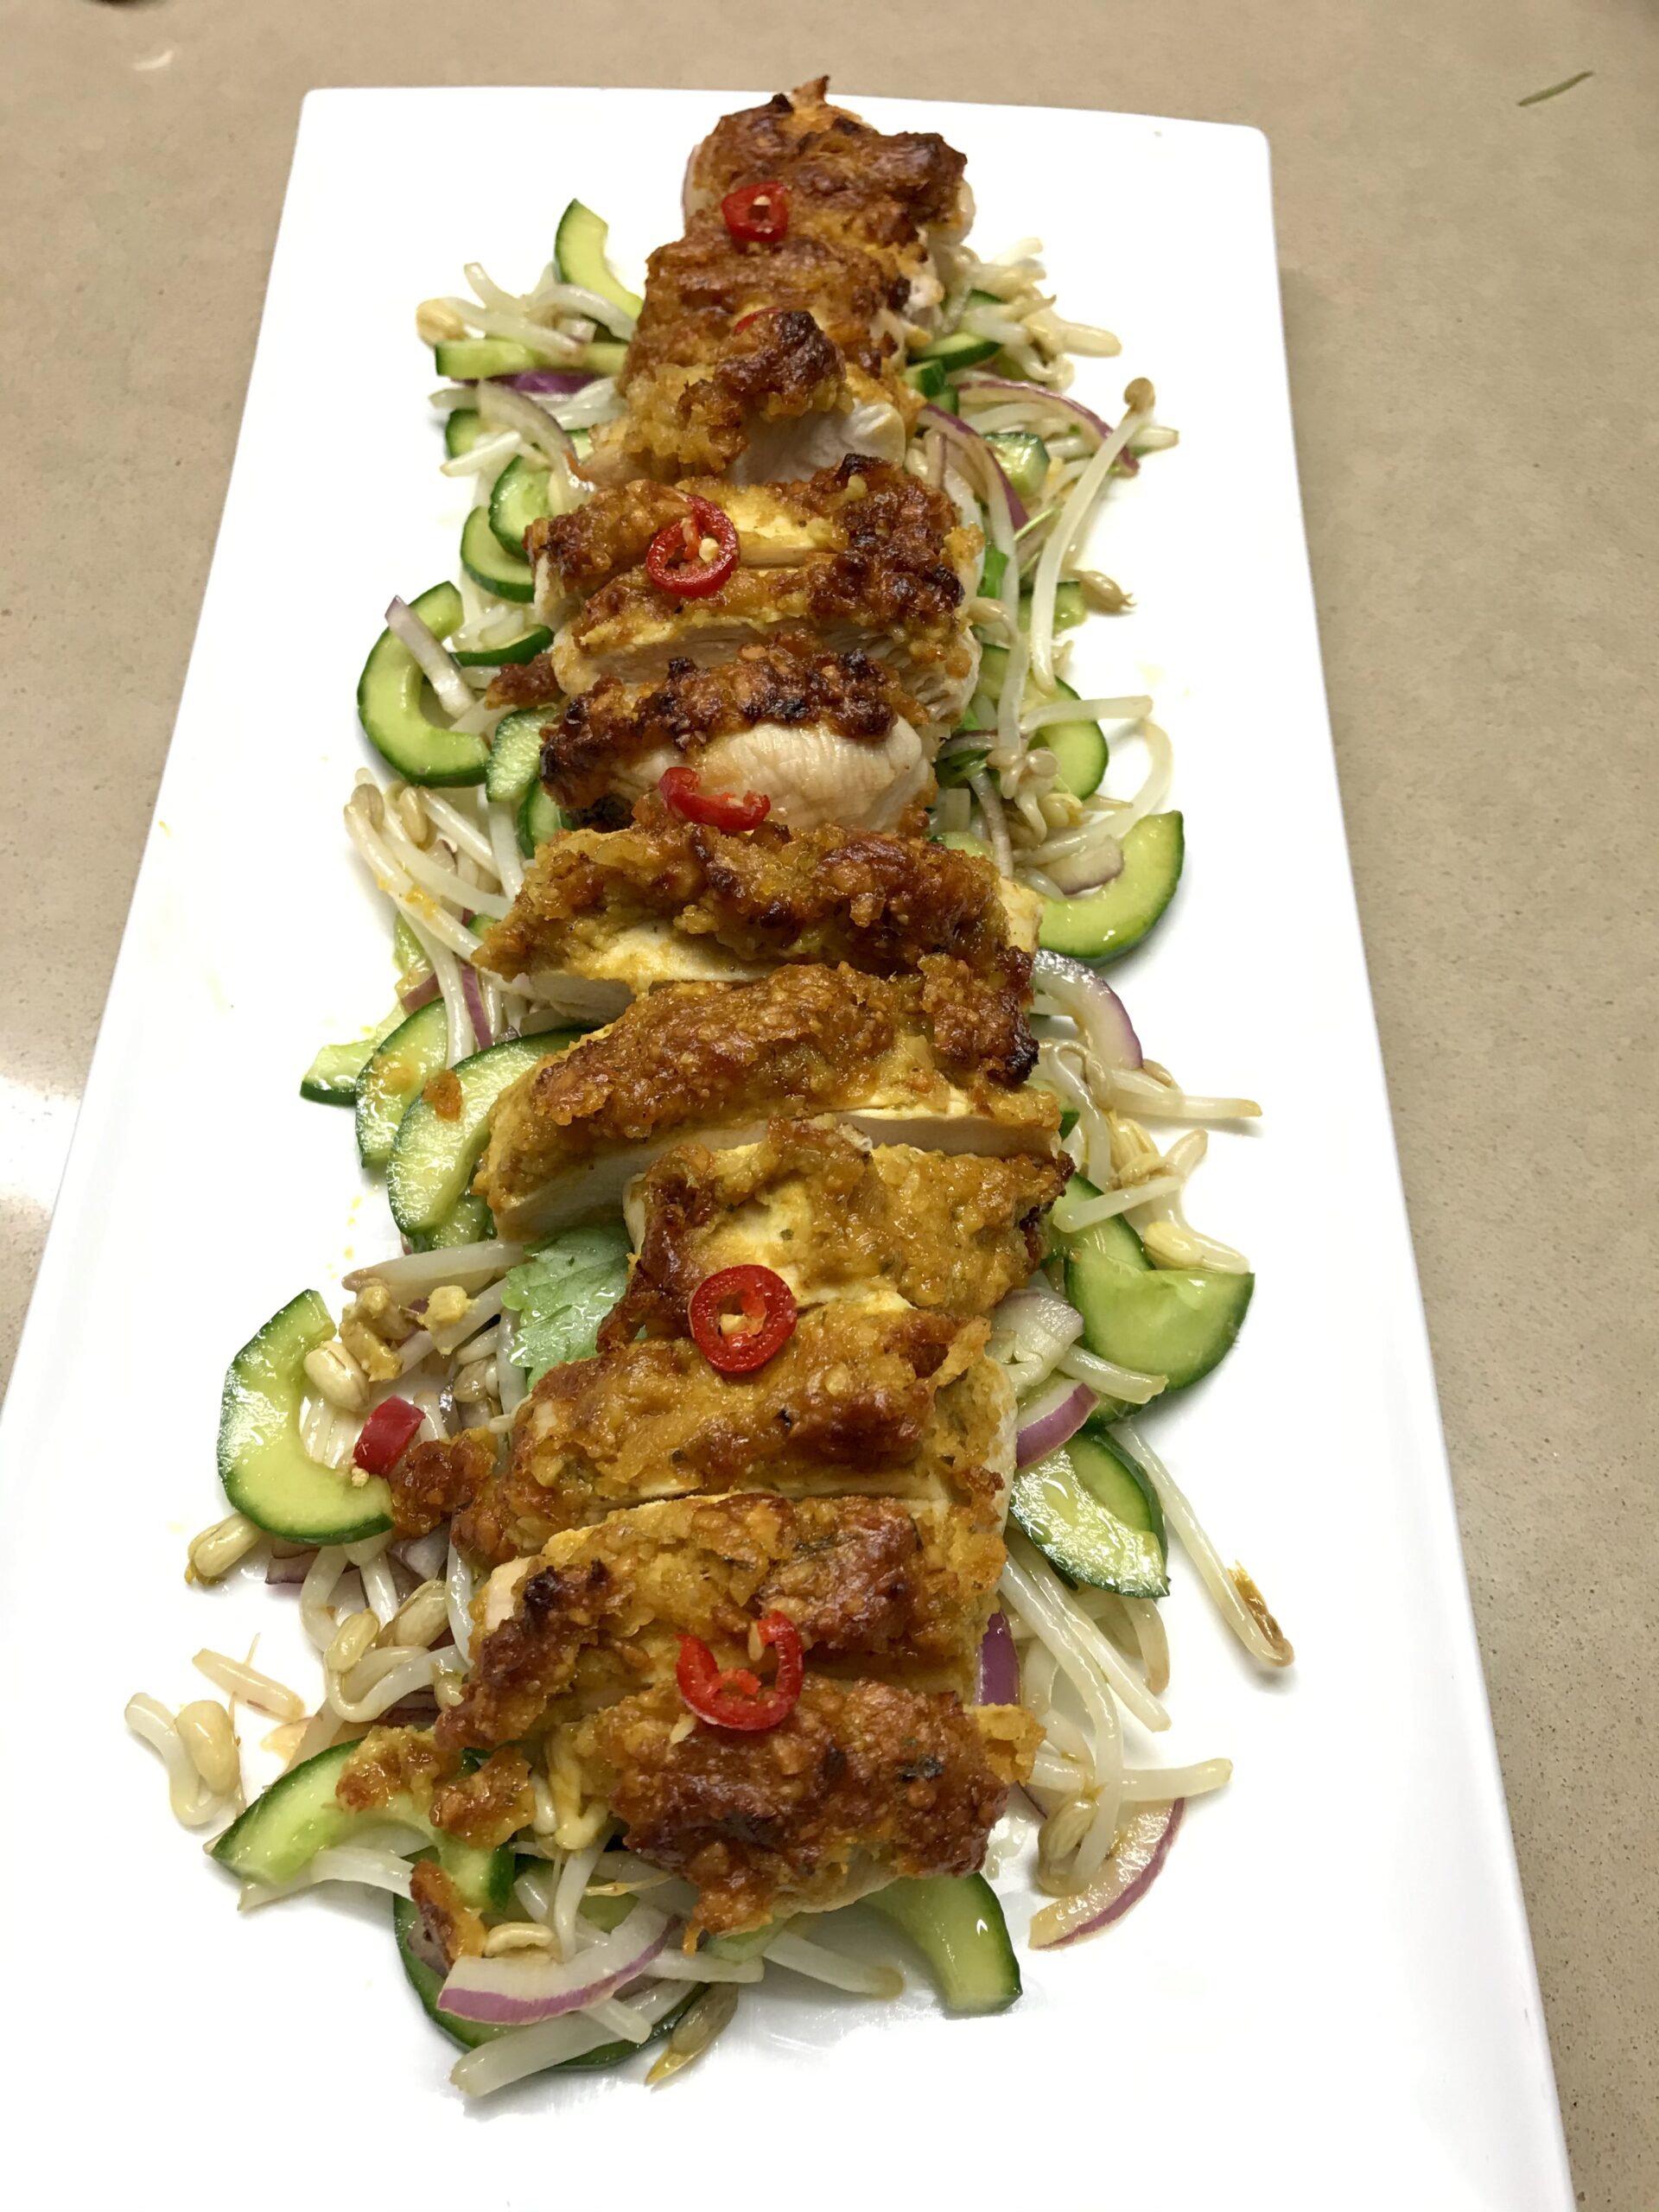
Thai Chicken Salad with Peanut Crust

This recipe was given to me by my friend Barbara and I’ve made it twice over the holiday period. I’ve added a little dressing to the salad and served the chicken sliced on top, rather than mixed through the salad.

1 cup roasted peanuts
¼ cup red curry paste
1 cup coriander leaves, loosely packed
1/3 cup coconut milk
700g to 1kg chicken breasts
Salt to taste (if using salted peanuts you can leave it out)
Salad:
1 or 2 cucumbers depending on size (400g)
1 cup bean sprouts
1/3 cup fresh mint leaves
1 small red onion, halved and thinly sliced
Dressing:
1 Tbs olive oil
2 tsp lemon juice
Salt and freshly ground black pepper
Garnish:
Thinly sliced red chilli (optional)

Preheat oven to 180°C. Place peanuts, curry paste, coriander and coconut milk in food processor and process to form a slightly chunky paste. Spread on both sides of the chicken breasts and arrange on a baking tray with non-stick baking paper. Bake for 25-30 minutes or until cooked through – test with a knife.

Halve cucumbers lengthwise and remove seeds with a small teaspoon, then slice. Mix salad ingredients with dressing and arrange on serving plate. Slice chicken and arrange on top. Garnish with the chilli.

Serves 4-6

Substitutions: use cashews instead of peanuts. Any curry paste will do.

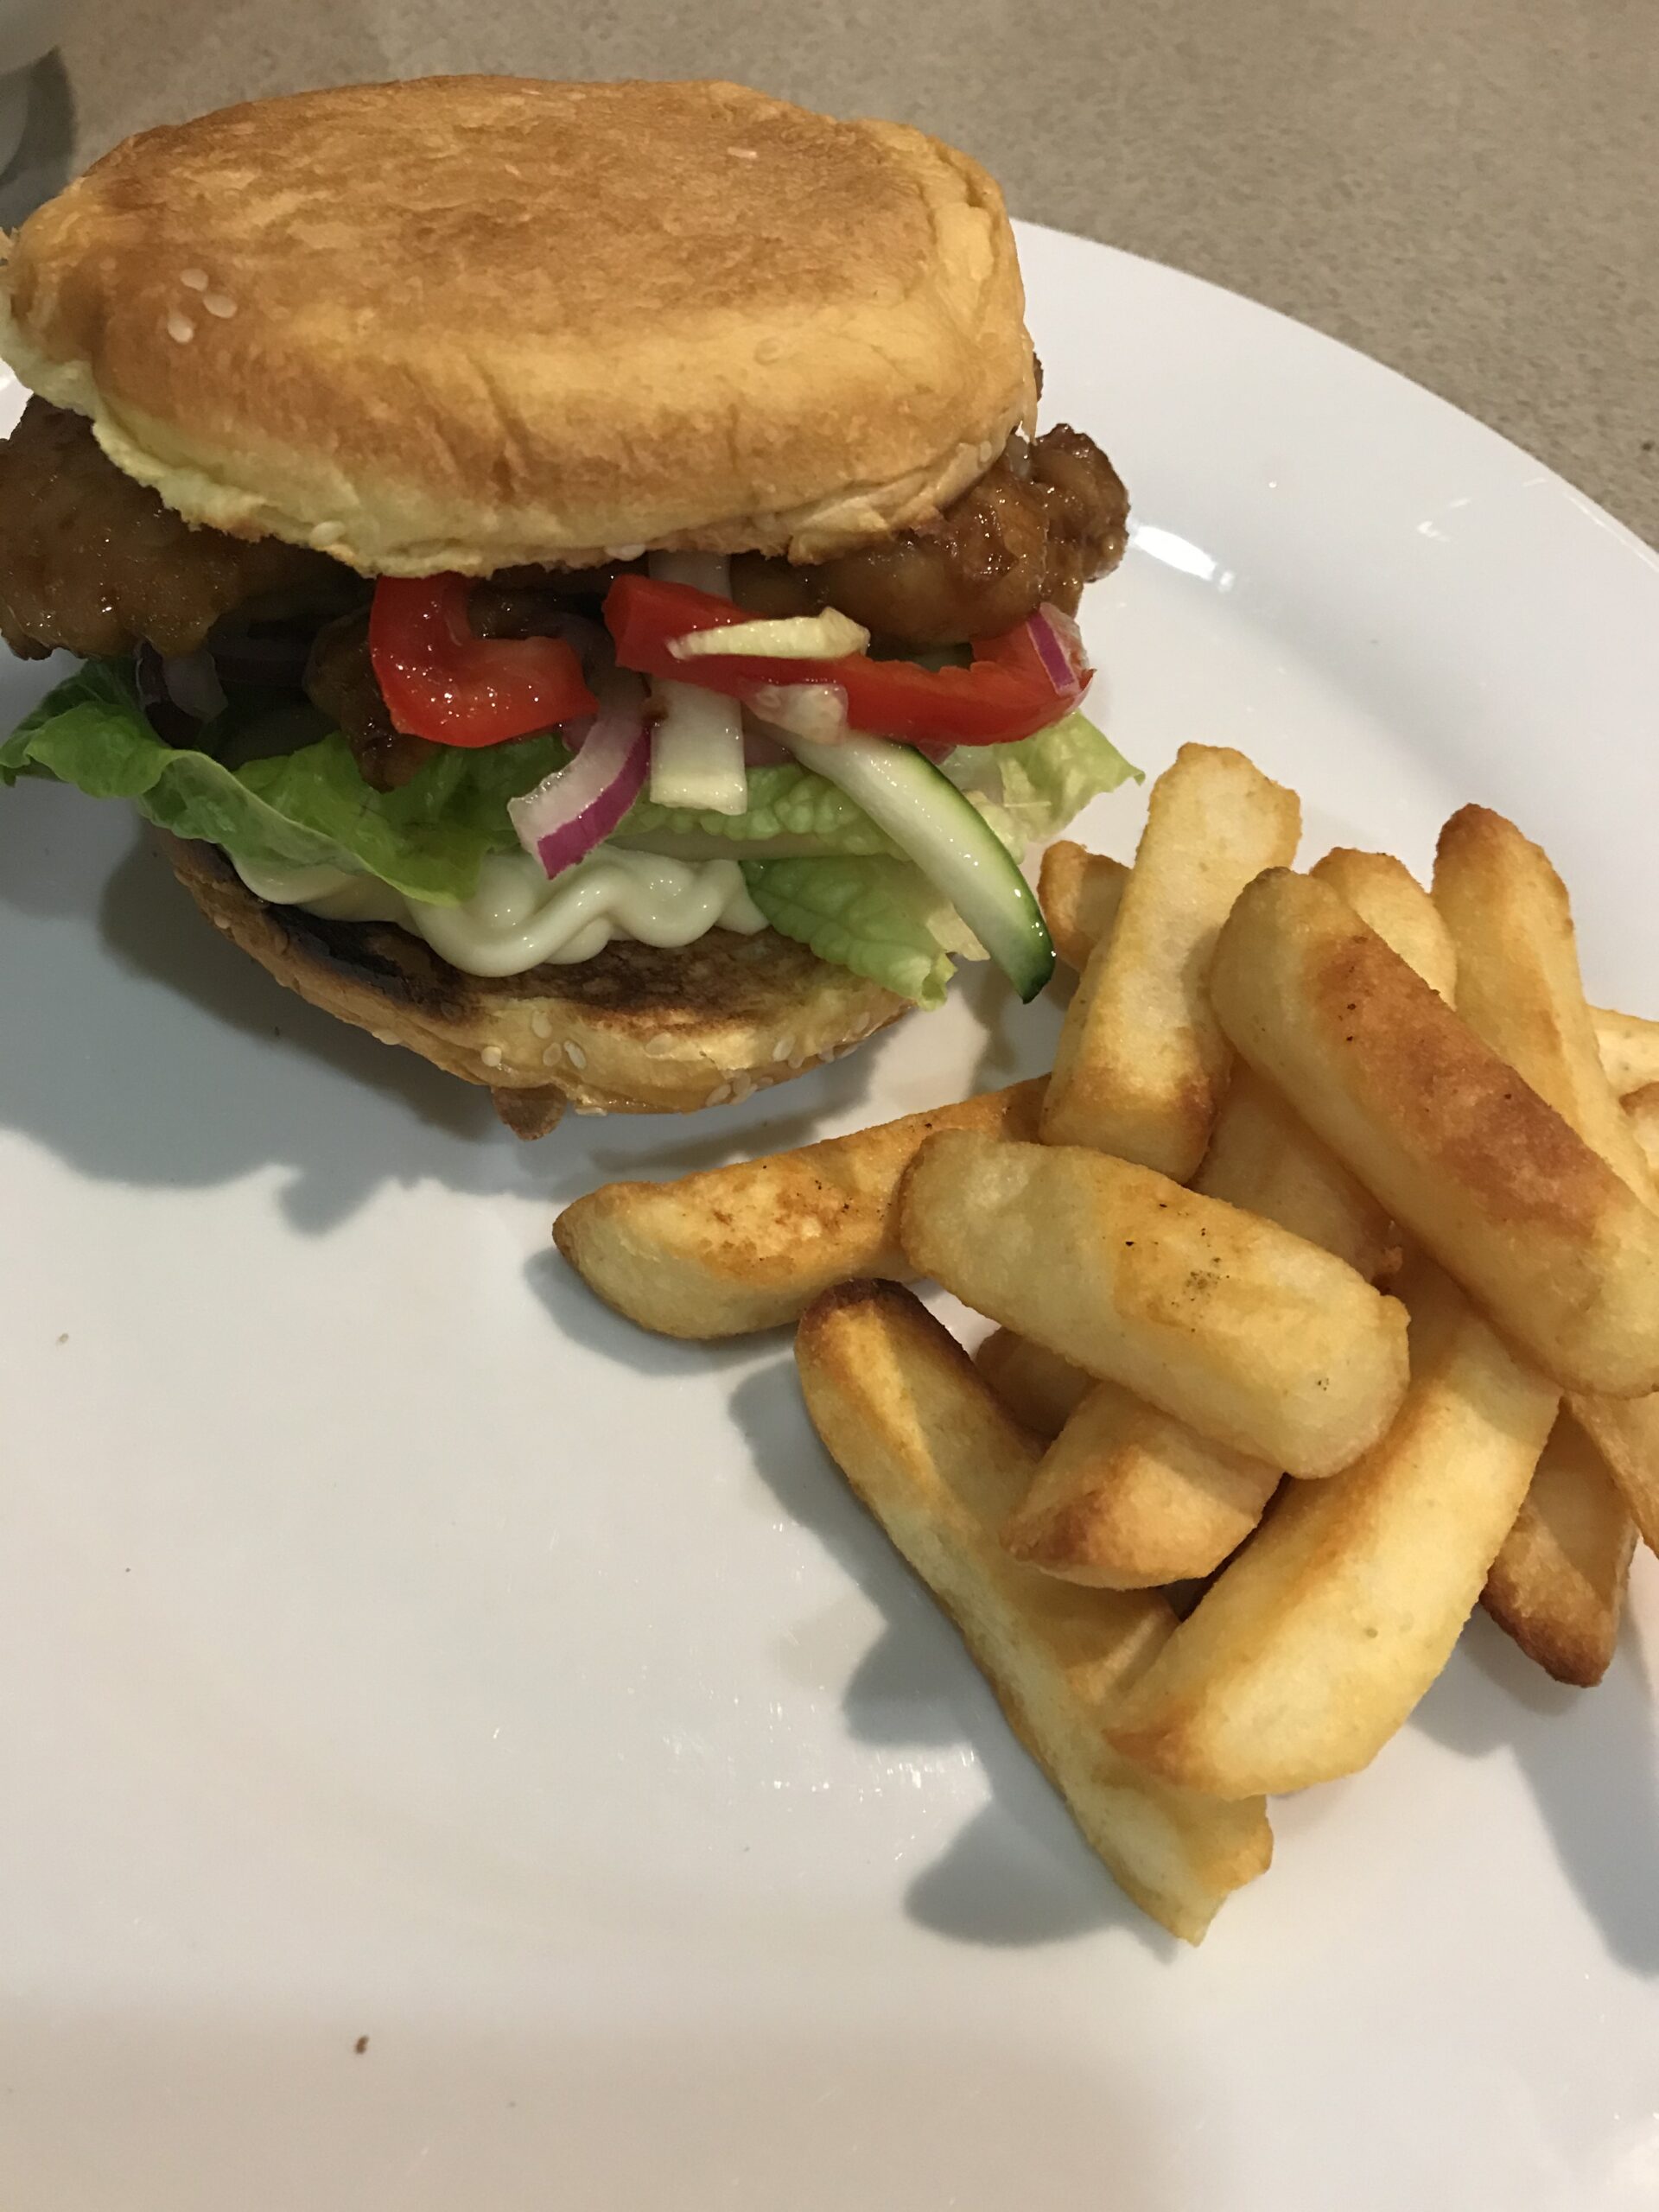
Teriyaki Burgers

Serve these tasty burgers as a mid-week family dinner, with or without French fries, and I guarantee you will be asked to put them on the menu on a regular basis.

There is no doubt that homemade French fries (or chips as we call them) are much tastier than bought ones. However, if I made them on a regular basis I would be twice the size, with or without Covid. So I keep a packet of bought chips in the freezer to zap in a hot oven and serve with steak, burgers and fried fish. Just a few, mostly for Matthew, which always puts a smile on his face. Using frozen fries makes this a very quick meal, but if you want to make your own please do.

6 hamburger buns, halved and toasted (I used brioche)
Quick pickled veggies (see below)
Mayonnaise (preferably Japanese Kewpie, but any will do)
Lettuce leaves
French fries, homemade or bought
Teriyaki chicken:
6 boneless, skinless chicken thighs, trimmed
3 Tbs plain flour
Salt and freshly ground black pepper
2 tsp oil
¼ cup soy sauce
2 Tbs Mirin (or substitute vinegar)
2 Tbs sake or dry sherry
1½ Tbs sugar

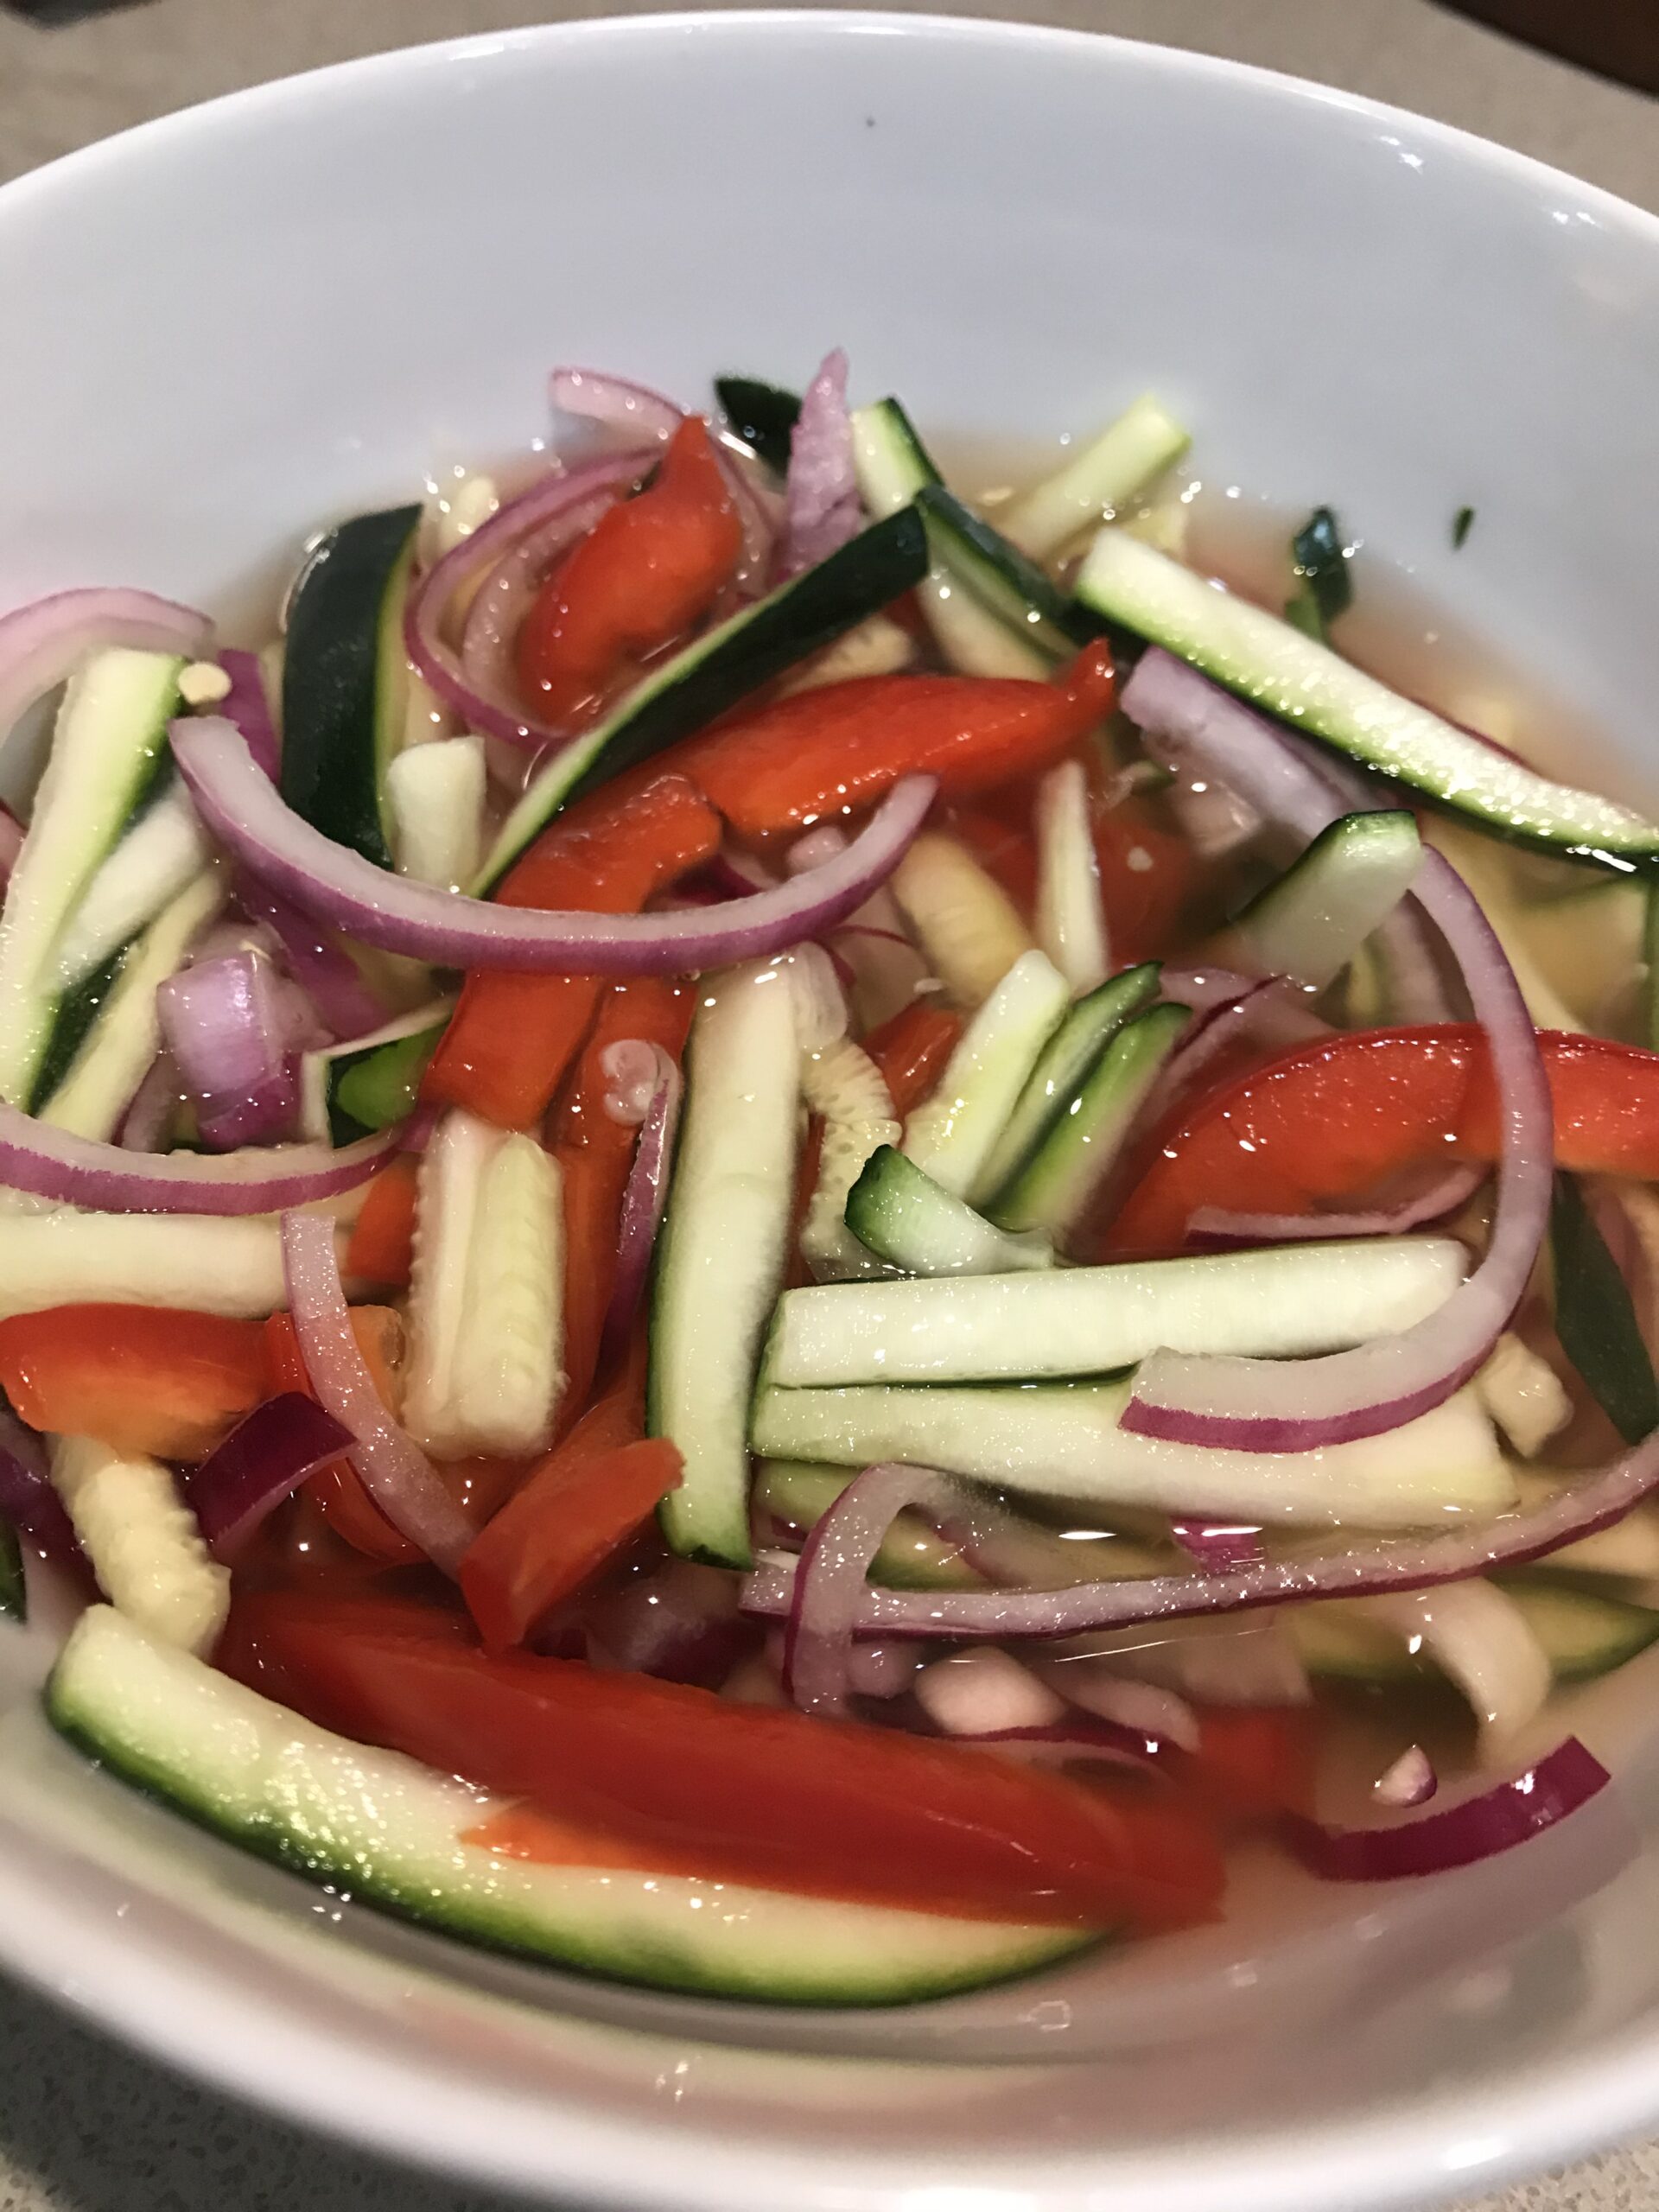
Make the quick pickled veggies at least a couple of hours before eating. They will keep for up to a week in the fridge.

Mix salt and pepper into flour and use to coat the chicken, shaking off excess. Heat oil in a large non-stick frying pan and cook chicken for 3-4 minutes on each side, or until golden. Mix the soy sauce, Mirin, sake and sugar and add to the pan. Cook, stirring and spooning the sauce over the chicken and turning them until the sauce has thickened and reduced and chicken is nicely glazed. Toast the burger buns. Be careful if using brioche buns as they can easily burn.

To serve, spread some mayonnaise on one half of each burger bun, then top with lettuce, some pickled veggies, a piece of chicken and the other half of the bun. If liked, serve with French fries, either homemade or bought, cooked according to the package directions,

Serves 6

Quick pickled veggies: finely slice or julienne 1 zucchini (or a Lebanese cucumber), 1 carrot (or a small red capsicum/pepper) and 1 onion (or half if very large), either red or brown.. Add ¼ cup vinegar, ¼ cup sugar, 1 tsp salt and enough water to just cover them. Make at least 2 hours before serving. Keeps for a week in the fridge.

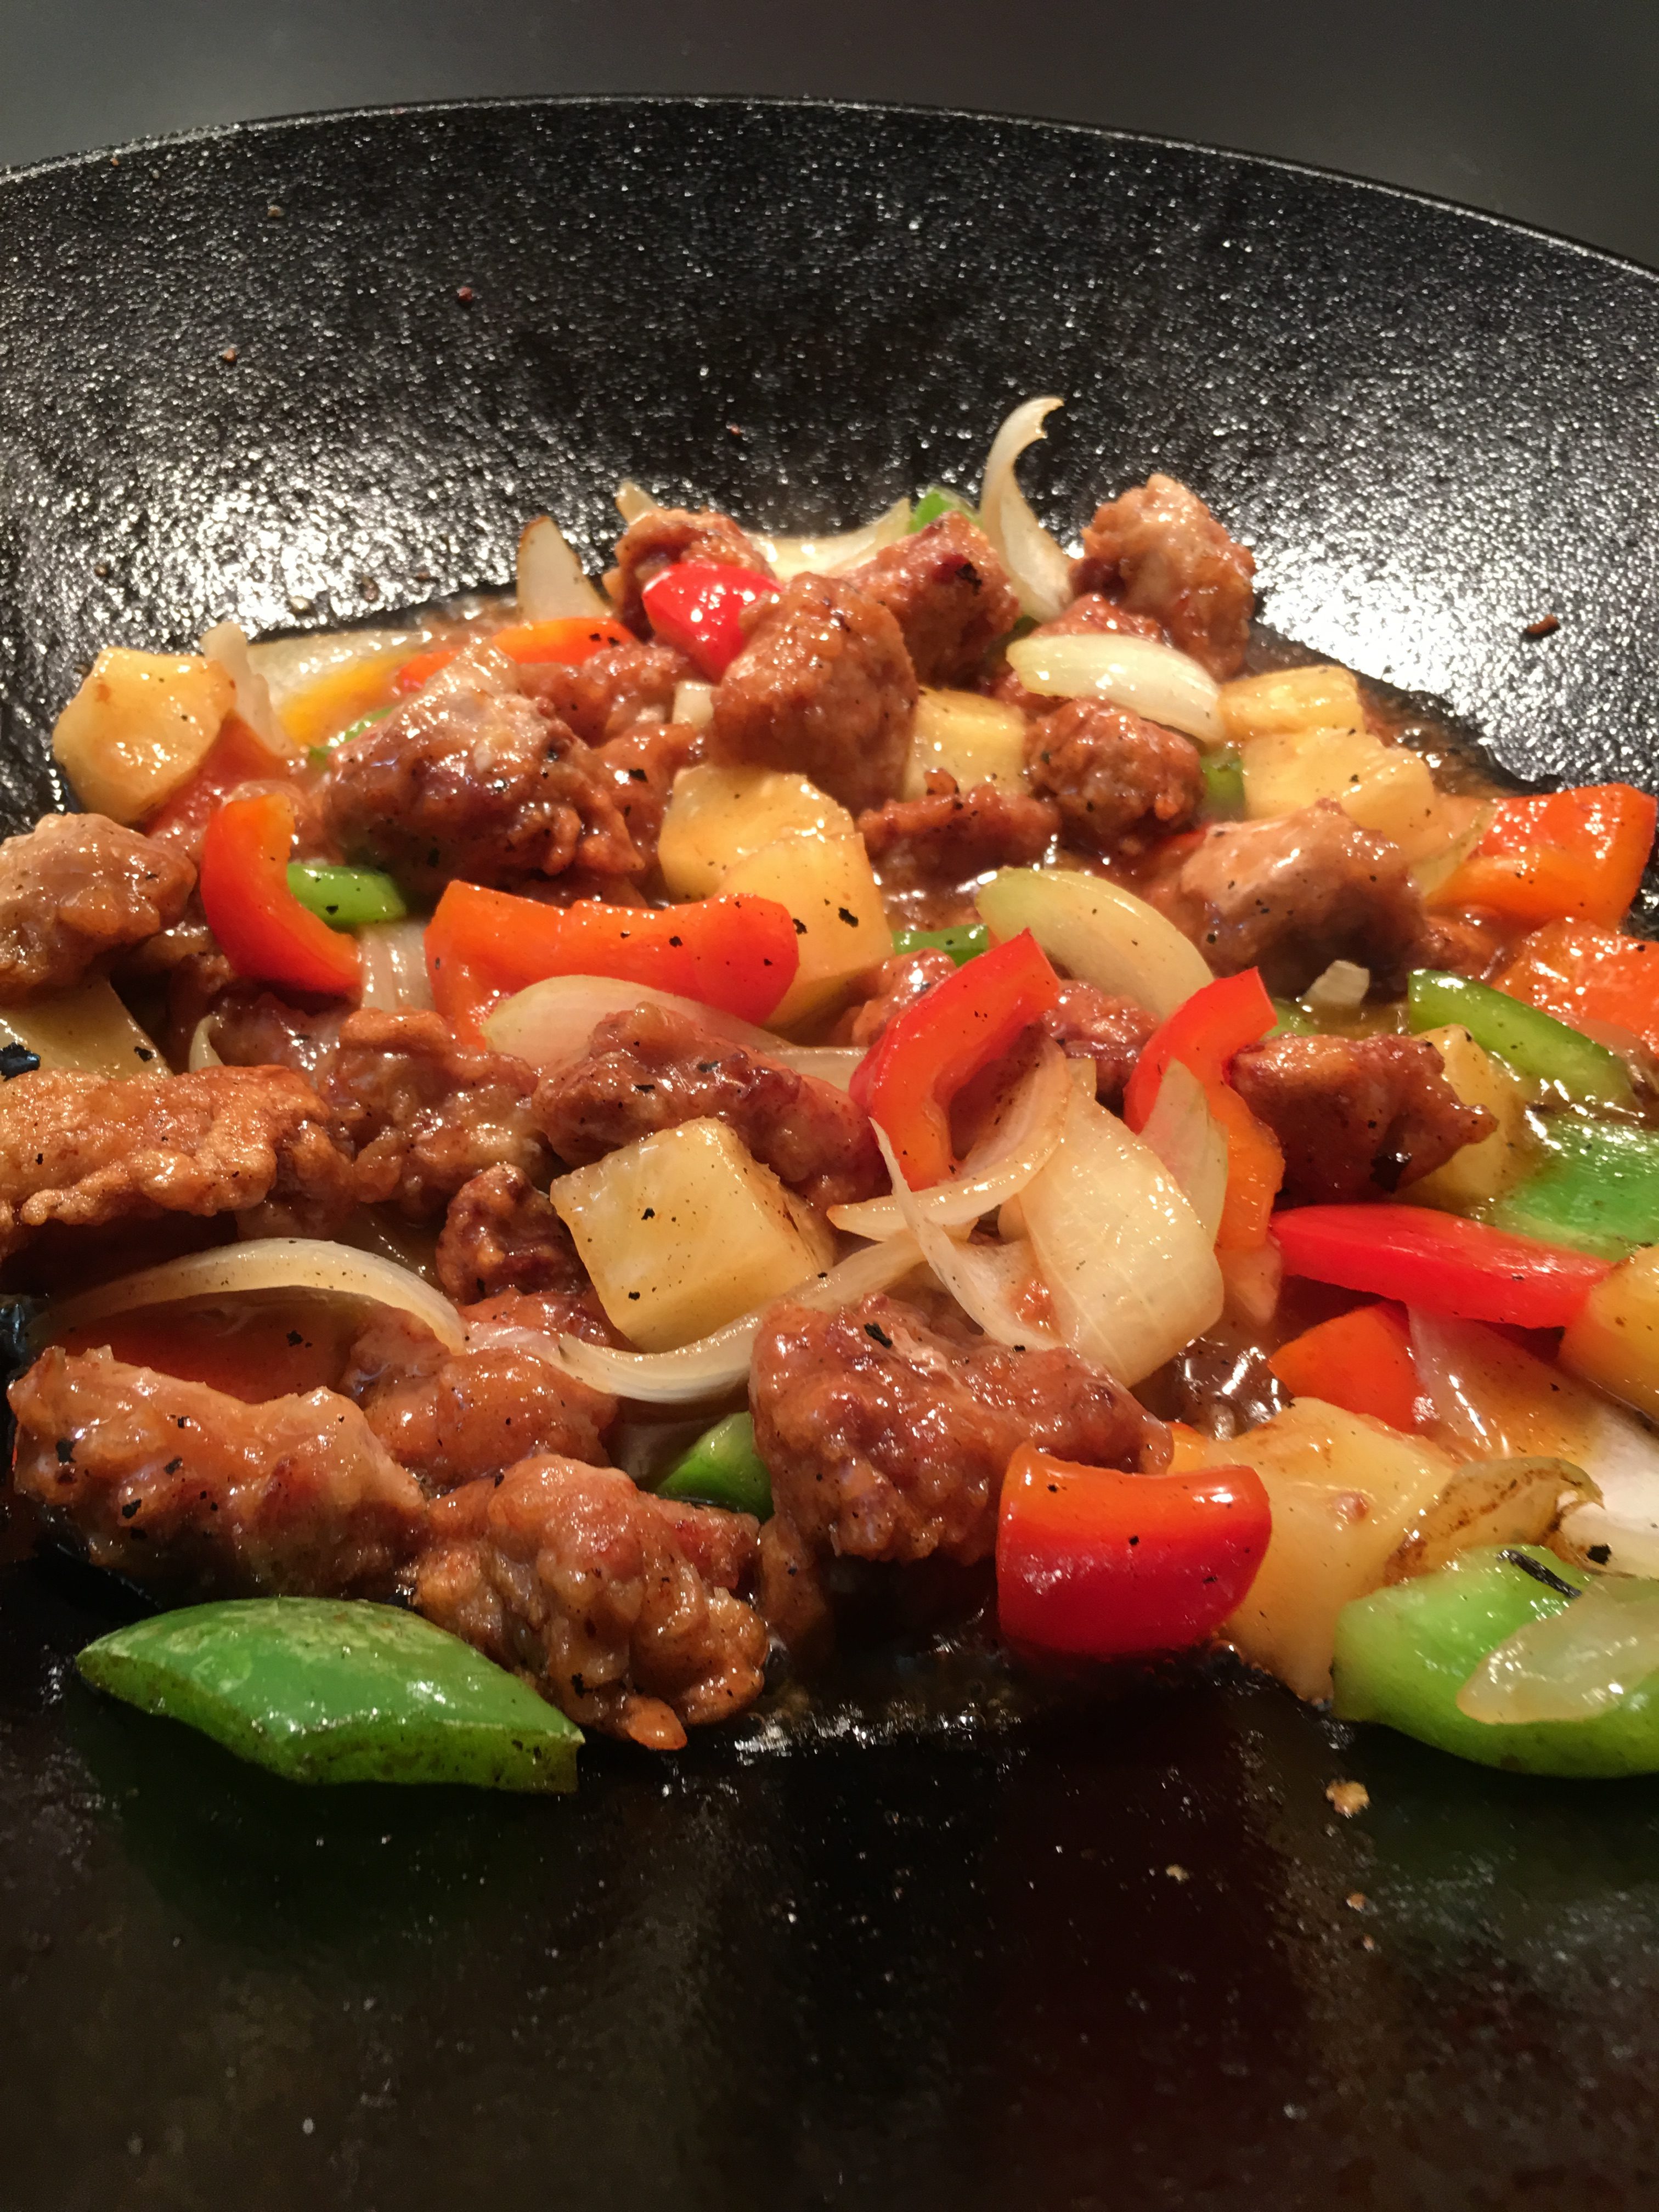
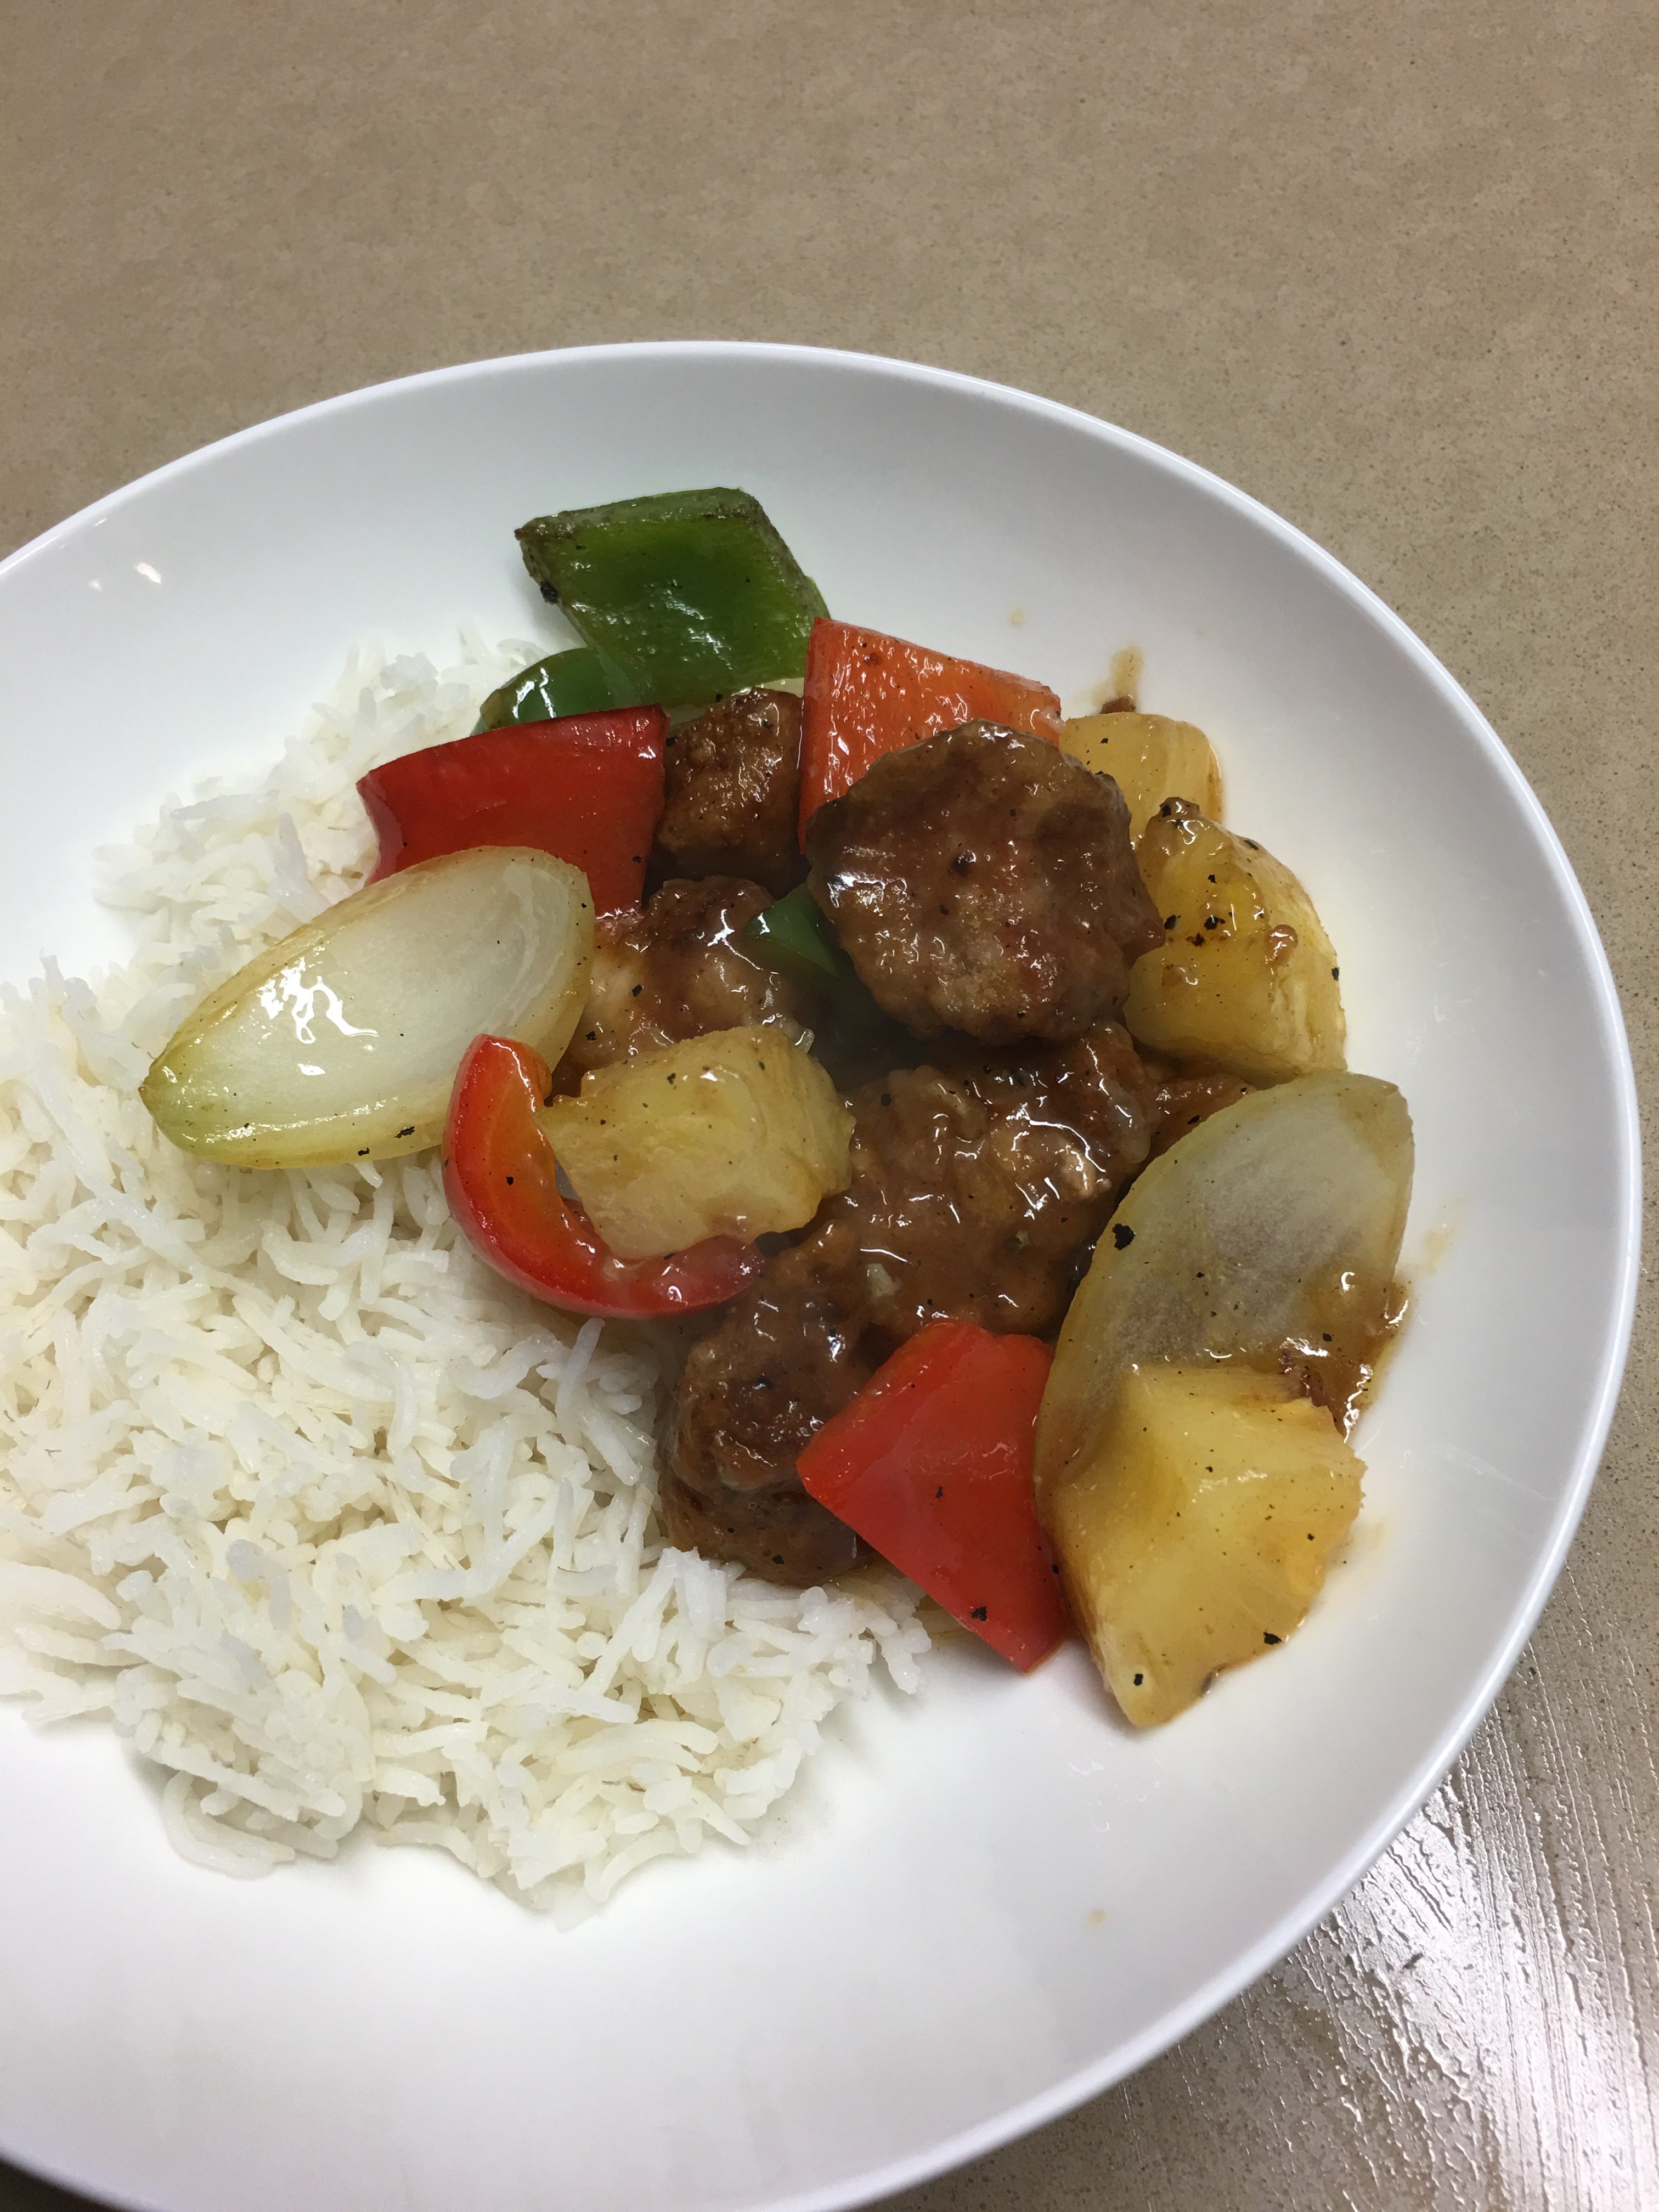
Sweet and Sour Pork or Chicken

Growing up in the UK, the only foreign food we were exposed to was Chinese, bought as a takeaway for special occasions, or when my mother was too busy to cook. Occasionally we went to a Chinese restaurant to celebrate one of my parents’ birthdays. Sweet and Sour Pork was always one of the dishes we chose.

This Chinese food was not very authentic, but at the time we loved it. In some parts of Britain Chinese restaurants served chips with everything, in order to keep the locals happy. Maybe they still do.

When our kids were growing up they loved the Sweet and Sour Pork I made at home, although they preferred it made with chicken. The recipe works well with either and I make it when I feel like a bit of nostalgic comfort food. The original recipe came from the Australian Women’s Weekly Chinese Cookbook.

500g lean pork or boneless chicken thighs
1 Tbs soy sauce
1 egg yolk
1 Tbs cornflour
1 red capsicum
1 green capsicum
1 medium onion
3 canned pineapple rings
½ cup cornflour, extra
Vegetable oil for frying
2 cloves garlic
Sauce:
3 Tbs vinegar
3 Tbs sugar
2 Tbs tomato ketchup
4 Tbs water
½ tsp salt
2 tsp cornflour

Mix soy sauce, egg yolk and cornflour. Add chicken or pork cut into 2.5cm cubes, cover and leave aside while you prepare the other ingredients. Seed peppers and cut into 2.5cm squares. Peel onion and cut into eighths, then separate into slices, cut pineapple into cubes.

Add extra cornflour to chicken or pork and mix well. Heat about 2.5cm oil in a wok or large frying pan and fry chicken or pork pieces for 4-5 minutes or until golden and cooked through. Drop them into the hot oil one at a time. Remove and drain on paper towels. Pour off oil, leaving about 1 Tbs. Add crushed garlic, peppers and onion and cook over high heat, stirring, for 3 mins. Add chicken or pork, pineapple and the sauce and stir until it thickens and boils. Serve with plain boiled rice.

Serves 4-6

Filipino Chicken Curry

This quick and easy curry is not too spicy, making it ideal for a family meal which includes kids.

It reminds me of the simple curries my mother used to make using ready-made curry powder, rather than all the different spices. Serve with steamed rice and chutney.

1 kg boneless, skinless chicken thighs
Salt and freshly ground black pepper
1 Tbs vegetable oil
1 large onion, finely chopped
2 cloves garlic, crushed
2 Tbs curry powder or paste, or to taste
1 can coconut milk
1 can tomatoes (diced or whole)
1 Tbs sugar

Cut chicken into 2cm chunks and season with salt and pepper. Heat oil in a large frying pan and gently fry the onion and garlic for a few minutes until soft but not brown. Add curry powder or paste and the chicken and continue to fry, stirring, for 2-3 minutes or until chicken is starting to colour.

Add coconut milk, tomatoes (chop them if they aren’t already) and sugar. Simmer for 20-30 minutes or until chicken is tender and sauce has thickened. If the sauce is getting too thick before the chicken is ready add a small dash of water. Serve with steamed rice and chutney.

Serves 6-8

Japanese-style Ceviche

This delicious recipe was given to me by my daughter Catherine who got it from her chef friend, Tim. Catherine and her husband love raw fish and meat dishes, so they eat a lot of ceviche and carpaccio. If you’ve never eaten raw fish, this is a good way to start as it honestly doesn’t taste raw. The recipe serves 2 as a starter or one as a main, but it’s easy to multiply the ingredients to serve 4 or 8. It’s also very quick to make.

The black sesame seeds add a nice colour contrast and the fried shallots add a bit of crunch. They make a great garnish for all kinds of savoury recipes.

1 portion salmon (about 180g) or use a firm white fish
1 small or half a large avocado, cubed
Zest and juice of 1 lime or ½ lemon
2 tsp sesame oil*
2 tsp Mirin
1 Tbs pickled ginger, finely chopped*
1 spring onion, thinly sliced
1 Tbs Kenko Creamy Sesame Dressing*
Salt and freshly ground black pepper, to taste
To garnish:
Black sesame seeds*
Fried shallots*
Fresh coriander leaves
Lettuce leaves
Olive oil (optional)

Remove skin and any bones from salmon then cut into small cubes. Mix with remaining ingredients. Taste and see if it needs a little more lime juice or sesame oil.

Serve immediately on lettuce leaves, garnished with black sesame seeds, coriander, fried shallots and a drizzle of oil. You can leave out the lettuce leaves and the olive oil if preferred.

Serves 2

* sold in Asian supermarkets. For the Kenko Dressing you will need to find a shop that sells Japanese ingredients. If you can’t find it substitute ordinary mayonnaise mixed 50-50 with soy sauce. Not quite the same but it will do.

Rick Stein’s Vietnamese Duck Braised in Spiced Orange Juice

We watched Rick Stein make this dish on a TV cooking show recently. He described it as a Vietnamese take on Duck à L’Orange and said it was easy to make and delicious.  Matthew is not a big fan of duck, but I am, so he felt magnanimous in suggesting we make it.

The recipe calls for a 2.5kg duck but I bought a frozen one from Aldi for $14.99 which was 2.2kg. I also bought a bottle of orange juice with pulp from the same supermarket.

The recipe says to cut the duck into six portions, but you can only get 4 decent portions from a whole duck – two breasts and two Marylands (leg and thigh). I used the wings as well, so I did have six portions, but there’s not much meat on them. A better solution, especially if you’re entertaining and want six decent portions, is to buy six duck portions. If you use a whole duck, remove the portions, then use the carcass to make stock for another meal.

I was left with more than a cup of duck fat which I poured through a sieve into a jam jar and put in the fridge. There’s nothing quite like potatoes roasted in duck fat – see last week’s recipe.

1 Duck weighing between 2 and 2.5kg
Or 6 duck portions
1 Tbs crushed garlic
2 Tbs peeled and chopped or thinly sliced ginger
1 litre orange juice
4 Tbs fish sauce
1 Tbs sugar
5 whole star anise
4 bird’s eye red chillies
2 lemongrass stalks, finely chopped
Freshly ground black pepper, to taste
8 spring onions, finely sliced on the diagonal
½ tsp cornflour

Remove the breasts, legs and wings from the duck so you have four decent portions plus the wings. Heat a large heavy-based frying pan over medium to high heat. Cook the duck skin side down for 5 to 6 minutes until skin is crisp, then on the other side for 2-3 minutes, or until all the fat has rendered off. Once cooked, place in a deep saucepan and set aside.

Pour all but 2 tbsp of the duck fat off and keep it (see Note below). Add the garlic and ginger to the frying pan and cook gently till soft, then add to the pan with the duck. Add the orange juice, sugar, fish sauce, star anise, chillies, lemongrass and season with black pepper. Simmer gently for an hour or until duck is tender.

Remove duck and set aside, skim off any excess fat from the sauce then bring to a boil and simmer vigorously until reduced and concentrated in flavour. Mix cornflour with 1 tsp of water, mix into sauce and simmer for a further minute. Recipe can be made ahead to this point.

Put duck portions back into the sauce for a minute or to and heat through. Serve duck with rice and a green vegetable, garnished with the spring onions.

Serves 4 using a whole duck or 6 using portions

Note: After removing the duck portions from the carcass I had quite a few pieces of duck fat or fatty skin. I put them into a frying pan and cooked them gently until most of the fat had been rendered. I added this to the fat obtained when browning the duck portions and poured it through a sieve into a jam jar.