Onion Quiche

Quiches can be made with a variety of fillings, but the best known is Quiche Lorraine, made with bacon, eggs and cream. It’s definitely the most popular in our house, closely followed by Onion Quiche.

Quiches can be frozen at any stage of the preparation. You can freeze the uncooked pastry, the uncooked quiche shell or the partly cooked quiche shell, with or without the filling poured in. While you can freeze a fully cooked quiche, I prefer to freeze them at the point where the filling has just been poured into the partly-baked pastry case. Place the quiche in the freezer until it has frozen completely, then wrap it in a plastic bag to stop the filling from sticking to the bag which would happen if you wrapped it before it had frozen.

When needed, put the quiche straight from the freezer into the oven and allow about 25% longer cooking time. Use a dish which can go straight from the freezer to the oven – most dishes are fine and you can of course make quiches in metal pans rather than ceramic. Baking the pastry case blind – before you add the filling – is the secret to avoiding a soggy bottom.

If you make two batches of the shortcrust pastry recipe below and divide it into 3 equal balls it will be just enough to make three large quiches. I usually do that and use one ball and freeze two for another time, wrapped in plastic wrap. If you only make one batch of pastry you will have enough for one large quiche with some leftover. You could use this to make some little tart cases. Cook them completely while empty, then fill with Lemon Curd or Raspberry Jam.

It’s always amazing to see how many onions go into this quiche – one whole kilo! Gently cooked for 45 minutes in butter and oil the onions produce one of my favourite quiche fillings from northern France.

Shortcrust Pastry:
250g plain flour
125g butter, cut into four
½ tsp salt
3-4 Tbs cold water
Filling:
1 kg onions, thinly sliced
50g butter
1 Tbs olive oil
1 Tbs flour
2 eggs
¾ cup cream
1 tsp salt
¼ tsp nutmeg
Freshly ground black pepper
60g grated cheese, preferably Gruyere or Emmental

Pastry: Place flour, salt and butter in food processor and process until it looks like breadcrumbs. With the motor running gradually add about 3 Tbs cold water through the feed chute, stopping the motor as soon as the mixture forms a ball. Tip out, form into a ball. While you only need one batch for this recipe you might like to make a second batch so you end up with two spare balls of pastry to use one day when you’re in a hurry. If you decide to do this, make a second batch of pastry, tip it out and make it into a large sausage shape with the first batch. Cut into three and wrap each third in plastic wrap. Refrigerate or freeze until needed. Can be refrigerated for 3-4 days or frozen for a month or two.

Preheat oven to 180°C. Roll out pastry and line quiche dish (mine is 25cm diameter and 3.5cm deep) then bake it blind. Don’t worry if you have to patch up a few holes, nobody will know when it’s cooked. To bake blind, line the pastry case with a piece of aluminium foil, pressing it down to fit, then tip in something to weigh it down and stop the pastry from rising in the middle. I use dried corn kernels which I keep in a jar and use over and over again. Dried beans or rice will also do the trick.

Bake the quiche shell for 5-10 mins, then remove the foil and corn and bake it for a few more minutes until very pale golden in colour.

Meanwhile for the filling heat butter and oil in a large heavy frying pan, add onions and cook very gently for about 45 minutes, or until tender and pale golden, stirring regularly. Add flour and cook, stirring, for 1-2 minutes, then cool. Onions can be prepared to this stage ahead of time and kept refrigerated.

In a mixing bowl beat eggs with cream, add the cooled onions, salt, nutmeg and black pepper to taste and pour into pastry case. Can be frozen at this stage.

Sprinkle with grated cheese and bake for 45 minutes or until puffed and golden brown. Serve warm or at room temperature.

Serves 6-8

Note: I have a slightly larger quiche dish which is 27-28 cm in diameter. If I use the bigger dish, to make more filling I just add two more eggs, making four in total.


Chicken in a Pot with Pasta

This delicious one pot recipe comes from one of my favourite no-nonsense cooks, Nigella Lawson. As the chicken, leeks and carrots cook they create a delicious stock which soaks into the pasta. Nigella uses a very small pasta called Orzo or Risoni, which looks a bit like grains of rice. I only had a small amount of Risoni at the bottom of a packet, so I made up the difference with another small pasta.

The recipe will serve at least six. We had it on its own, but you could always add a crusty loaf and a green salad to feed more people. Choose a large heavy pot with a lid which will hold the chicken, with room around it for the vegetables and pasta. Mine is an oval Le Creuset casserole (from the 1970s, when orange was a very popular colour!) which can be used on the stove top as well as in the oven. Nigella uses dried tarragon, but as I have fresh in the garden at the moment I used that.


1 Tbs olive oil
1 whole chicken (1.5 – 1.7 kg)
3 large cloves garlic, finely chopped
2 leeks (the white part and some of the green) sliced
2 large carrots, cut into sticks
Finely grated rind and juice of 1 large lemon
2 Tbs fresh tarragon, chopped (or 2 tsp dried)
2 tsp salt
½ tsp dried chilli flakes (optional)
1L to 1.5L cold water
300g Risoni or other small pasta
6 Tbs chopped parsley
To serve:
Freshly grated Parmesan

Preheat oven to 180°C and prepare the vegetables. Heat the oil in a large heavy-based casserole with a lid. Dry chicken with paper towels and place in the pan, breast side down, for 3-5 minutes, or until nicely browned. Turn the chicken over and then add the garlic, lemon rind and juice, tarragon, salt and chilli flakes, if using, filling the space around the chicken. Add enough water to cover the vegetables, but not the browned chicken breast which should be left sticking out of the liquid. Turn up the heat to bring the liquid to the boil, then cover the casserole and place in the oven for an hour to an hour and a quarter, by which time the chicken will be cooked. Add the pasta, pushing it under the liquid and stirring it as best you can.

Cover and return to the oven for 15 minutes or until the pasta is cooked. Remove from the oven and leave to stand for 15 minutes before serving. Mix in some of the parsley and scatter the rest on top. Serve a bowl of grated Parmesan on the side.

Serves 6-8

Note: if you don’t have a casserole dish which can be used on the stove top, brown the chicken breast in a frying pan, then put it into the casserole with the remaining ingredients and add boiling water instead of cold.

Asparagus Risotto with Prosciutto

It’s asparagus season again and our dedicated patch is producing a couple of kilos or more a week. It’s like nothing you ever see in the shops. So chunky and flavoursome. We eat most of it steamed, with melted butter, sometimes with fresh herbs mixed through. Or cold with home made mayonnaise.

I’m always on the look out for new ways to serve this wonderful vegetable, such as this delicious risotto.

50g butter
1 Tbs olive oil
1 large onion, finely chopped
250ml white wine
2 litres chicken or vegetable stock
A large bunch of asparagus (20-24 stems)
1 cup Arborio rice
Salt and freshly ground black pepper to taste
1 cup grated Parmesan cheese
To garnish:
6 thin slices prosciutto
Extra virgin olive oil (optional)

Place half the butter and oil in a heavy-based pan over low heat. Add the onion and cook very gently for 15 minutes, stirring from time to time, until cooked but not coloured. Meanwhile trim off the tough ends from the asparagus. Choose 12 nice stems and trim them a bit shorter. Blanch them for 3 minutes in boiling salted water then refresh in cold water and dry on paper towels.

Cut the rest of the asparagus into bite sized pieces. When the onion is cooked add the wine, rice and chopped asparagus and cook, stirring, for a couple of minutes. Gradually add the stock, a cup or so at a time, adding more as it’s absorbed into the rice. When the rice is al dente (you may not need all the stock) add half the grated parmesan and the remaining butter and turn off the heat. The risotto should be slightly wet. Season to taste then cover and stand for 5 minutes.

Serve on six individual serving plates and top with remaining parmesan. Garnish each plate with two of the blanched asparagus spears, a slice of prosciutto and, if liked, a drizzle of oil.

Serves 6 as a starter or 3 as a main

Pumpkin and Leek Frittata

Frittata is a quiche without the pastry. Delicious straight out of the oven and leftovers make a tasty lunch the following day.

1 kg butternut pumpkin, peeled and cut into 2cm cubes
2-3 leeks depending on size, white part only, sliced
6-8 cloves garlic, chopped
1 Tbs fresh chopped thyme
1/3 cup olive oil
Salt and freshly ground black pepper to taste
8 eggs
1½ cups cream
½ cup grated parmesan
1 cup ricotta or cream cheese (optional)
Chopped parsley to garnish

Preheat oven to 220°C. Place pumpkin, leeks, garlic, thyme, oil, salt and pepper in a bowl and mix well. Spread out on a shallow baking tray lined with baking paper. Bake for 25-30 mins or until cooked and starting to brown. Meanwhile whisk eggs, cream and parmesan in a bowl and season.

Tip vegetable mixture into a non-stick frying pan with an oven-proof handle. Choose one measuring about 28cm in diameter. Pour the egg and cream mixture evenly over the vegetables, then if using put blobs of ricotta or cream cheese all over.

Bake for 25 minutes or until puffed and golden. Garnish with parsley.

Serves 4-6

Chorizo Stuffed Chicken Roll with White Bean Salad

A boned and stuffed whole chicken makes a great centrepiece for a buffet table. I’ve done it once, or maybe twice. But it’s not a five minute job. This quick and easy recipe from Spanish-born Australian chef Miguel Maestre achieves the same flavour profile with far less effort.

If preferred use black pudding instead of chorizo.

5 large chicken thighs, skinless and boneless
2 chorizo sausages
About 8 thin slices of jamon serrano or prosciutto
Salad:
1 can butter beans, drained and rinsed
1 small red chilli, seeds removed and finely diced (optional)
1 French shallot, finely diced
3 Tbs finely chopped chives
2 Tbs finely chopped black olives
3 Tbs roughly chopped coriander
2 Tbs mayonnaise
1 Tbs olive oil
Juice of half a lemon
Salt and freshly ground black pepper, to taste
Extra herbs for garnish
Balsamic glaze

Preheat oven to 200°C. Remove skin from chorizo and chop very finely in food processor.  On a shallow baking tray lined with baking paper, arrange the jamon, slightly overlapping, in a rectangle about 30cm wide and the height of the slices. Trim chicken pieces and gently hammer out any which are a bit too thick, so they are more even. Lay chicken on top of the jamon, leaving no gaps, like a jigsaw puzzle.

Place the pureed chorizo down the middle of the chicken. Using the baking paper to assist, roll the chicken over itself and form into a tight cylinder. Place the baking paper back down on the tray and arrange the chicken roll on top with the seam underneath. Bake for 25-35 minutes or until juices run clear when pierced with a skewer.

In a bowl place all the ingredients for the salad. Mix and season to taste.

Serve the chicken warm or at room temperature, thickly sliced, surrounded by the salad and garnished with the extra herbs. If serving cold, garnish with some balsamic glaze.

Serves 6-8

Chargrilled Zucchini with Avocado Hummus

I recently spent a few days in hospital. As I ate the unimaginative, tasteless hospital food I watched the SBS food channel and made notes. This is one of the delicious recipes I wrote down which we had for lunch today. Why can’t hospitals do better?

6 zucchini (about 1kg) halved lengthwise
1 clove garlic, crushed
Finely grated zest and juice 1 lemon
3 Tbs extra virgin olive oil
Salt and freshly ground black pepper, to taste
½ tsp dried chilli flakes
3 Tbs dukkah
Lemon wedges, chopped parsley and olive oil, to serve
Avocado Hummus:
2 ripe avocados
½ cup tahini
1 clove garlic, crushed
Finely grated zest and juice 1 lemon
3 Tbs extra virgin olive oil
Salt and freshly ground black pepper, to taste

For the Hummus, place all ingredients in food processor and process until smooth and creamy, stopping halfway to scrape down the sides. Heat a large chargrill until hot and cook the zucchini halves, without oil, for 3 minutes each side, or until charred and cooked through.

While zucchini is cooking mix garlic, lemon zest and juice, oil and seasoning in a large bowl. Add the cooked zucchini halves and toss gently. Pile onto a serving platter and scatter with the parsley. Finish with dollops of avocado hummus, a sprinkling of dukkah, a drizzle of olive oil and the lemon wedges. If liked make half the recipe which serves 2.

Serves 4

Teriyaki Burgers

Serve these tasty burgers as a mid-week family dinner, with or without French fries, and I guarantee you will be asked to put them on the menu on a regular basis.

There is no doubt that homemade French fries (or chips as we call them) are much tastier than bought ones. However, if I made them on a regular basis I would be twice the size, with or without Covid. So I keep a packet of bought chips in the freezer to zap in a hot oven and serve with steak, burgers and fried fish. Just a few, mostly for Matthew, which always puts a smile on his face. Using frozen fries makes this a very quick meal, but if you want to make your own please do.

6 hamburger buns, halved and toasted (I used brioche)
Quick pickled veggies (see below)
Mayonnaise (preferably Japanese Kewpie, but any will do)
Lettuce leaves
French fries, homemade or bought
Teriyaki chicken:
6 boneless, skinless chicken thighs, trimmed
3 Tbs plain flour
Salt and freshly ground black pepper
2 tsp oil
¼ cup soy sauce
2 Tbs Mirin (or substitute vinegar)
2 Tbs sake or dry sherry
1½ Tbs sugar

Make the quick pickled veggies at least a couple of hours before eating. They will keep for up to a week in the fridge.

Mix salt and pepper into flour and use to coat the chicken, shaking off excess. Heat oil in a large non-stick frying pan and cook chicken for 3-4 minutes on each side, or until golden. Mix the soy sauce, Mirin, sake and sugar and add to the pan. Cook, stirring and spooning the sauce over the chicken and turning them until the sauce has thickened and reduced and chicken is nicely glazed. Toast the burger buns. Be careful if using brioche buns as they can easily burn.

To serve, spread some mayonnaise on one half of each burger bun, then top with lettuce, some pickled veggies, a piece of chicken and the other half of the bun. If liked, serve with French fries, either homemade or bought, cooked according to the package directions,

Serves 6

Quick pickled veggies: finely slice or julienne 1 zucchini (or a Lebanese cucumber), 1 carrot (or a small red capsicum/pepper) and 1 onion (or half if very large), either red or brown.. Add ¼ cup vinegar, ¼ cup sugar, 1 tsp salt and enough water to just cover them. Make at least 2 hours before serving. Keeps for a week in the fridge.

Crushed Carrots with Pistachio Pesto

I adapted this recipe from one by Noor Murad. She uses fresh coriander as the green herb in the pesto. I used mint and am confident that basil would work equally well. You could even use a mixture of fresh herbs. This recipe raises the humble old carrot to amazing heights. Serve as a side dish or as part of a buffet.

Carrots:
1 to 1½ kg carrots, peeled and thickly sliced
½ cup water
2 Tbs olive oil
6 cloves garlic, peeled
½ tsp turmeric
1 tsp cumin seeds
1 tsp ground coriander
¼ tsp chilli flakes
2 Tbs maple syrup
Pesto:
1 cup tightly packed coriander, mint or basil leaves
¾ cup pistachio nuts, lightly toasted
1 clove garlic
About ½ cup olive oil
Salt and pepper to taste
Garnish:
½ red onion, thinly sliced
Juice of 1 lime or half a lemon
¾ cup Greek yoghurt

Preheat oven to 200°C. Place carrots and remaining ingredients in a shallow roasting pan. Mix then roast for 30 mins, or until no liquid remains and carrots are glazed, turning once or twice during cooking time. Tip onto a shallow serving plate and crush the carrots roughly with a  fork.

While carrots are cooking make the garnishes by mixing about half the lemon or lime juice with the red onion and the other half with the yoghurt. Also make the pesto by placing all ingredients except the oil in a food processor. Process until chunky, adding the oil gradually through the feed tube with the motor running and stopping halfway to scrape down the sides. Season to taste.

Drizzle the pesto over the carrots, then put blobs of the yoghurt all over and finally the drained onions.

Serves 4-6 as a side dish

Variations: use pine nuts instead of pistachios, a little Harissa paste instead of chilli flakes, parsnips or sweet potatoes instead of carrots

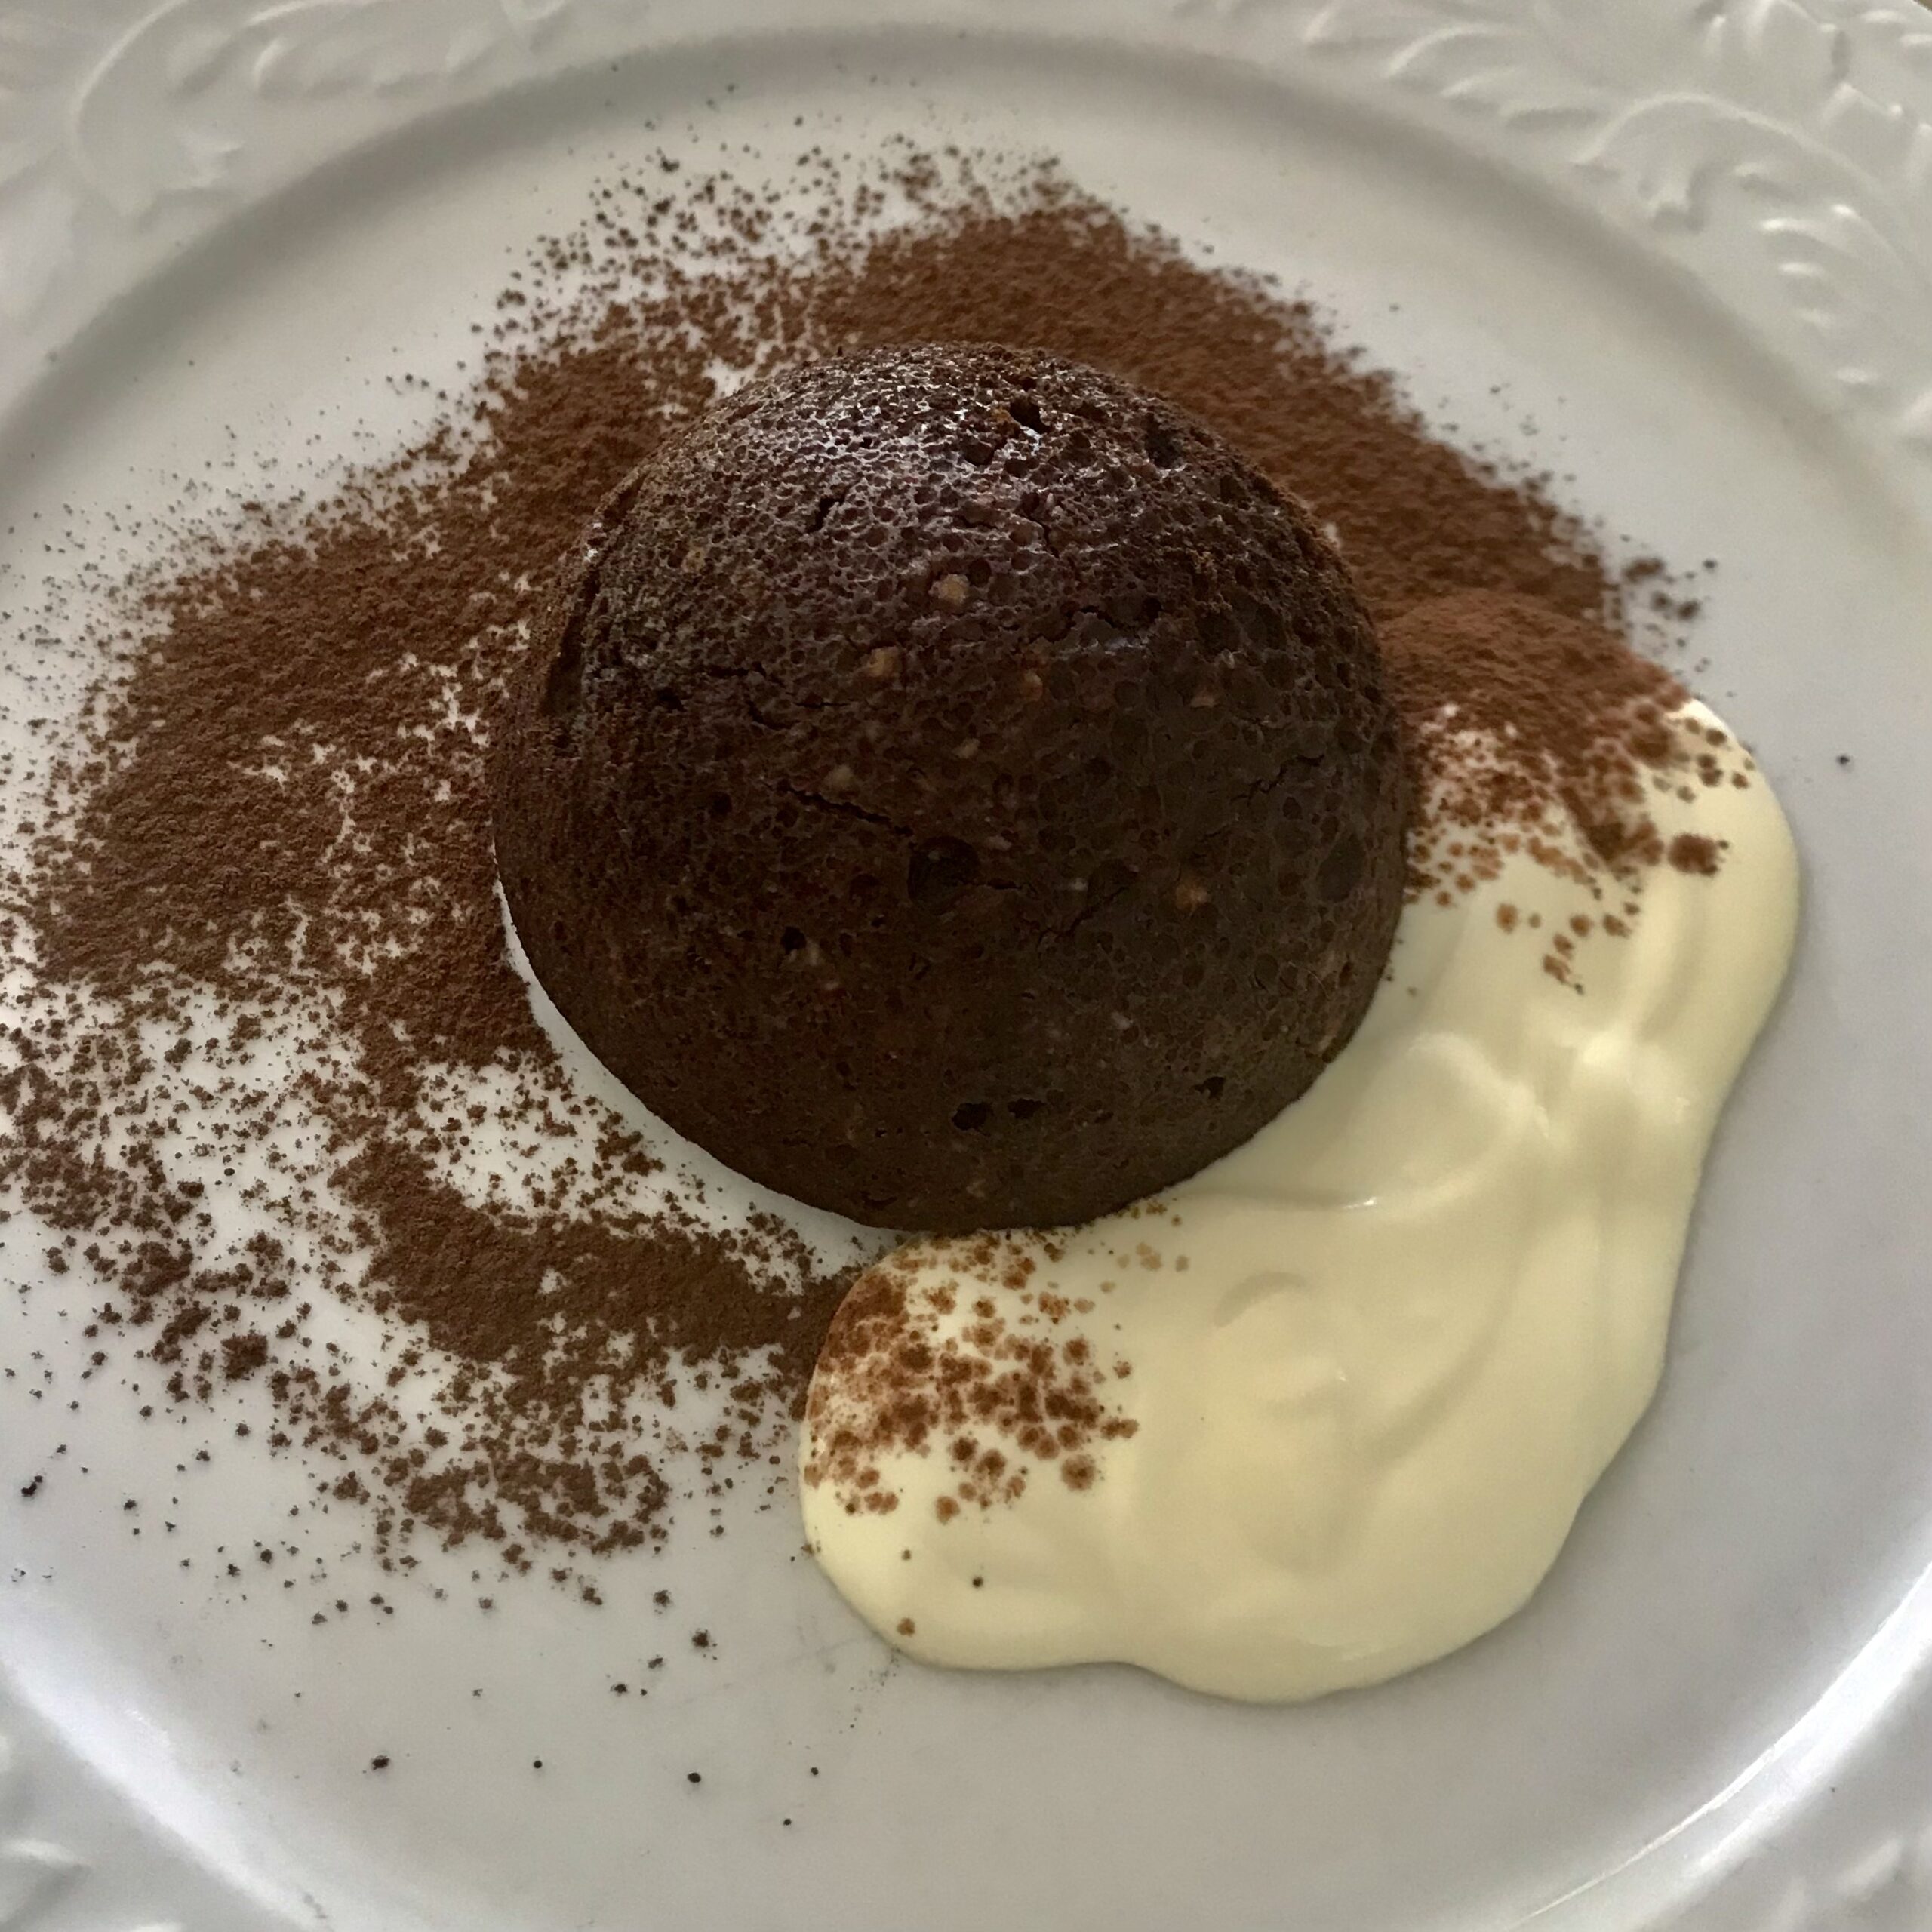
Hot Chocolate Puddings

These hot chocolate puddings can be made and cooked in just under half an hour, making them perfect for a last minute gathering or a family treat. You can also make them up to a few hours ahead and leave them in the fridge until you’re ready to pop them in the oven. There’s no flour, making them gluten free.

125g butter
150g dark chocolate, broken into squares
3 eggs, separated
2/3 cup sugar
pinch salt
To serve:
Cream or vanilla ice cream

If you are going to cook the puddings straight away, preheat oven to 190°C. Place butter and chocolate in a small bowl, cover and zap in the microwave for 1-2 minutes or until melted. With electric beaters, beat egg yolks and sugar until thick and creamy. Thoroughly wash the beaters, then whip the egg whites and salt until they hold soft peaks. Add the chocolate and butter mixture to the egg yolk mixture using the beaters, then gently fold in the egg whites using a spatula. Divide between six ramekins or coffee cups (no need to grease them). They should be about three quarters full.

Bake the puddings for 10-15 minutes or put them in the fridge until you’re ready to cook them. When ready they should be well risen and firm to the touch, but still soft inside. If they have been in the fridge for a few hours they will take 2-3 minutes longer than if they haven’t.

Serve immediately with cream or vanilla ice cream.

Serves 6


Lemonade Scones

This famous Australian recipe for scones was invented decades ago by a rural country women’s association. I’ve often wondered what they taste like.

Then the other day a news programme featured a 92 year old lady called Muriel who has been making these scones forever. I decided it was time to have a go.

The recipe uses just three ingredients: self-raising flour, cream and lemonade. Converts swear that once you’ve made these scones you won’t go back to your old recipe which involves rubbing butter into flour and then adding sugar and milk. The milk and butter components are covered by the cream and the subtle sweetness comes from the lemonade. If you go onto Google and type in lemonade scones you will find that there are heaps of recipes and slight variations.

I have to be honest and admit that I didn’t have any lemonade so I used diet tonic water which worked fine. In less than half an hour I had 18 perfect scones to serve with homemade jam and whipped cream. They were as light as a feather and delicious.

4 cups self-raising flour
300ml cream
300ml lemonade (or sprite, Seven Up)
Pinch of salt
Milk to brush
To serve:
Whipped cream
Berry jam (raspberry, strawberry, blackcurrant or blackberry)

Preheat oven to 180°C. Sift the flour into a large bowl (Muriel sifts it three times!) then make a well in the centre and mix in the cream and lemonade, using a knife. When the mixture has all come together, tip it out onto a floured surface. Use your hands to lightly flour any sticky areas and form the dough into a round shape. Lightly pat it to an even thickness of about an inch or 2.5cm. Handle lightly and do not knead. This is not bread dough. Cut out scones using a round cutter, or if preferred, just cut the dough into squares.

Place on a lightly greased baking tray, brush the tops with milk, then bake for 15 minutes or until golden brown, well-risen and cooked.

Serve with whipped cream and jam.

Makes about 18