Fried Halloumi with Lemon and Olives

I first ate halloumi cheese at my brother’s house when he was living in the UK in the 1980s. He cooked it on a barbecue and the kids decided to call it squeaky cheese, because of the noise it makes against your teeth when you eat it.

This recipe makes a good side dish for lunch or nibbles with drinks.

2-3 Tbs olive oil
250g halloumi cheese
2 Tbs flour mixed with some salt and freshly ground black pepper
1 lemon
½ cup olives, stoned and sliced (green or black)
1 Tbs chopped fresh marjoram, oregano or parsley
1 birdseye chilli, seeded and finely chopped
Extra olive oil

Slice cheese a bit more than half a centimetre thick and cut into manageable sized pieces. Dust with seasoned flour. Heat olive oil in a frying pan and cook the cheese slices on both sides until golden. Drain on paper. While cheese is cooking remove peel from the lemon with a vegetable peeler then chop finely. Remove juice from the lemon.

When cooked, place halloumi in a small serving dish. Mix lemon juice and rind, olives and herbs and sprinkle over. Top with the chilli, if using. Drizzle with extra olive oil and serve as a snack or part of a mezze with fresh bread.

Proper Baked Beans

First produced in 1901, Heinz Baked Beans have maintained their popularity for well over a century. One of the best known advertising slogans launched in the UK in 1967 was Beanz Meanz Heinz.

I’ve never been a fan, but have several friends who eat them when they need some comfort food.

Proper Baked Beans, made from scratch by soaking dried beans, now that’s a different story. I think they’re quite delicious. In this recipe the beans aren’t actually baked, although you could always cook them in the oven rather than on the stove top, if preferred. In fact Heinz Baked Beans, despite the name, aren’t baked either. Raw beans are placed in the cans with the sauce, then sealed and cooked in very large pressure cookers.

500g dried white beans (eg haricot blanc, white kidney beans)*
2 Tbs canola or olive oil
250g smoked streaky bacon, chopped
2 onions, chopped
2 cloves garlic, crushed
2 x 400g cans tomatoes, chopped
500ml water
2 Tbs tomato paste
100g brown sugar (or less if preferred)
200ml vinegar
Salt and freshly ground black pepper
To serve:
Hot buttered toast
Chopped fresh herbs
Grated Parmesan (optional)

Cover beans with cold water and leave to soak overnight. Drain and rinse thoroughly then place in a large saucepan, cover with water and simmer for an hour, or until cooked. Beans vary and could take up to two hours. Add more water as necessary. Drain.

In a large heavy-bottomed saucepan heat the oil. Add the bacon, onions and garlic and cook over moderate heat, stirring often, until onions are soft and bacon is starting to brown. Add tomatoes, tomato paste, sugar, vinegar and water. Bring to the boil then add the cooked beans. Reduce to low and simmer for an hour and a half, or until you have a thick sauce and very tender beans. Add a dash more water from time to time if necessary.

Check seasoning and serve on toasted and buttered Turkish or Sourdough bread, garnished with chopped herbs and a little grated Parmesan, if liked.

Serves 8

*If preferred, substitute 3-4 cans of drained canned beans and skip the first paragraph of the recipe.

Japanese-style Ceviche

This delicious recipe was given to me by my daughter Catherine who got it from her chef friend, Tim. Catherine and her husband love raw fish and meat dishes, so they eat a lot of ceviche and carpaccio. If you’ve never eaten raw fish, this is a good way to start as it honestly doesn’t taste raw. The recipe serves 2 as a starter or one as a main, but it’s easy to multiply the ingredients to serve 4 or 8. It’s also very quick to make.

The black sesame seeds add a nice colour contrast and the fried shallots add a bit of crunch. They make a great garnish for all kinds of savoury recipes.

1 portion salmon (about 180g) or use a firm white fish
1 small or half a large avocado, cubed
Zest and juice of 1 lime or ½ lemon
2 tsp sesame oil*
2 tsp Mirin
1 Tbs pickled ginger, finely chopped*
1 spring onion, thinly sliced
1 Tbs Kenko Creamy Sesame Dressing*
Salt and freshly ground black pepper, to taste
To garnish:
Black sesame seeds*
Fried shallots*
Fresh coriander leaves
Lettuce leaves
Olive oil (optional)

Remove skin and any bones from salmon then cut into small cubes. Mix with remaining ingredients. Taste and see if it needs a little more lime juice or sesame oil.

Serve immediately on lettuce leaves, garnished with black sesame seeds, coriander, fried shallots and a drizzle of oil. You can leave out the lettuce leaves and the olive oil if preferred.

Serves 2

* sold in Asian supermarkets. For the Kenko Dressing you will need to find a shop that sells Japanese ingredients. If you can’t find it substitute ordinary mayonnaise mixed 50-50 with soy sauce. Not quite the same but it will do.

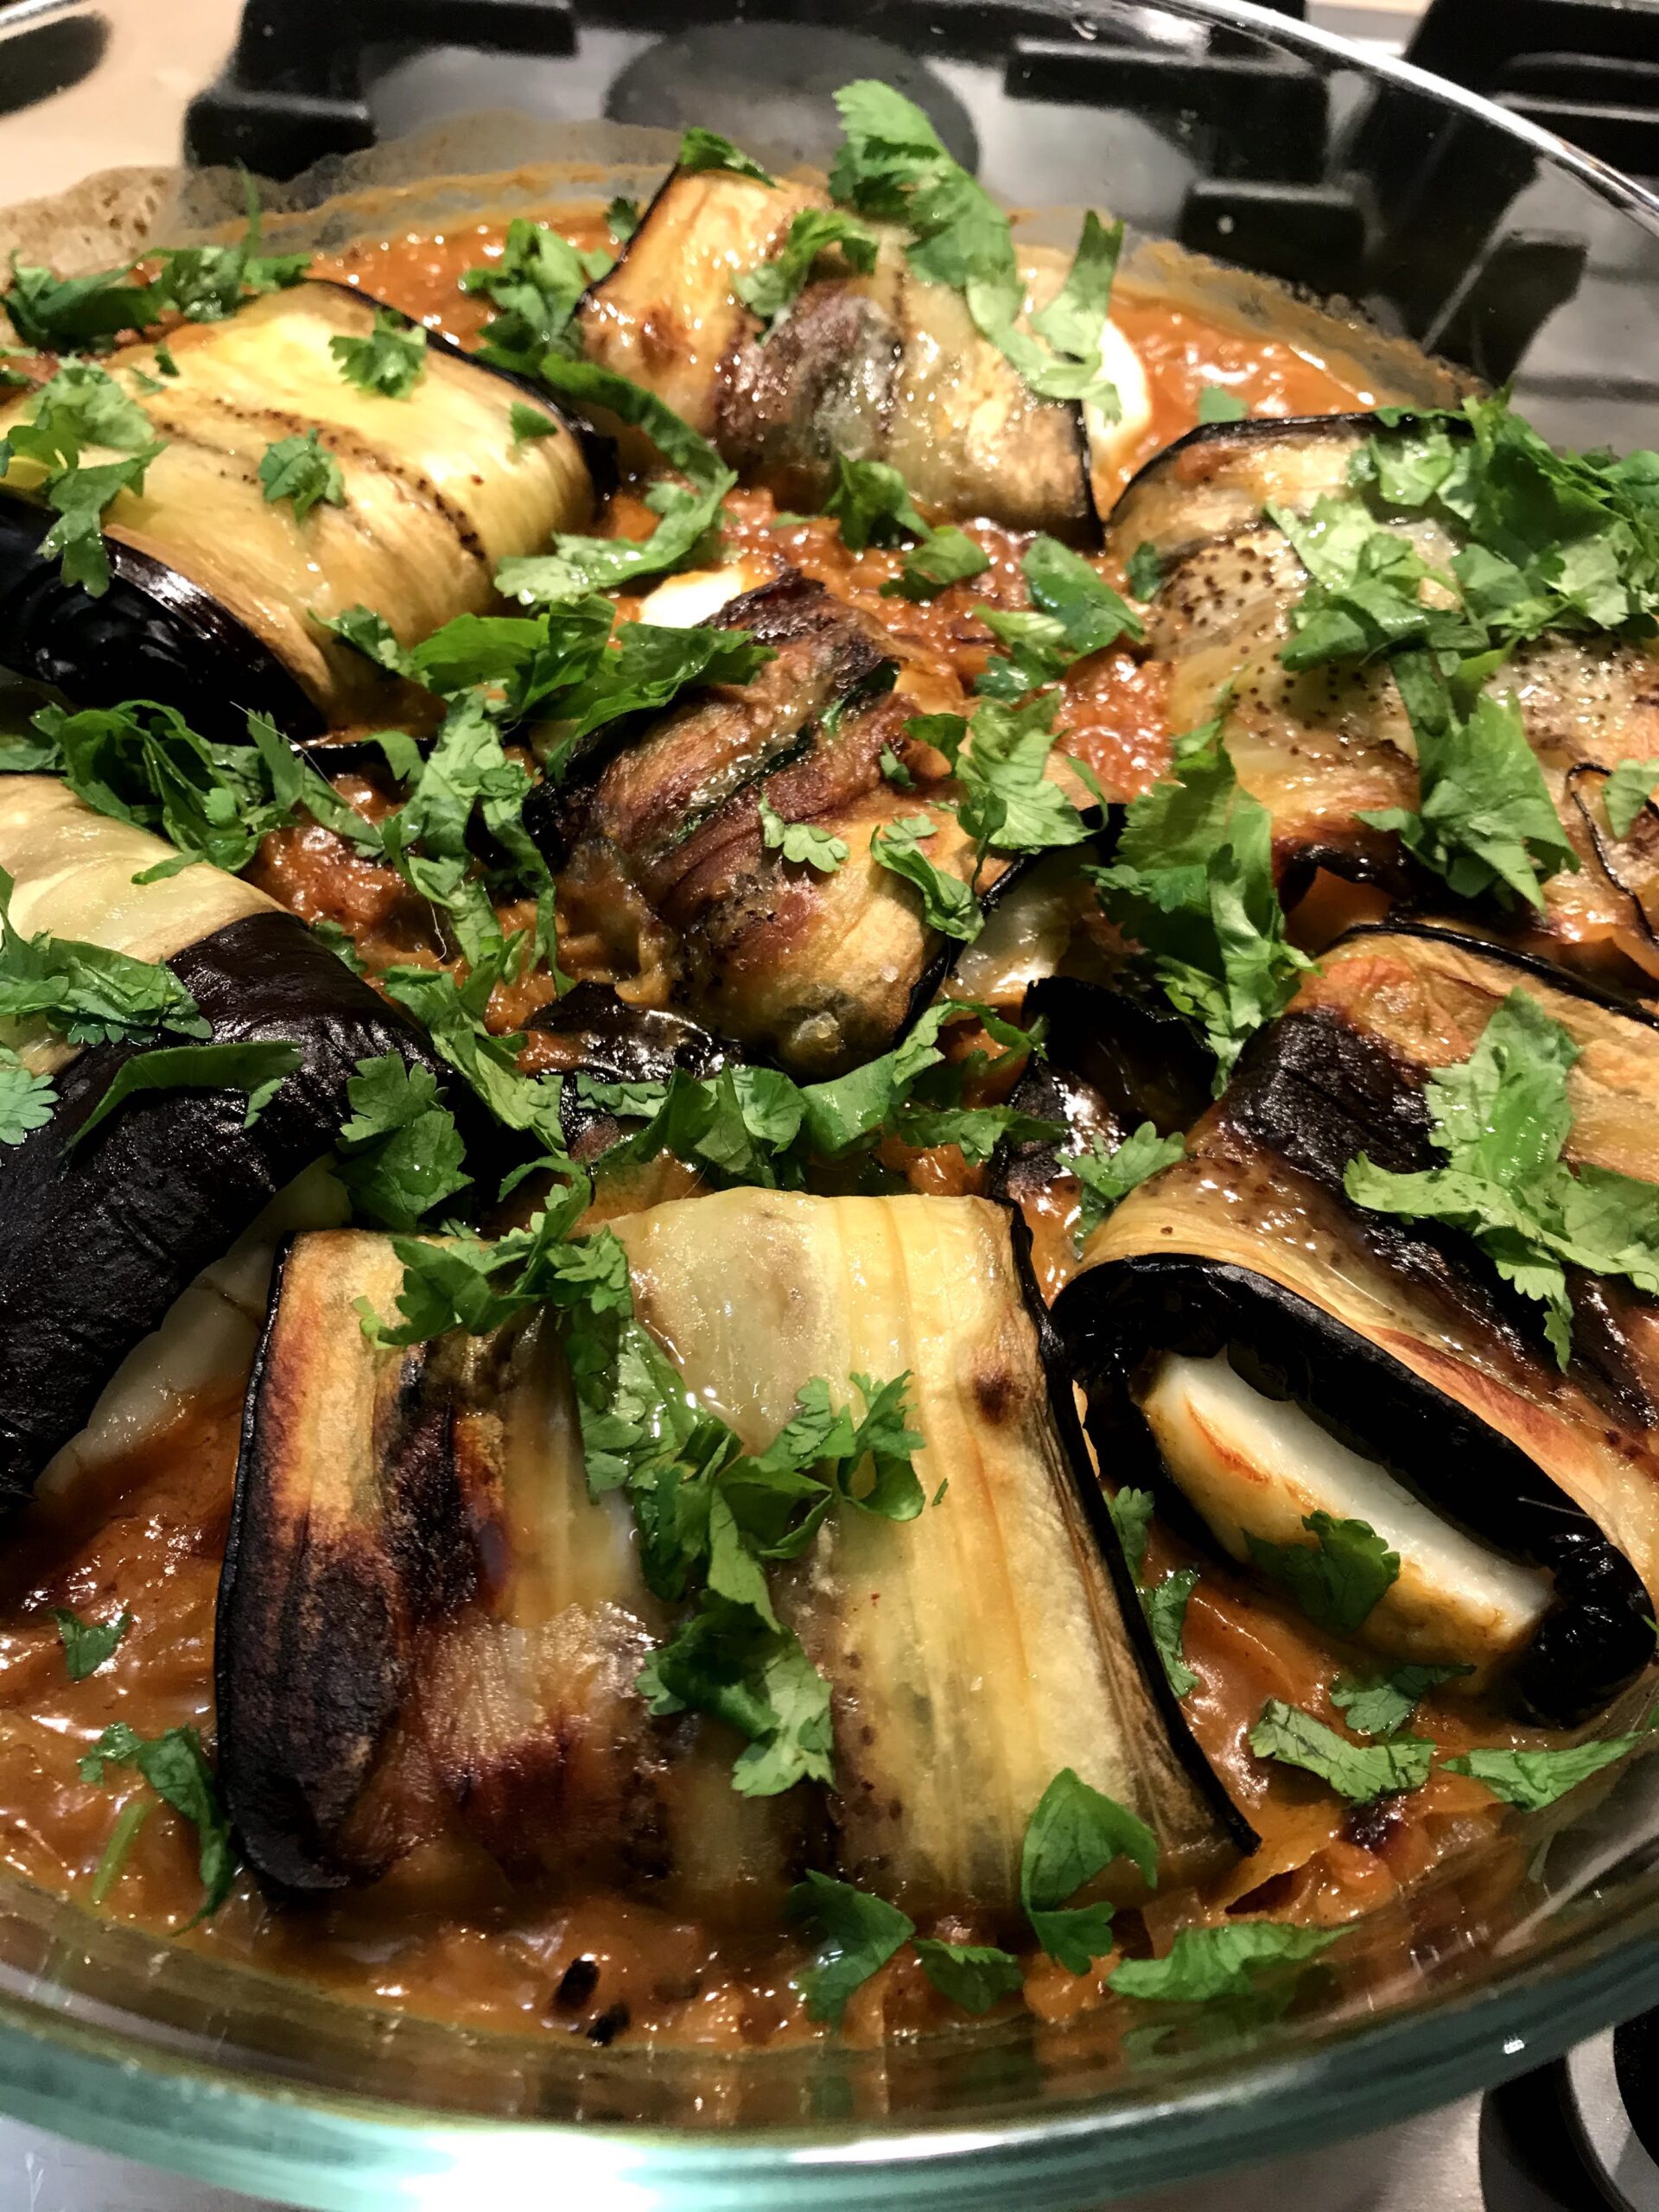
Roasted Eggplant with Saffron Yoghurt

Another Yotam Ottolenghi recipe I tried recently. As you can see, I rather overdid the saffron, which made the yoghurt sauce a rather lurid yellow, but it was still delicious. Pomegranate seeds add a lovely splash of red, but if you don’t have any use chopped roasted red peppers or perhaps a few dried goji berries, soaked briefly in hot water, then drained.

3 medium eggplants, cut into 2cm slices or wedges
Olive oil for brushing
2 Tbs toasted pine nuts
A handful of pomegranate seeds
A few basil leaves
Salt and freshly ground black pepper
Sauce:
A pinch of saffron strands or powdered saffron
3 Tbs hot water
180g thick Greek-style yoghurt
1 clove garlic, crushed
2½ Tbs lemon juice
3 Tbs olive oil
Salt and freshly ground black pepper, to taste

Make sauce by infusing saffron in hot water for 5 minutes, then whisking in the remaining ingredients. Sauce will keep in the fridge for up to 3 days.

Preheat oven to 220°C. Place eggplant on an oven tray, brush both sides with olive oil and season with salt and pepper. Roast for 20-35 minutes, or until golden brown. Cool. Eggplants will keep in the fridge for up to 3 days. Bring to room temperature before serving.

Arrange eggplant on a serving platter, slightly overlapping. Drizzle with the sauce, sprinkle with the pine nuts and pomegranate seeds, then scatter with a few basil leaves.

Serves 4

Lancashire Hot Pot

Lancashire Hot Pot originated in the north west of England and was a popular winter dinner throughout the British Isles when I was growing up. My mother, who didn’t have a large culinary repertoire, made it regularly and we loved it.

It’s basically a lamb stew covered with sliced potatoes, cooked until crisp. In the old days it would have been made with mutton, something we don’t see in the shops these days because the animals are killed much younger. My mother fried the onions and meat in dripping or lard, but I prefer to use butter or canola oil, or a combination.

2 Tbs butter or oil or 1Tbs of each
1 kg stewing lamb, cut into 2cm cubes
2 Tbs plain flour
Salt and freshly ground pepper to taste
1 large or 2 smaller onions, diced
500g carrots, peeled and cut into slices or chunks
2 cups beef stock (or water and 2 beef stock cubes)
3 Tbs sherry or red wine (optional)
1 Tbs Worcestershire sauce
750g potatoes, peeled and thinly sliced
1 Tbs melted butter or oil, for brushing
1 tsp dried thyme

Preheat oven to 170°C. Mix lamb with the flour, salt and pepper. Heat butter or oil in a large frying pan and cook the meat over high heat, stirring, until browned. Place in a casserole dish. Add onions to the frying pan and cook, stirring from time to time, until softened. Add to the casserole with the carrots, stock, sherry and Worcestershire sauce. Mix well. Cover and cook for 30-60 minutes, or until meat is almost tender.

Remove lid and cover the meat with the sliced potatoes, starting from the outside and overlapping them slightly. Brush with melted butter or oil, sprinkle with thyme then cover with the lid or a piece of foil. Return to the oven for 45 minutes  or until potatoes are tender. Turn oven up to 200°C. Remove lid or foil and cook casserole until potatoes are browned and crisp. Serve with a green vegetable.

Serves 6

EQ Grilled Chicken Salad

My friend Dawn can’t eat gluten or dairy products, so the Gluten and Dairy-Free Grilled Chicken Salad at EQ Cafe and Lounge in Deakin caught her eye when we had lunch there recently. I decided to join her. It was delicious, not to mention healthy, so I was inspired to have a go at making it at home.

Goji berries are native to Asia and have recently become available in dried form in mainstream Australian supermarkets. The cheapest I could find were from Aldi, which sells 150g of Organic Chinese goji berries for $5. There is currently no clinical evidence that these berries are going to lower your cholesterol or cure you of anything, but they do add a nice splash of red to this salad. Substitute diced red capsicum or halved cherry tomatoes if you don’t have goji berries.

Quantities are approximate. I bought a 120g pack of rocket from Aldi and used about two thirds in the salad and one third in the pesto.

About 80g rocket, washed and spun dry
1 cup finely shredded red/purple cabbage
1 endive (witlof) cut into 1cm wide lengthwise strips
16 sugar snap peas
¼ cup dried goji berries
¼ cup red wine (or if preferred use water)
¼ cup hazelnuts, lightly toasted
200-250g chicken tenderloins trimmed and dried on paper towels
Salt and freshly ground black pepper
1 Tbs olive oil
Salt and freshly ground black pepper
Rocket pesto:

1 small clove garlic
About 40g rocket, washed and spun dry
2 Tbs pine nuts
2 tsp lemon juice
100 ml olive oil (approx)
Salt and freshly ground black pepper, to taste
Lemon Vinaigrette:
2 Tbs olive oil
2-3 tsp lemon juice
1 tsp honey (optional)
Salt and freshly ground black pepper, to taste

Place vinaigrette ingredients in a jar with a lid and shake.

Place red wine in a small saucepan and heat to boiling point. Add goji berries, turn off the heat and leave to cool, then drain thoroughly.

Make pesto by placing all ingredients except oil in food processor. Process for 30 seconds, then gradually add the oil with the motor running, until you have a thick pouring consistency.

Mix the rocket and red cabbage with the lemon vinaigrette. In two shallow salad bowls arrange the salad in layers. First the rocket and red cabbage, then the endive, sugar snap peas, goji berries and hazelnuts. Brush chicken with oil, season, then grill or pan fry until golden brown on both sides and cooked through. Slice each fillet into 2-3 pieces, arrange on top of the salad. Drizzle the salad (especially the chicken) with the pesto – you won’t need it all.

Serves 2 as a main course


Chicken Lady Chicken

While living in Paris for four years I noticed several differences in the shopping, eating and cooking habits of the French, compared with ours.

They generally don’t stock up on food in big supermarkets. Living in an apartment, as almost everyone does in big cities like Paris, makes getting groceries from the supermarket into your home a real challenge. With limited parking and, for some Parisians, no elevator, it’s much easier to shop at the local markets every few days. Buy what you need, eat it fresh, then go and buy more. Little trolleys on wheels are perfect for shopping this way. An added deterrent to buying up big is that most Paris apartments have tiny kitchens with limited cupboard and freezer space.

I reckon one of the reasons many French women stay slim is that they don’t eat a big meal every evening. Several svelte French friends told me that during the week their husbands went out for a three course lunch and were quite happy with something very light in the evening. Women who work do the same. So as I was heading home to cook our main meal of the day, they were going home to have “un petit yaourt” or “une tartine” – a slice of toast with something on it.

I also noticed that the French don’t get stuck into baguettes and French cheeses quite the way we do. I’ve watched lithesome French friends make one slice of baguette last through several courses, used as required to push food onto their fork. When the cheese course, which is served before dessert, arrives they take only a small sliver of each. French cheeses are marvellous, but they are high in calories and cholesterol.

The French also tend to be more abstemious when it comes to wine consumption, as we noted when we cleared up the empties after a dinner party for mainly French guests and compared it with the week before when we had hosted mainly Aussies.

While they regularly eat out, our French friends like to entertain family and close friends. With the limitations of a small kitchen and an equally small oven, dessert often comes from the local patisserie. With such a wonderful array to choose from, why bother cooking? There are of course exceptions. I have several French friends who make wonderful cakes and desserts, using recipes inherited from their mothers and grandmothers.

Food markets pop up all over Paris in regular spots, once or twice a week. The twice-weekly market in Boulevard de Grenelle was less than five minutes walk from where we lived. Every Wednesday and Sunday from seven in the morning until lunch time the market sells fresh fruit and vegetables, cheese, meat, fish and more to a bustling crowd of mostly French customers.

On Sundays the rotisserie chickens and roast potatoes sold at the markets are popular to take home for lunch. Today’s recipe comes from well-known cook and food writer David Lebovitz who has been living in Paris for over 20 years. He managed to persuade the chicken lady at his local market to part with her delicious recipe. Hence the name Chicken Lady Chicken. He uses the marinade for one chicken, but I found it’s enough for two. She uses white wine but I think red wine or even sherry is a good substitute.

1 or 2 1.5kg (3 lb) chickens
Marinade:
3 cloves garlic, crushed
1½ tsp salt
2 Tbs olive oil
2 Tbs lemon juice
2 Tbs wine or sherry
1 Tbs soy sauce
2½ tsp harissa, Sriracha or other chilli paste
2 tsp Dijon or other mustard
2 tsp honey

Remove backbone from the chicken(s) by cutting along each side with a pair of poultry shears. Place chicken breast side down on cutting board and press hard with the heel of your hand to flatten it out as much as possible, then repeat on the other side. Loosen the skin a bit with your finger so the marinade can get in under the skin.

Mix all ingredients for marinade and pour over the chicken(s), rubbing it in and pushing it under the skin. Marinate for 1 to 2 days in the fridge, covered, turning from time to time. Levovitz does this in a plastic bag, but I used a shallow dish.

Preheat the oven to 200°C. Place chickens in a roasting pan breast side down. Cover loosely with aluminum foil then place a heavy weight on top. I used two bricks, one for each chicken. Lebovitz cooks his chicken for a total of 45 mins but I think it needs a bit longer. Roast for half an hour, then remove the brick(s) and foil and turn the chickens over, basting thoroughly. Roast for a further half hour or until chickens are well browned and cooked through.

Carve the chicken(s) and serve with roast potatoes and a salad.

Each chicken serves 4-6

Roasted Cherry Tomato and Goat Cheese Bruschetta

These scrumptious bruschettas make a perfect weekend lunch for four, or two if you’re feeling a bit peckish.

Well-known cook, food blogger and author David Lebovitz makes his own cheese from goat’s milk yoghurt for this recipe, which features in his book “My Paris Kitchen”. He calls them Crostini. To speed things up I used a packet of Aldi goat cheese and a bit of feta.

Roasted Tomatoes:
650g cherry tomatoes
3 Tbs olive oil
2 cloves garlic, finely chopped
Handful fresh herbs (whatever you can find), roughly chopped
Salt and freshly ground black pepper to taste
Herbed Goat Cheese:
125g soft goat’s cheese (see note below)
Cream or plain yoghurt
1 Tbs chopped fresh herbs (eg chives, parsley, thyme)
1 Tbs finely chopped shallots (I used 2 spring onions)
1 clove garlic, crushed
Pinch cayenne pepper
Salt and freshly ground black pepper to taste
Toasts:
4 thick slices sourdough or other country-style bread
Olive oil
1 clove garlic
Fresh herbs to garnish

Preheat oven to 180°C. Mix tomatoes with remaining ingredients and tip into a baking dish where they fit snugly in one layer. Roast for 30-45 minutes or until wilted and starting to brown a bit. Stir once during cooking time. Remove from the oven and cool. Can be made several hours and up to a day ahead.

Place cheese on a plate and mash with a fork, adding enough cream or yoghurt to achieve a thick spreading consistency. Mix in remaining ingredients. This can also be made ahead of time.

Brush bread on both sides with olive oil then bake in a hot oven for 5 minutes or until golden. I used a sandwich press which is much quicker and avoids having to turn the oven on again. If liked rub a cut clove of garlic over the toasts.

Spread herbed cheese thickly onto each slice of toast, top with the tomatoes and garnish with fresh herbs.

Makes 4 bruschettas

Note: I used a 115g packet of Goat’s cheese from Aldi and made it up to 125g with some Danish-style feta. Any soft creamy cheese will do. In South America you could use “queso fresco”.

Lemon Fluff

This is an old family recipe from my mother-in-law. She often made it when we were staying and all her grandkids loved it. Now that I’m a grandparent I find it can be a challenge to find a dessert that the kids and adults enjoy, unless you stick to ice cream.

At a recent family gathering at the farm I served Lemon Fluff and the grandkids all came back for second helpings. They said it tasted like Lemon Sherbet. There’s no cream in the recipe and the kids preferred it that way. Most of the adults added a good dollop of thick cream.

The first few times I made the recipe it separated, so now I use the freezer to avoid this, as you can see in the method.

4 eggs, separated
1 cup caster sugar
Finely grated rind and juice of 3 large lemons
1 Tbs powdered gelatine
½ cup water
To serve:
Thick pouring cream

With electric beaters, whisk egg yolks, sugar and ¼ cup warm water until thick and almost tripled in volume. Gradually beat in the lemon juice. Mix gelatine with remaining water, then zap it for 30 secs in the microwave to dissolve. Cool then add to the mixture with the grated lemon rind.

Place bowl in the freezer until mixture is starting to set around the edges. Time will vary so keep an eye on it and give it a stir from time to time, to check. In my freezer it takes 20-30 minutes. Meanwhile thoroughly wash and dry the beaters, then whisk egg whites until soft peaks form. Take bowl out of the freezer and use the electric beaters to give the mixture a quick mix – no need to wash them after whipping the egg whites. Using a rubber spatula fold the egg whites gently but thoroughly into the lemon mixture. Tip into one large serving dish or about 8 individual dishes. Refrigerate, covered, for several hours or overnight. Decorate with a slice of lemon and some mint leaves and serve with thick cream.

The green around the edges was achieved by blitzing a few fresh mint leaves with some sugar until green crumbs form.

Serves 8

Ricotta Cheesecake

I’ve made a lot of cheesecakes over the years and this one ticks all the boxes. The recipe was given to me by my daughter Catherine who said it was easy peasy and delicious.

Instead of topping with marmalade, you could serve the cheesecake with sliced strawberries, macerated with a little sugar and perhaps a splash of orange liqueur or brandy. Instead of marmalade I used about a cup of pureed fresh apricots, which I had frozen during summer, mixed with some home-made cumquat jam and heated to combine, then cooled. Use your imagination – this cheesecake would go well with any jam, marmalade, fruity sauce or fruit compote. Or just some fresh berries.

Use half the amount of biscuits, butter and cinnamon if you prefer a thinner crust.

Crust:
200g plain sweet biscuits
100g butter at room temperature
1 tsp cinnamon
Filling:
250g ricotta cheese
250g cream cheese
1 cup sugar
4 eggs, separated
¾ cup cream or sour cream
2 Tbs grated lemon rind
Topping:
½ cup marmalade
¼ cup water
Icing sugar

Grease and bottom line a 22cm springform pan. Preheat oven to 170°C. Blitz biscuits in a food processor with butter and cinnamon to make fine crumbs. Tip into cake pan, spread evenly and press down. Refrigerate while you make the filling.

Place ricotta, cream cheese and sugar in food processor and process until smooth. Add egg yolks, cream and lemon rind and mix thoroughly. In a large mixing bowl whip egg whites with electric beaters until soft peaks form. Scrape mixture from food processor into the egg whites and mix gently with a rubber spatula until combined. Scrape into the cake pan, then bake for 45-50 mins or until set, but still slightly wobbly in the middle. Remove from the oven, cool then cover and refrigerate overnight.

Run a knife around the edge of the cheesecake, then remove sides from pan and dust top with sifted icing sugar. Heat marmalade and water in a small saucepan until combined, then cool and spoon over the top of the cheesecake, or serve separately in a jug.

Serves 10

Variations: use orange rind instead of lemon. Serve with fresh fruit or fruit compote of choice.