When I was growing up in Kent – otherwise known as the garden of England – we ate everything in season. In early June the local strawberries were ready and there were a few places where you could pick your own. They were cheap and plentiful, so we ate big bowls full, with a dollop of double cream and a sprinkling of sugar, just to add a little crunch. Now, thanks to imports from warmer climes you can buy strawberries pretty much all year round wherever you live in the world. But they never taste the same as when you pick your own and eat them the same day.
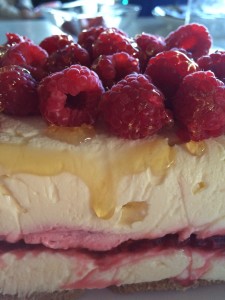
Like bacon and eggs, strawberries and cream is a marriage made in heaven. As I was looking for something to serve at a dinner party recently I came across this beautiful dessert on a site called Home Cooking Adventure.
You can make them the day before, so they’re perfect for entertaining.

Panna Cotta:
400ml milk
400ml cream
½ cup sugar
2 tsp vanilla essence
1 Tbs gelatine
4 Tbs water
Strawberry Sauce:
750g strawberries
2-3 Tbs sugar, to taste
2 Tbs water
Place milk, cream and sugar in a saucepan and bring to the boil, then remove from the heat. Meanwhile place gelatine and water in a small bowl then zap in the microwave briefly to dissolve. Mix gelatine mixture and vanilla into cream then cool a bit and divide among 8 attractive glasses such as Martini glasses. Chill overnight.
Save four nice strawberries then wash and hull the rest. Cut into four and place in a saucepan with sugar and water. Bring to the boil then remove from the heat. Blend until smooth in a blender, then pass through a sieve to remove seeds. Chill overnight.
To serve, divide strawberry sauce among the 8 glasses. Top each with half a strawberry.
Serves 8
Variations: use raspberries instead of strawberries.
 1 kg lean chicken thigh meat
 300g white chocolate
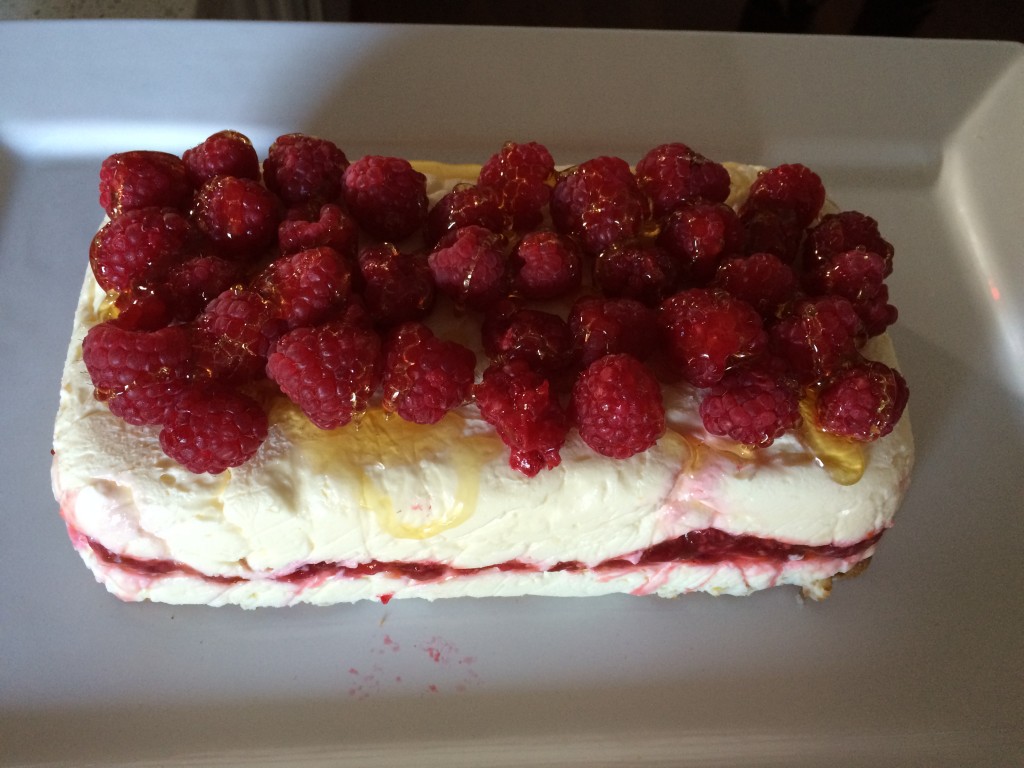
 Sweet and Sour Chicken
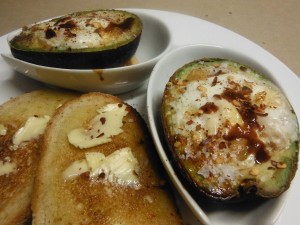 2 large ripe avocados
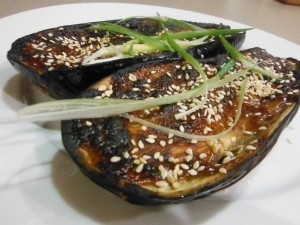 2 eggplants (aubergines)