Unbaked Granola Bars

These quick and easy granola bars are a welcome, healthy addition to children’s lunch boxes and provide a delicious snack for the rest of the family. They don’t require any baking and are perfect for kids to make themselves.

Both recipes are fairly flexible, so feel free to substitute different seeds or nuts or to leave out something you don’t like or don’t have, such as coconut. The second recipe has honey as a sweetener, while the first one relies on dates for sweetness. Both contain chocolate chips, but leave them out if you prefer. If you don’t have all the seeds, double up on the ones you have.

Superfood Granola Bars
1 cup peanut butter (or another nut butter)
2 cups pitted dates, pureed in food processor
3 Tbs cocoa powder (optional)
1 cup porridge oats
¼ cup coconut flakes or desiccated coconut
1 tsp cinnamon
¼ tsp salt (optional)
2 Tbs sesame seeds
2 Tbs flax seeds
2 Tbs hemp seeds
2 Tbs chia seeds
¼ cup pumpkin seeds
¼ cup sunflower seeds
½ cup almonds (or walnuts, peanuts, pecans, hazelnuts or macadamias)
½ cup chocolate chips

Place peanut butter in a small bowl and zap in the microwave for 20 seconds, or until softened. Add the pureed dates and, if using, the cocoa powder and mix well. Place remaining ingredients in a large mixing bowl, add the date mixture and mix thoroughly.

Grease a shallow square or oblong dish or container. This can be metal, glass, silicone, ceramic or plastic. Mine was 20cm or 9″ square dish and I sprayed it with oil. If the container is too big the muesli bars will be too thin.

Tip mixture into the container and use your hand or the bottom of a glass to flatten it evenly. Refrigerate for 2-3 hours, then cut into bars. Stored in an airtight tin they will keep for a week or more, though I doubt they will last that long.

Makes 12-16

Rice Krispie Granola Bars
2 cups Rice Krispies or another brand of puffed rice breakfast cereal
1½ cups porridge oats
¼ cup coconut flakes or desiccated coconut
¾ cup honey
1 cup peanut butter (or another nut butter)
1 tsp vanilla essence
¼ cup chocolate chips (dark, milk, white, your choice)

Place Rice Krispies, porridge oats and coconut in a large mixing bowl. Heat honey in a saucepan or in the microwave, just enough to make it liquid, then mix in the peanut butter and vanilla till smooth. Mix into the dry ingredients and lastly add the chocolate chips.

Grease a shallow square or oblong container. This can be made of metal, glass, silicone, ceramic or plastic. Mine was 20cm or 9″ square and I sprayed it with oil. If the container is too big the granola bars will be too thin.

Tip mixture into the container and use your hand or the bottom of a glass to flatten it evenly. Refrigerate for 2-3 hours, then cut into bars. Stored in an airtight tin they will keep for a week or more, though I doubt they will last that long.

Makes 12-16


Tahini Cookies

The Middle Eastern paste known as tahini can be used in both savoury and sweet dishes. Made by pulverising sesame seeds, it’s an integral ingredient in hummus, a dip we’ve all grown to love since it has become widely available in supermarkets and delis.

These very quick and easy cookies use tahini, combined with ground nuts and honey or maple syrup, and don’t contain any butter or oil.

2 cups ground almonds or walnuts (make in the food processor then measure)
½ tsp salt
¾ cup tahini
½ cup maple syrup or honey or half and half
2 tsp vanilla essence
To decorate:
Pecan or Walnut halves

Preheat oven to 150°C. Place ground nuts and salt in a bowl. Place tahini, maple syrup or honey and vanilla essence in a small saucepan and heat, mixing, just enough to make it smooth. Mix into the dry ingredients.

Pinch off pieces the size of a large walnut and roll into balls. Arrange on a biscuit tray lined with baking paper, leaving enough room for them to spread. Press each ball with your finger to flatten slightly, then decorate with a pecan or walnut half and press them in.

Bake for 10-12 minutes or until golden brown. Cool then store in a sealed container.

Makes 16-20

Note: I didn’t have quite enough ground nuts so I used 1½ cups of ground nuts and ½ cup plain flour. If you want to make them gluten-free, just use ground nuts.

Melon, Buffalo Mozzarella and Prawn Salad

I’ve tweaked this recipe by Yotam Ottolenghi and added prawns, which aren’t in his original version. The result is a light and healthy salad which will serve four as a starter or two as a main.

You may have noticed that I use this serving dish a lot. It’s one of my favourites from a pottery called Bison, located just outside Canberra in Pialligo.

½ small red onion, thinly sliced
Grated rind and juice of ½ lemon
Salt and freshly ground black pepper
250g peeled large cooked prawns (weight before peeling about 500g)
3-4 cups mixed salad greens (lettuce, rocket etc)
2-3 cups melon balls or cubes (rockmelon or watermelon or a mix)
1 avocado, peeled and cut into 8 wedges
1 whole ball Buffalo Mozzarella (100-150g) cut or torn into bite sized pieces
1 Tbs buckwheat groats (optional)
1 tsp black mustard seeds
2 Tbs fresh coriander leaves
3-4 Tbs Extra Virgin Olive Oil

Mix onion with lemon rind and juice. Halve the peeled prawns horizontally. If prawns are small leave them whole. Add them to the onion with a pinch of salt and mix.

Arrange salad leaves in a shallow salad bowl. Arrange the melon balls, avocado and mozzarella on top. Arrange the prawns and onions over the salad and drizzle with the lemon juice. Place the buckwheat groats in a dry frying pan over moderate heat and cook, stirring, until lightly toasted.

Garnish the salad with the buckwheat, mustard seeds, coriander leaves and a generous drizzle of olive oil.

Serves 4 as a starter or 2 as a main


Minestrone

This traditional Italian soup is perfect for lunch or a light dinner in the cooler months of the year. Make a big pot at the weekend and serve it for lunch or dinner a couple of times through the week, or take some to work to reheat in the microwave.

There are as many recipes for minestrone as there are for bolognese sauce, so to a certain extent you can just use what you have on hand. Onion, garlic, carrot, tomato and celery are the basic essentials, while the other vegetables are mostly optional. If you have it in the fridge add it, but don’t make a special trip to the shops just to buy one zucchini or one potato.

In the minestrone I made for the photo I didn’t add any potato, zucchini, leek or spinach/cabbage. I did add frozen peas and the kernels from a cob of fresh corn which needed using up. The spiral pasta is bigger than the size I usually use in minestrone, but it’s what I had in the pantry. Vegetarians can just leave out the bacon.

Served topped with grated Parmesan and some crusty bread or toast, it’s guaranteed to warm the cockles of your heart, as my Irish grandmother used to say. In other words, it will give you a warm fuzzy feeling.

2 Tbs olive oil
1-2 onions, peeled and diced
1 leek, trimmed and diced (optional)
3-4 carrots, peeled and diced
2-3 celery stalks, diced
2 cloves garlic, crushed
2-3 rashers bacon, diced (optional)
Kernels from 1 cob corn, or one zucchini, diced
2 cups frozen peas
2 cups shredded spinach or cabbage
1 large potato, peeled and diced (optional)
2 tsp dried oregano
2 tsp dried thyme
1 can cannellini beans, drained (or another bean)
2 x 400g cans tomatoes, whizzed in food processor
1 Tbs tomato paste
2 Tbs sherry (optional)
2 litres chicken or vegetable stock (or water + 2 stock cubes)
Salt and freshly ground black pepper, to taste
2-3 tsp sugar
200-250g small pasta
To serve:
Grated Parmesan cheese
Chopped fresh parsley

Heat olive oil in a large heavy-based saucepan, then add bacon and the diced vegetables, but not the frozen peas and spinach/cabbage. Cook, stirring often, for 10 minutes or until vegetables are al dente.

Add the rest of the ingredients, bring to the boil, then simmer until the pasta is cooked. Add more water as required and check for seasoning.

Serve the soup topped with grated Parmesan cheese and chopped parsley, with fresh bread or toast.

Keeps in the fridge for 4-5 days and improves in flavour. Add water as necessary on reheating, if the soup appears to be too thick.

About 8 servings

Baked Fish Fillets with Barley Stuffing

This recipe is adapted from one I found on the New Zealand website Mind Food, which is linked to the magazine of the same name.

Barley is an underrated ingredient, but we love its nutty texture which lends itself to all kinds of recipes where you might normally use rice.

The original recipe for these stuffed fish fillets (actually they’re sandwiched together rather than stuffed) uses two large snapper fillets and serves 4-6. My version is about half the recipe, using two smaller fillets, which serves 2-4, depending on appetites. If you can’t find snapper, any firm-fleshed fish fillets would work.

Having made this recipe I think you could get away without the string. Just sandwich the fillets together with the stuffing and pack the rest around.

2 fish fillets weighing about 250g each
2 Tbs extra virgin olive oil
1 Tbs lemon juice
Salt and freshly ground black pepper
Barley Stuffing:
½ cup pearl barley
2 Tbs pine nuts, lightly toasted
½ small onion (red or brown), finely chopped
½ preserved lemon, flesh discarded, rind chopped
2 tsp salted baby capers
50g feta cheese, crumbled
¼ cup chopped mint
¼ cup chopped parsley
Salt and freshly ground black pepper, to taste

For the stuffing, cook barley in boiling salted water for 30-40 minutes, or until tender. Drain well then mix with remaining ingredients.

Preheat oven to 200°C. Place one fish fillet on a baking tray lined with baking paper. Season on both sides then cover with the barley stuffing. Season the second fish fillet and arrange on top. Use kitchen string to tie the “sandwich” at 3-4cm intervals. Place any leftover barley stuffing around the fish package. Drizzle with 1 Tbs olive oil and lemon juice. Bake for 20 minutes, or until cooked through when tested with a fork or skewer.

Remove string and cut the fish downwards into between 2 and 4 servings. Drizzle the remaining tablespoon of olive oil around the fish. Serve with a green vegetable such as peas or beans.

Serves 3-4


Easy Peasy Salmon Sushi

Salmon sushi make a quick and tasty, not to mention healthy meal, especially if you make them using an ice cube tray. I made the rice cakes a bit too tall, so the ratio of rice to salmon wasn’t quite right. Next time I won’t fill the ice cube holes so full.

1 cup sushi rice
1¼ cups water
1-2 Tbs Mirin
1-2 Tbs Rice Wine vinegar
Salt and pepper to taste
2 salmon fillets, skin removed
To serve:
Black sesame seeds
Wasabi paste
Soy sauce
Pickled Ginger
Sliced avocado

Place rice and water in a saucepan with a good pinch of salt and bring to the boil. Cover and turn down the heat as low as possible. If you have a heat diffuser use it under the pan. Cook rice for 15 minutes, then turn off the heat and let it sit for 15 minutes to continue cooking in the steam.

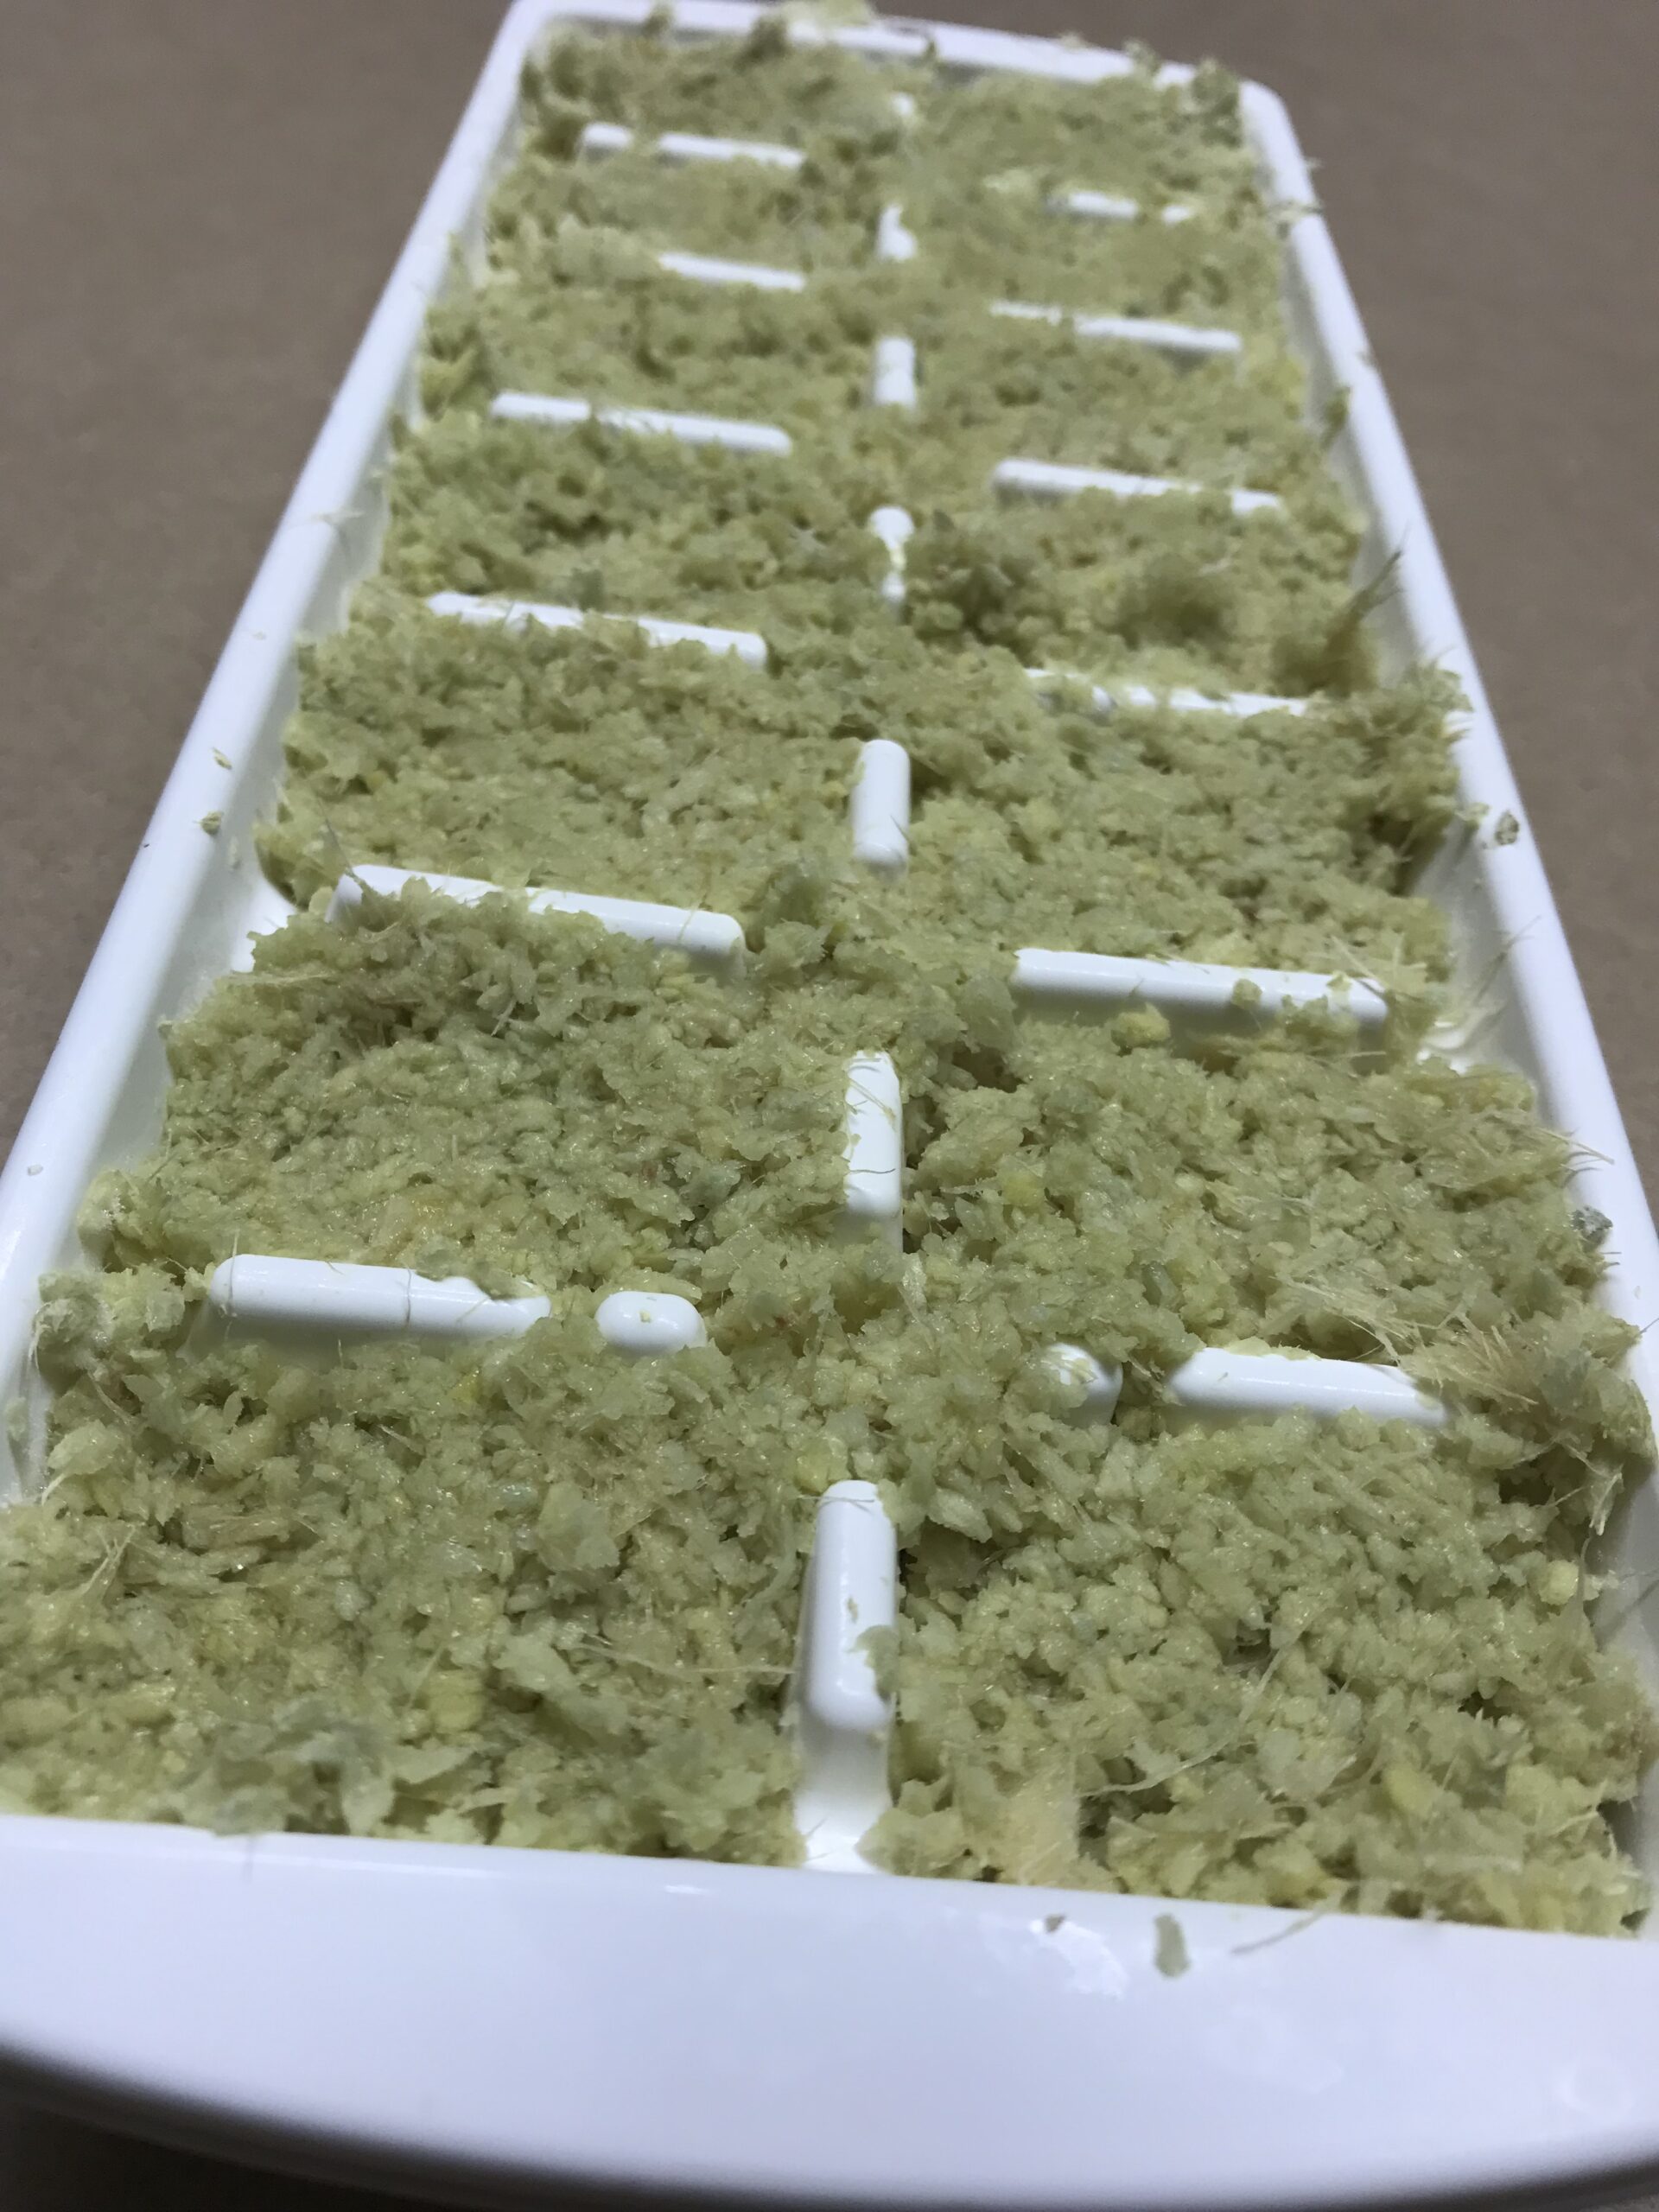
Oil an ice cube tray – I used a spray can. You may need more than one ice cube tray depending on how many holes it has. Fill with the rice, pushing down firmly, then refrigerate for a couple of hours or more.

To serve, tip out the rice cakes and arrange them on a serving tray. Thinly slice the salmon and drape a piece over each rice cake. Sprinkle with black sesame seeds.

Serve with wasabi paste, soy sauce, pickled ginger and sliced avocado.

Makes 16-20 sushi to serve 2-3 as a light meal or more as an aperitif.

Baked Gnocchi with Tomatoes, Basil and Cheese

This is a very quick and easy dish to feed your kids or grandkids, using a packet of bought gnocchi.

It can be thrown together in no time at all, but if you feel like making your own gnocchi, by all means do so. I made it with the packet variety when a couple of the grandkids were coming for dinner and it was really quite tasty.

500g packet potato gnocchi
2 Tbs olive oil
250g cherry tomatoes, halved (or larger tomatoes, quartered)
125g fresh mozzarella, cut into chunks, or use small bocconcini balls
1 cup fresh basil leaves
Salt and freshly ground black pepper
1/3 cup pine nuts (optional)
¾ cup cream
1 cup grated cheddar cheese

Preheat oven to 200°C. Place gnocchi in a bowl, cover with boiling water and leave to stand for 2-3 minutes. Drain well. Tip gnocchi into a shallow lasagne-type dish. Add the olive oil and seasoning and mix well. Tuck the tomatoes, mozzarella chunks or bocconcini balls and most of the basil in between the gnocchi. Scatter the pine nuts over, drizzle with the cream and sprinkle with the grated cheddar.

Bake for 20-30 minutes or until golden brown and cooked. Garnish with remaining basil and serve with a green salad.

Serves 4


Maltagliata of Beef with Balsamic Dressing

My friend Bettina recommended this delicious and quick recipe for beef from Melbourne-based chef Karen Martini.

I’ve tweaked it a little and reduced the ingredients to serve two people rather than four. It’s easy enough to double or triple to make more servings. Use any tender cut of beef.  I used one large T-bone steak which weighed just over 400g after I had removed the bone and excess fat. Any salad mixture will do, although I think the slightly bitter radicchio leaves make a difference.

It’s a fairly simple recipe which allows good quality beef, extra virgin olive oil and balsamic vinegar to shine.

About 6 big handfuls of mixed salad greens (rocket, baby spinach, lettuce, radicchio)
A handful of parsley leaves and a handful of basil leaves
About 400g steak cut into stir-fry slices (fillet, rump or sirloin)
2-3 Tbs plain flour
1 Tbs olive oil to fry the meat
Salt and freshly ground black pepper, to taste
2 Tbs balsamic vinegar
½ a small red onion, thinly sliced
125g fresh ricotta cheese
2 Tbs pine nuts, lightly toasted in a dry frying pan
1-2 Tbs extra virgin olive oil, extra
Salad Dressing:
2 Tbs balsamic vinegar
7 Tbs extra virgin olive oil
Salt and freshly ground black pepper, to taste

Mix steak with the flour, shaking off and discarding any excess. Prepare salad ingredients, cutting or breaking any large leaves to bite-size. Place salad dressing ingredients in a jar and shake.

Heat olive oil in a large heavy-based frying pan and add steak over medium heat. Separate the pieces and allow them to cook on one side, without moving, for 2 minutes. Turn the meat over and season. Add the onion and balsamic vinegar and continue to cook, swirling the pan, for another minute or so, until the onions have softened a bit.

Place salad ingredients and herbs in a bowl and add enough salad dressing to coat. You won’t need it all. Arrange salad on one large or two individual serving plates. Use tongs to arrange steak over the top, dot with blobs of ricotta and scatter over the pine nuts. Drizzle the extra virgin olive oil over and around the salad.

Serves 2


Spicy Roast Cauliflower with Chickpeas and Spinach

Woolworths supermarkets publish a free recipe magazine every month and I sometimes pick one up when I’m doing my weekly shopping. This recipe appealed to me, so I tore it out.

When I came to make it I couldn’t believe how complicated the method was. Using exactly the same ingredients, but a completely different method, I created this version which was delicious.

1 large cauliflower
Water
1 tsp vegetable or chicken stock powder (or ½ a stock cube)
25g butter
3 Tbs olive oil
2 Tbs Za’atar (spice mix)
2 tsp sumac
2 Tbs tomato paste
¼ cup red wine or cider vinegar
¼ cup currants
1-2 Tbs maple syrup, to taste
1 can chick peas, rinsed and drained
2 cups baby spinach
Salt and freshly ground black pepper

Cut the cauliflower into large florets and place them in a large mixing bowl. These are the cauliflower pieces you are going to roast. Put the remaining stalks, tiny florets, and leaves in a medium saucepan. Add enough water to barely cover and the stock cube.  Bring this to a full
boil, then simmer until tender.  Cool for 10 minutes, and then puree in a food processor or with a stick blender, adding the butter and salt and pepper to taste. If making ahead, scrape the puree back into the saucepan, so you can reheat it at serving time.

Preheat oven to 200°C. To the cauliflower florets add the olive oil, Za’atar, sumac, salt and pepper to taste and mix well. Line a large shallow baking tray with non-stick baking paper and spread cauliflower over in one layer. Bake for 20-30 minutes or until al dente and starting to brown on the edges.

While cauliflower is cooking place tomato paste, vinegar, currants, maple syrup, chickpeas and half a cup of water in a frying pan and cook, stirring often for 5 minutes or until reduced and thickened. Just before serving mix in the spinach and remove from the heat.

To serve, spread cauliflower purée (reheated if necessary) over one large serving plate or several individual plates. Top with the roasted cauliflower, then spoon over the chickpea mixture. If liked drizzle a little extra virgin olive oil around the plate.

Serves 6

Note: if you don’t have any Za’atar or sumac, make your own spice mixture with cumin, coriander and dried thyme or oregano. If you don’t have any currants, use sultanas, raisins or dried cherries.

Apricot and Almond Cake

Suzanne, a fellow-subscriber to a Facebook cooking site for fans of Yotam Ottolenghi, kindly sent me this recipe.

With a dollop of thick cream it doubled as a 90th birthday cake and dessert at a celebration lunch I hosted recently. The original recipe was made in a 7 inch square cake tin and as I used a 9 inch one, I increased all the ingredients. It worked out perfectly.

The recipe uses canned apricot halves (or peaches), but I am pretty sure you could use fresh apricots, peaches or plums. As the fruit contains quite a bit of moisture I would tend towards overcooking this cake, rather than undercooking. The more cooked edges were chewy and tastier than the middle of the cake.

This cake is gluten-free and if you want to make it dairy-free use margarine instead of a dairy spread.

250g icing sugar
5 eggs
250g soft spreadable butter (or margarine)
250g shelled almonds (blanched or un-blanched)
2 x 400g cans apricot (or peach) halves (or one 800g can)
½ cup flaked or slivered almonds
1 Tbs sugar
To serve:
Icing sugar (optional)
Thick cream or whipped cream

Preheat oven to 180°C. Grease and line a 9 inch (22cm) square cake pan. Place one piece of baking paper one way, covering opposite sides and the bottom and leaving a bit extending above the cake pan to make it easier to lift the cake out after cooking. Then use another rectangle of baking paper to cover the other two sides and the base. So the base will have two layers. Spray or brush with a little oil.

In a stand mixer or using electric hand held beaters whisk the eggs and sugar until thick, creamy and doubled in volume. Add the butter and continue mixing until combined. Place shelled almonds in food processor and process until fairly fine. Add almonds to the egg, sugar and butter mixture and carefully combine. Scrape batter into cake pan and smooth the top.

Thoroughly drain the apricots and pat them dry with paper towels then arrange over the top of the cake, pushing them in slightly. Mine were small and I used 5 halves each way, 25 in total, with 3-4 left over. Sprinkle flaked or slivered almonds over the cake and lastly the sugar.

Bake for 40-50 minutes or until well risen and golden brown. Test with a skewer in the middle – when cooked it should come out clean. Cook the cake for a bit longer rather than risk undercooking it in the middle.

When completely cool lift cake from the pan onto a serving plate using the paper, then carefully peel or cut it off. You may have to leave the paper on the bottom. If liked, dust a little icing sugar over the top. Serve as it is or with cream. This cake is best served the same day.

Serves about 12

Note: if. you want to make a smaller cake using a 7 inch (18-20cm) cake pan, use 4 eggs and 200g of icing sugar, spreadable butter and almonds instead of 250g.