We spent the Australia Day long weekend at Woodlands, the 115 acre rural property near Braidwood in New South Wales which we bought about 4 years ago.
The tussock and thistle hadn’t been sprayed for some years and gave the place a somewhat neglected look, but we could see the potential. Since then Matthew has been fighting an on-going battle with the weeds, but is gradually making progress. He has planted over 200 deciduous trees to contrast with the existing native eucalyptus which cover about 20% of the land. The rest is grazing land and in due course we plan to buy some cattle, though I can see them all becoming pets with names, which will make selling them something of a challenge. Matthew’s ambition to turn Woodlands into a park-like setting which lives up to its name certainly keeps him busy.
We were joined for the weekend by our son David, his wife Amy and her parents Ian and Bev. The purpose of the weekend was to build a pizza oven. Ian is a potter and has built kilns and pizza ovens, so he was in charge of proceedings. I took on my usual role as chief cook and bottle washer.
Each day the heavens opened at about six in the evening, with very heavy rain accompanied by spectacular thunder and lightening. Standing on the covered verandah as the water came down in sheets felt a bit like being on the set of the Titanic. Fortunately there was plenty of time each day to work on the oven and cover it with tarpaulin before it got wet. It’s now finished and looking great, as you can see from the photos.
Spectacular views across the valley towards the Great Dividing Range which forms part of the Tallaganda National Park and a very pretty fast-flowing creek on the western boundary makes Woodlands a very special place. It’s a 40 minute drive to Braidwood, the nearest town, which is a long way to go if you run out of milk. We recently had the excavators in to make a large pond with a small island in the middle. This is so the ducks and swans – which I’m hoping will turn up once the habitat is right – have somewhere to escape with their babies when Mr Fox comes looking for a quick lunch. I read somewhere that foxes can swim but don’t really like to. The pond is quickly becoming home to ducks and other birds, but so far no swans.
Two years ago we completed a stone house with all mod cons. It’s a privilege to to be able to soak up the peace and tranquility of such a remote spot, while enjoying the advantages of comfy beds with electric blankets (you really need them in winter when it can get down to minus 12), hot showers, an open fire and a dishwasher. Not to mention good food and a bottle or two of vino.
Our golden retriever Danske had the company of Hershey (chocolate lab) and Frankie (Staffordshire Terrior) for the weekend. They swam in the pond, chased kangaroos (without a hope of even getting close), rolled in mud and played rough games together. By the end of the weekend they were exhausted. Danske’s full name is Holger Danske, after a legendary medieval Danish warrior. He was acquired when we were living in Copenhagen, so he really is a Dane. Danske is petrified of thunderstorms and tries to hide behind people’s legs when he hears the scary rumbling. You would think being eight years old and having lived through quite a few storms he would be over it, but he’s not.
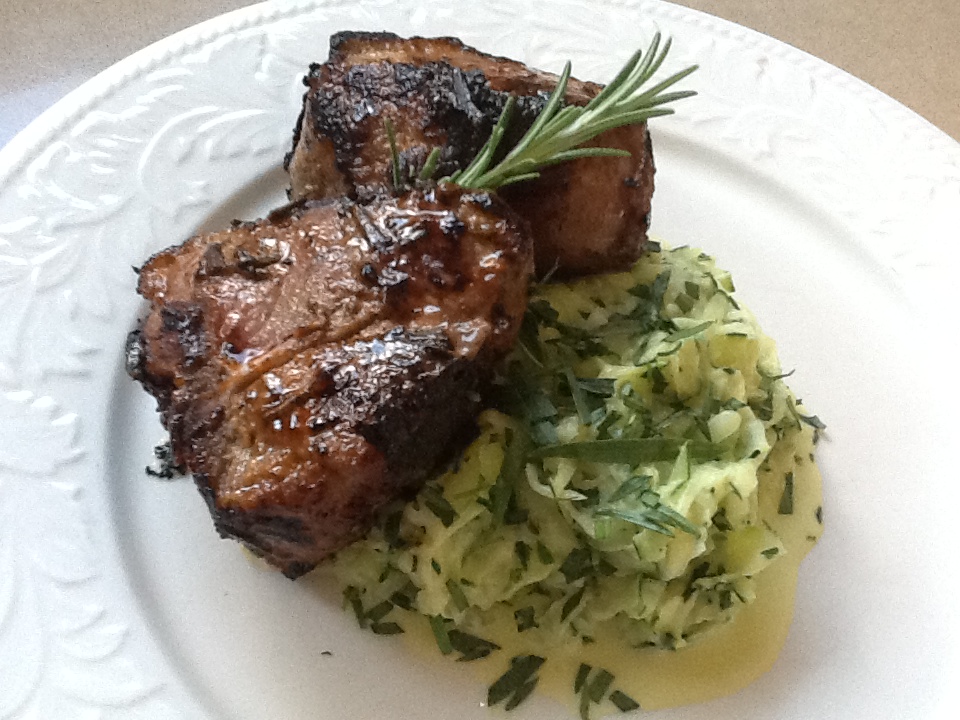
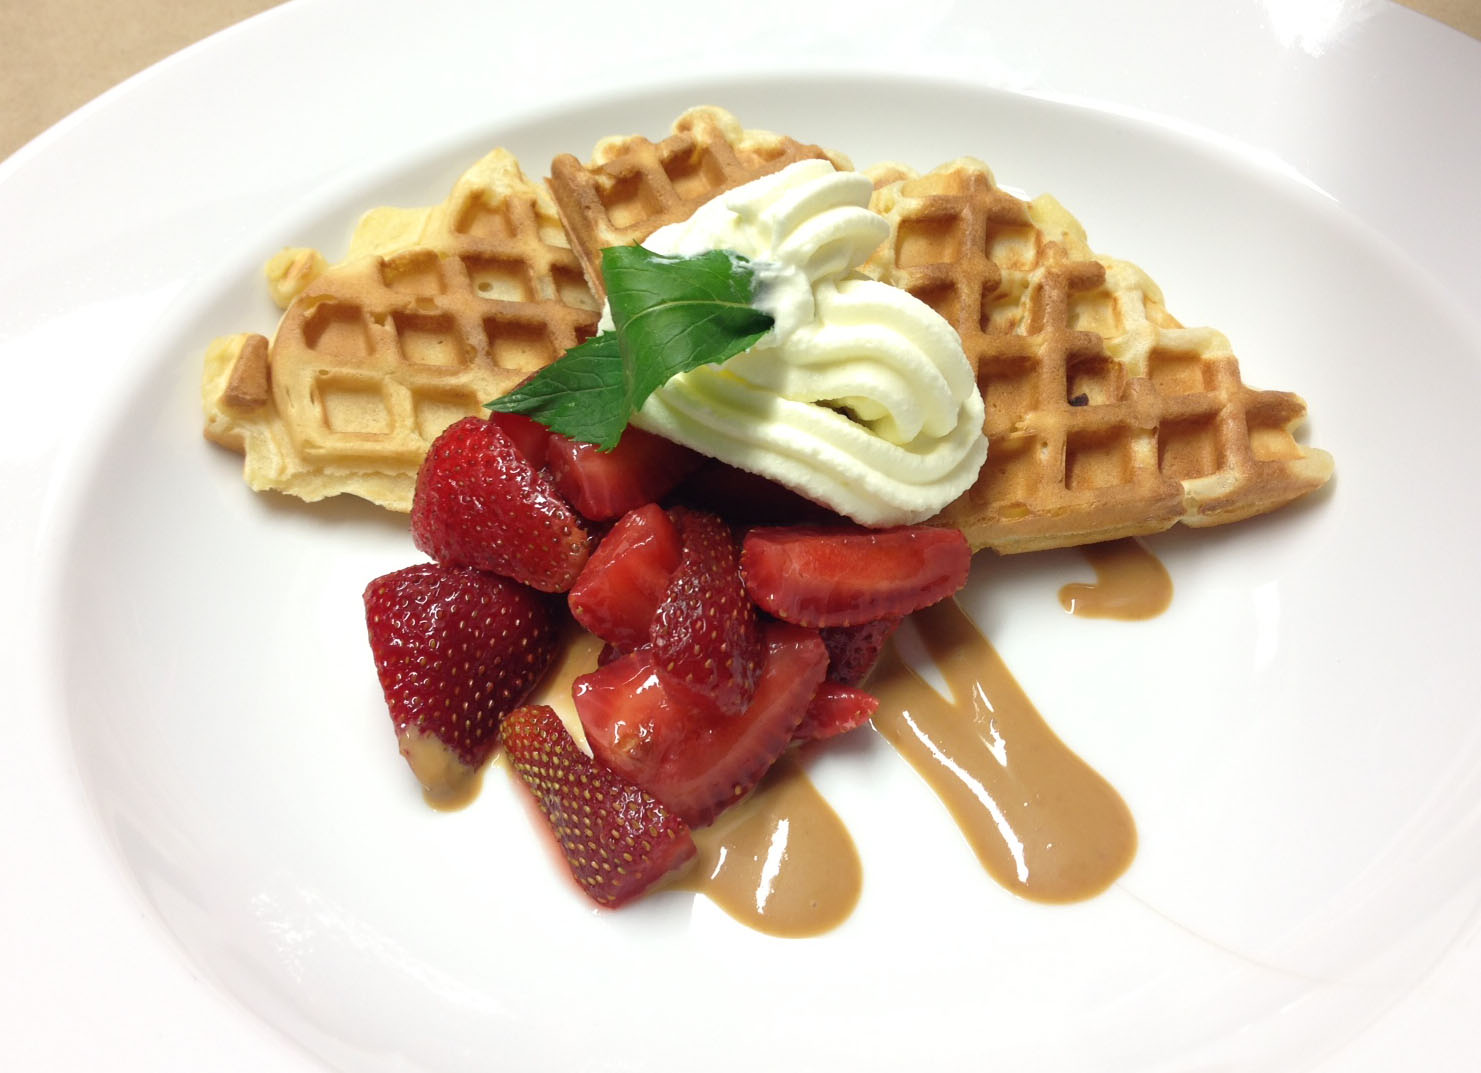
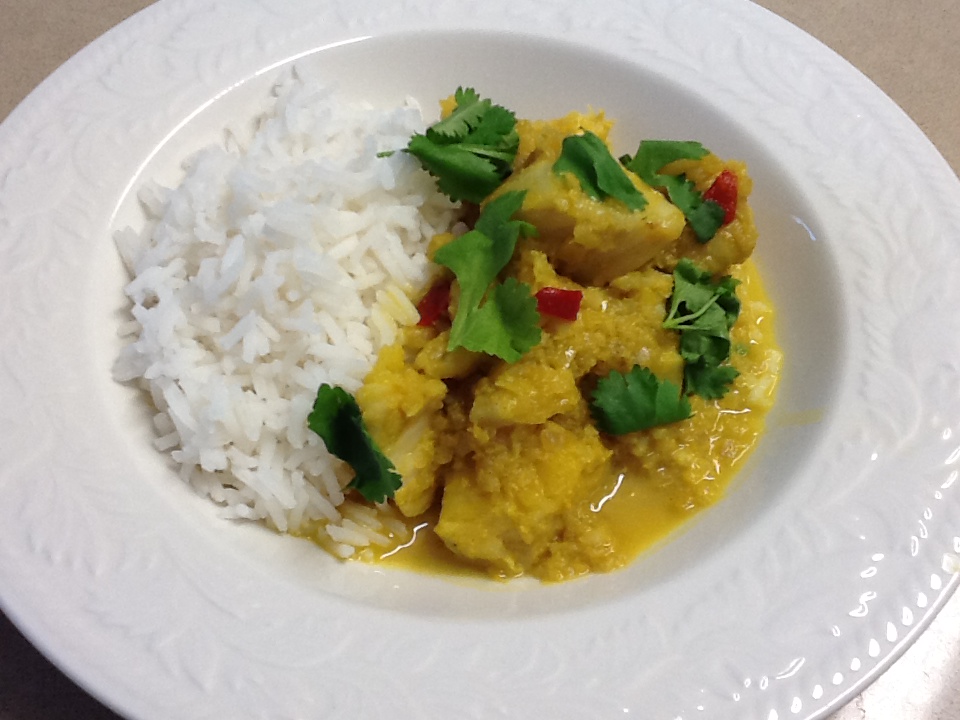
Peek gatherings are all about the food and I usually plan a combination old recipes and new ones I’ve been wanting to try. Lunch on the first day consisted of Gazpacho followed by some simple Bruscetta (see below). That evening we had rack of lamb with Mint Pesto accompanied by potatoes roasted in duck fat and Peas with Broad Beans and Artichokes (see below). This was followed by Italian Mince Pies with Panna Cotta and Berry Compote.
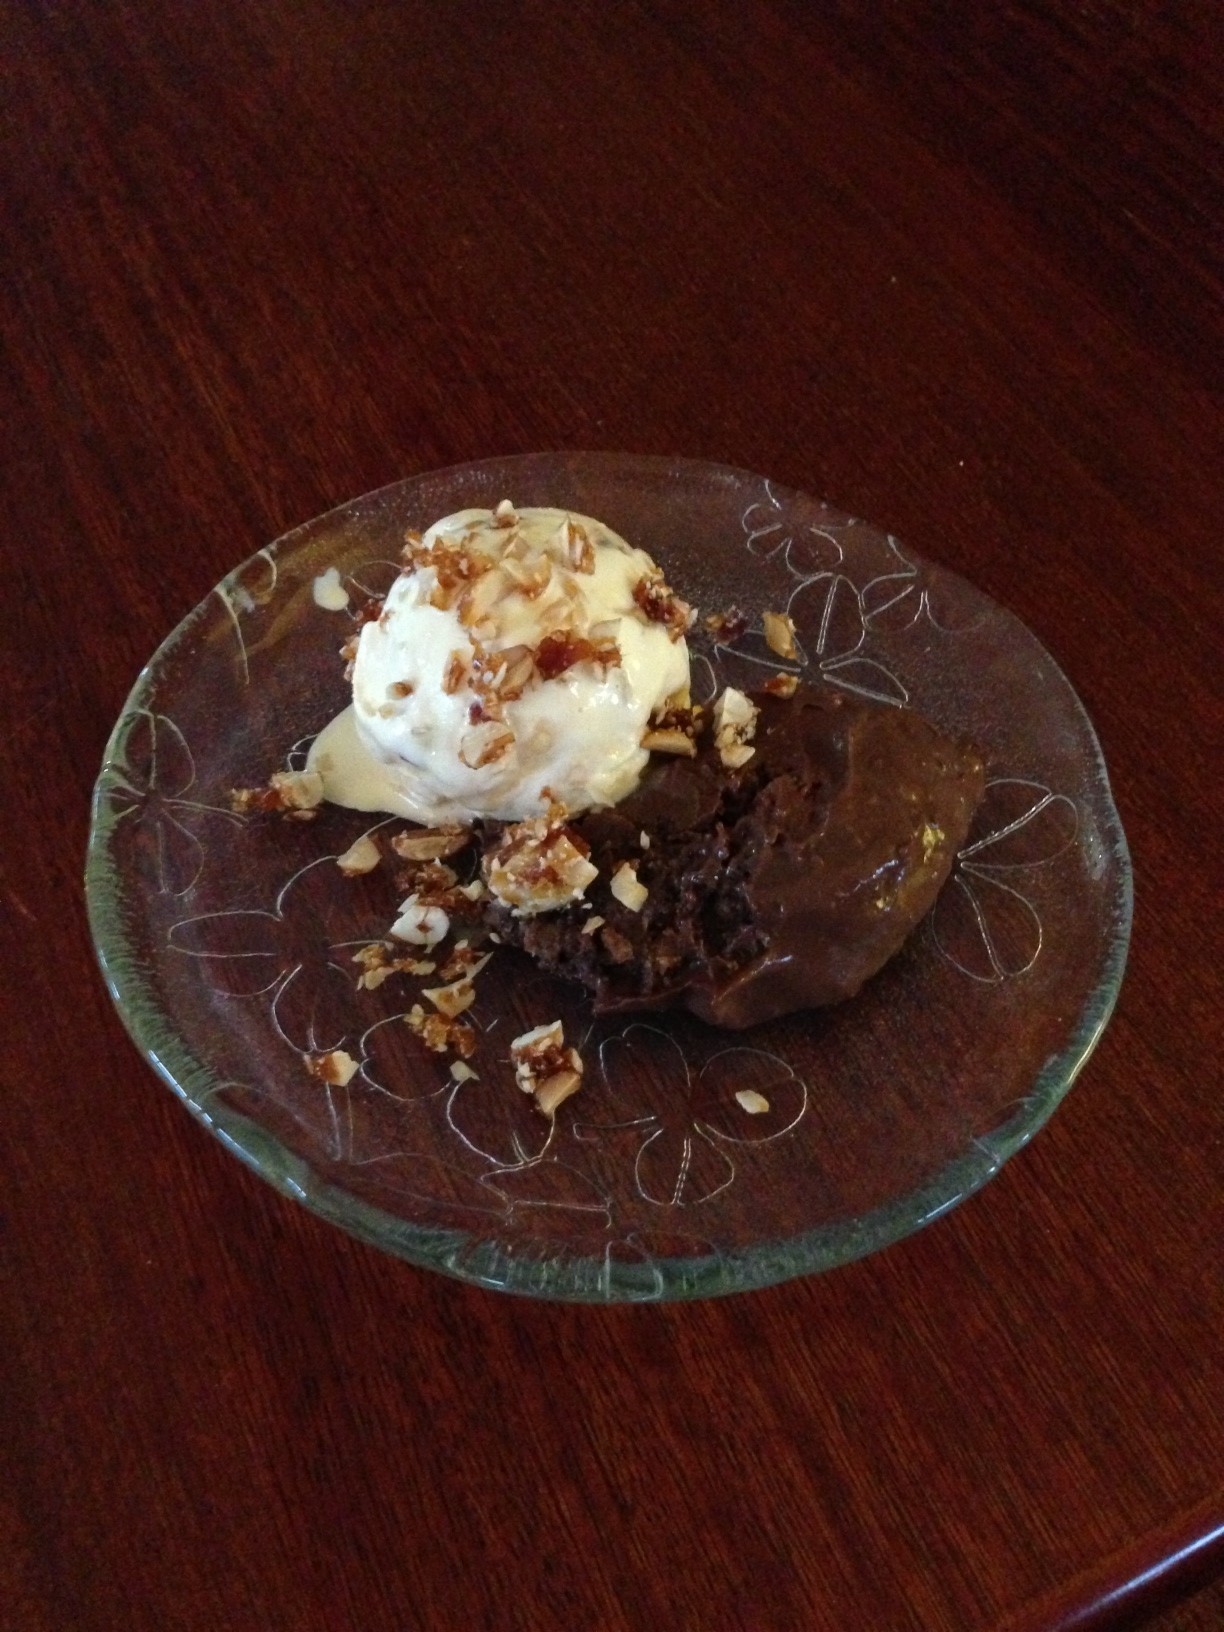
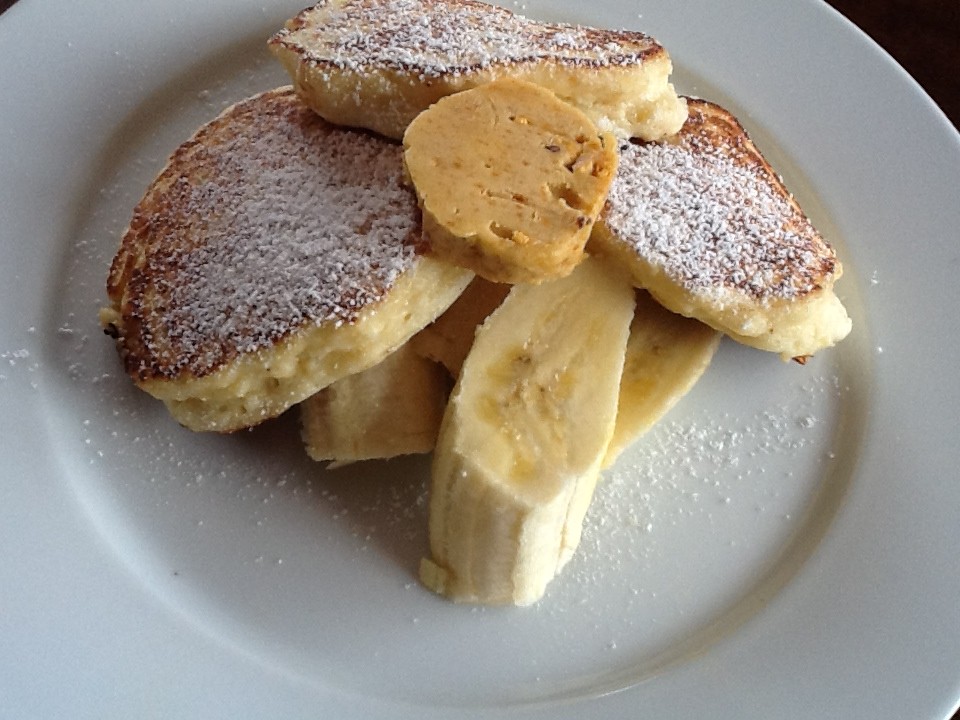
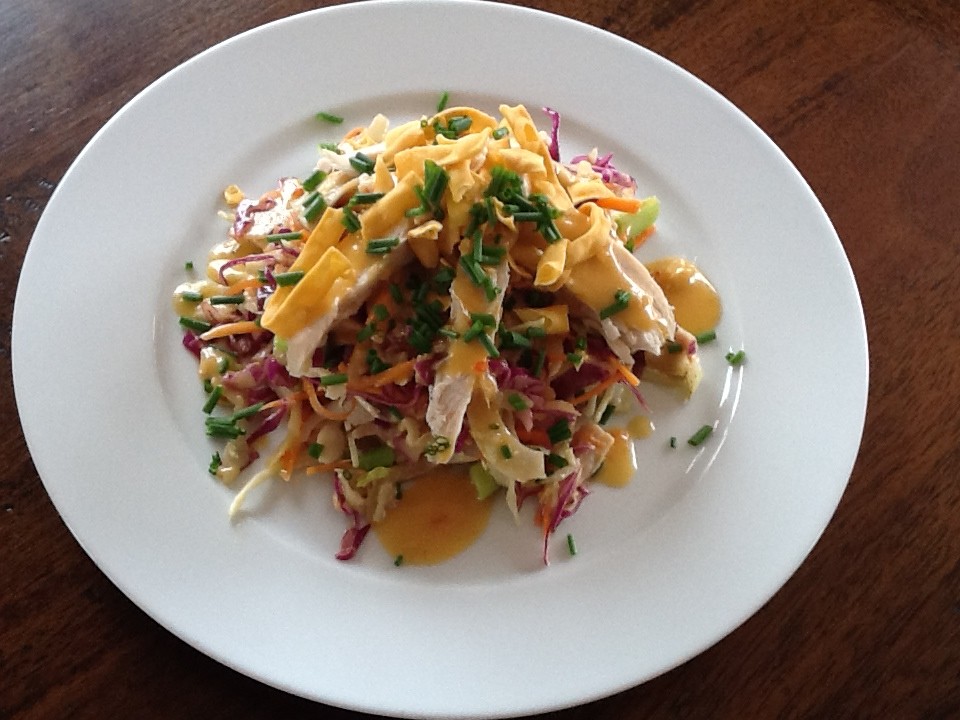
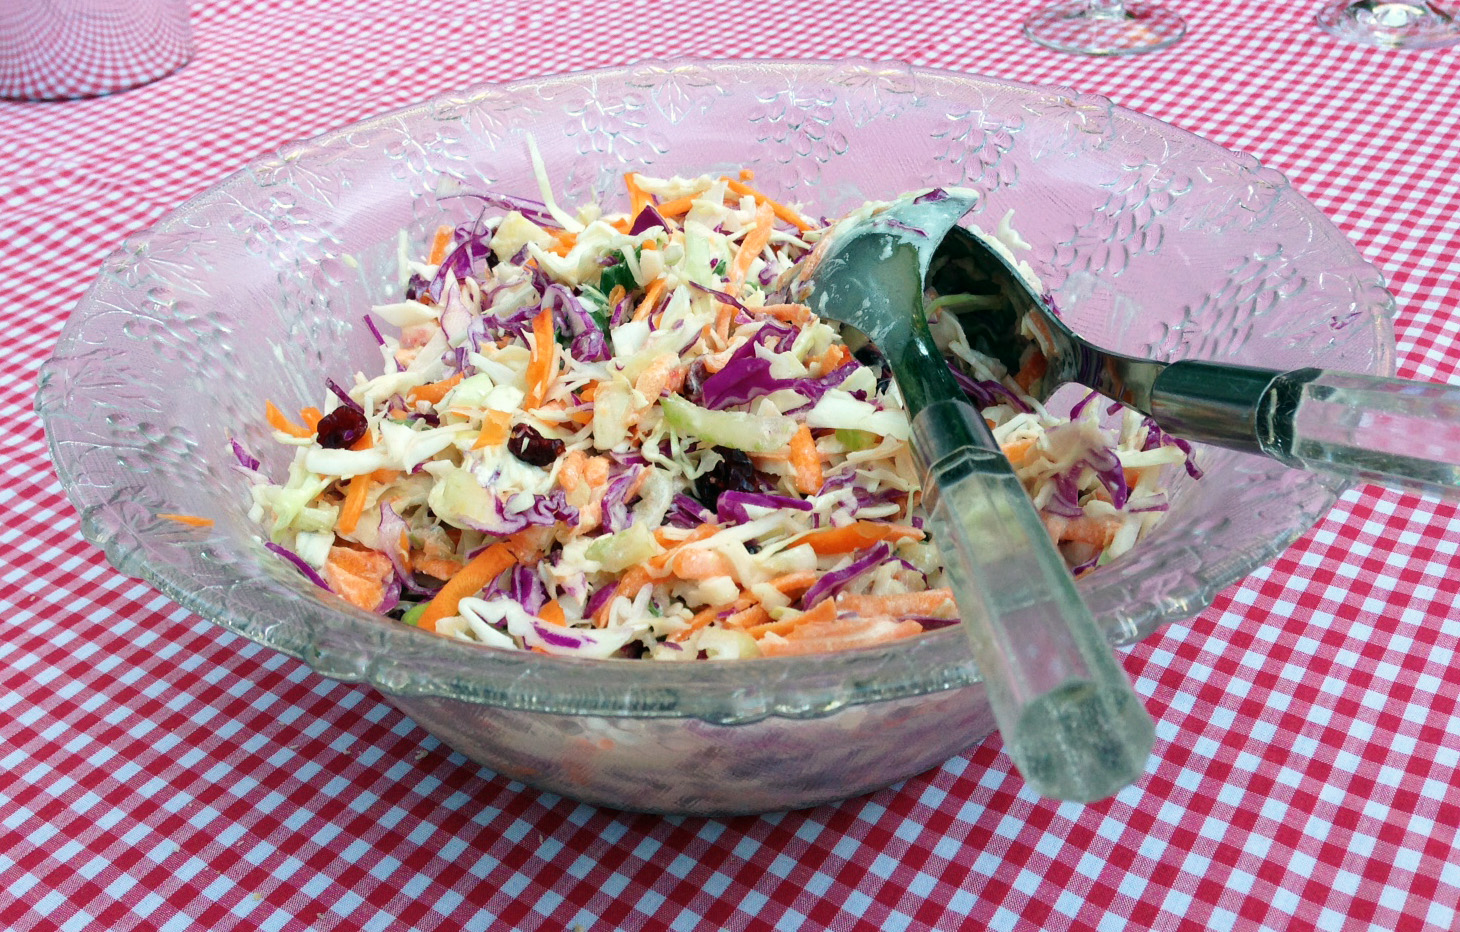
For breakfast next morning we had Ricotta Pancakes with Honeycomb Butter and lunch was Gravlax with Sweet Mustard Sauce, followed by a selection of cheeses and salads. That night I made Kylie Kwong’s Caramelized Pork Belly with Scallops and potatoes, dug up that afternoon from the veggie patch, followed by Rich Chocolate Mousse with Peanut Brittle Ice Cream (see below). Brunch next day before everyone headed home was fresh mango mixed with passionfruit served with a dollop thick Greek yoghurt and followed by Bill Granger’s Corn Fritters with Avocado Salsa. I will have to dig out some of my Dukan diet recipes this week!!
The cement on the pizza oven has to “cure” for a few weeks, but we are all looking forward to trying it out.
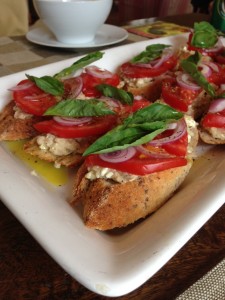
Bruscettas with White Beans, Feta and Tomato
 1 French loaf, sliced at an angle (plain, wholegrain, sourdough, whatever you prefer)
2 cloves garlic, crushed
Extra virgin olive oil
1 can cannellini beans, drained and rinsed
Half to 3/4 cup crumbled feta cheese
Salt and freshly ground black pepper, to taste
2-3 large tomatoes, sliced
1 red onion, thinly sliced
Fresh basil leaves
Mix one clove garlic with some olive oil. Brush both sides of bread slices then bake on a metal tray in a moderate oven for 10 mins or until golden. Meanwhile mash beans with a fork, adding feta, olive oil and a crushed clove of garlic. You can also add any leftover oil from brushing the bread. Season to taste.
Spread bean paste thickly on the bread slices and arrange on serving platter. Top with slices of tomato, onion and basil leaves. Drizzle with more oil.
Serves 6
Peas with Broad Beans and Artichokes
1 500g packet frozen peas
1 500g packed frozen broad beans
1 cup artichokes marinated in oil
25g butter or 1 Tbs Extra Virgin Olive Oil
Salt and freshly ground black pepper to taste
1 Tbs chopped fresh oregano or marjoram or 1 tsp dried
Cook peas in boiling salted water until tender. Drain and place in large frying pan. Cook broad beans in boiling salted water. Drain and when cool enough to handle slip off the outer skins. Add to frying pan with peas. Roughly chop artichokes and add to pan with remaining ingredients. Can be made ahead to this point. To serve heat the vegetables over moderate heat for a few minutes, stirring. When hot and butter has melted serve immediately.
Serves 6-8
Rich Chocolate Mousse with Peanut Brittle Ice Cream
 Mousse:
150g chocolate chip cookies, crushed
30g unsalted butter, melted
400ml thickened cream
400ml milk
6 egg yolks
1/3 cup caster sugar
400g dark/bitter chocolate, broken into squares
Ice Cream:
1/3 cup caster sugar
1 litre bought vanilla ice cream
2/3 cup salted roasted peanuts or cashew nuts
Mousse: Mix cookie crumbs with butter and tip into a square or oblong cake tin lined with baking paper. Size of tin is flexible – could be a small slice tin or loaf tin. If made of silicone there’s no need for the paper. Flatten the mixture evenly over the bottom with your hand. Alternatively divide crumbs between about 10 individual serving dishes or glasses – Martini glasses would look nice. Or use one large glass dish. Press crumbs down then chill while you make the mousse.
Heat cream and milk in a saucepan. In a bowl mix egg yolks with sugar, mix in some of the hot milk and cream, then tip mixture back into the saucepan. Continue to cook, stirring with a flat bottomed wooded spatula until almost boiling and mixture coats the back of the spoon. Remove from heat and add chocolate. Leave for a few minutes then stir briskly until thoroughly combined and chocolate has completely melted. Pour mousse into cake pan or individual dishes and chill overnight.
Ice Cream: Melt sugar in a pan over moderate heat. Cook to a golden caramel, swirling from time to time so it colours evenly. Add nuts and tip onto a sheet of foil. When cold peel off the foil and chop coarsely by hand. Remove ice cream from freezer to allow to soften a bit. Keep some praline to garnish then fold the rest into ice cream and return to freezer.
To serve, tip mousse out of tin and cut into slices or serve in the individual glasses. Top each serving with a ball of ice cream and sprinkle with reserved praline. Mousse in the photo wasn’t refrigerated overnight so it wasn’t firm enough to slice and had to be scooped. Still tasted good!
Serves 10

 250g butter at room temperature