Blood oranges are only in season for a short time and are hard to find in Canberra where I live. I’ve planted a tree and am waiting patiently to pick some fruit. Our back courtyard is very protected, providing a little mediterranean oasis. We have an olive tree, a lime, a lemon and a cumquat tree, all growing happily and producing lots of fruit.
Every year in late April we pick about 80 kilos of olives. These come from our tree and a friend’s tree. They don’t bother to harvest their olives and are happy for us to pick them. To be perfectly honest, Matthew picks the olives so I can’t claim any credit. He then takes them to a man who produces olive oil commercially. A couple of days later we pick up about seven one-litre bottles of extra virgin olive oil, which is truly amazing and keeps for at least a year. We only use it for dipping, drizzling and making salad dressings. It’s too good to cook with.
Recently I found some blood oranges in a shop called Harris Farm in Bowral, a couple of hours drive from Canberra, when I happened to be passing through. It’s a fabulous shop and I was delighted to learn they are opening a branch in Canberra near IKEA some time this year.
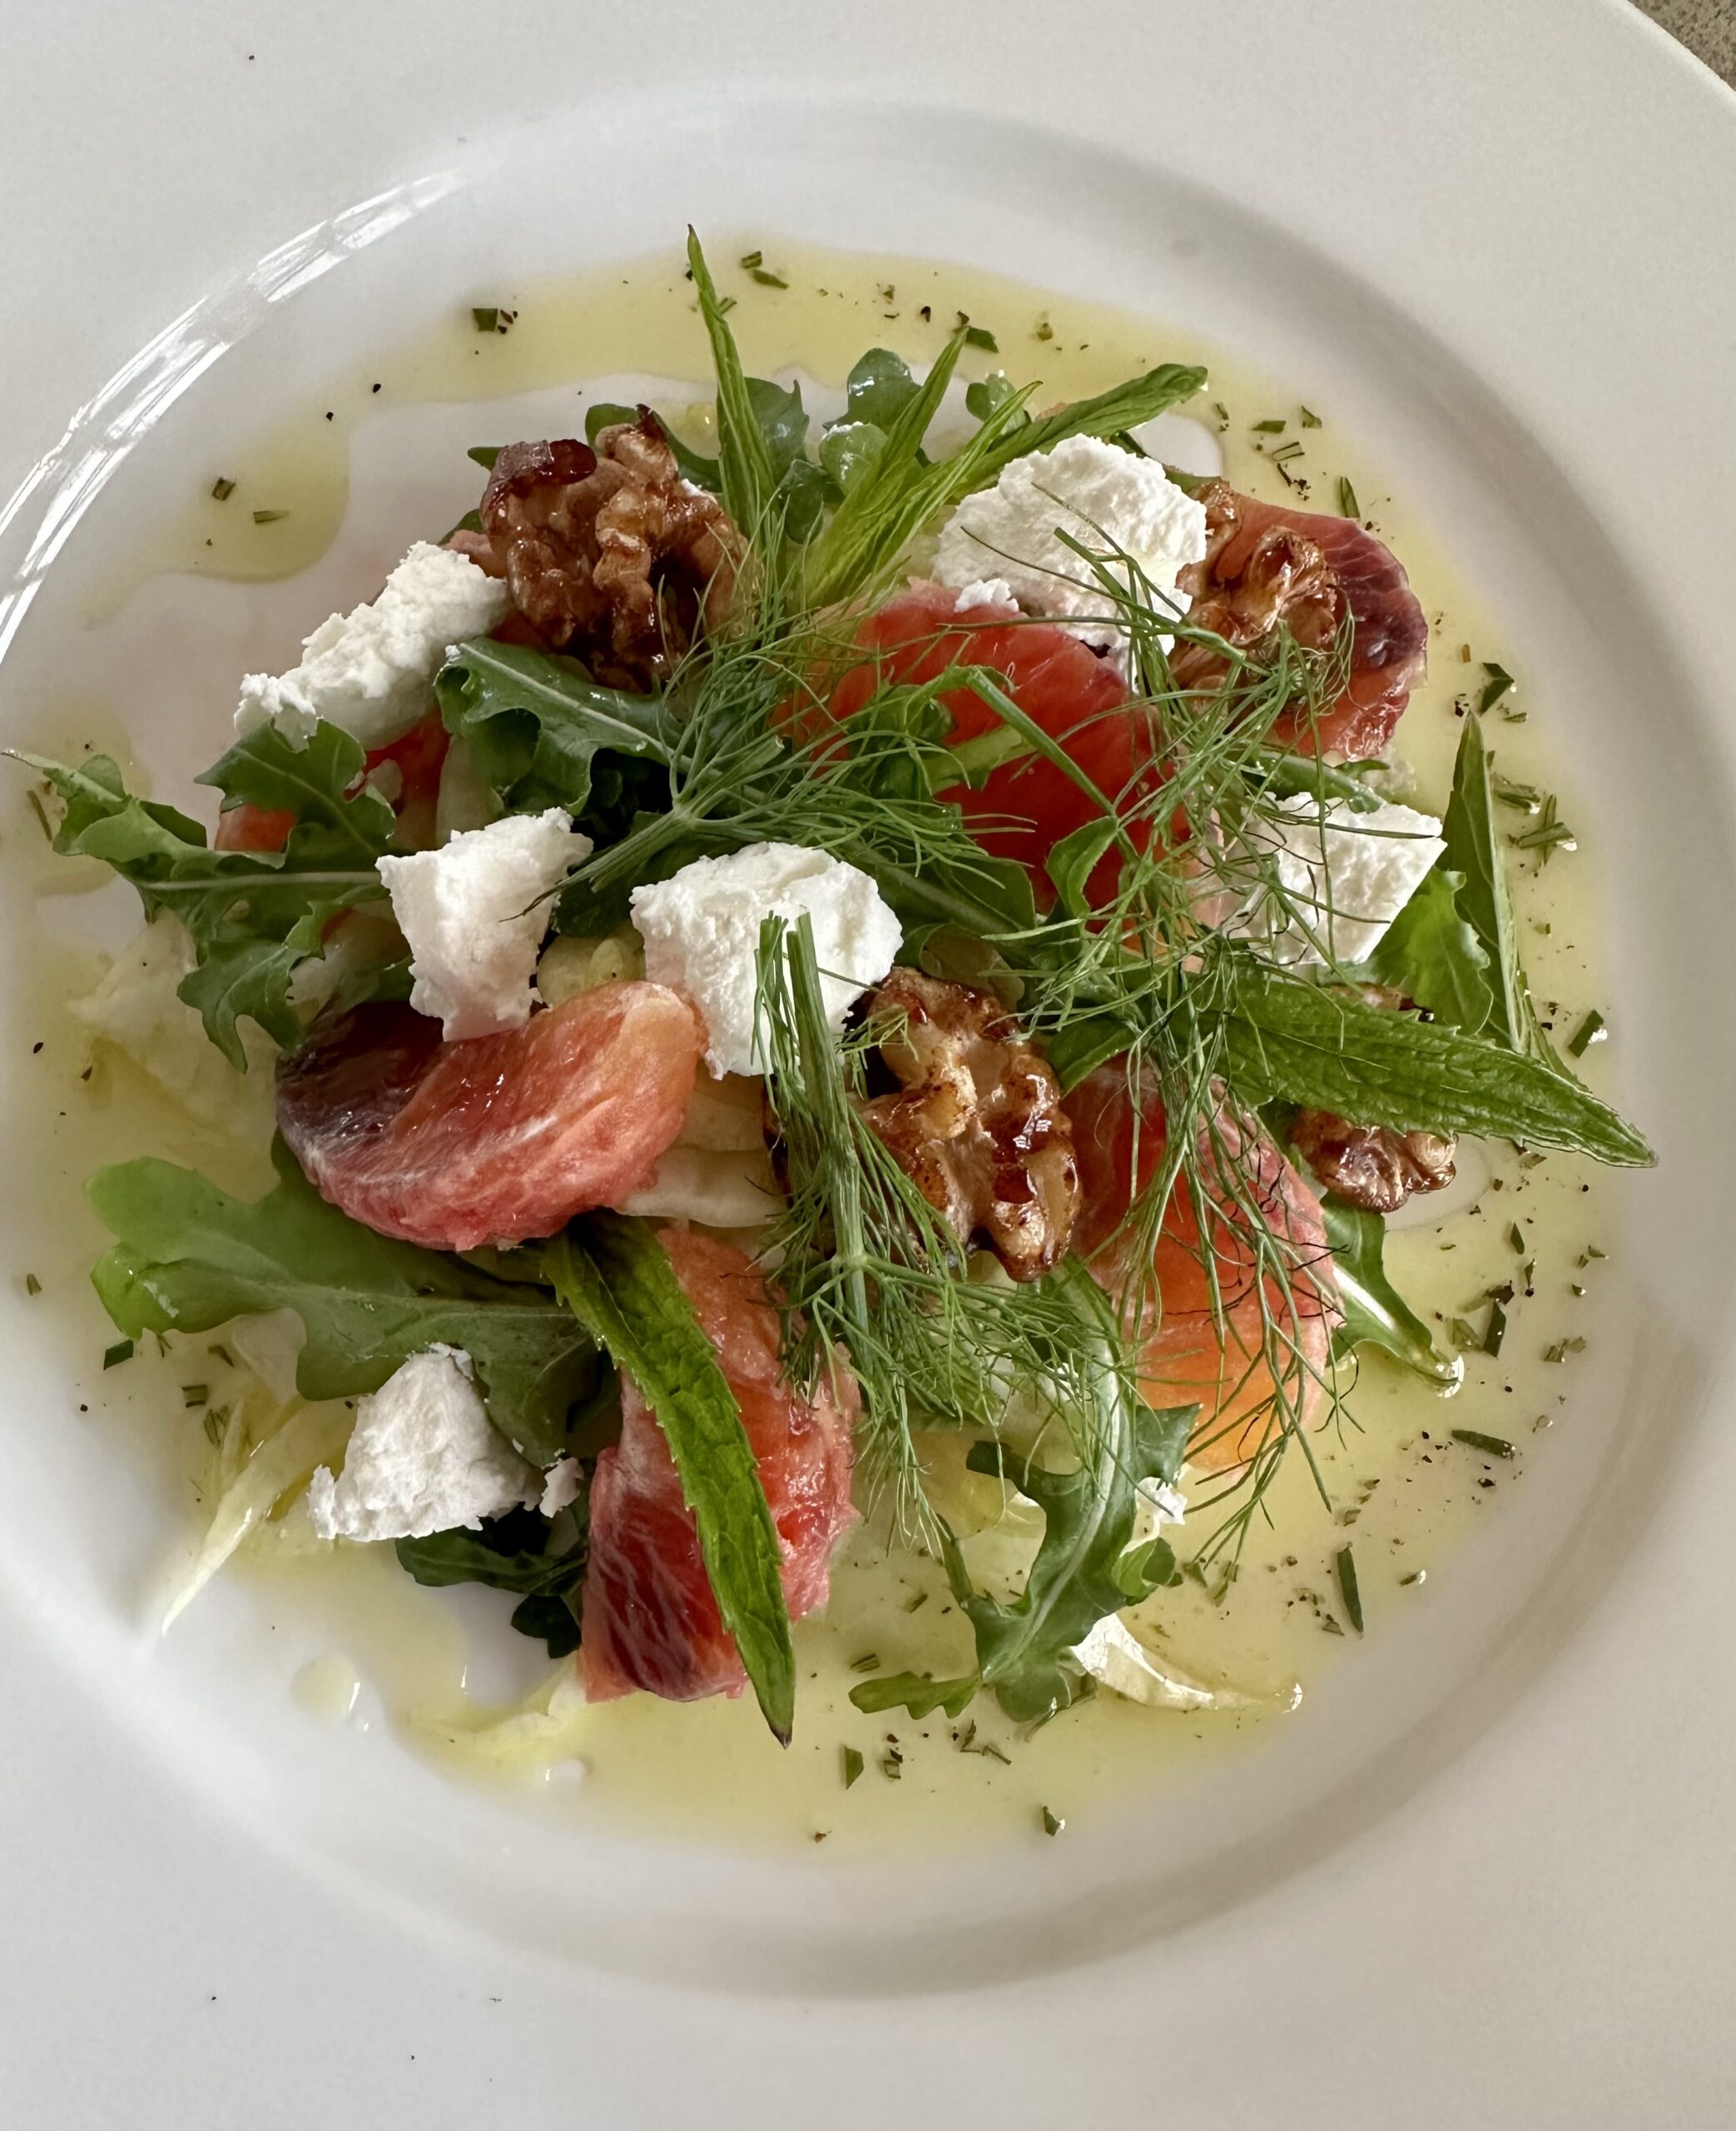
This recipe, pairing citrus with fennel, is light, summery and delicious. If you can’t find blood oranges use ordinary oranges or one pink grapefruit instead.
1 bulb fennel, thinly sliced with a mandoline (save a few fronds for garnish)
2 blood oranges, segments removed, peel and pith discarded
1 handful rocket leaves
100g goat cheese (or creamy feta)
Dressing:
1 Tbs white wine or cider vinegar
2 tsp orange or lemon juice
5 Tbs extra virgin olive oil
½ tsp honey or maple syrup
1 sprig rosemary, finely chopped
Garnish:
3 Tbs walnut or pecan halves
1-2 tsp maple syrup
A few mint leaves if available
Place all ingredients for dressing in a jar with a lid and shake vigorously. For the garnish, place nuts in a small frying pan and drizzle with the maple syrup. Cook over moderate heat, stirring, for a couple of minutes or until glazed then cool.
Mix fennel with some of the dressing then divide between two serving plates. Tuck some rocket leaves here and there, then arrange the orange segments and the cheese, broken into small pieces, on top. Garnish with the nuts and the mint leaves. Drizzle remaining dressing around the edge of the salad and arrange a couple of fennel fronds on top.
Serves 2