When I was growing up in the UK in the sixties, Mum used to make a chicken curry, using leftover chicken from the Sunday roast.
We were a family of five, so it’s hard to imagine there being any leftovers from one chicken, but meat was expensive and servings were small. Dad did the carving and gave everyone their modest ration. You were expected to fill up on veggies.
The Sunday roast rotated: chicken, beef, lamb, pork and back to chicken again and produced the protein element for Sunday, Monday and Tuesday’s main meal. After removing the chicken meat to make a curry on Monday, the carcass went into a pot with some sliced leeks, carrots, potatoes, onions and stock to make a hearty soup for Tuesday. Leftover lamb or beef was usually made into rissoles or a shepherd’s pie.
Mum’s curry wasn’t a proper Indian curry, but we didn’t know any better. Special events in our family were often celebrated in a Chinese restaurant rather than an Indian one. If you grew up in England you might recognise my Mum’s curry, because she wasn’t the only Mum who made it. Anglo-Indian recipes were passed around amongst the officer’s wives who had been posted to India and subsequently became quite popular in England during Victorian times. Grandpa was in the Army and although they were never posted to India one of her Army chums had taught Nana to make this curry, as well as an Anglo-Indian kedgeree which she passed on to Mum.
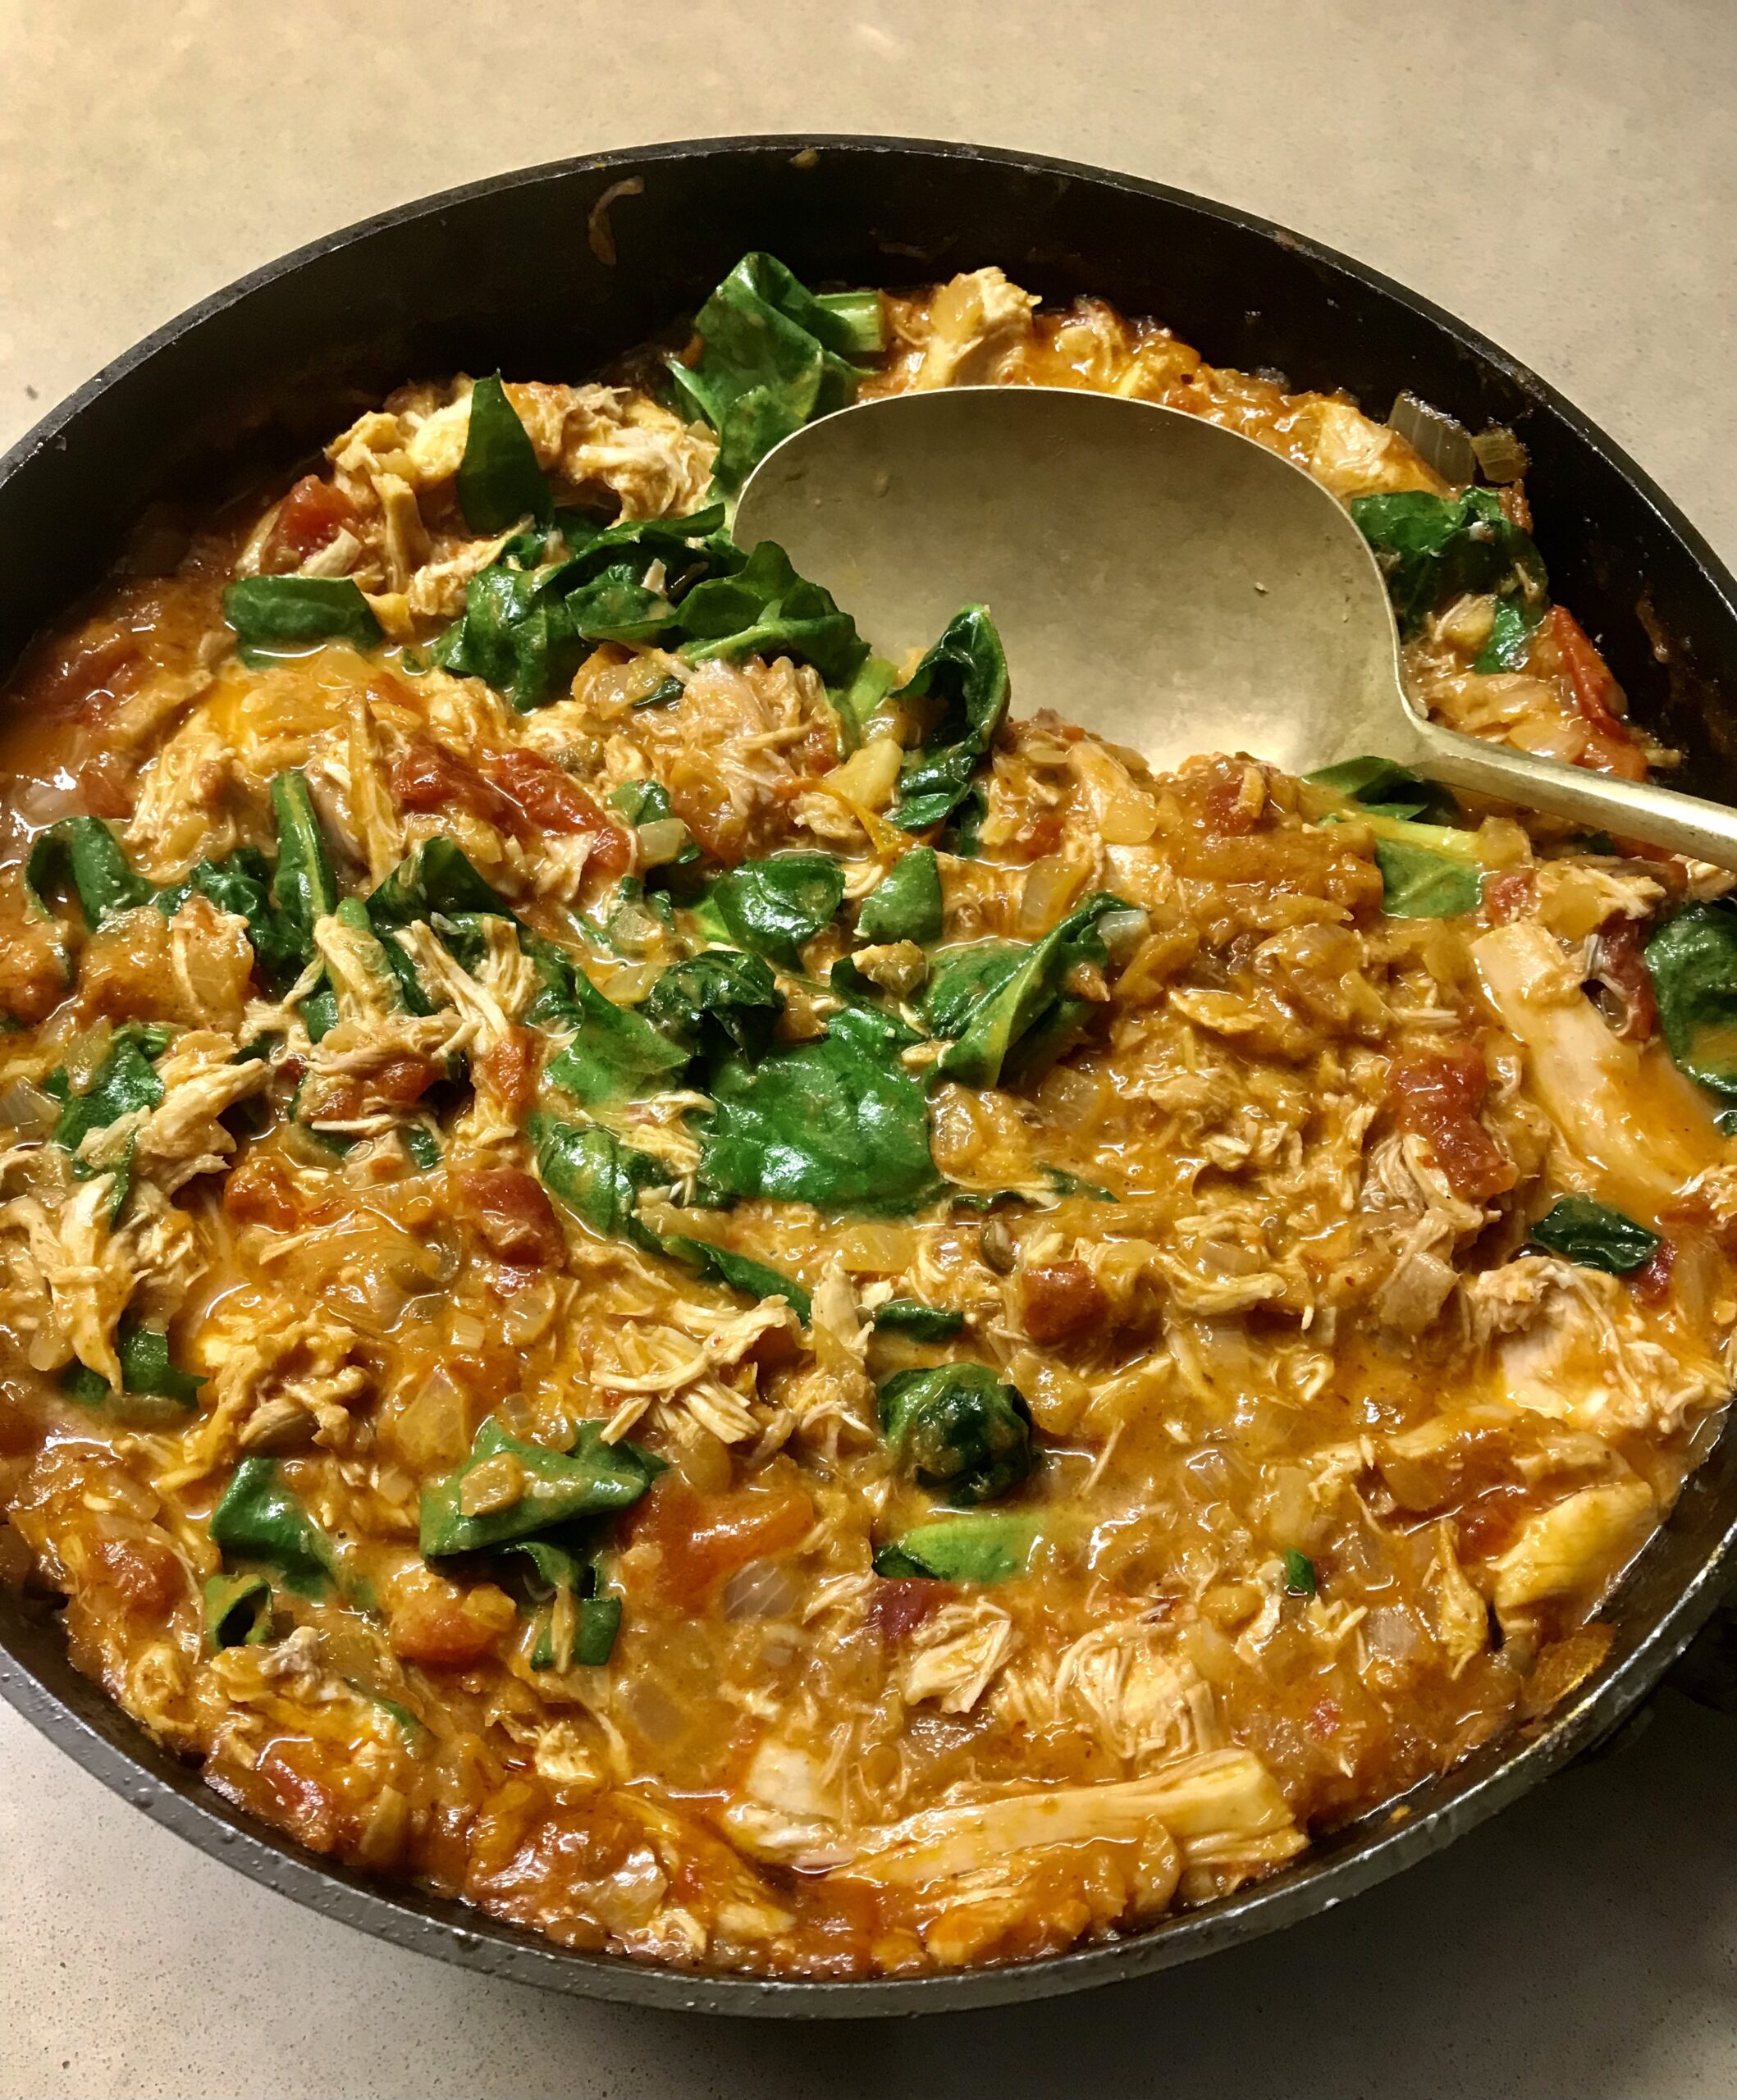
Occasionally I buy a cooked chicken at the supermarket when they’re half price and make Mum’s curry, with a few tweaks. She used curry powder, while I use curry paste. Fresh ginger, chillies, garlic and a few ground spices, plus a couple of handfuls of fresh spinach, mixed in just before serving, are also good additions. Mum sometimes added a handful of raisins or canned pineapple cubes, but I don’t.
Once the chicken has been added the curry only needs to heat through, so be careful not to overcook it. Side dishes are optional, but go down well, especially if the curry is a bit spicy. This will depend on how much curry paste you use and whether or not you add fresh chilli. Side dishes also make the curry go further. Mum was an expert at making a small amount of meat feed a family.
1 Tbs butter or ghee
1 Tbs vegetable oil
1 large onion, finely diced
3 cloves garlic
3-4 Tbs curry paste (your favourite or whatever you have on hand)
1 Tbs finely grated or chopped fresh ginger
1 fresh green chilli, finely chopped (optional)
1 tsp ground coriander
1 tsp ground cumin
1 400g can tomatoes, including juice, chopped
½ a 400g can coconut cream or milk (optional) or ½ cup water
1-2 tsp sugar, to taste
Salt and freshly ground black pepper, to taste
Leftover roast chicken, cut into bite-sized pieces (half a kilo or so)
A couple handfuls baby spinach leaves, or larger leaves, shredded (optional)
To serve:
Chopped fresh coriander
Side dishes:
Steamed rice
Fruit chutney
One or two sliced bananas mixed with shredded coconut
1 small diced cucumber mixed with plain yoghurt
Diced tomato and onion
Naan bread, warmed
Steam the rice and prepare the side dishes.
In a large deep frying pan heat the butter and oil and cook the onion and garlic, gently, until soft but not browned. Add the curry paste, ginger, chilli and ground spices and cook, stirring over low to moderate heat, for a couple of minutes. Add the tomatoes and coconut cream/milk or water and simmer the sauce for a few minutes while you wait for the rice to cook. Add sugar and seasoning to taste.
Add the chicken a couple of minutes before serving and, if using, the spinach. Don’t overcook – serve as soon as the chicken is heated through, adding a little more water if necessary. Garnish with coriander and serve with steamed rice, naan bread and side dishes. If you add the spinach you can skip the coriander if you like, as you have some greenery.
Serves 4-6
Note: adding about half a 400g can of coconut milk or cream to the sauce is optional, but it does make it nice and creamy. Freeze the unused half to use another time.