Banoffee Pie

Condensed milk which has been cooked until it turns into a thick caramel is called Dulce de Leche in South America.

It’s popular all over the region and sold commercially in large quantities. I first came across it when we were living in Chile, where they call it Manjar. Many traditional desserts in Chile use Manjar and some people eat it like jam on bread or toast. It’s sold in supermarkets in various sizes, in toughened plastic or foil bags.

Here in Australia Dulce de Leche is sold in a few specialty shops, but it’s easy, if a little time-consuming, to make. Place two unopened tins of condensed milk in a large saucepan, cover with water and boil for two to two and a half hours. The tins must be fully submerged at all times because, as Nigella Lawson says, you don’t want to have to clean caramel off the ceiling. Nigella suggests you boil a few tins at a time as they keep indefinitely until opened. But if you can’t be bothered making your own Dulce de Leche, buy Nestlé’s caramel filling instead. It’s not quite the same, but it’s close.

With biscuits and caramel in the store cupboard, cream in the fridge and a couple of bananas in the fruit bowl, you can whip up a Banoffee Pie in a jiffy.

Banoffee Pie200g Digestive biscuits (plain or chocolate coated)
60g unsalted butter, melted
1 tin Dulce de Leche (see method above) or use Nestlé’s Caramel Filling
½ cup cream
2 large bananas, sliced
300ml thickened or whipping cream
Chocolate to grate

Crush biscuits until fine in food processor. Mix with melted butter then spread evenly over the bottom of an 8″ (20cm) pie or flan dish and press down firmly. Chill in the fridge until set.

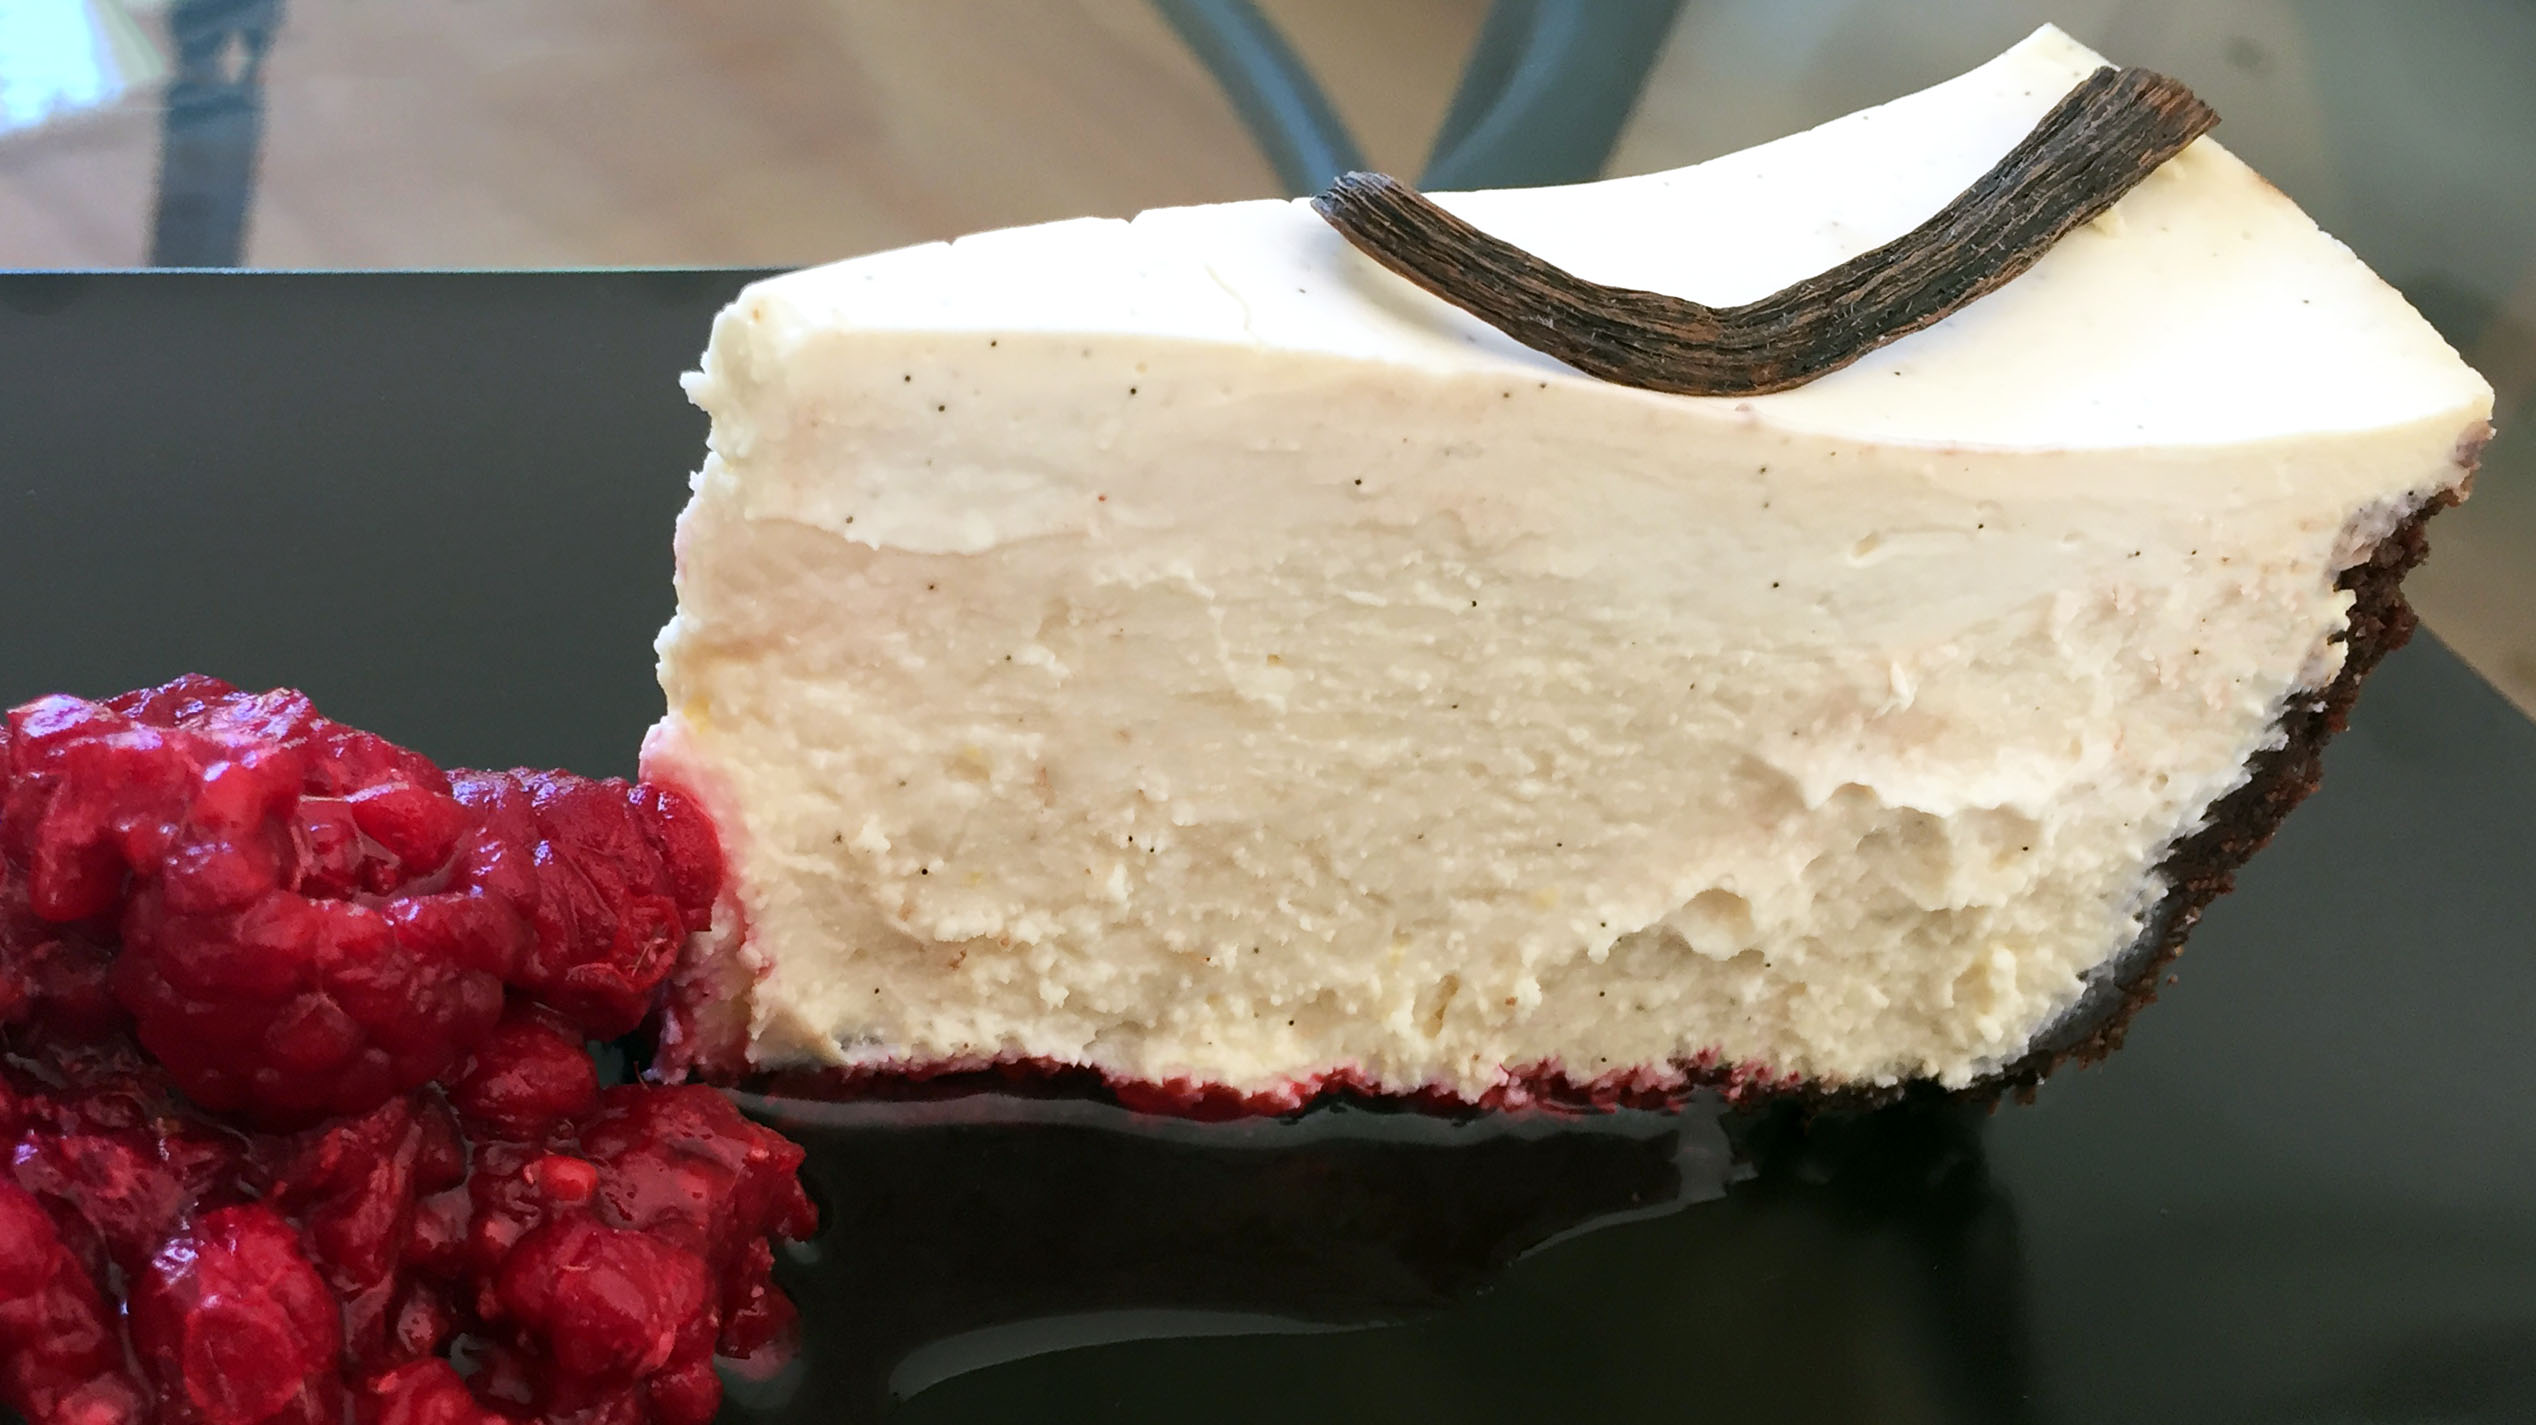
Heat Dulce de Leche or caramel filling in a small saucepan with the half cup of cream and whisk till smooth with a hand whisk. Allow to cool, then spread caramel over the biscuit base. Slice bananas and arrange over the caramel. Whip cream until soft peaks form then spread or dollop over the bananas. Decorate with grated chocolate. If preferred spread the whipped cream on first with the banana slices on top, then the chocolate, which is what I’ve done in the photo.

Serves 6-8

Alternative presentation: layer crumbs, caramel, whipped cream, banana and grated chocolate in short whisky tumblers. This free-form method makes it easy to halve the recipe which will serve 4-6, depending on size of the tumblers. If you want to cut down on fat and calories, just use biscuit crumbs in the bottom and leave out the butter.

Chicken and Zucchini Burgers with Creamy Sauce

This recipe is adapted from one by Israeli-born Yotam Ottolenghi. He uses turkey mince. I used chicken mince, but you could also use pork or pork and veal mince. He pan fries them, then finishes them off in the oven. I just pan fried them. I also increased the cumin and added the pine nuts for a bit of crunch.

This is a good way to get reluctant kids to eat some green vegetables. Any leftover burgers are delicious cold for lunch.

Chicken and Zucchini Burgers with Creamy Sauce500g minced chicken, turkey, pork or pork and veal
2 small or one large zucchini (courgette), coarsely grated
2 spring onions, finely sliced
1 egg
2 Tbs finely chopped mint
2 Tbs finely chopped coriander
2 cloves garlic, crushed
2 tsp ground cumin
2 Tbs pine nuts
1 tsp salt and freshly ground black pepper to taste
½ tsp cayenne pepper (optional)
Oil for frying
Sauce:
½ cup sour cream
½ cup thick Greek yoghurt
1 tsp grated lemon rind
1 Tbs lemon juice
1 clove garlic, crushed
1½ Tbs vegetable or olive oil
1 Tbs Sumac (see note below)
Salt and freshly ground black pepper to taste

Mix all ingredients for sauce in a small bowl and refrigerate until serving time. Mix all ingredients for burgers (not the oil) in a large bowl. Form into about 8 burgers or 16-18 large meatballs.

Heat some vegetable oil in a large frying pan and cook the burgers in two batches for 5-6 minutes each side, or until nicely browned and cooked through.

Serve burgers hot or cold with the sauce.

Serves 4

Note: Sumac is a Middle Eastern spice mix. If you don’t have any use 2 tsp dried cumin and 2 tsp dried coriander instead. If preferred use 1 cup yoghurt for the sauce and leave out the sour cream.

Duck with Cumquat Sauce

We have a cumquat bush which is 3-4 metres tall and very prolific. I love trying recipes which traditionally use oranges to see how they turn out with cumquats. This easy duck with orange sauce recipe which I’ve been making forever was easy to adapt and the result was delicious. The cumquats are just a garnish, so if you don’t have any you can leave them out.

Other cumquat recipes on Café Cat you might like to try are Cumquat, Date and Ginger Chutney and Cumquat and Almond Cake.

Duck with Cumquat Sauce1 whole duck
Salt and freshly ground black pepper
1 Tbs fresh rosemary leaves
zest of one orange
Orange Sauce:
¾ cup orange juice
¾ cup chicken stock
1 cup orange or cumquat marmalade
1 Tbs cornflour mixed with 2 Tbs water
1 Tbs lemon juice
Glazed cumquats:
16-20 whole cumquats
2 cups water
½ cup sugar

Preheat oven to 200°C. Prick duck all over with a fork. Place salt, pepper, rosemary and orange zest in food processor and pulverise. Rub this mixture all over and inside the duck. Roast for 40 mins per kilo and a bit longer if necessary. Duck should be nicely browned, crispy and cooked through.

While duck is cooking make the sauce. Place all ingredients in a saucepan and cook, stirring, until thickened. Leave aside.

While duck is cooking prepare the cumquats. Place in a saucepan with the water and simmer gently for 30 mins or until soft. Remove cumquats. Add sugar to liquid in pan and cook for 5 minutes to form a syrup. Return cumquats to the pan and continue to cook gently for 30 mins or until the fruit is glazed and syrup has reduced to about a quarter of a cup.

When duck is ready, remove it from the roasting pan and tip off all the fat, leaving just the caramelised juices. Mix the orange sauce into these pan drippings. Cut four servings from the duck (keep the rest to make soup) and return them to the pan. Spoon over some of the sauce and put back in the oven for 10-15 mins to glaze. Serve duck garnished with the glazed cumquats. Mashed potatoes go well with this.

Serves 4

Tomahawk Steak with Whisky-Glazed Carrots

Aldi had Tomahawk steaks on special so I bought one. Never having cooked this cut of beef before, I had a look on Google and learnt that it’s the rib-eye or Scotch fillet with the bone left in.

There was a fair amount of fat on the meat so I decided to cook it simply, on a very hot BBQ, in order to render most of it off and crisp up the rest. The result was delicious and very tender.

Whisky-Glazed Carrots – an old recipe from the 1970s – and some good mustard completed the meal. We didn’t feel the need for potatoes or other accoutrements which might have detracted from the simple combination of succulent savoury beef with sweet carrots.

After a week of abstinence, a very good bottle of Padthaway Shiraz we had been saving for a special occasion, or in this case no occasion at all, went down a treat.

Tomahawk Steak with Whisky-Glazed Carrots1 Tomahawk Steak weighing 1.3-1.5kg
Salt and freshly ground black pepper
500g carrots cut into sticks
Juice and grated rind 2 oranges
1 tsp sugar or honey
2 Tbs whisky
Salt and pepper to taste
1 Tbs butter
Snipped chives
To serve: your favourite mustard

Pre-heat BBQ on maximum for 10 minutes until very hot. For medium-rare, cook steak for 7-8 minutes each side, then a further 7-8 minutes each side. In addition, cook for about 5 minutes on the curved long side of the steak – you may need to hold it in place with some tongs while it cooks on this third side. Place on cutting board, cover loosely with foil and rest for 10-15 mins.

Meanwhile cook the carrots. Place in a saucepan with the orange rind and juice, sugar or honey, salt and pepper to taste. Cover and cook for 10 minutes or until almost cooked. Remove lid, add whisky and butter and cook for a few minutes more, shaking pan often, until liquid has been absorbed and carrots are just cooked and slightly glazed. Add chives and serve.

Slice meat downwards, across the grain and serve with mustard and carrots.

Serves 4-6

Prawn Bisque

I’m what you might call an abstemious cook, thanks to Scottish genes from my paternal grandmother and waste not want not mentality from my mother, who spent the Second World War in Malta with strict rationing.

Throwing away food – unless it’s gone off – is something I can’t bear to do. A few tired looking vegies in the bottom of the fridge? In no time you can convert them into a delicious cream of vegetable soup. My kids tell me they’ve inherited this trait, so they must be strong genes.

On the shelves of a Bed and Breakfast in rural France I once found a very old hand-written recipe book. I copied out lots of recipes, including this delicious soup made entirely from prawn heads and tails. I had always hated throwing out juicy prawn heads and tails and since acquiring this recipe I don’t have to.

Next time you buy some big fat prawns – cooked or raw – save the heads and tails in a bag in the freezer and keep adding to them. For every kilo of prawns you usually end up with about half a kilo of heads and tails. I know there are rules about refreezing things, but if you use very fresh prawns and get them into the freezer ASAP you won’t have a problem. I’ve been doing it for years and I’m still here to tell the tale. If you prefer not to freeze them, you can always make the bisque straight away, but I never seem to have enough prawn heads when I have time to cook. The recipe isn’t all that time-consuming, but it’s not something I would do on a mid-week evening while trying to prepare dinner.

When you have enough in the bag and a quiet weekend make this scrumptious soup. It will keep in the fridge for 2-3 days, or can be frozen for several months. Freeze it without the cream, then add the cream when you thaw and reheat it. Serve it as a soup or as a sauce for scallops, fish, prawns or prawn-filled wontons.

Once when we were living in Chile we had a power cut which lasted two days. The only thing Matthew was worried about was getting the Prawn Bisque across town and into the custody of a friend whose freezer was still working.

This is one of my top ten recipes of all times – just as good as a seafood bisque seved in a top French restaurant – so do try it.

Prawn BisqueBetween 1kg and 2kg prawn heads and tails
125g butter
1 clove garlic, crushed
2 onions, chopped
1 cup flour
2-3 carrots depending on size, chopped
2 sticks celery, chopped
750ml white wine
½ cup brandy
1 cup tomato paste
Water
Salt and freshly ground black pepper to taste
500ml cream
To serve:
Cream
Croutons (optional)
Chopped parsley

With a sharp knife or cleaver, cut prawn heads in two. Heat butter in a very large heavy-based saucepan, add prawn heads and tails and cook, stirring, for about 5 minutes. Add onions and garlic and continue to cook, stirring until softened. Add flour and stir for a minute or two until cooked. Add carrots, celery, wine, brandy, tomato paste, salt and pepper and enough water to cover everything.

Simmer covered for between one and one and a half hours, stirring often (especially the bottom so it doesn’t stick), pushing down with a potato masher to help remove all the flavour from the prawns and topping up the water level as it evaporates.

Strain soup through a sieve in batches, pressing down hard on solids then discarding them. To serve, reheat with cream. Adjust seasoning and serve garnished with a swirl of cream, croutons (if using – I didn’t in the photo) and chopped parsley.

Serves 12

Notes:

  • To make a hearty main course soup, serve in large bowls and add cubes of oven roasted pumpkin, whole cooked prawns, chopped parsley and croutons.
  • Before adding cream you can freeze this soup in one container. To serve, thaw, reheat with the cream and adjust seasoning.
  • You can also freeze it in several smaller plastic containers to use as a delicious sauce with home-made seafood ravioli, pan fried white fish or scallops.

Potato Cakes with Smoked Salmon & Sour Cream

Over the years I’ve tried lots of recipes for potato cakes, latkes and rostis. Some used whole eggs and plain flour, while others used none of the above. None of them have ever quite hit the mark.

This recipe, based on one from Yotam Ottolenghi, uses egg whites and cornflour and from now on I won’t use any other. He uses a combination of grated potatoes and parsnip, but I used all potatoes and they were delicious. Ottolenghi says to use Desiree potatoes. I used Kipflers from the garden, because that’s what I had, and they worked well.

Serve one potato cake as a starter, or two as a light lunch or supper, perhaps accompanied by a cucumber salad. The potato cakes are best served immediately, but you can make them ahead and reheat them briefly in a hot oven.

Potato Cakes with Smoked Salmon & Sour Cream500-600g peeled potatoes, coarsely grated
2 egg whites
1 rounded Tbs cornflour
1 tsp salt and freshly ground black pepper
2 Tbs snipped chives
40g butter
4 Tbs vegetable oil
To serve:
Smoked Salmon
Sour Cream
Chives

Tip grated potatoes onto a clean tea towel, draw in the sides and squeeze to remove as much moisture as possible. Place potatoes in a bowl with the egg whites, cornflour, salt, pepper and chives and mix well.

Heat half the butter and half the oil in a medium non-stick frying pan. Make three or four potato cakes using about 3 Tbs of mixture for each and about half the mixture. Cook for 2-4 mins each side over medium heat, or until golden brown and cooked through. Drain on paper towels and keep warm in a low oven. Add remaining butter and oil to the pan and make three or four more potato cakes.

Serve potato cakes (one or two per person) topped with smoked salmon, sour cream and a couple of chives.

Makes 6-8 potato cakes

Quick Apple Cake

My mother used to make a dessert called Eve’s Pudding which consisted of stewed apples topped with a simple butter cake mixture. It was a family favourite when I was growing up in England.

This quick and easy recipe combines the same simple ingredients, but instead of being underneath the cake the apples are mixed through. You can use oil or butter, although butter always gives a better flavour.

Served warm with cream or ice cream it’s sure to please the whole family. Any leftovers are perfect for school lunch boxes.

Quick Apple Cake2 eggs
1¾ cups sugar
½ cup vegetable oil or melted butter
2 cups Plain flour and 2 tsp baking powder
(Or 2 cups self-raising flour)
4 tsp cinnamon
6 eating apples, peeled and sliced

Pre-heat oven to 180ºC. In a mixing bowl beat the eggs with the sugar and oil or melted butter until well combined. Fold in the sifted plain flour and baking powder (or self-raising flour) and cinnamon. Add the apples and mix to coat thoroughly. Tip mixture into a well-greased 22cm (9 inch) cake pan or pudding dish. Bake for 50 mins or until well risen and golden and a toothpick inserted in the middle comes out clean.

Serve warm or cold

Serves 8-10

No-Knead No-Cross Buns

There’s nothing quite like home-made Hot Cross Buns for breakfast over the Easter weekend. Serve them warm straight from the oven. Or make them ahead and reheat them in a moderate oven. Or split and toast them.

In an attempt to save time I thought I would see if the No-Knead Bread recipe could be adapted to make Hot Cross Buns. You always need more yeast when you’re adding fruit, sugar, butter and eggs to a basic bread dough, so I doubled the amount used in the No Knead Bread recipe.

Putting crosses on the buns is a bit fiddly so I didn’t bother and can assure you they taste just as good without! Technically this recipe is not quick because you leave the dough to prove overnight. But the actual work involved takes no more than five or ten minutes.

Basic yeast mixture:
4 cups plain flour
½ tsp dry yeast unnamed
1½ cups warm water
1 tsp salt
Additions:
60g butter at room temp (I used spreadable butter)
1/3 cup sugar
1 tsp each ground cinnamon, mixed spice and ground ginger
1 egg, lightly beaten
½ cup sultanas
¼ cup dried mixed peel (optional) or use more sultanas
Extra flour as needed
Glaze:
1 Tbs cold water
1 Tbs sugar
1 tsp powdered gelatine

In a large mixing bowl mix all ingredients for yeast mixture with a spoon until well combined. Cover bowl with plastic wrap and leave overnight. Next day – whenever you are ready – mix butter, sugar, spices and egg into the yeast mixture, using electric beaters. Lastly mix in the fruit then tip mixture onto a well-floured surface.

Knead just enough to incorporate a bit more flour and get rid of excessive stickiness, then cut the dough into 12 even pieces. Form into balls and arrange in a greased 10-12″ (25+cm) round tin or use a rectangular one. Leave to rise for an hour or two, then bake in a pre-heated oven at 220ºC for 20 mins. Remove from the oven and brush with hot glaze while hot. Serve warm or toasted split in two and spread with butter.

Glaze: place cold water and sugar in a small bowl and sprinkle with gelatine. Zap in the microwave for 20 secs on High.

Makes 12 buns

Note: can be frozen, but best frozen without glaze then thawed, reheated in a moderate oven and brushed with glaze while hot. Made in this way the buns all stick together and need to be broken apart. If preferred bake them on a larger biscuit tray, leaving more space between each one, so they don’t stick together.

Spanish Tomato and Jamon Salad

This colourful salad is perfect for late summer entertaining, when tomatoes are at their best and you may have some in the garden.

Spanish Tomato and Jamon Salad250g baby tomatoes (preferably some red, some yellow)
4 slices Spanish Jamon or Prosciutto
About 16 black olives, stoned if preferred
½ red onion, thinly sliced
Basil and flat leaf parsley to garnish
Dressing:
1 Tbs sherry or red wine vinegar
2 Tbs Extra Virgin Olive Oil
1 small clove garlic, crushed
Salt and freshly ground black pepper to taste

Halve tomatoes and arrange on one shallow serving dish or 2 individual plates.

Cut jamon slices into about 4 pieces and arrange in between the tomatoes. Scatter with the olives and onion. Shake dressing ingredients in a jar and drizzle over. Garnish with the torn basil and parsley leaves and serve with crusty bread.

Serves 2 as a starter or 4 as a side dish

Variation: add some cubes of Spanish manchego cheese. Or feta or goat’s cheese.

Baked Cauliflower with Cheese and Bacon

If you’re a fan of cauliflower cheese you will like this one.

I’m sure it would be delicious as a side dish, but we’ve eaten it about four times in the past month as a main course, when we felt like a mainly vegetarian evening meal. For anyone following a low carb diet this ticks all the boxes.Baked Cauliflower with Cheese and Bacon

1 large cauliflower cut into flowerets
8 slices bacon, diced and fried in a little oil till starting to go crispy
6 Tbs snipped chives
½ cup mayonnaise (preferably home-made)
½ cup sour cream or cream
2 cups grated cheddar cheese

Preheat oven to 200°C. In a large pot boil water and cook cauliflower for about 8 minutes or until al dente, drain and let cool. In a large bowl combine sour cream, mayonnaise, half the bacon, half the chives and half the grated cheese. Lastly add the cauliflower and carefully mix well. Tip into a shallow greased lasagne-type dish and cover with remaining cheese and bacon. Can be made ahead to this point and kept refrigerated for up to 24 hours, covered.

Bake for 15-20 minutes until cheese is melted. Top with remaining chives and serve. If it has been refrigerated it will need to bake for about half an hour.

Serves 4-6