
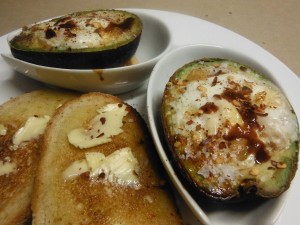
My cousin Ricky who lives in Los Angeles posted this recipe on Facebook and I couldn’t wait to try it. Eggs and avocados are two of my favourite ingredients, so what could be better than a recipe combining the two?
Choose large avocados and small eggs. Even so, you will need to scoop out a bit of avocado flesh after removing the stone to make the hole a bit bigger. This recipe will serve 4 as a starter or light breakfast or 2 as a more substantial lunch, brunch or supper.
 2 large ripe avocados
Hot sauce (Tabasco or another brand)
Salt flakes
Freshly ground black pepper
Chilli flakes (optional)
4 small eggs
Extra Virgin olive oil
4 slices sourdough bread, toasted and buttered
Pre-heat oven to 200°C. Halve avocados and removes stones plus a bit more flesh (about 1 Tbs) to increase the size of the hole. Place them in a greased baking dish where they fit snugly so they don’t fall over. I used four of those avocado serving dishes which were popular in the 70s and 80s and which you often see in second hand shops. Grease them well.
Season avocado halves with salt and pepper and drizzle a little hot sauce into the cavity. Break an egg into each then drizzle with a little olive oil Bake for 10-15 mins or until eggs are done to your liking – whites set and eggs still a bit soft is ideal. Remove from the oven, season with more salt, pepper, hot sauce and chilli flakes, to taste. Serve with buttered toast.
Serves 2-4
Variations: serve with a dollop of pesto on top. Serve with some crispy bacon.
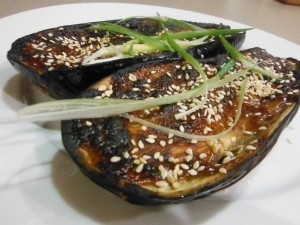 2 eggplants (aubergines)

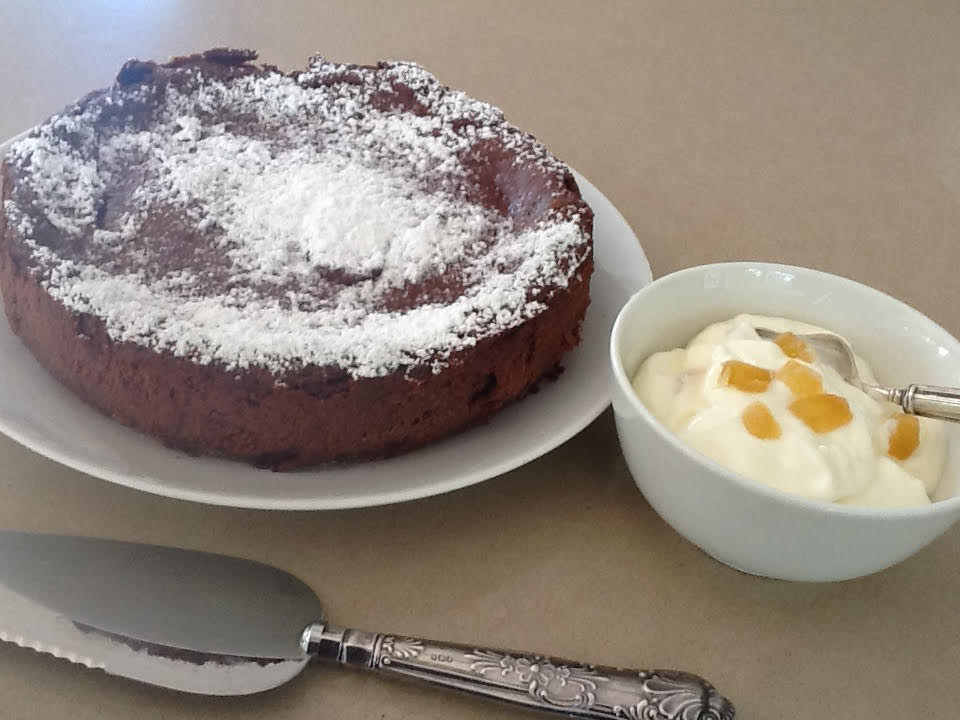 With a food processor this dessert is quick to make. Really chocolatey and not too sweet.
 250g puff pastry, either ready-rolled or in a block
 1 Tbs oil
 4 fresh figs
 6 small ripe pears