With less than a week to go till Christmas everyone is busy shopping and cooking. A week later many of us will be at it again for New Year’s Eve. Here are some links to Café Cat recipes to help you through the holiday season.
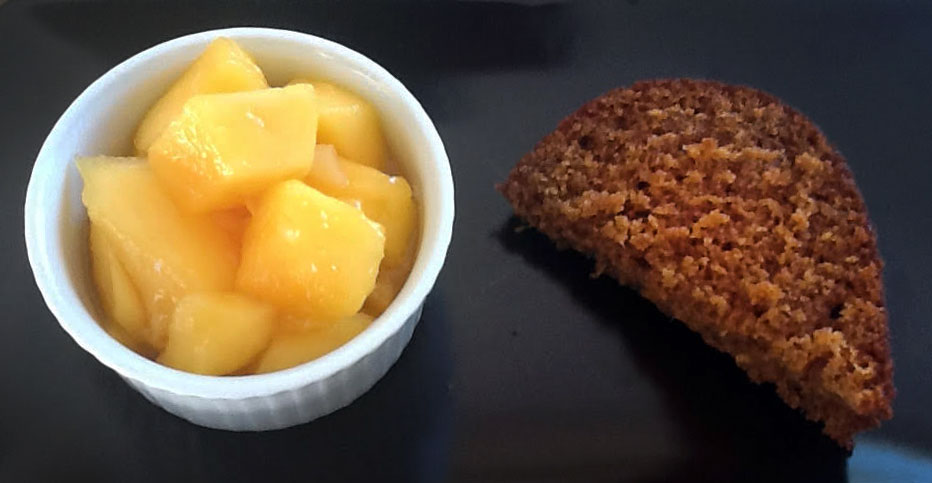
If you want to make your own Christmas cake or pudding it’s not too late – just give it a good drizzle of brandy a couple of days before serving and it will be nice and moist. And this cheat’s recipe for Quick Individual Christmas puds, made with crumbled shop-bought cake, is a sure winner for end of year gatherings.
Sausage rolls and mince pies are traditional Christmas finger foods which can be baked ahead until just slightly under-done, then frozen (or refrigerated for a day or two) and reheated for a few minutes on the day.
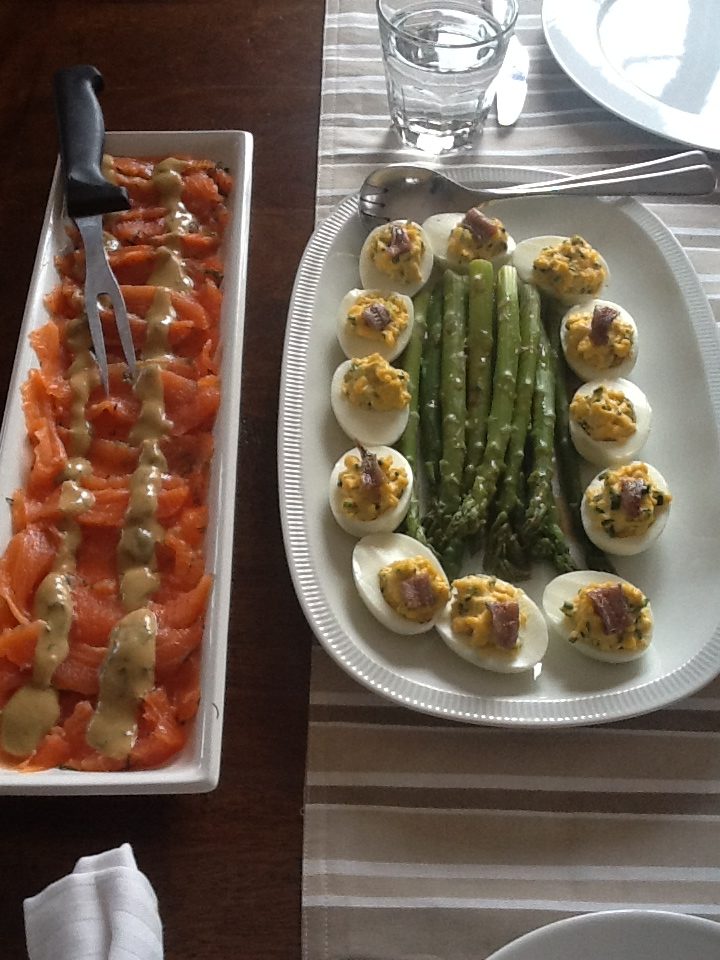
At this time of year I always make a Glazed Ham and some Gravlax with Sweet Mustard Sauce because they both slice into a lot of servings and last for several meals. Cook the ham a bit longer than the one shown in the photo, so the glaze goes a darker brown. I must have been in a rush that day! Make double the Sweet Mustard Sauce recipe and keep it in a jar in the fridge. You’ll find it goes well with ham as well as Gravlax or Smoked Salmon. Here you can see a platter of sliced Gravlax next to some cooked asparagus surrounded by good old-fashioned devilled eggs, garnished with a small piece of anchovy.
Here are some more ideas for a cold buffet:
- Spinach Salad with Red Dressing
- Cucumber Salad with Dill
- Curried Chicken Salad (which works well with leftover chicken or turkey)
And a few cold starters for a sit down meal:
- Japanese Raw Fish Salad
- Smoked Salmon with Mango and Avocado
- Lobster, Mango and Avocado Salad
- Salmon Tartare with Orange and Passionfruit
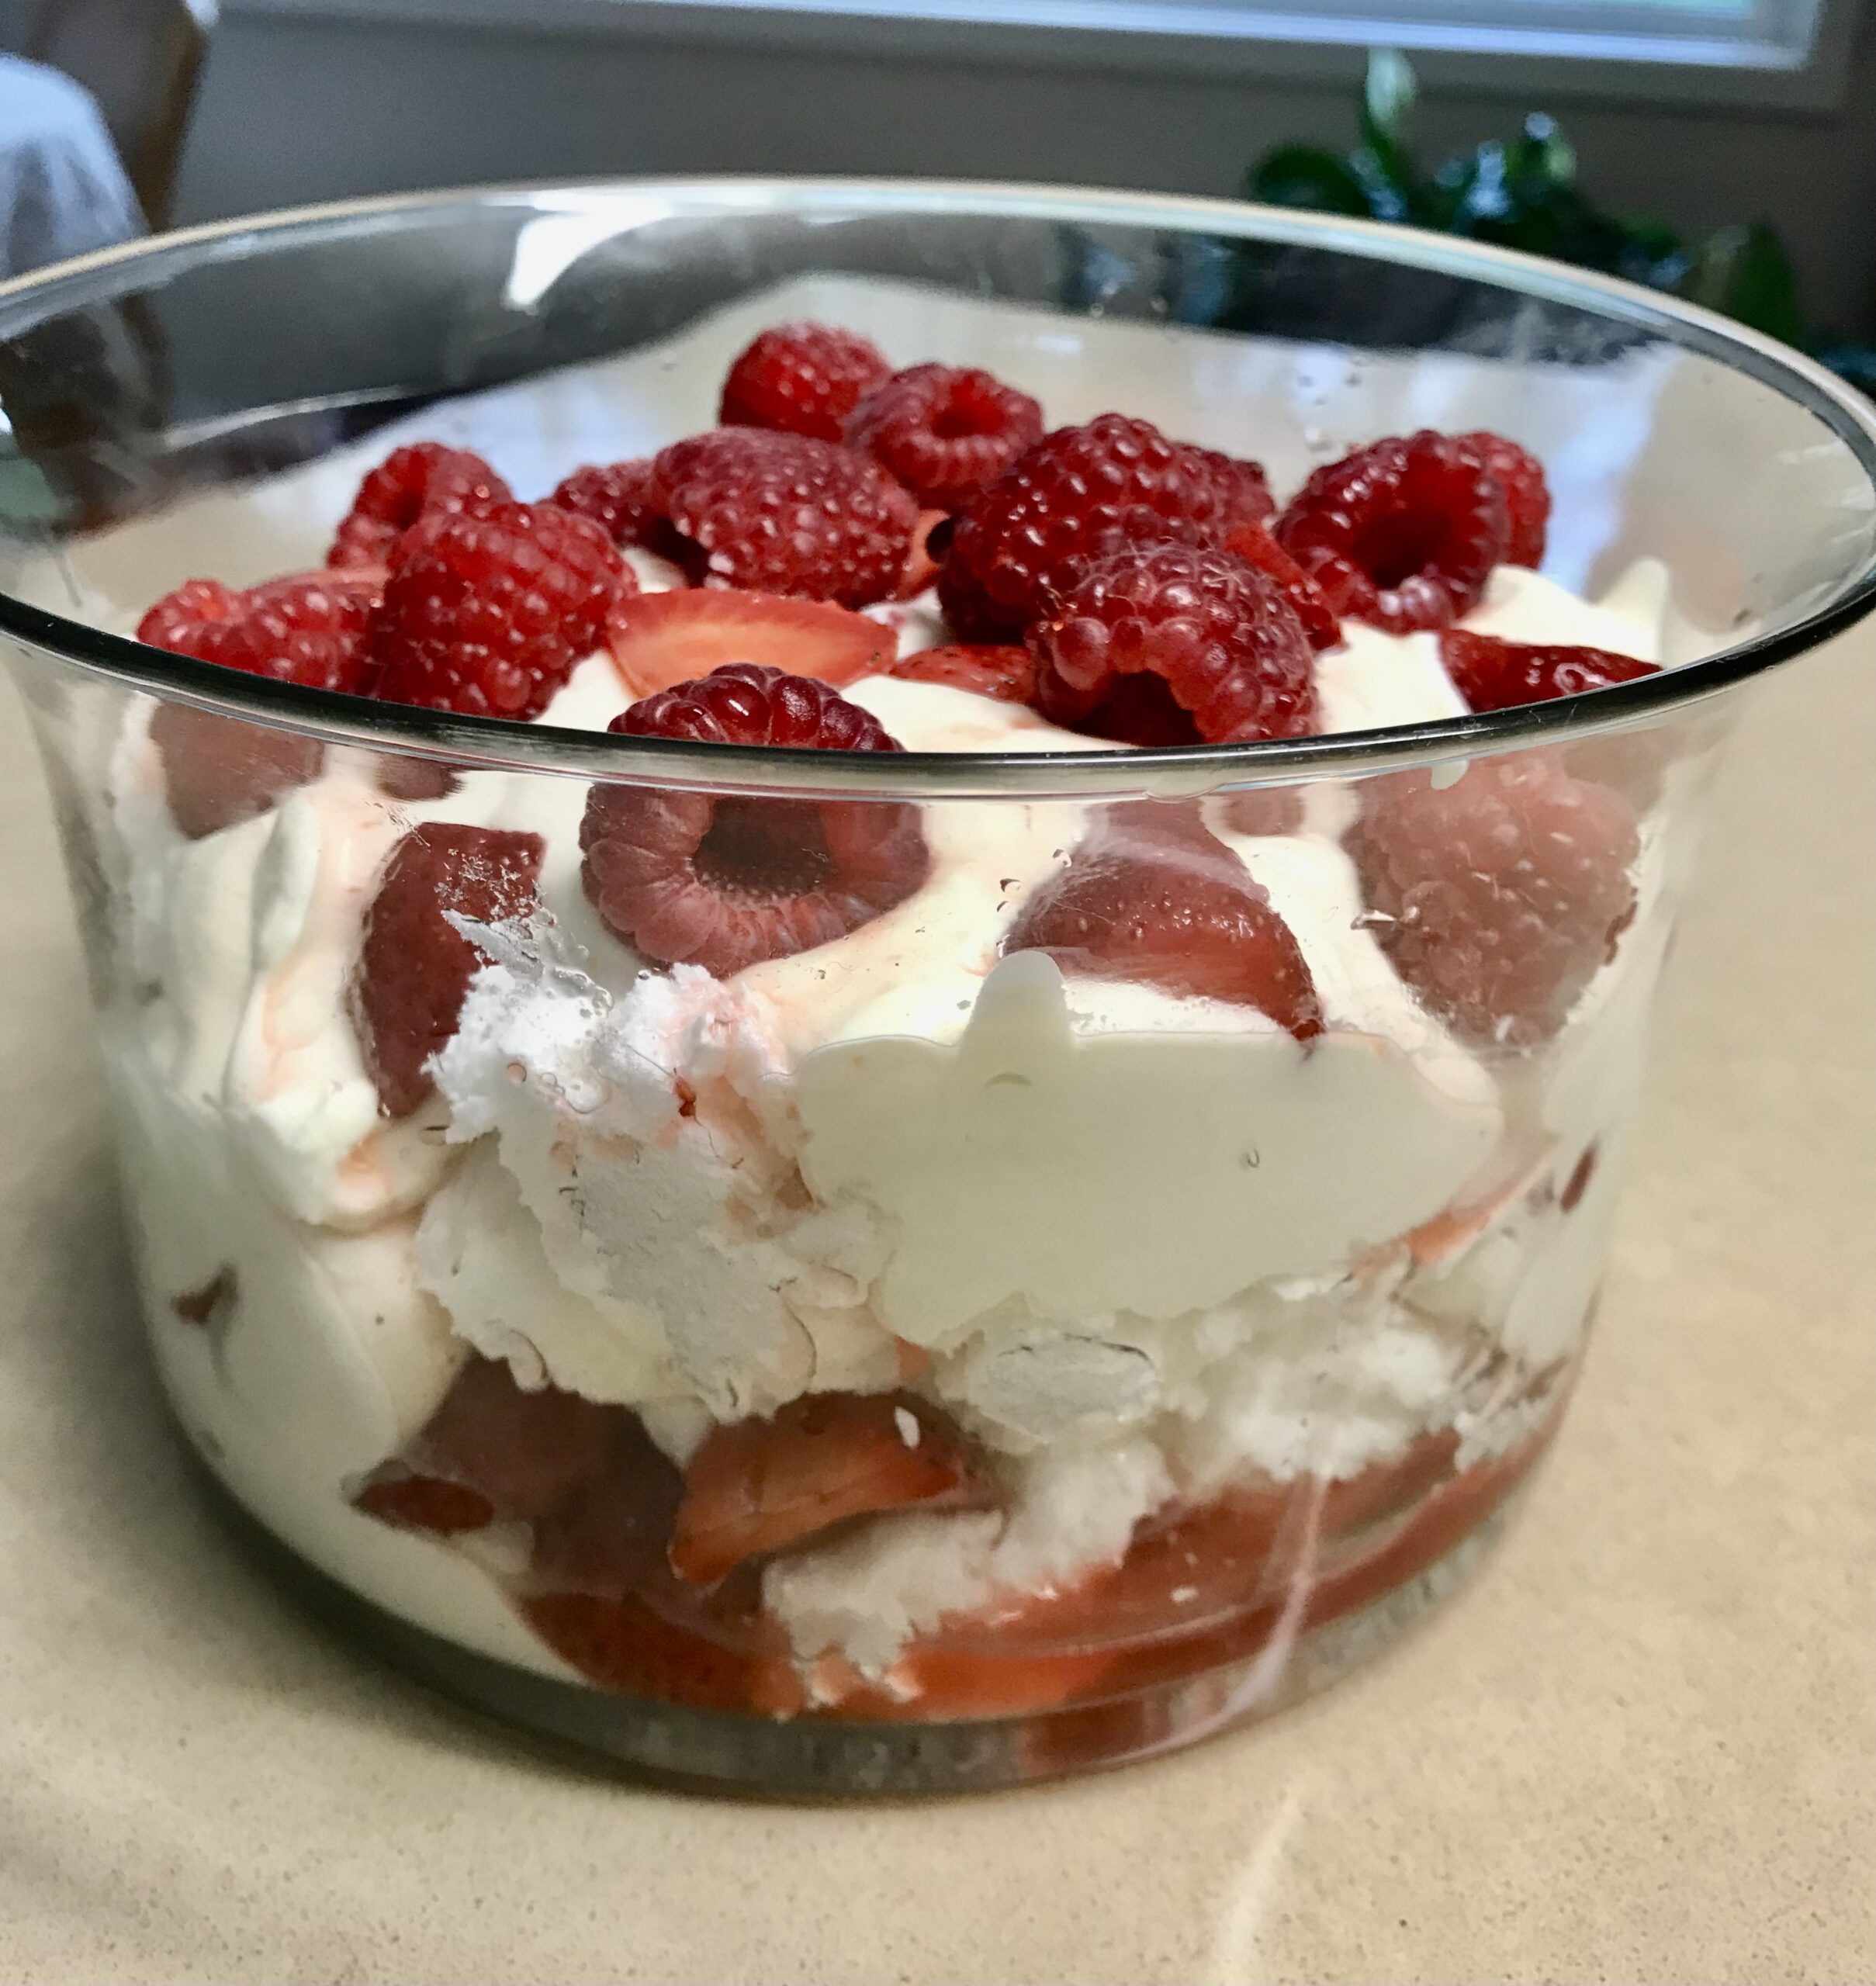
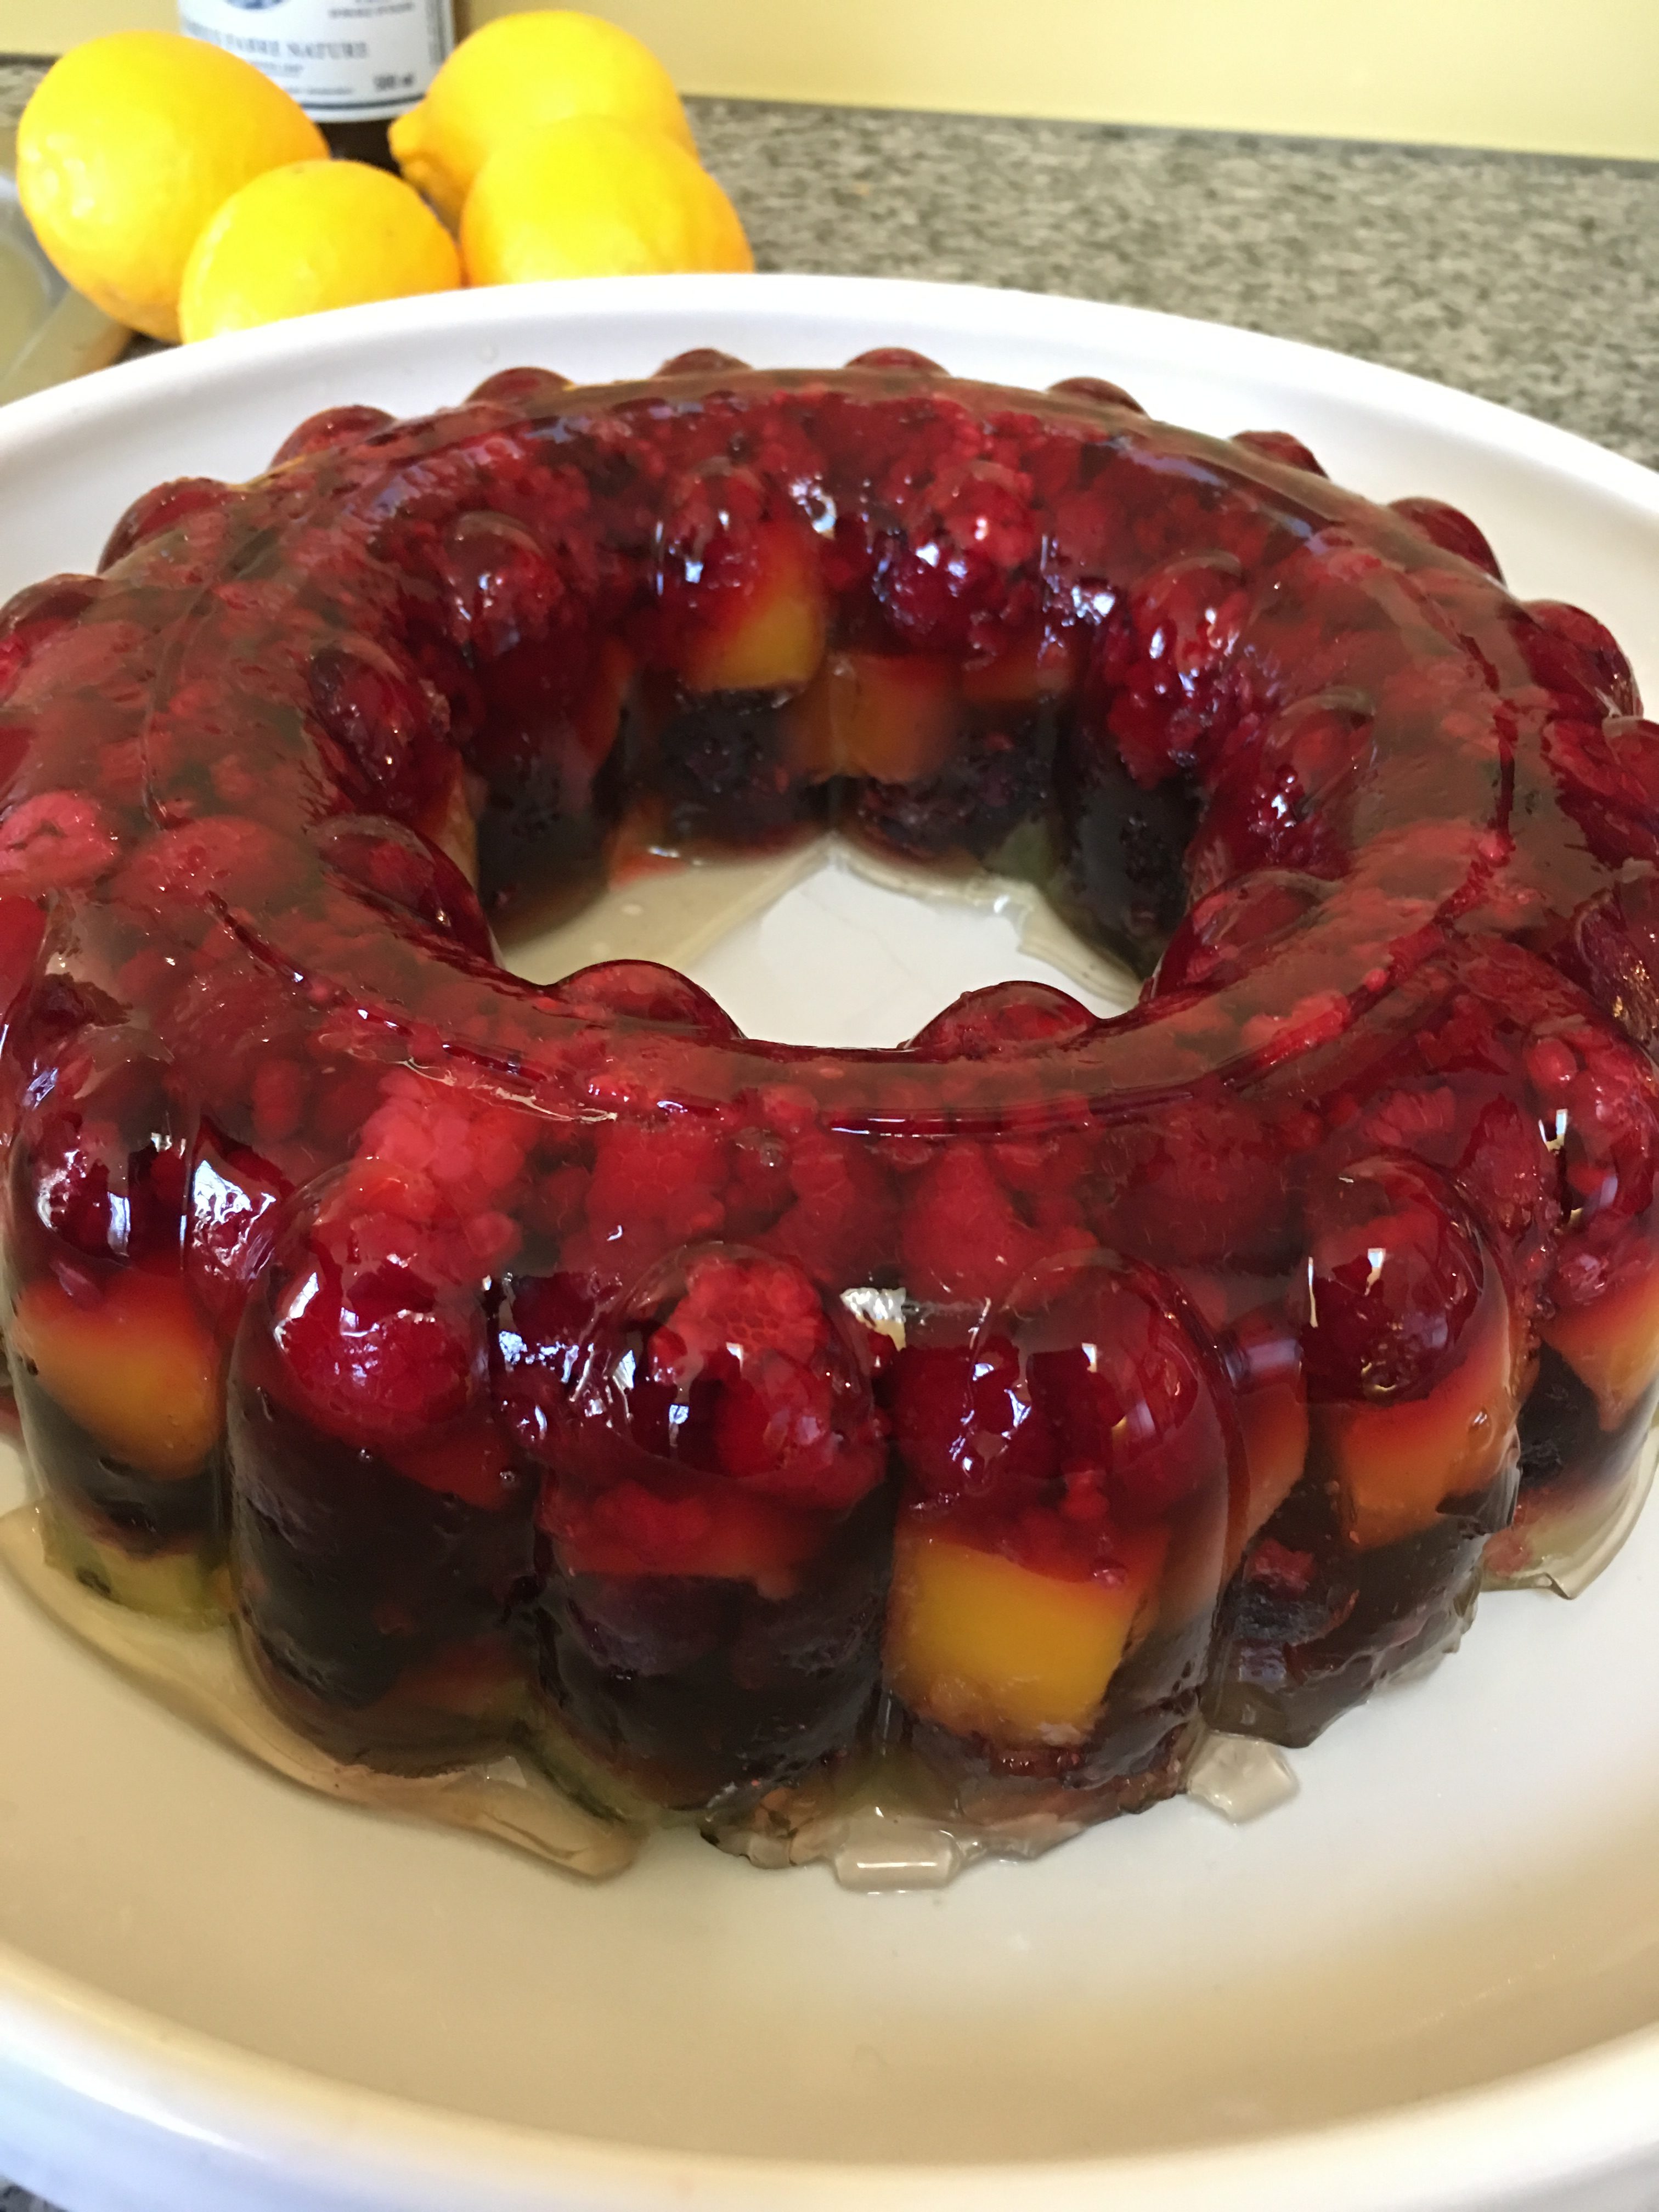
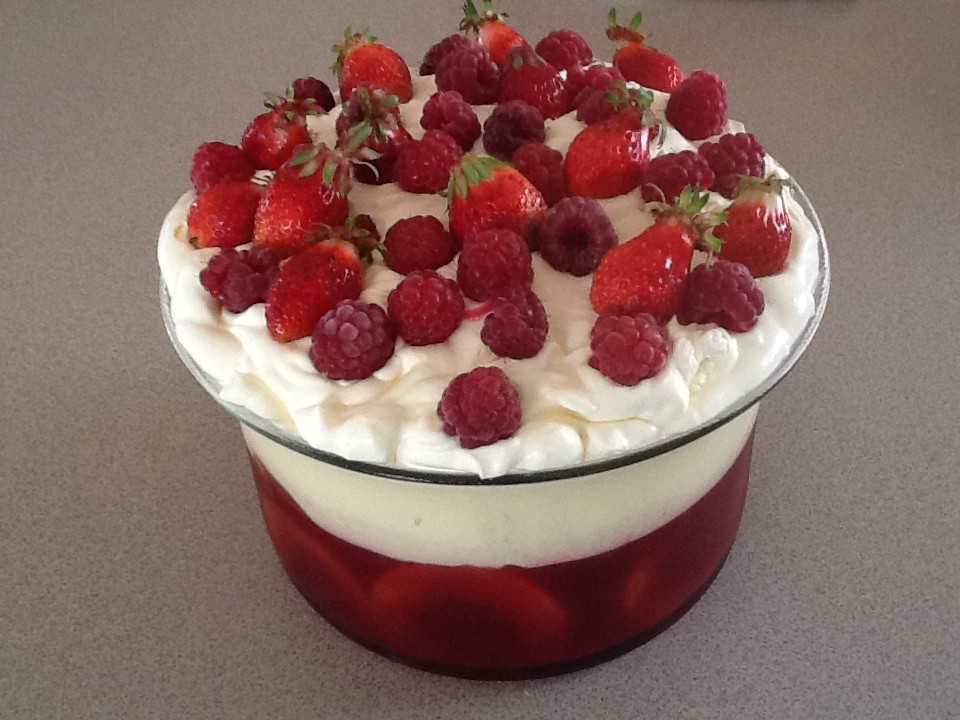
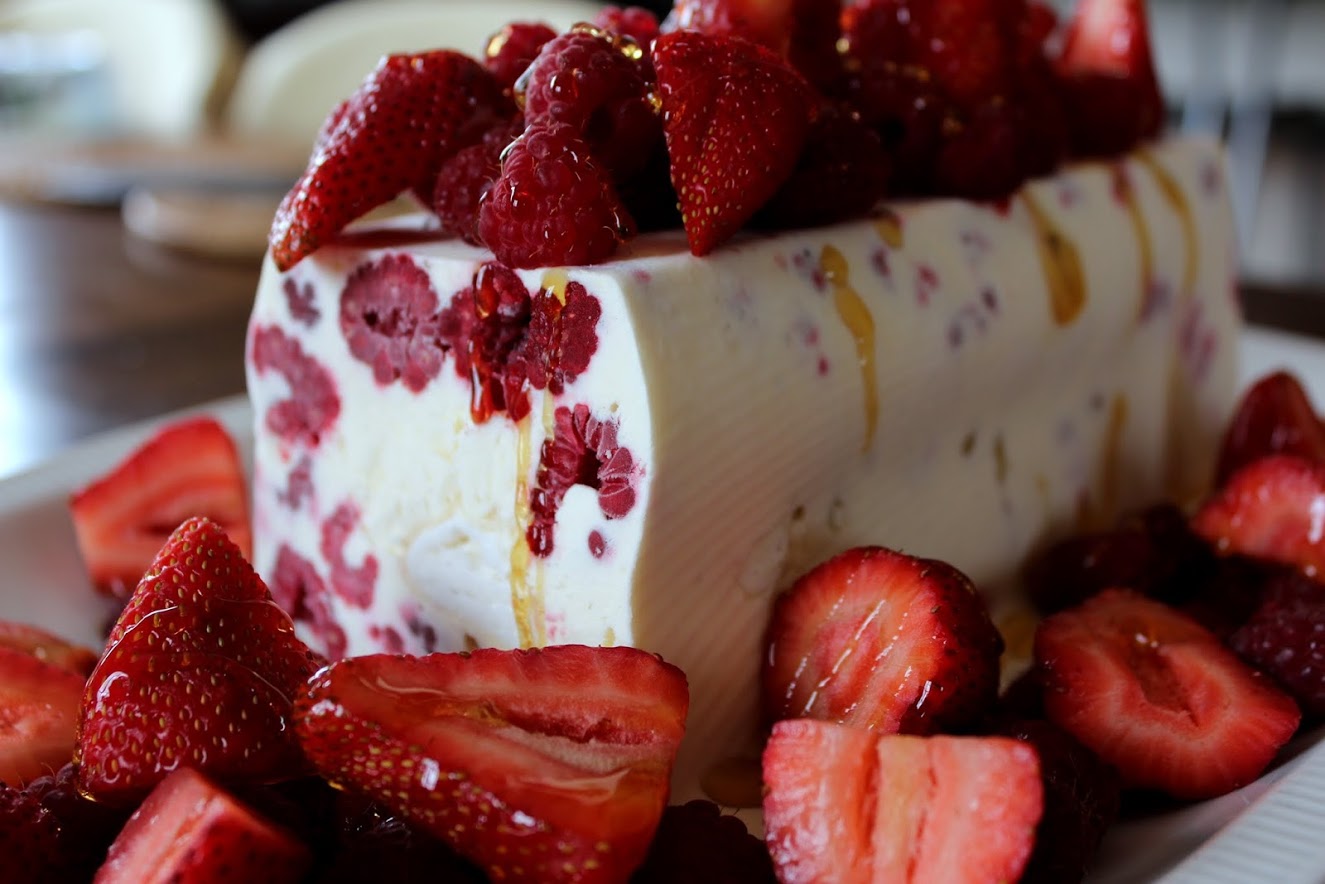
For an impressive dessert you can’t go wrong with one of these:
- Raspberry and Peach Trifle
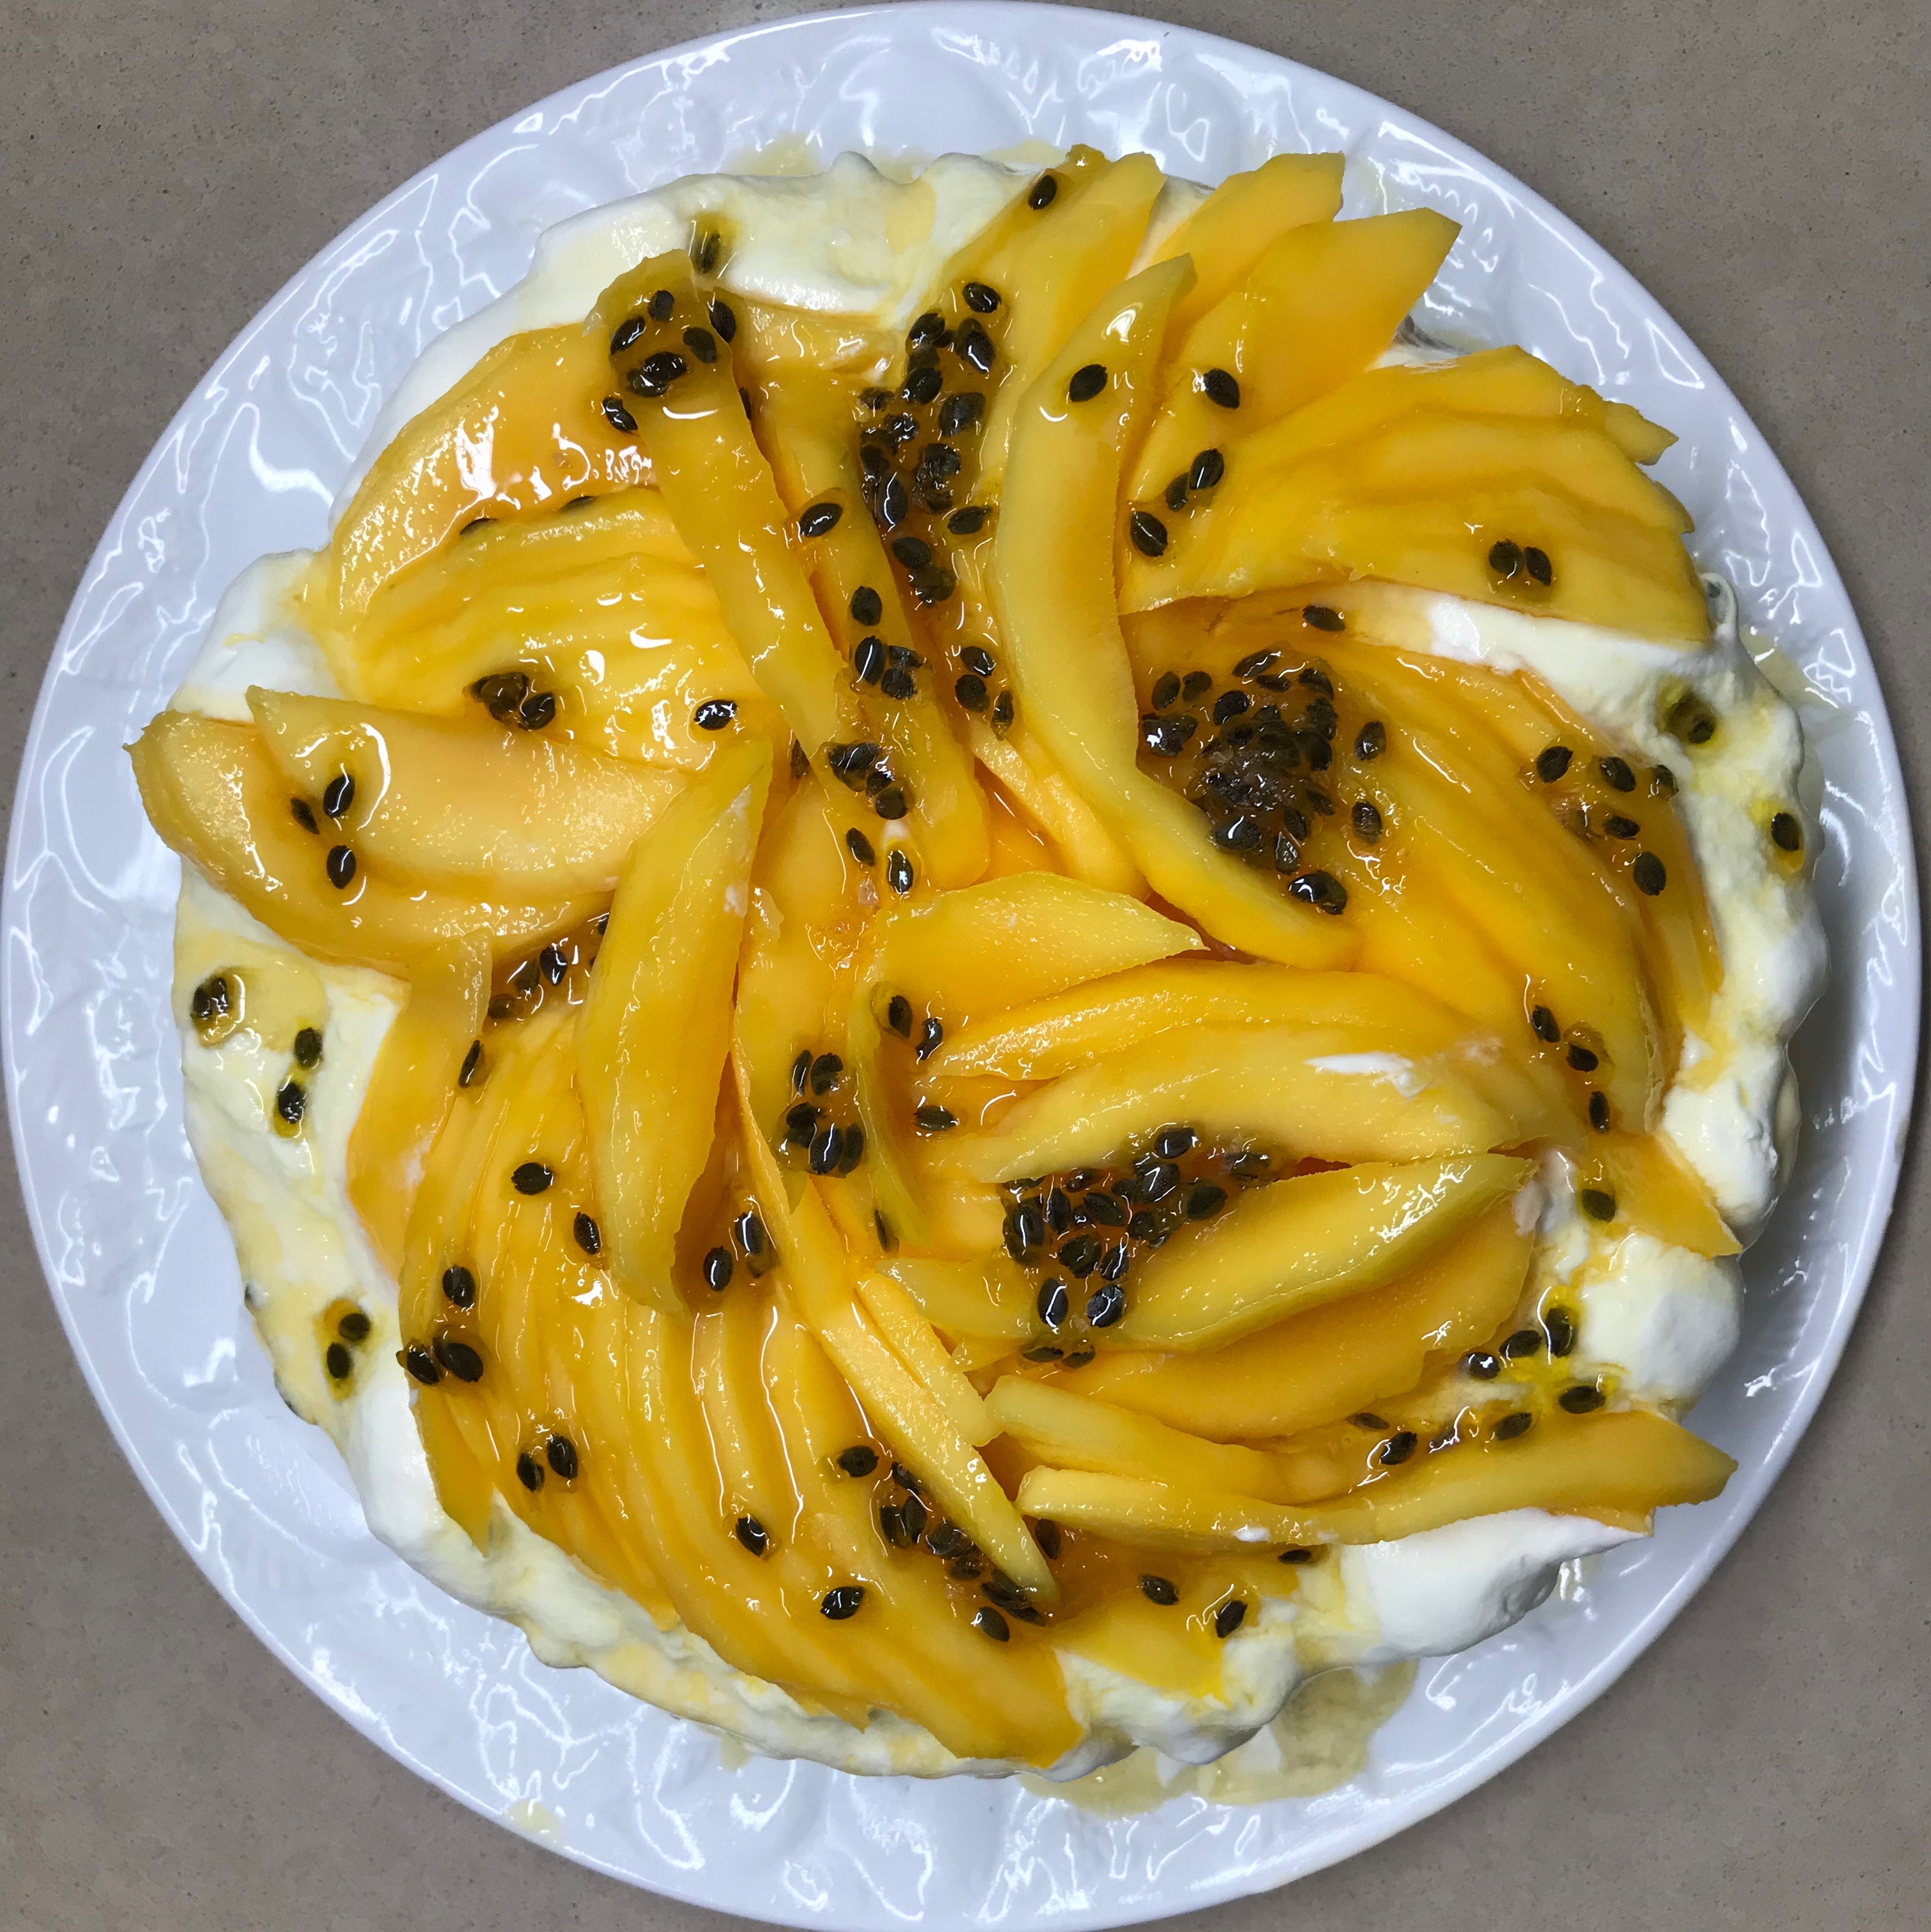
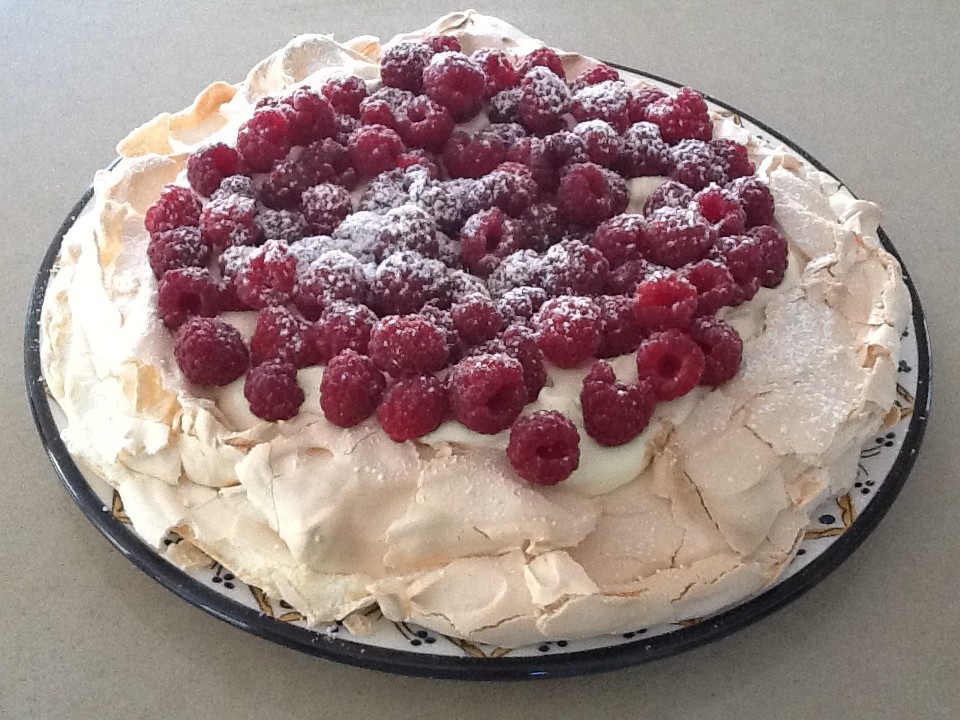
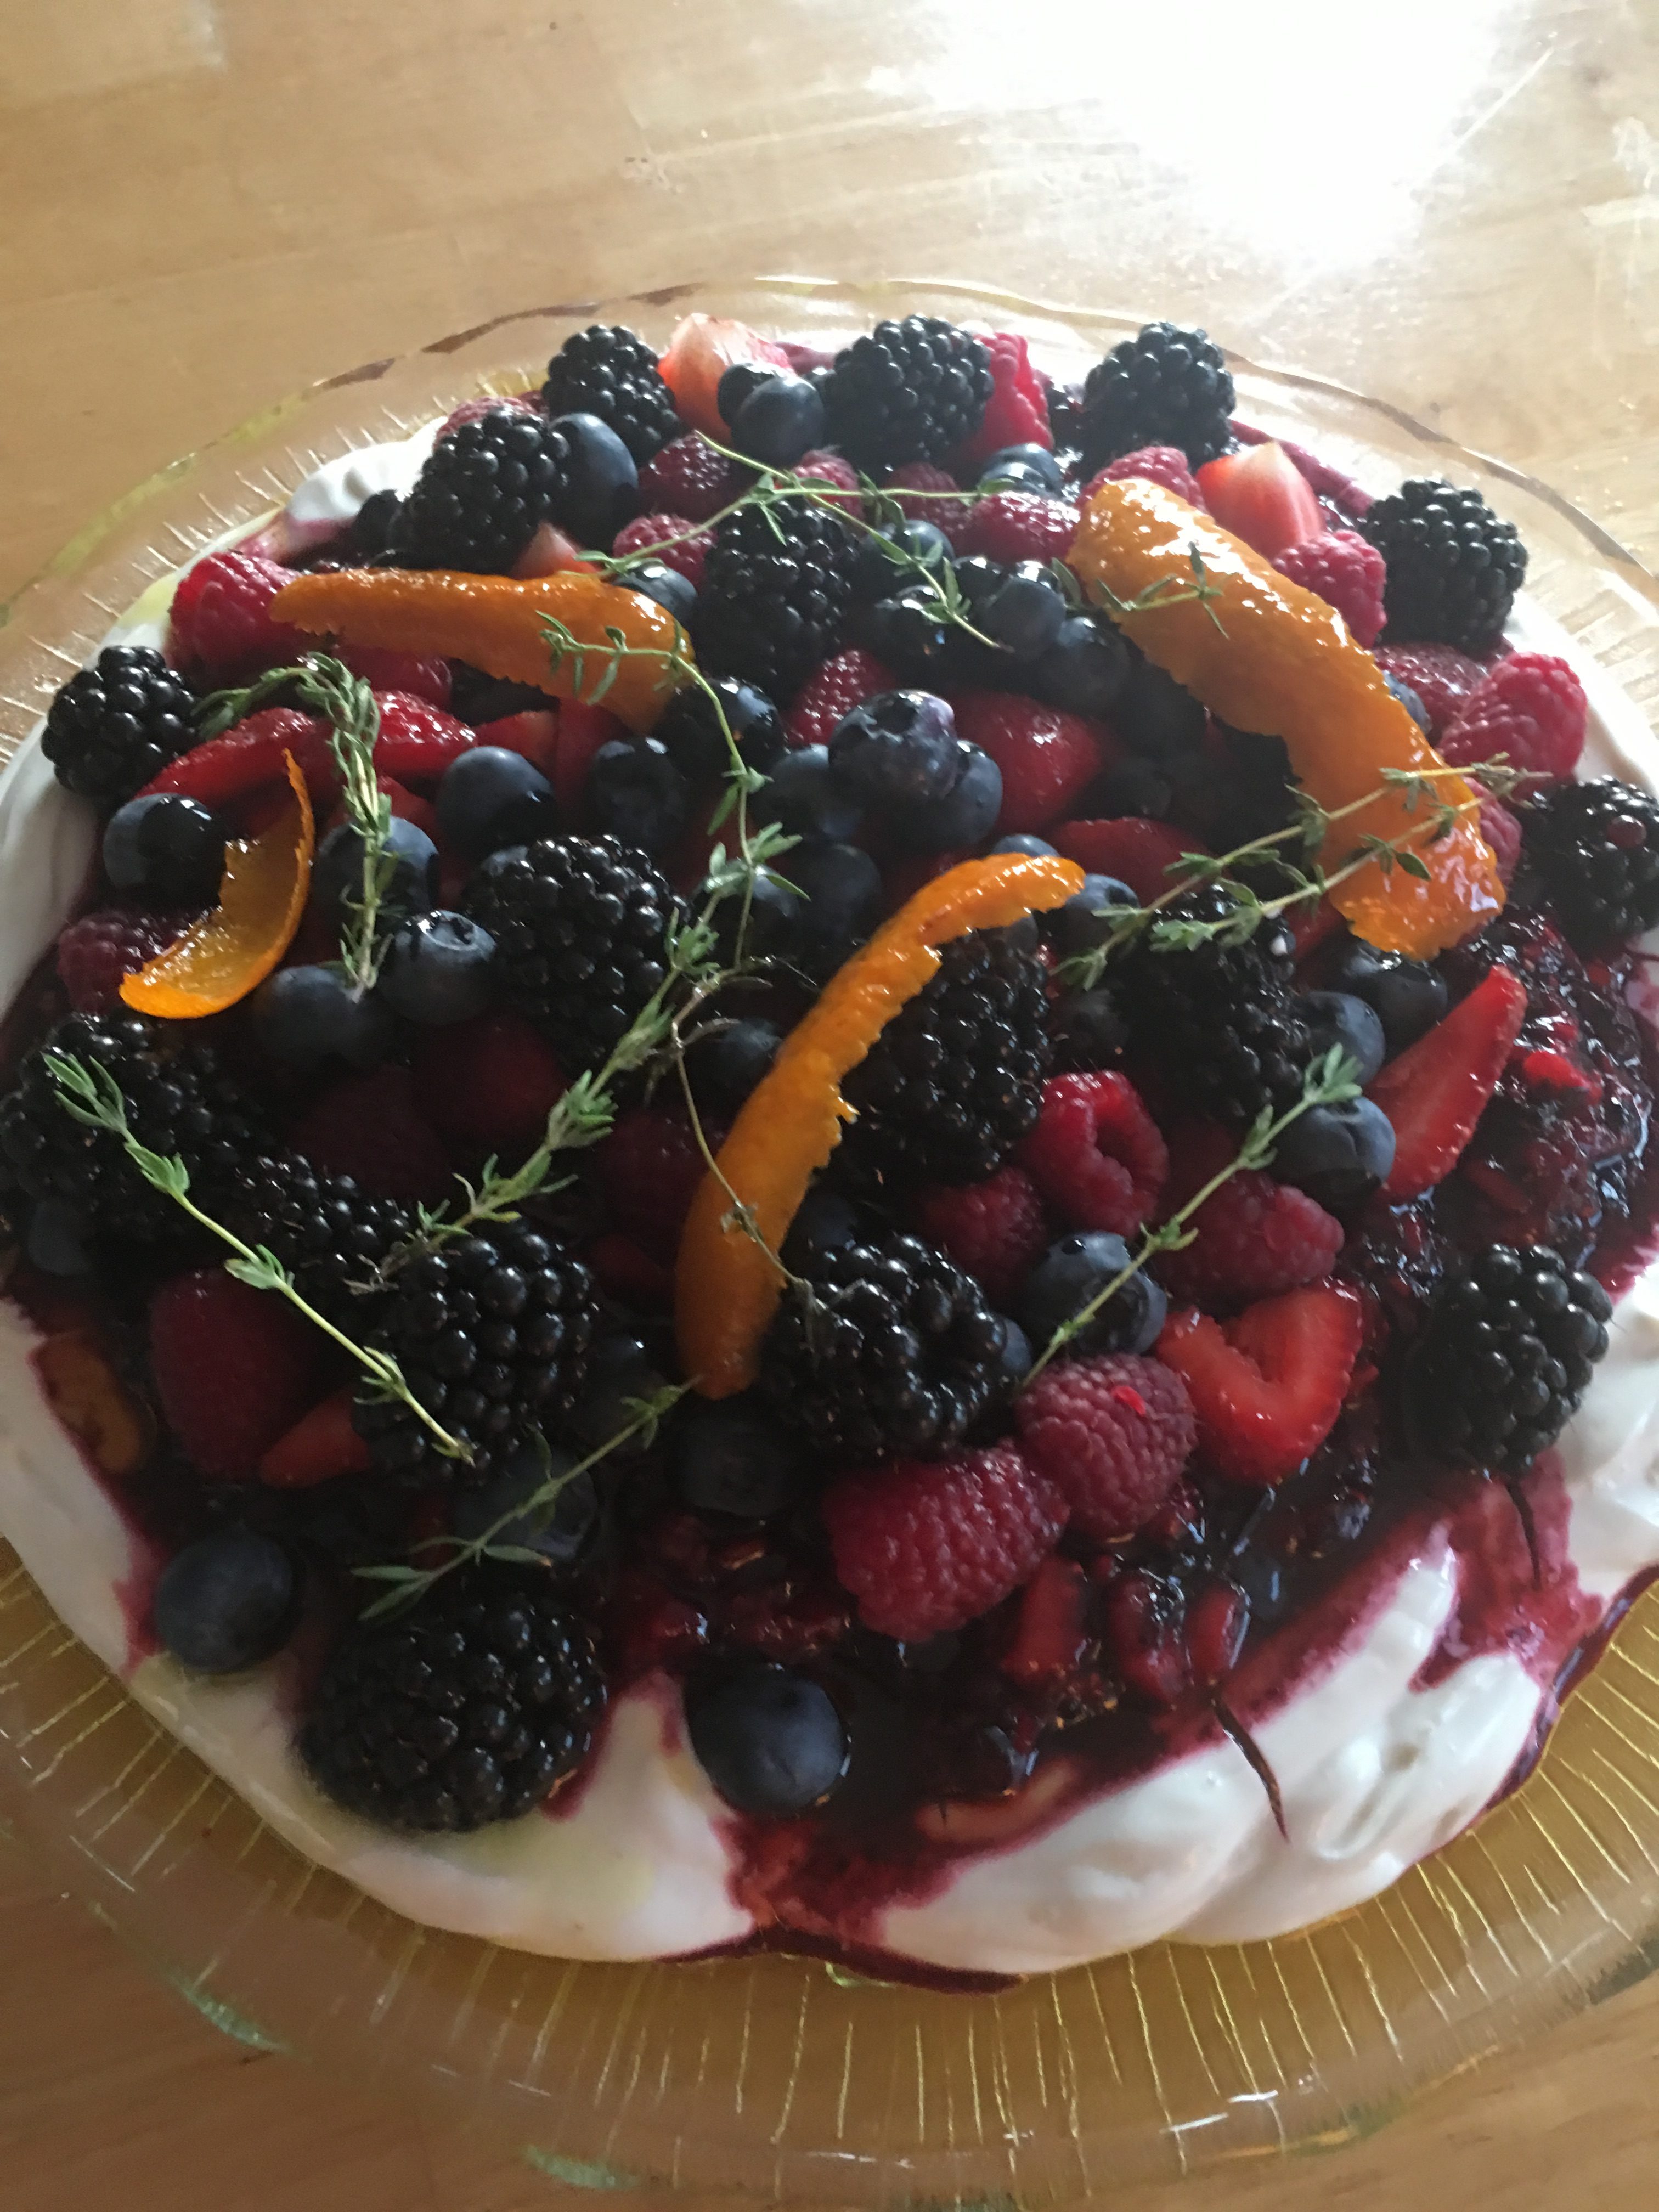
- Pavlova
- Mango Cheesecake
- Baked Cheesecake with Sour Cherry Topping
- Berry Meringue Ice Cream Slice
- Apple Strudel
And if you’re short of time try one of these:
I would like to wish all my readers a very Merry Christmas and a happy, healthy and safe New Year. I look forward to sharing many more recipes with you in 2025.