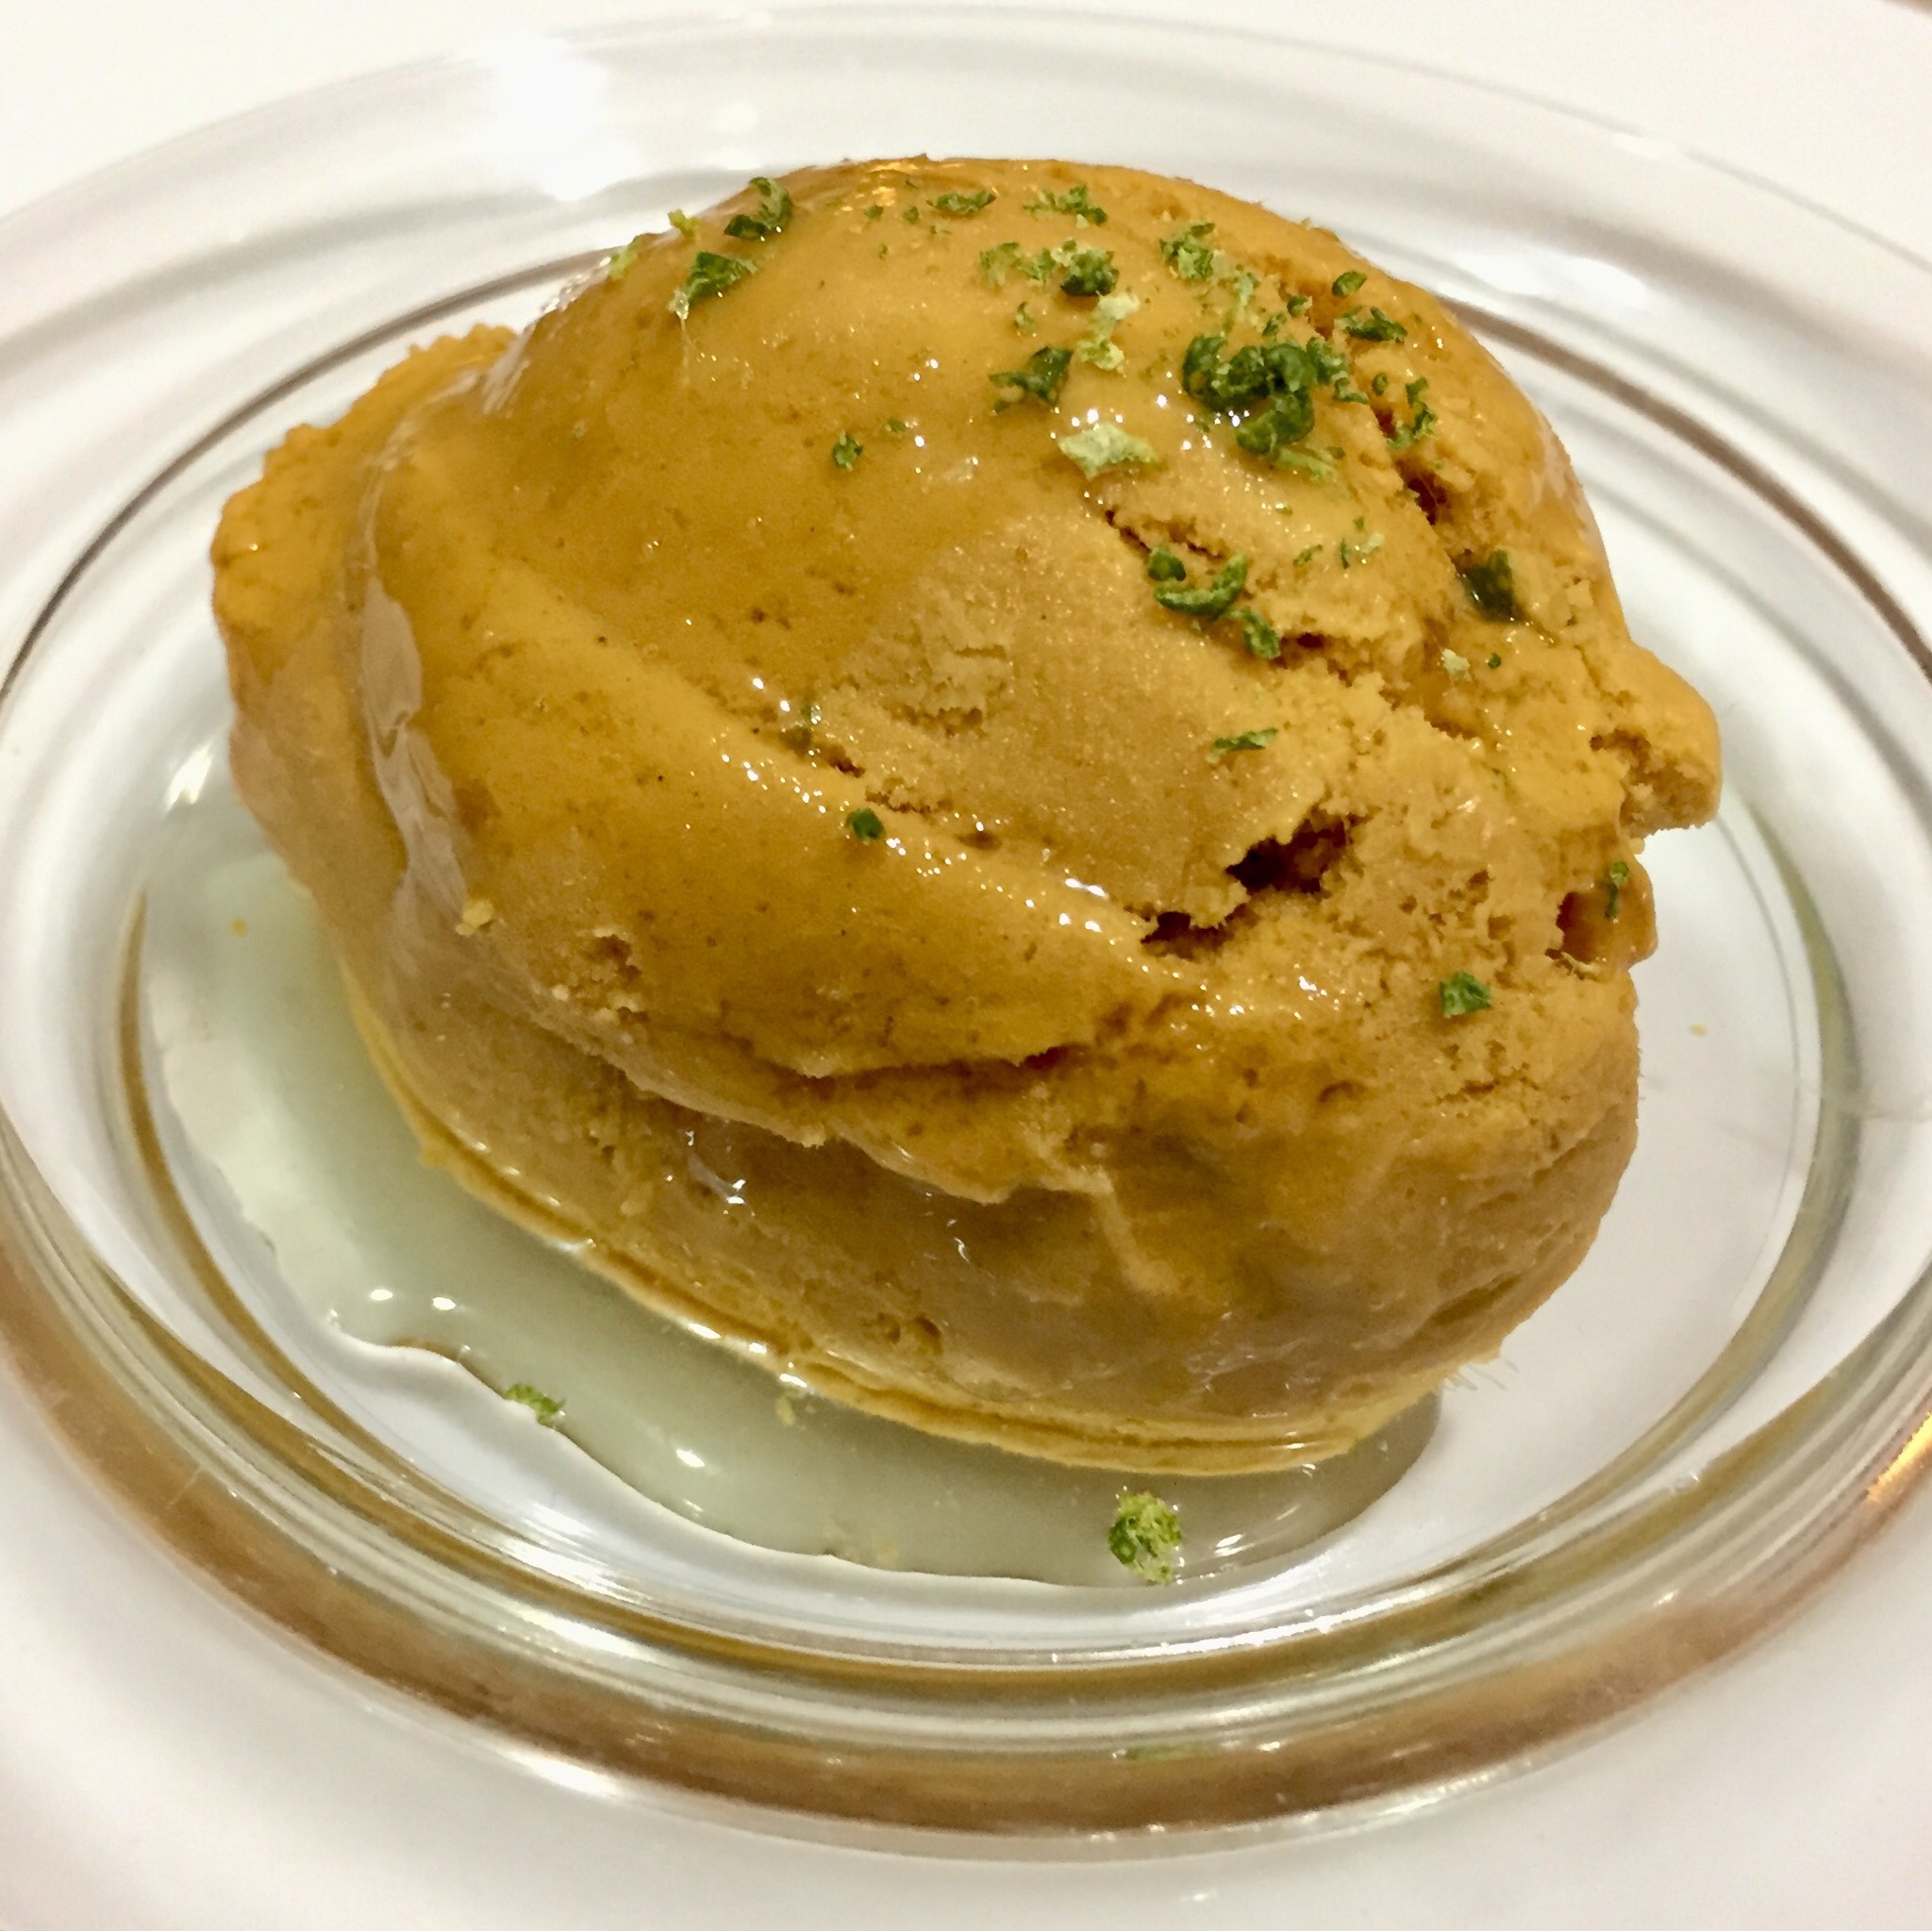
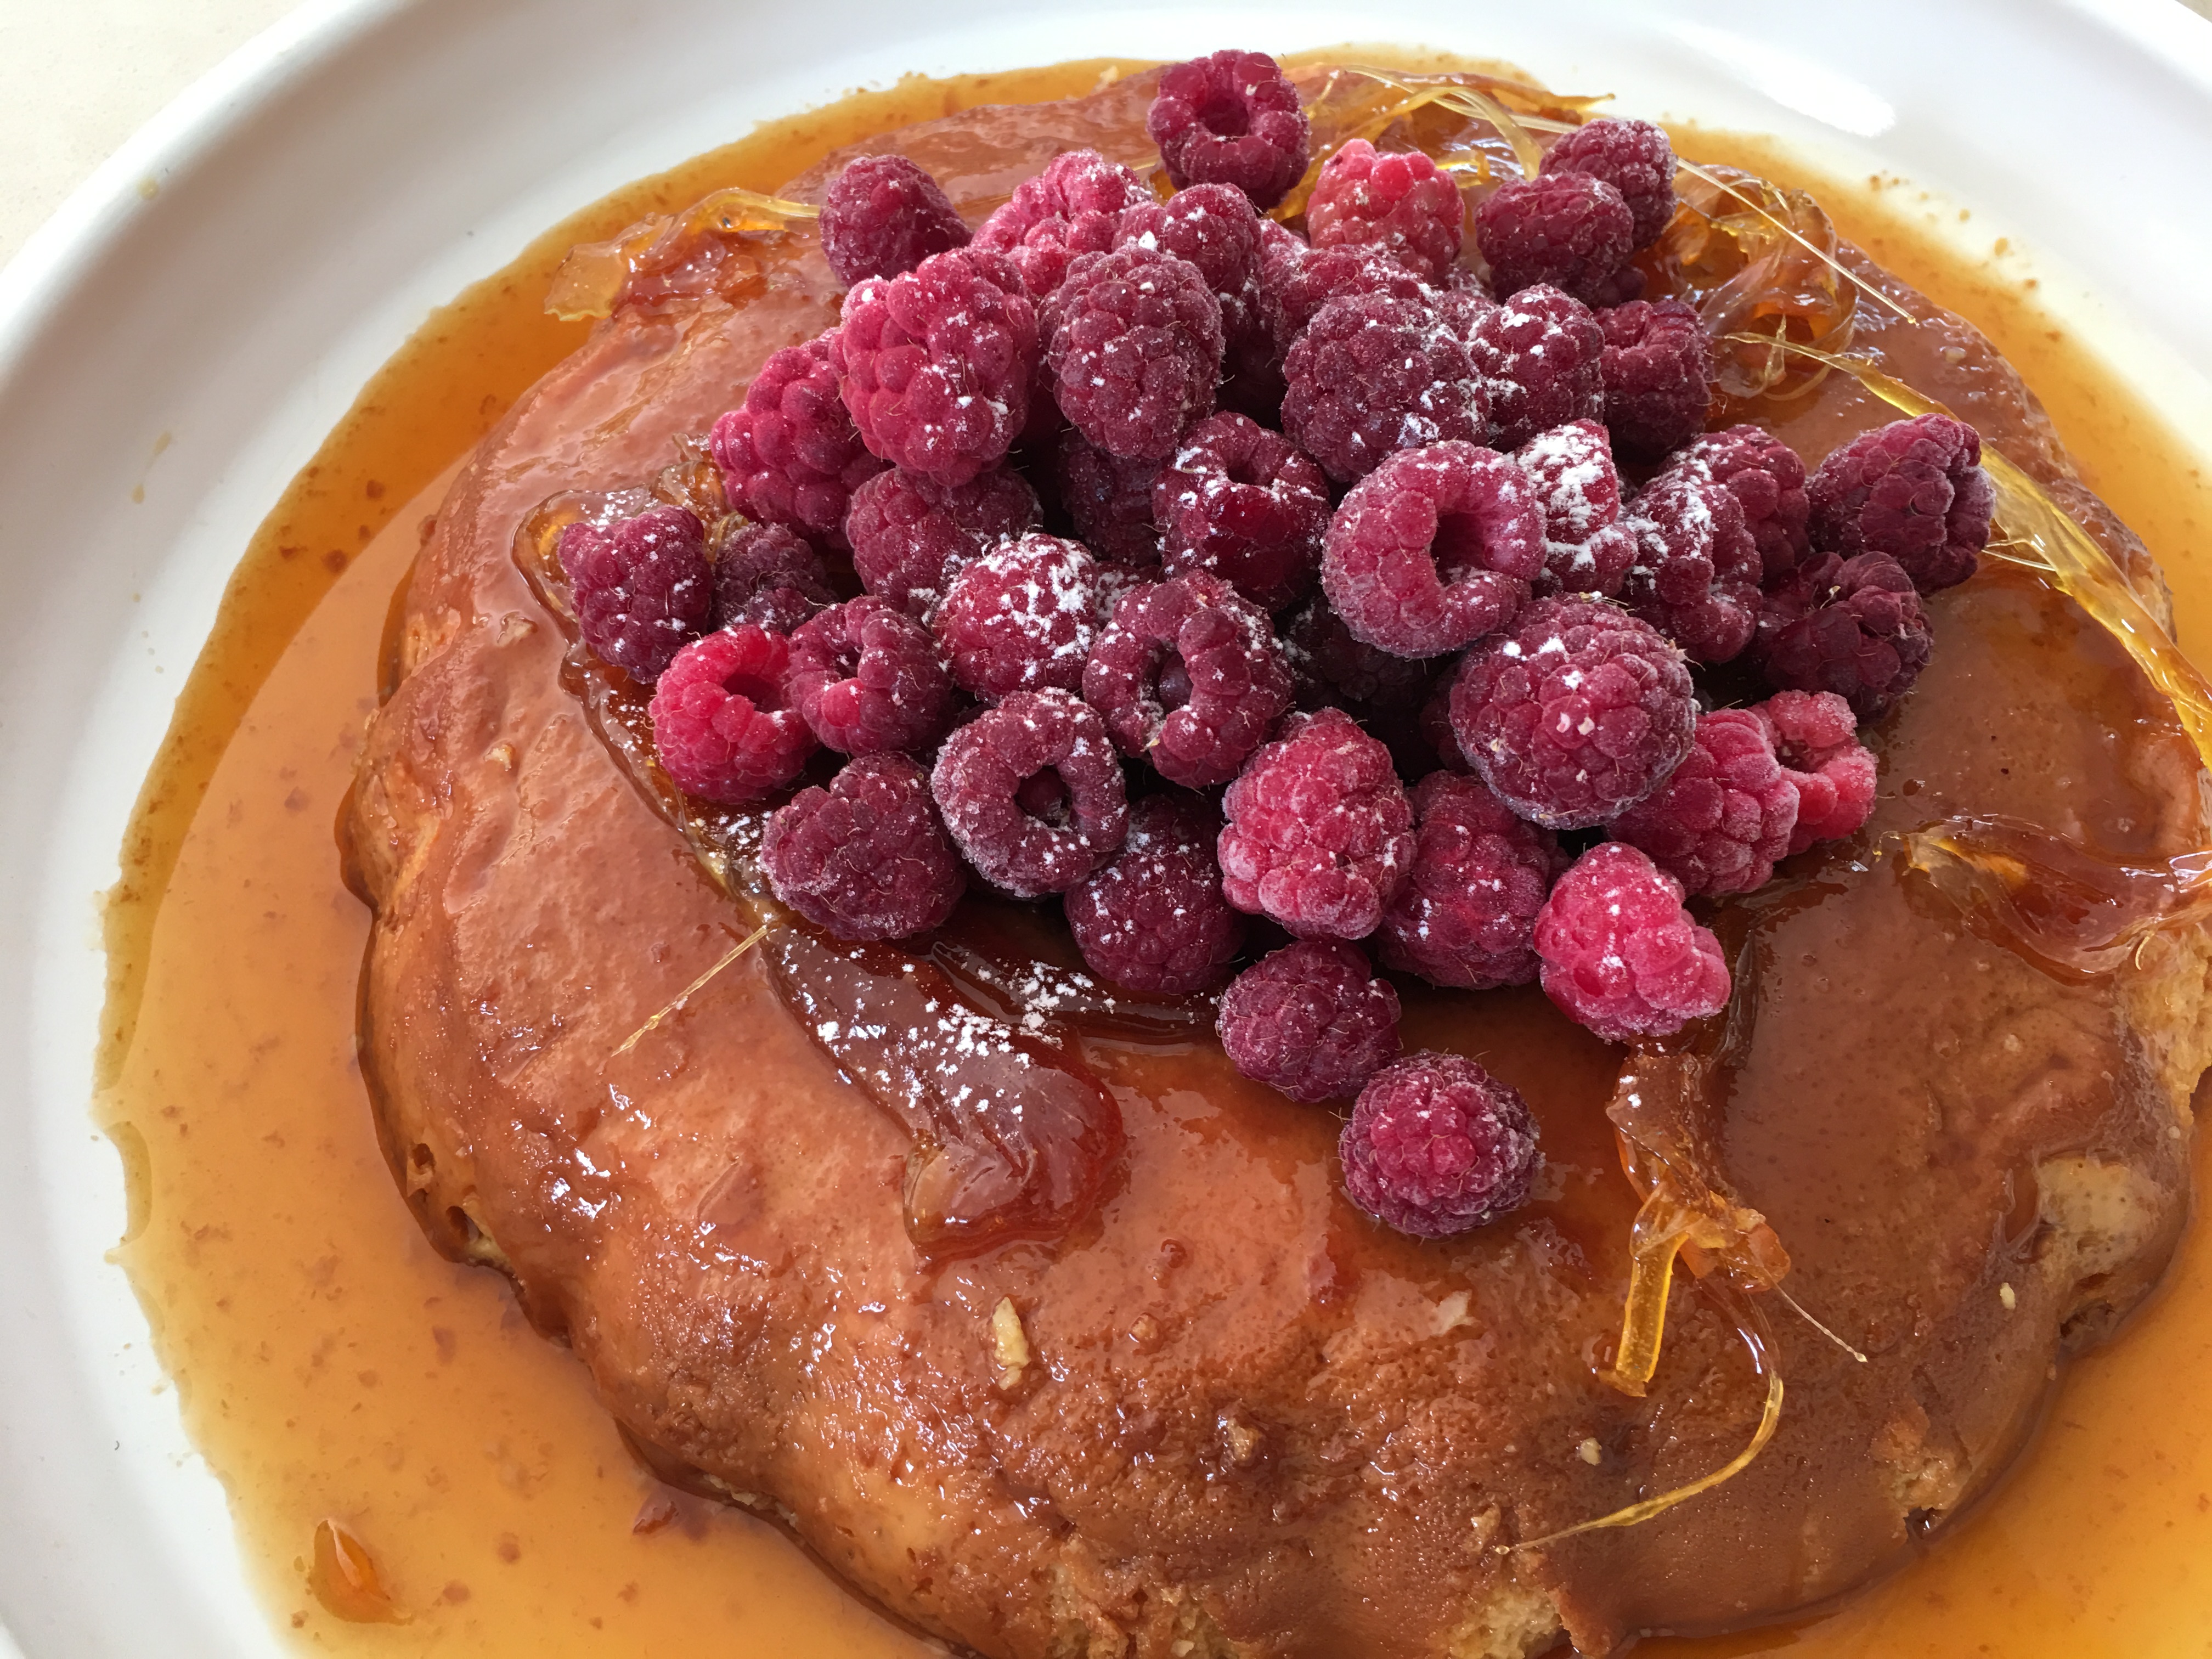
Crème Caramel and Crème Brulée are my two favourite desserts. They’re quite similar in terms of ingredients, but one has a liquid caramel sauce while the other has a crunchy caramel topping, achieved with a blow torch.
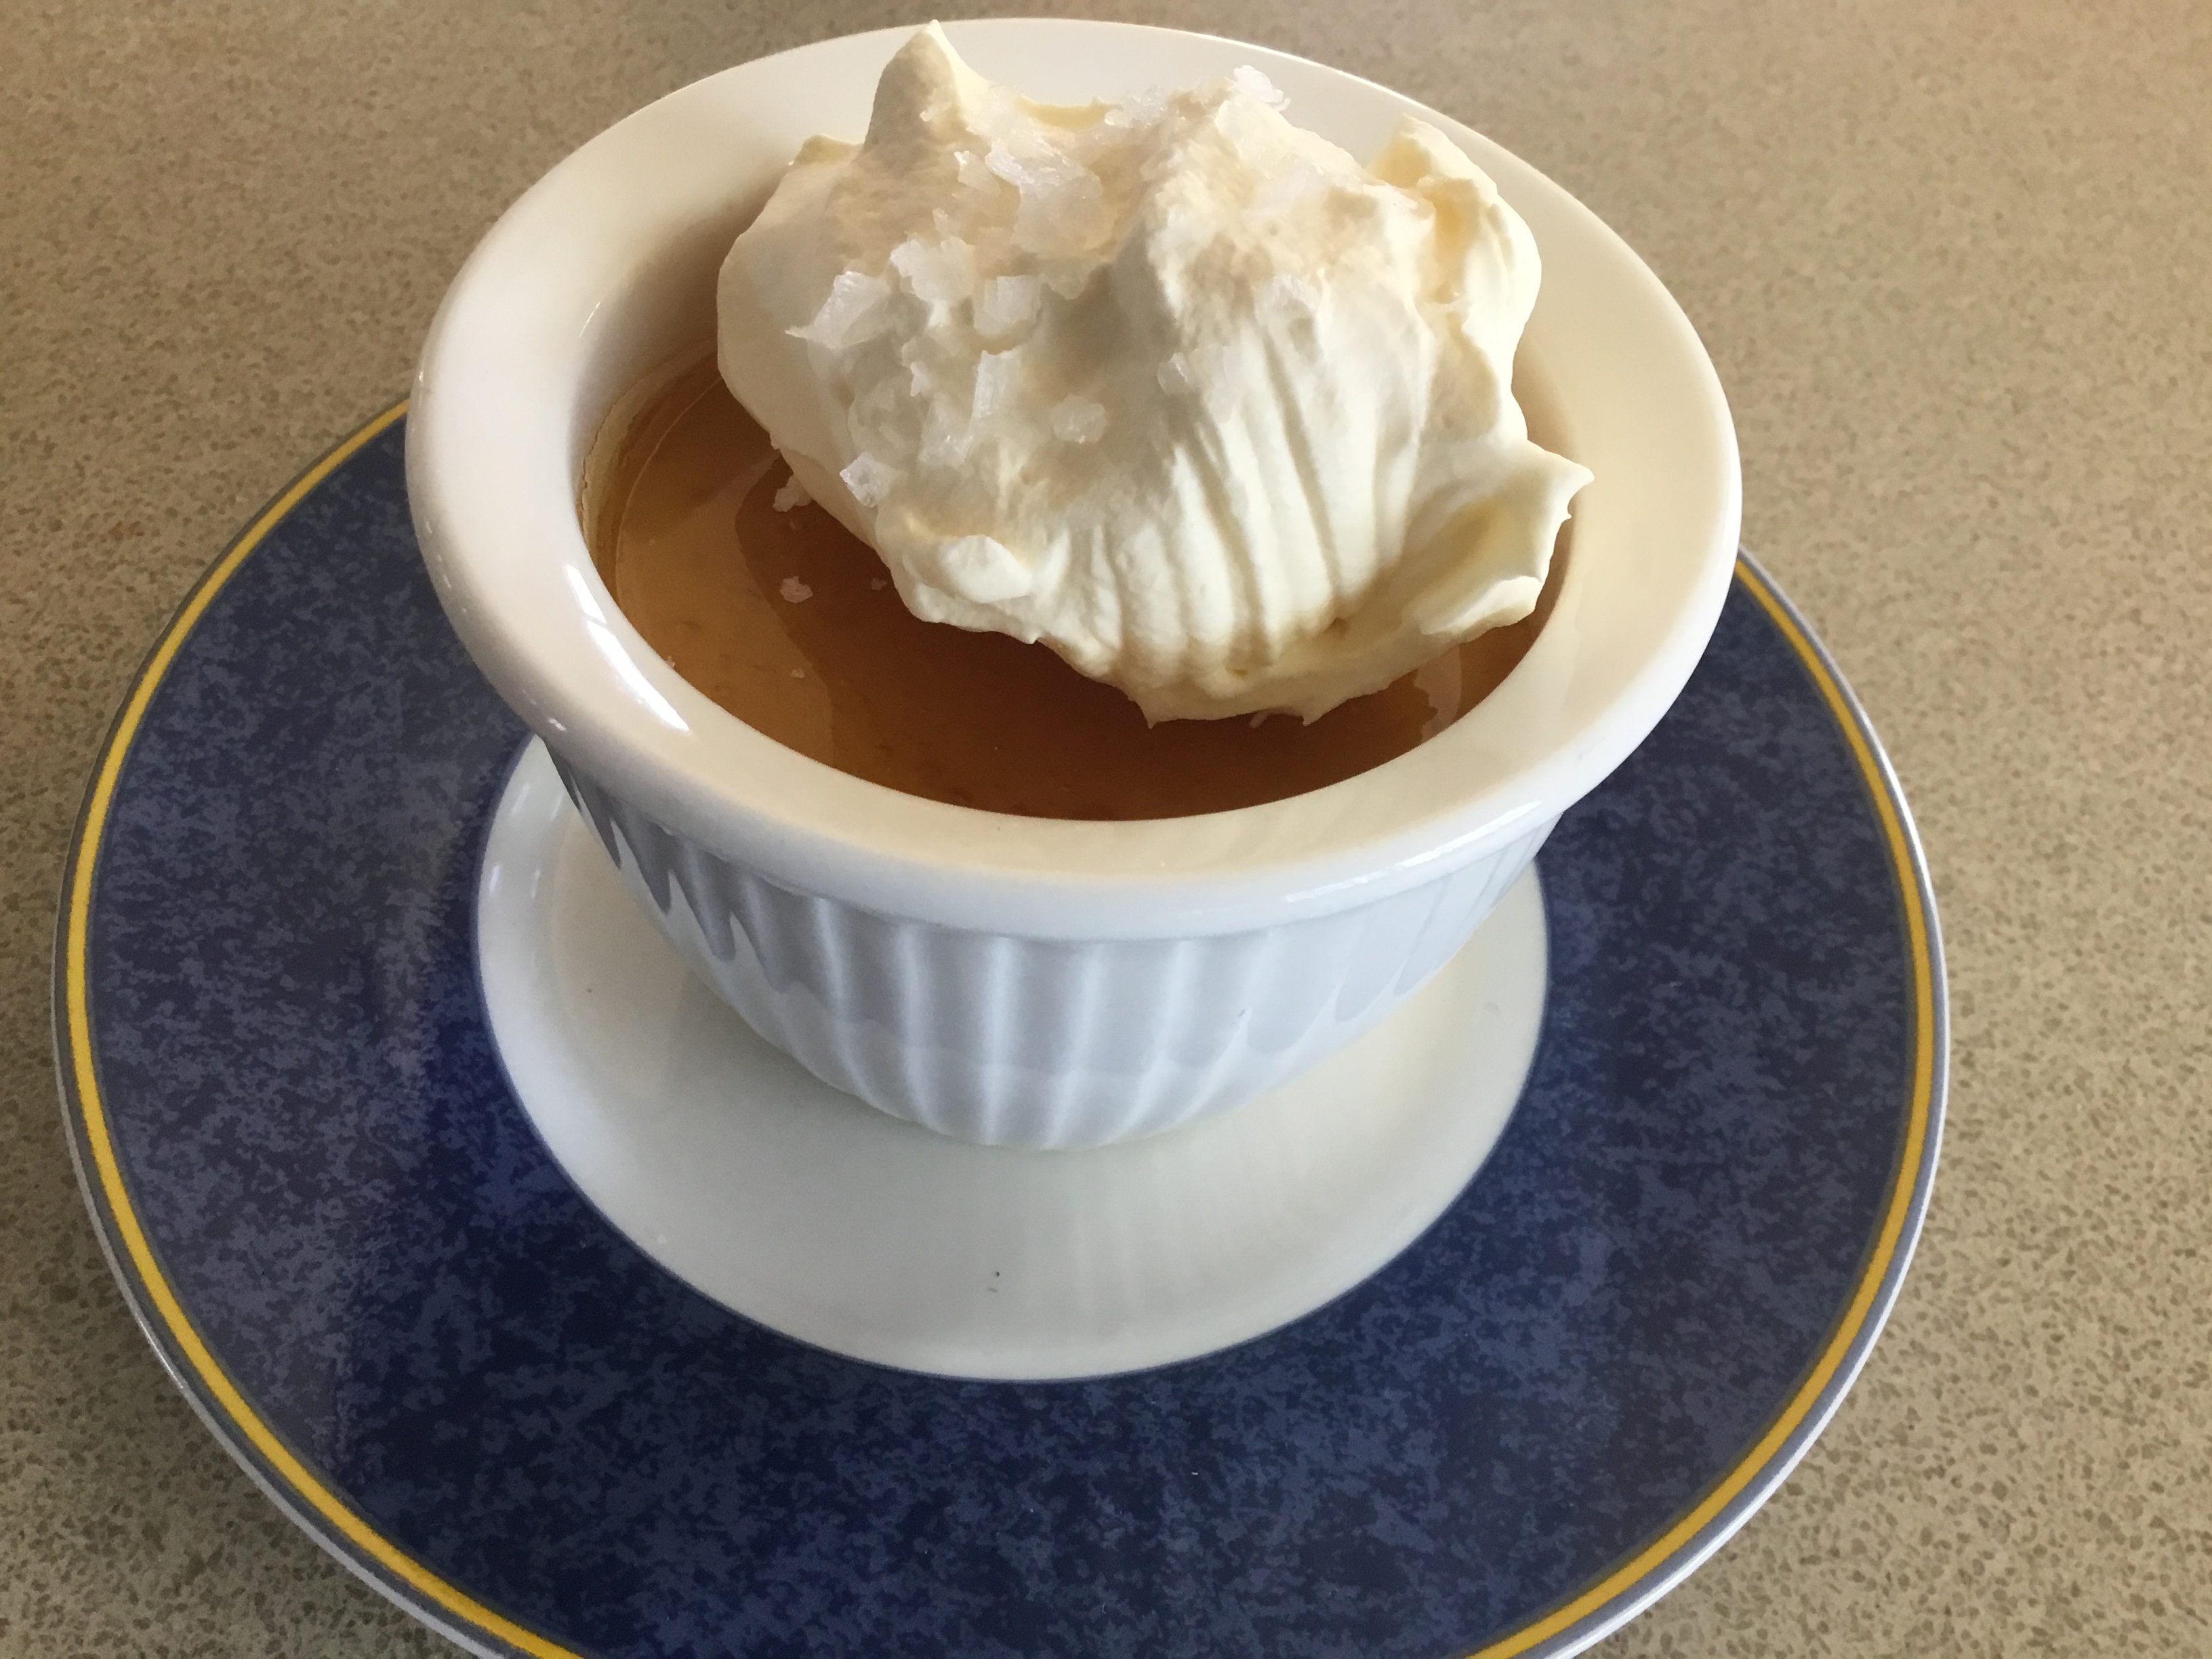
The raspberries you can see in the photo were ones I had frozen from our garden a couple of months ago. I took them out of the freezer about half an hour before serving, so they just had time to thaw, but not to go mushy. This dessert is quite sweet so the unsweetened berries and cream provide a nice contrast.
My Dad lived to the ripe old age of 90 and this was what he had for his last meal. I can see his face now, savouring every mouthful. I can’t think of anything I’d rather have for my Last Supper.
 ½ cup sugar
¼ cup water
5 eggs, thoroughly beaten with a fork
1 tin sweetened condensed milk
2 cups fresh milk
1 cup cream
1 tsp vanilla essence
To serve:
Thick pouring cream
Fresh or frozen berries, just thawed
A dusting of icing sugar (optional)
Preheat oven to 170°C. Heat sugar and water in a heavy saucepan and stir until sugar has dissolved. Boil without stirring until you have a rich caramel, swirling the pan so that it colours evenly without burning. Tip into a lightly oiled ovenproof dish with a capacity of 1.5 to 2 litres or you can use a metal ring mould. Swirl around as it cools so it coats the sides of the mould as well as the bottom.
Beat remaining ingredients together thoroughly with a balloon whisk, then pour through a sieve on top of the caramel, discarding any bits of egg in the sieve. Place the dish in a baking tin and add enough boiling water to come just under halfway up the sides. Bake for 50 minutes, remove and cool, then chill for several hours or overnight.
Loosen around the edges with a thin-bladed knife, then tip onto a serving plate. If all the caramel doesn’t come out, place baking dish or tin in a bowl of very hot water to melt it, then pour it over the dessert. Serve with cream, fresh berries and, if liked, a dusting of icing sugar.
Serves 8-10