When I was growing up in England, pickled eggs were a popular snack in local pubs. I remember seeing them on the bar in huge jars. Along with meat pies, Cornish pasties and sausage rolls, they go down well with beer. I can’t remember if I ever tried one back then.
An old family recipe for 3 dozen eggs was sent to me by brother David who lives in Vancouver. Actually it came to me via my sister who lives in the UK. Thirty-six eggs seemed like a lot, so I decided to divide the ingredients by three and pickle 12. Traditional British recipes use malt vinegar and a little treacle so the eggs gradually take on a blackish hue. David says any vinegar will work, so I used balsamic. A bit upmarket for your average British pub – I don’t think anybody had heard of balsamic vinegar when I was growing up.
I buy large 865g jars of Maille Dijon mustard from Costco and found that twelve eggs fit perfectly in one of those jars. Our verdict? They’re a bit of an acquired taste but a good addition to a ploughman’s type lunch.

12 eggs, hard boiled and peeled
125ml balsamic vinegar or malt vinegar
¾ tsp cayenne pepper
1 Tbs pickling spice
2 cloves garlic, chopped
2 tsp black treacle
1/3 tsp salt
Extra balsamic vinegar
Place the eggs in a jar with a lid that they fit into snuggly. Place remaining ingredients in a saucepan, bring to the boil and simmer for 3-5 mins. Pour over the eggs. Add extra vinegar to cover completely. Close the jar and invert to mix well. Keep for about a month before using.

 I grew up in England where it never gets as hot as it does in Australia.
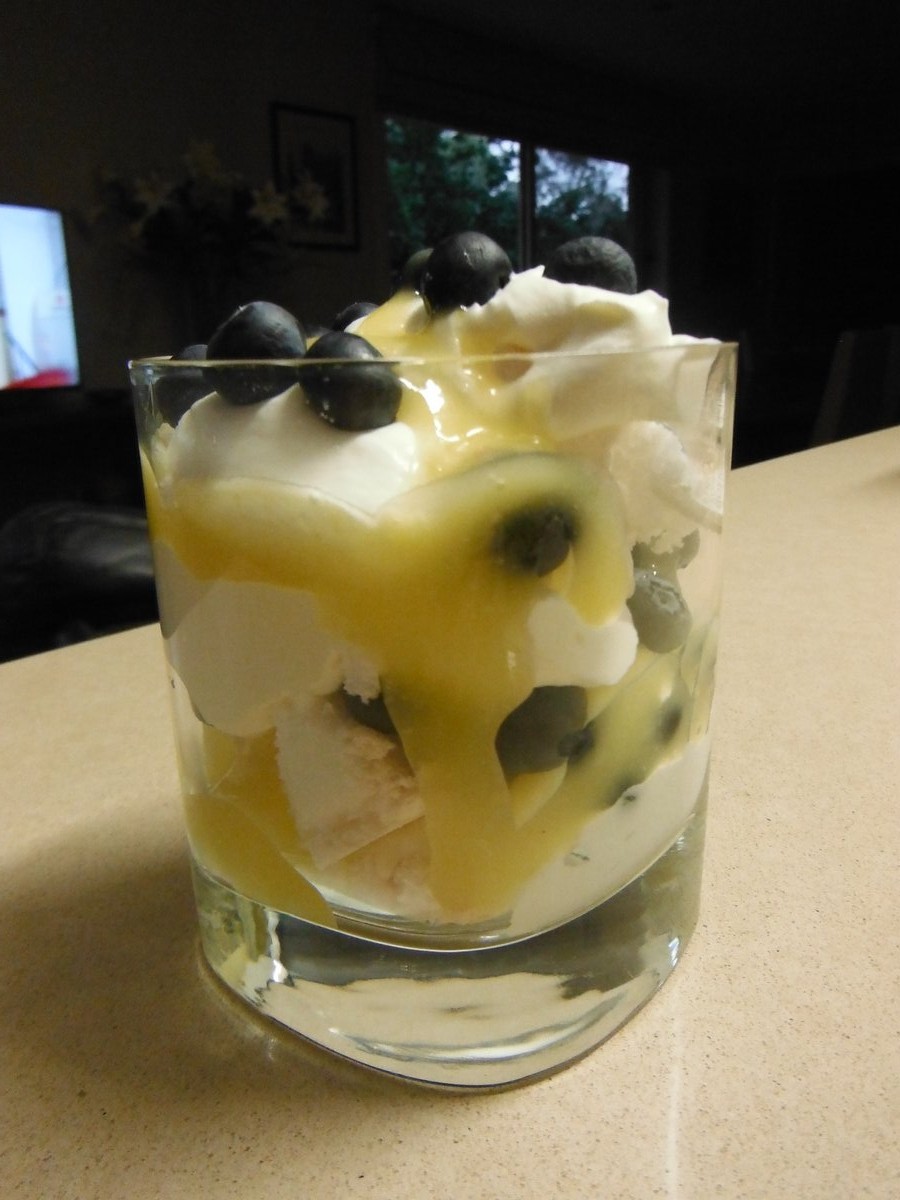
 If you’re still looking for inspiration for dessert have a look at this article