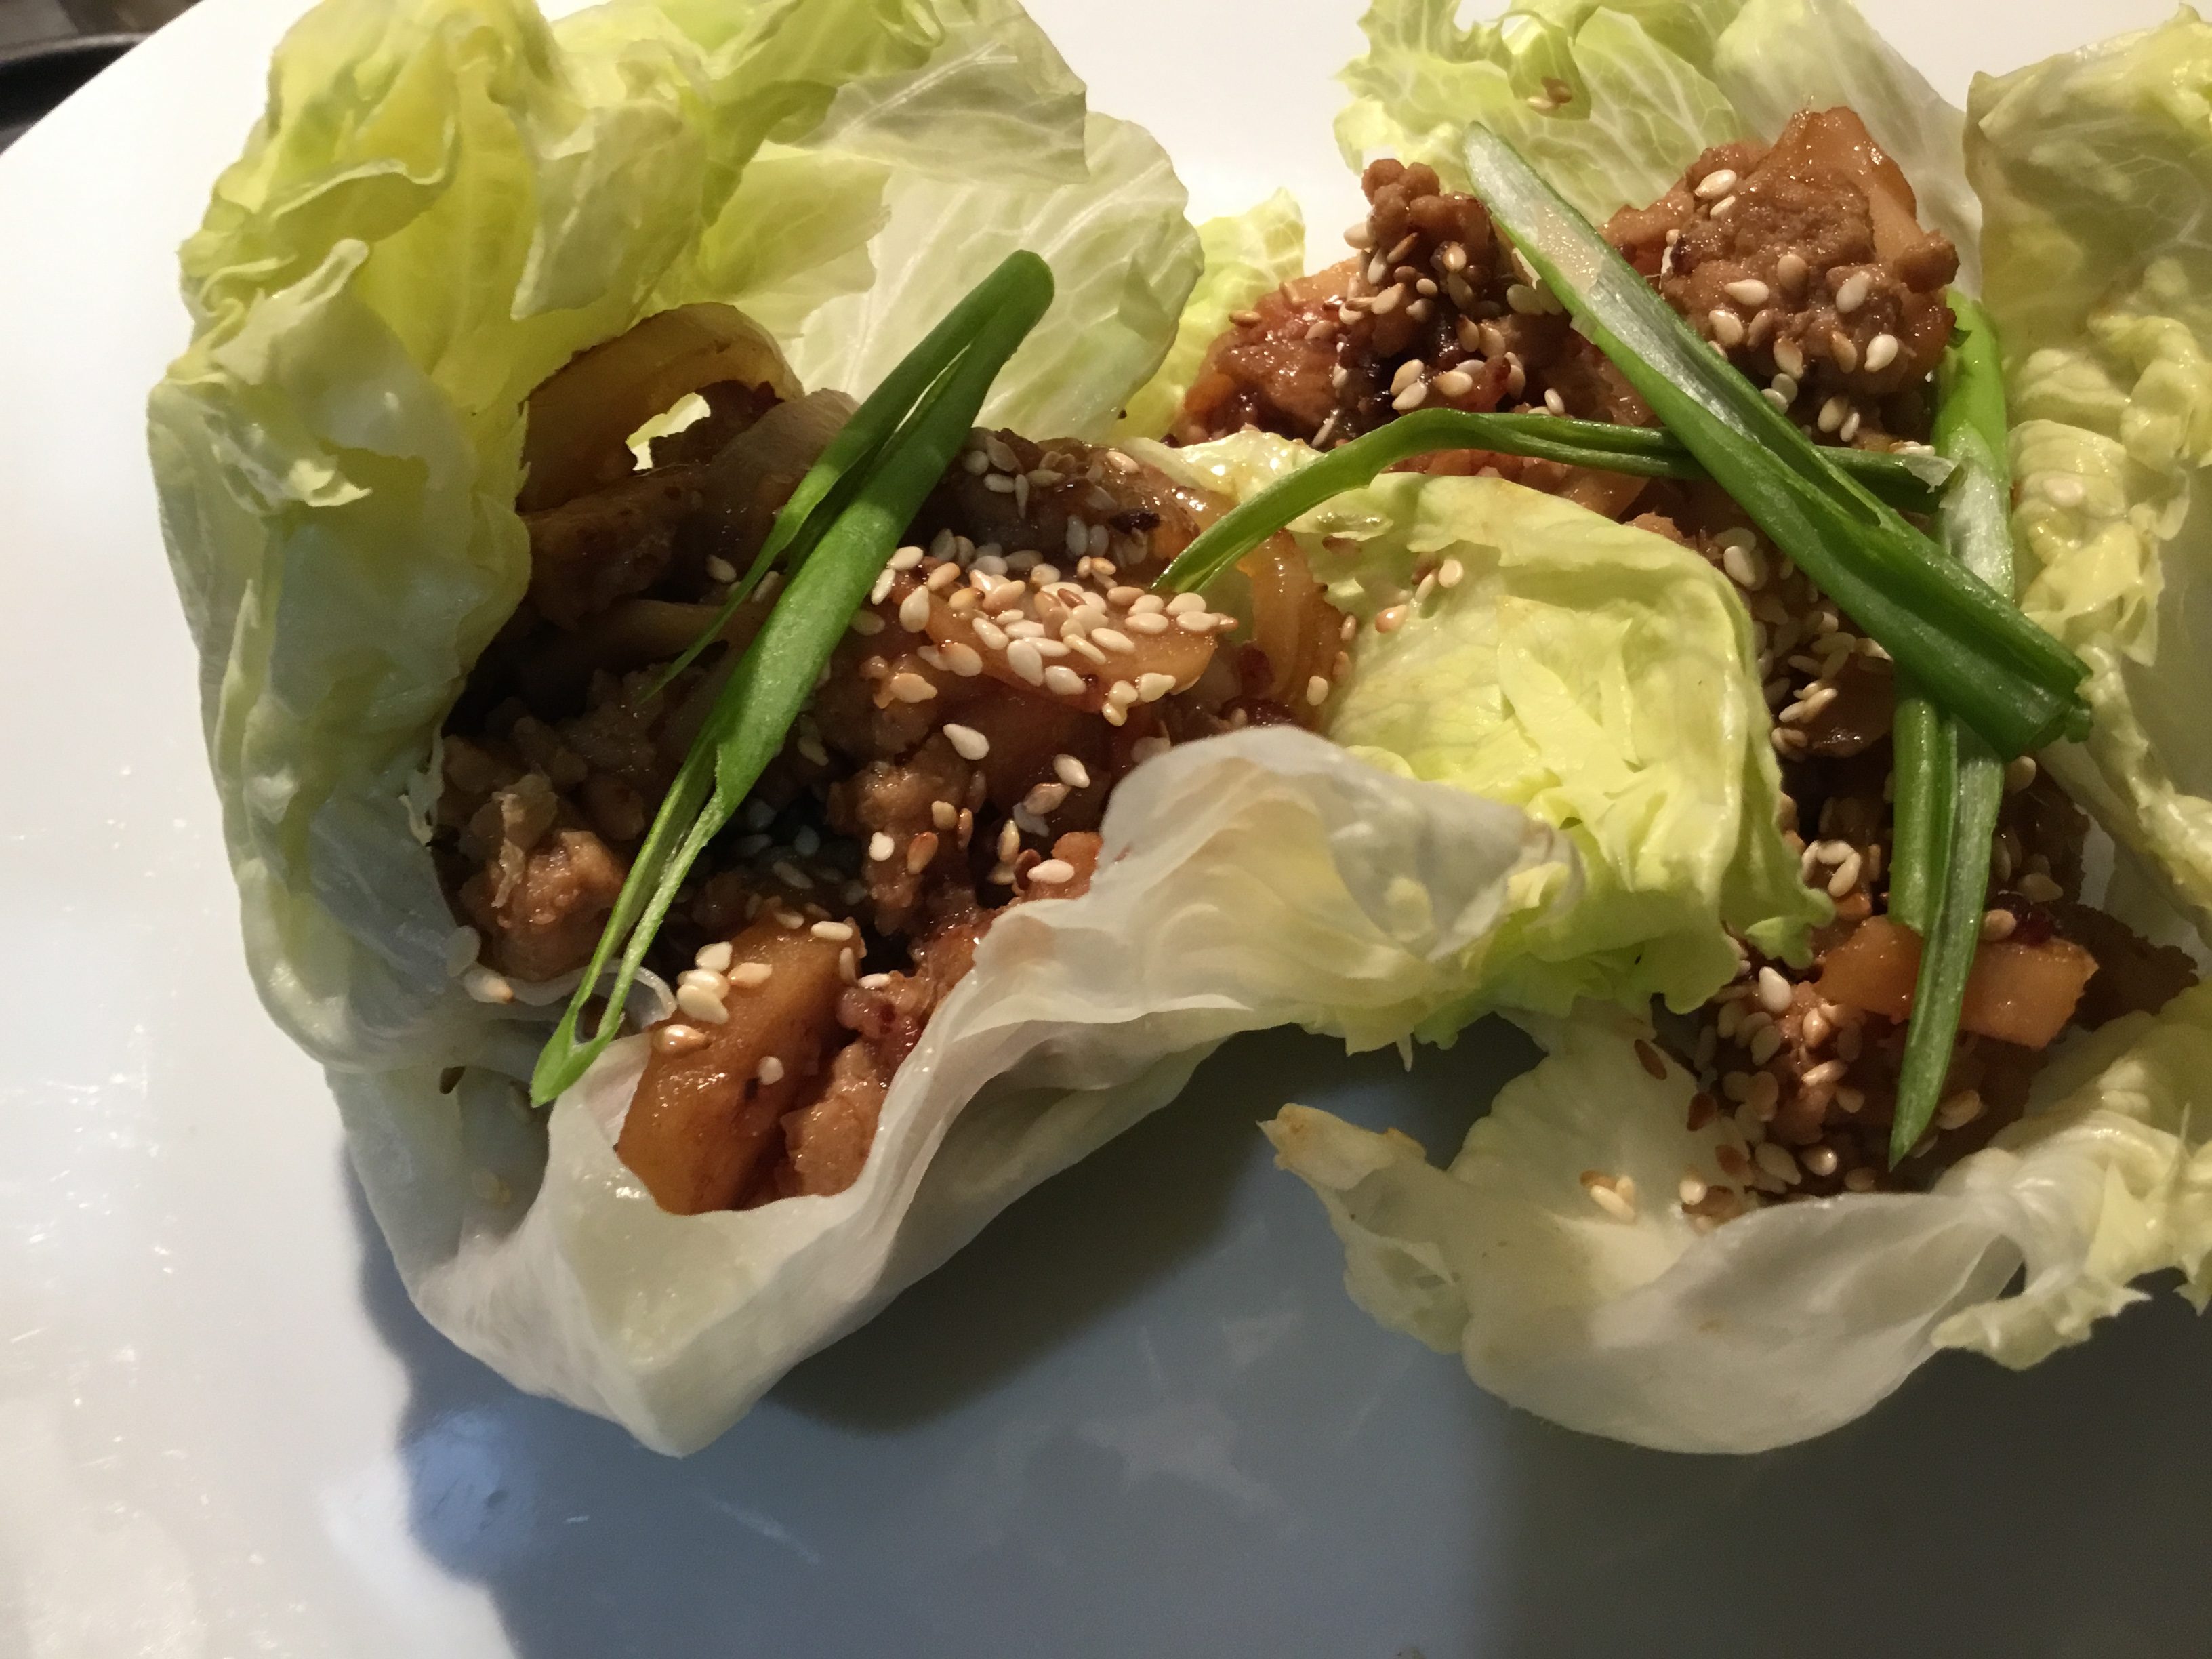
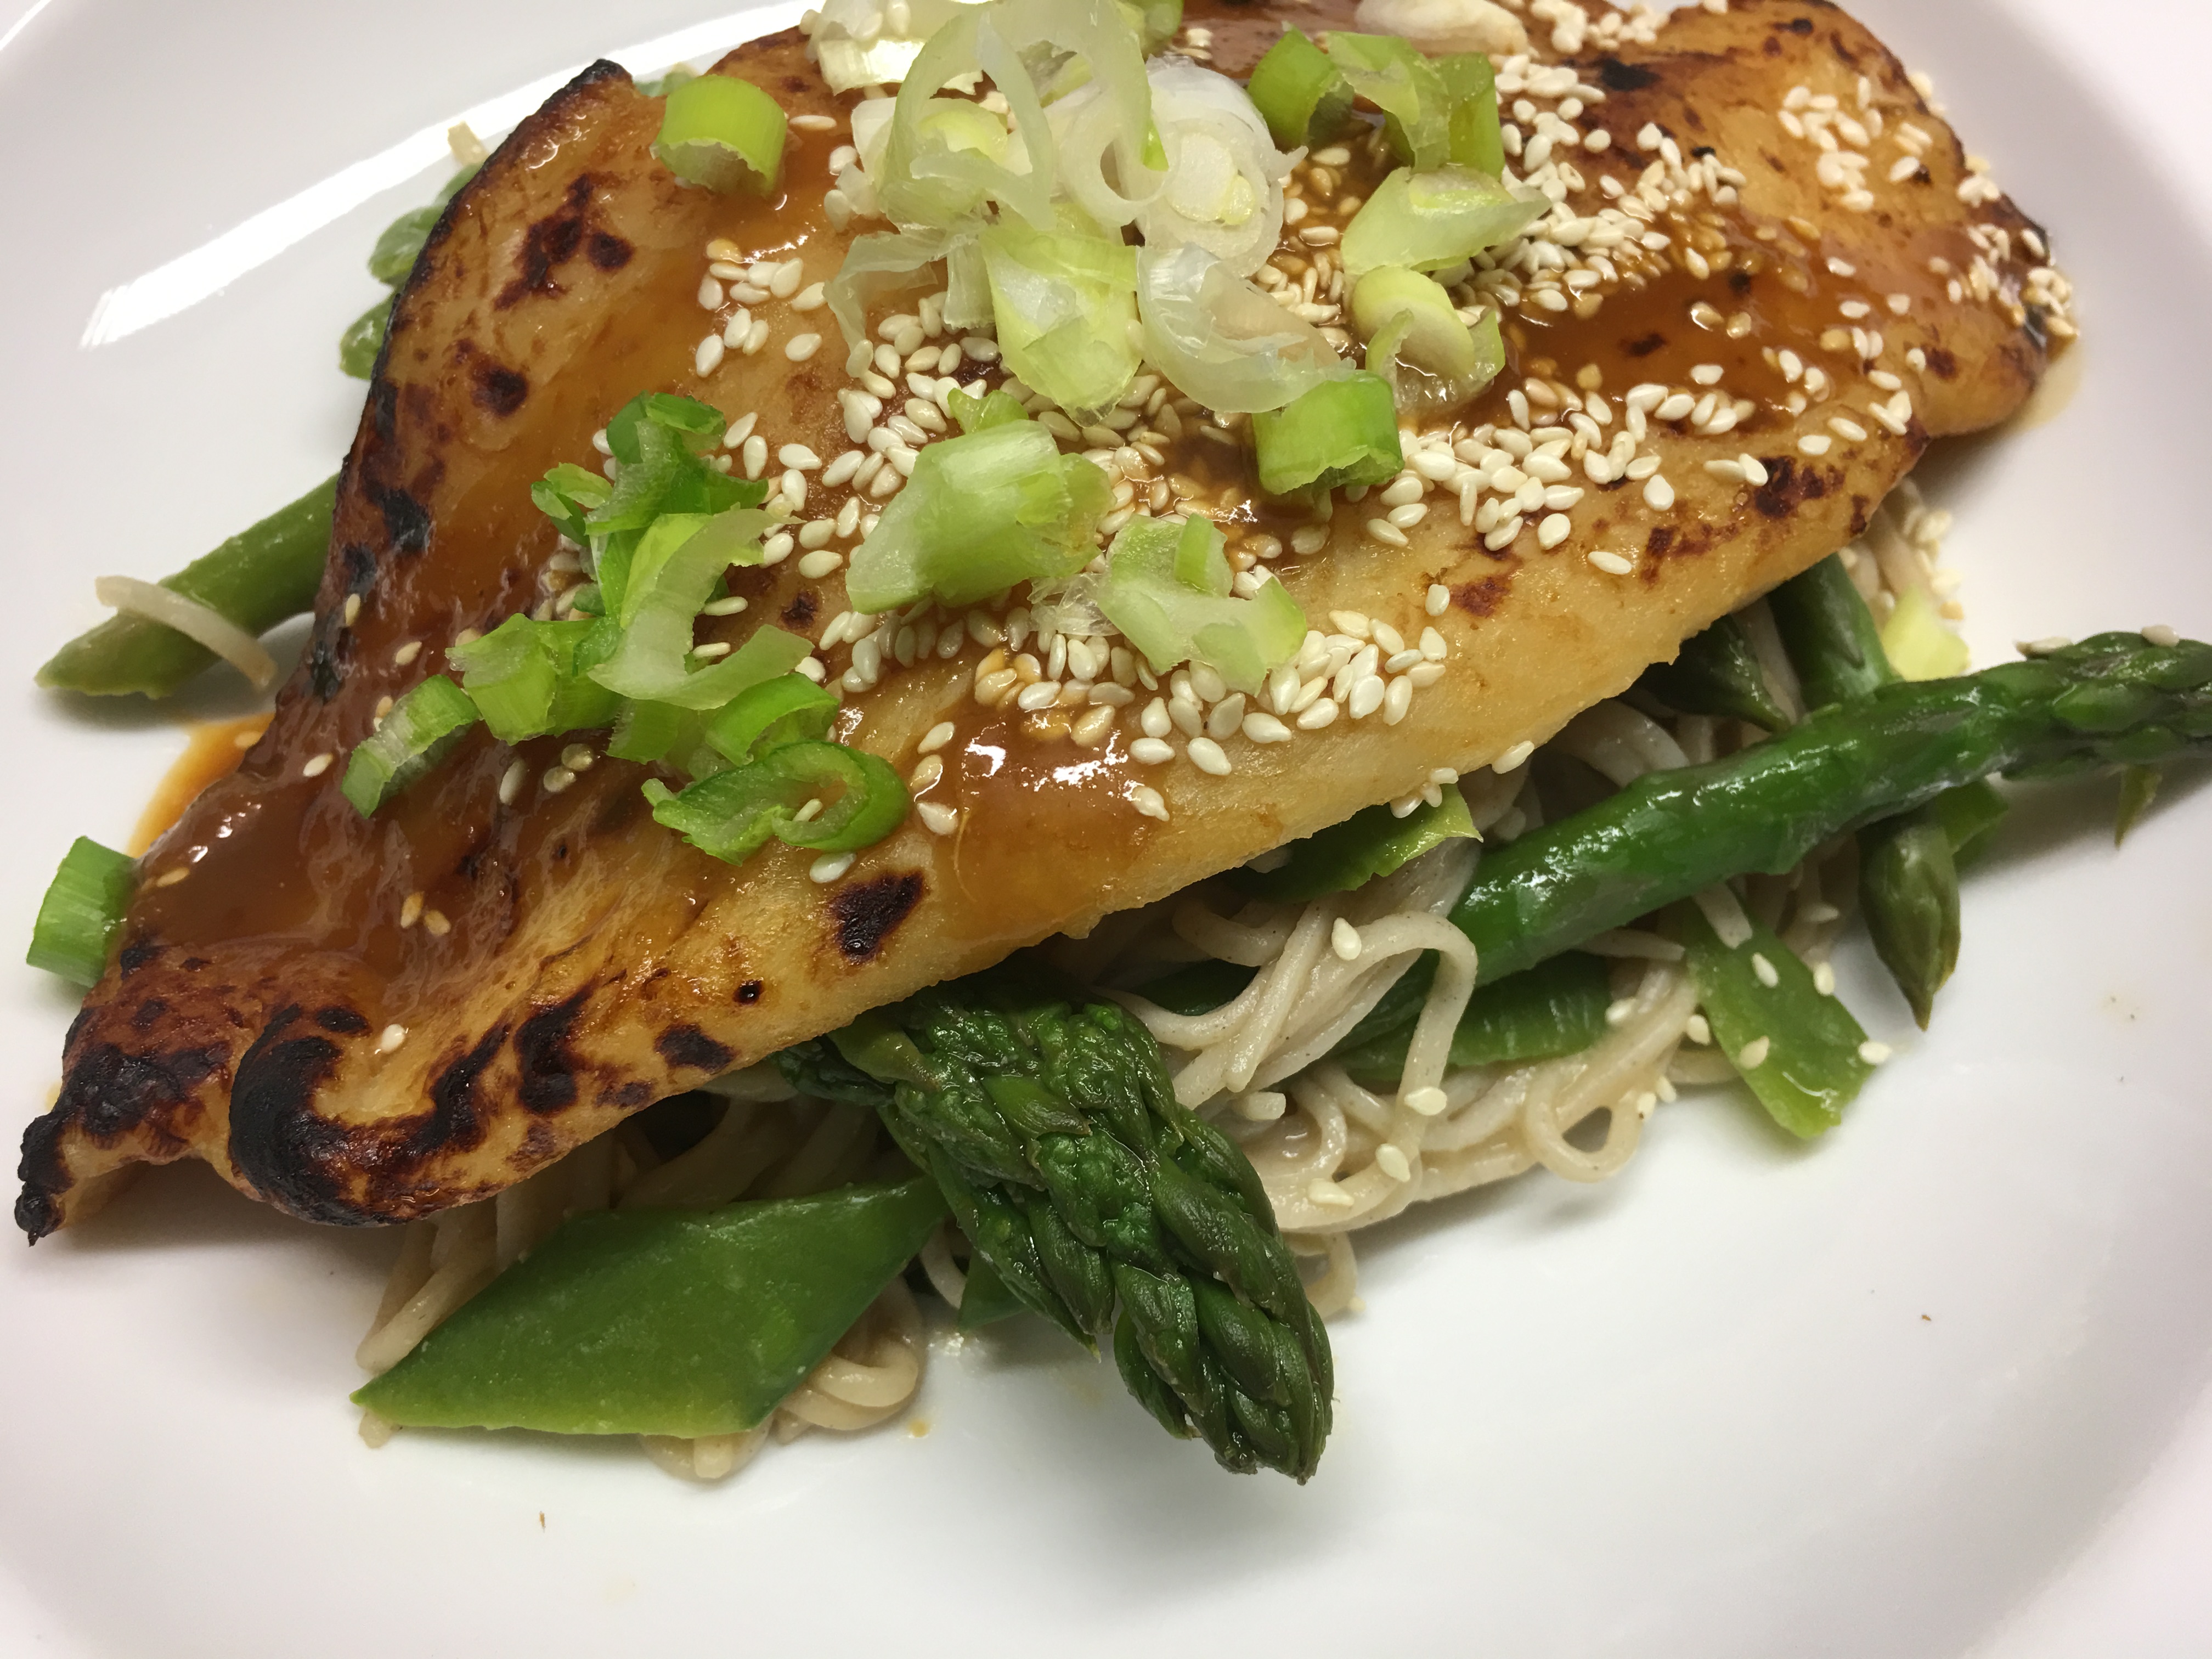
Crispy Chicken with Herb Sauce

My mother could make a chicken last three days, even though there were five of us in the family.

Roast on Sunday, curried or cold on Monday and soup on Tuesday. Nothing was wasted and the idea wasn’t to fill up on chicken, but on the accompaniments. There were always lots of roast vegetables with the Sunday roast, rice with the curry and herb dumplings and vegetables in the soup. Fortunately those days of austerity are gone.

I’m always looking for new ways to roast a whole chicken and this recipe, where you immerse it in brine overnight, caught my eye. It really does make a difference, resulting in very crispy skin and succulent meat. Serve it with roast potatoes and a green vegetable or salad. The sauce is delicious served with pretty much anything. Yes I know there’s only one lemon in the photo, but we were at the farm (45 minutes from the nearest shop) and I only had two and used one in the sauce!

Crispy Chicken with Herb Sauce

1 whole chicken, weighing about 1.8kg
3 lemons, cut in halves
Olive oil
Fresh herbs to garnish
Brine
3 Litres water
¾ cup salt
¾ cup sugar
1 tsp each coriander and cumin seeds
½ an onion peeled and chopped
3 cloves garlic, crushed
Freshly ground black pepper
1 Tbs chopped fresh thyme or 2 tsp dried
Herb Sauce
A handful each parsley, coriander and mint leaves
A handful of baby spinach leaves
2 Tbs tahini
100ml extra virgin olive oil
Finely grated rind and juice 1 lemon
1 clove garlic, crushed
2 Tbs water
Salt and freshly ground black pepper to taste

Place chicken on a chopping board, breast side down. Using poultry shears cut along one side of the backbone, then along the other side, remove and discard or keep for making stock. Turn chicken over and press hard on the breast bone to flatten it out.

Place all ingredients for brine in a large saucepan and bring to the boil. Cool then place chicken in the brine and refrigerate overnight, covered. Next day remove chicken from brine, pat dry with paper towels, then leave in the fridge on a plate, uncovered, for at least an hour and up to several hours, so the skin dries out. Discard the brine.

For the Herb sauce, place herbs and spinach leaves in a bowl and cover with boiling water. Drain, rinse under a cold tap, then squeeze out all the water, put into food processor with remaining ingredients and whiz till you have a thick green sauce.

Brush chicken and lemon halves all over with oil then place in a roasting pan and roast in a hot oven at 200°C or on a barbecue for about an hour, or until chicken is browned and crispy. Turn chicken and lemon halves over about halfway through cooking time.

When chicken is ready carve and arrange on serving platter with the lemon halves and some fresh herbs.

Serves 4

Boris and the Barbecue

Early in our marriage we were posted to Israel where we lived in the leafy suburb of Herzliyah Pituach, on the outskirts of Tel Aviv. It was one of the few times in our lives that we didn’t have a dog, but our neighbours had a boxer called Boris. They travelled a lot and Boris got lonely, so he spent as much time at our house as he did at theirs. When he felt the need for company he’d just turn up and we were always pleased to see him. Well, almost always.

A Minister was visiting from Queensland with his wife and secretary, so we invited them to join us for a very informal barbecue lunch. Matthew headed off late Saturday morning to pick them up, wearing jeans and an open-neck shirt.

Our guests arrived dressed to kill in white linen suits or similar attire. We sat in the garden sipping a glass of wine while Matthew lit the barbecue. Within five minutes Boris had arrived, his little stubby tail wagging excitedly as he sniffed the air in anticipation of things to come. He could smell a barbecue from a mile off.

Boris was a friendly soul and his usual way of greeting new friends was to slobber his way along their knees. As Matthew tried to stop him and apologise Mrs Minister said through clenched teeth “It’s okay we don’t mind dogs.” Her face said differently as she studied the remains of Boris’s breakfast, now smeared all over her white pants.

Matthew poured more wine, everyone relaxed and we moved to the table for lunch – barbecued lamb cutlets and salad, followed by apple strudel. Boris was starting to be a pain, snuffling under the table looking for scraps. Matthew escorted him home twice, but he kept coming back. We decided to give him a couple of chop bones at the far end of the garden, to keep him quiet.

Suddenly the sound of Boris choking interrupted the conversation. Matthew leapt up, rolled up his sleeve and thrust his hand down the dog’s throat to retrieve the bone. Our guests looked on in horror.

You will be relieved to know that Boris survived the ordeal and went on to attend many more barbecues, although bones were strictly off the menu. In honour of our dearly departed four-legged friend here’s a barbecue recipe without bones. It was given to me by an Australian friend in Israel and is very simple but always a winner. The quantities are flexible – if you use more pork just add more soy sauce, garlic and ginger!

Candy’s Barbecued Pork Rashers Candy's Barbecued Pork Rashers

800g to 1 kg pork belly rashers/slices
1/3 cup soy sauce
4 cloves garlic, crushed
1 Tbs grated or very finely chopped fresh ginger

If the pork slices have skin, remove it. If they’re very thick slices hammer them out a bit with a meat hammer. Mix soy sauce, garlic and ginger in a shallow dish. Add the pork and turn to coat thoroughly. Leave to marinate for a couple of hours or overnight. Cook for about 15 minutes or so on a hot barbecue, turning a couple of times, or until well cooked and crispy.

Serves 4

Warm Chickpea and Zucchini Salad

As I ate this salad I thought of my brother, who has been a vegan for the past few years. It’s one of the most delicious vegetarian dishes I’ve eaten in a long time.

If you’ve never tried frying canned chickpeas give it a try – it elevates them to a whole new level. Instead of the zucchini you could use broccoli, cauliflower, green beans or snow peas.

The recipe serves two as a light main course or four as a side dish, accompanied by grilled chicken or steak. It would also go well with barbecued lamb. To bulk up the salad to serve more people place a layer of rocket or other salad leaves, lightly dressed with vinaigrette over the base of the serving dish, then pile the salad on top.

Warm Chickpea and Zucchini Salad3 Tbs olive oil
3-4 zucchinis (courgettes) cut into 2cm chunks
1 can chick peas, rinsed, drained and dried with paper towel
3 cloves garlic, thinly sliced
2 Tbs balsamic vinegar (see note)
1 tsp coriander seeds
½ tsp cumin seeds
½ cup pepitas (shelled pumpkin seeds)
Salt and freshly ground black pepper
2 handfuls chopped fresh mint
2 handfuls chopped fresh parsley
100g marinated goat’s cheese or feta cheese

Heat about half the oil in a frying pan and cook the zucchini, chick peas and garlic for 5-8 minutes or until softening and browning a bit. Add salt, pepper and the vinegar and continue to cook, stirring for a minute or so. Scrape out into a serving dish. In a mortar and pestle, crush the seeds. Wipe out the pan and add the remaining oil. Add the pepitas and the crushed seeds and cook, stirring for 2-3 minutes or until the pepitas are starting to change colour and the pan smells fragrant. Add to the zucchini in the serving dish and mix gently. Top with the herbs and cheese and serve while still warm.

Serves 2 as a light main course

Note: I used caramelised balsamic vinegar which is a bit sweeter

The Best Guacamole

Many years ago I tried a fabulous Guacamole at the house of a Mexican diplomat. It’s so long ago I can’t even remember her name, but she gave me the recipe and I’ve been making it ever since. I guess you’d expect a Mexican to know how to make Guacamole.

I had been making my own version for years, but this authentic recipe taught me a couple of tricks. Firstly, don’t puree the avocados – mash them roughly with a fork so they remain a bit chunky. Secondly, a dash of cumin powder works wonders, although if you don’t like cumin you can always leave it out. Another tip is not to use overripe avocados as the dip will discolour very quickly if you do.

IMG_4089

2 large ripe but not overripe avocados, seeded and peeled
1 very small onion, grated (or ¼ medium onion)
½ clove garlic, crushed
2-3 tsp lime juice
2-3 tsp olive oil
2 Tbs chopped coriander
Salt and freshly ground black pepper, to taste
1 tsp ground cumin
½ tsp dried oregano
1 large tomato, peeled, seeded & diced (optional)
To serve:
Corn chips

Mash avocados roughly with a fork, then gently mix in remaining ingredients, except tomato. Cover with plastic wrap and chill. Fold in tomato just before serving. Garnish with extra chopped coriander or a few pieces of tomato and serve with corn chips.

Makes 1-2 cups

Note: instead of one large tomato use 3-4 baby ones (I used baby Roma). No need to peel, just remove seeds and dice.

Chocolate & Vanilla Cheesecake with Raspberries

I’ve always been a cheesecake fan, but I don’t like all cheesecakes, especially ones which are dry. This one is rich and creamy and not too sweet.

Chocolate, vanilla and raspberries go together extremely well, but if you prefer leave the cocoa powder out and just have a simple biscuit base. Vanilla paste is nicer than essence because it has the little black vanilla seeds in it.

Chocolate & Vanilla Cheesecake with Raspberries

Crust:
170g plain sweet biscuits (digestives, Nice, any will do)
3 Tbs cocoa powder
¼ cup sugar
125g unsalted butter, melted
Filling:
500g ricotta cheese
250g cream cheese at room temp
1 cup sugar
4 eggs
2 tsp vanilla essence or paste
Finely grated rind one lemon
Pinch salt
Topping:
2 cups sour cream
1 Tbs sugar
1 tsp vanilla essence or paste
Raspberries:
500g frozen raspberries
1 Tbs sugar (or to taste)

Place biscuits in food processor and process to fine crumbs. Add cocoa and sugar and blitz for 30 secs. Meanwhile in a mixing bowl melt the butter in microwave. Add biscuit crumbs and mix well.

Preheat oven to 150°C. Butter or oil a 22cm springform pan. Press biscuit crumbs over the base and about three quarters up the sides of the pan. Use your hands to coat the sides and a small glass to press down the bottom – try to avoid it being too thick where the sides meet the bottom. Place in the fridge or freezer.

Rinse out food processor. Place all ingredients for filling in food processor and mix until smooth, stopping to scrape down sides and checking there aren’t any large lumps of cream cheese left. Scrape into the biscuit lined pan, then bake for 40-50 mins or until cheesecake is set around the edges but still a bit wobbly in the middle. Mix all ingredients for topping and spread over the top. Put back in the oven for 8-10 mins until just set, then remove and cool. Run a knife around the edge to loosen and  when cold refrigerate overnight, covered.

Serve cheesecake with the raspberries which have been left to thaw in a bowl with the sugar, then gently stirred.

Serves 12-16

Variations: use gingersnap biscuits instead of plain ones and omit cocoa. Serve with fresh or frozen berries such as raspberries, strawberries, blueberries or slices of fresh mango.

Pork Fillets with Crunchy Potatoes and Mango Salsa

Roast Pork with apple sauce is a marriage made in heaven, but pork also goes well with other fruit. This mango salsa can be made in a jiffy and goes well with pork or chicken. If preferred just serve it with some grilled or pan-fried pork chops. Instead of mango try using fresh peaches or nectarines.

I’m a bit old-fashioned when it comes to pork, because (unlike beef) I like it cooked until it’s no longer pink, as you can see in the photo.

Pork Fillets with Crunchy Potatoes and Mango Salsa

4 medium potatoes, peeled
1 large or 2 smaller pork fillets (about 600g total)
Salt and freshly ground black pepper
Olive oil to spray or drizzle
1 Tbs butter
Salsa:
1 mango, peeled and cut into small cubes
1 small red chilli, seeded and finely chopped
½ red onion, finely chopped
1 Tbs fresh coriander, chopped
1 Tbs white wine or cider vinegar
1 Tbs olive oil
To serve:
A green vegetable such as steamed asparagus

Cook potatoes in boiling salted water until almost cooked. Drain then place on a baking tray lined with foil. Spray or drizzle with olive oil on both sides, then squash them a bit with a potato masher. Season with salt and pepper.

Preheat oven to 200°C. Heat butter in a frying pan with a metal handle that can go in the oven. Season pork all over then brown on all sides in the butter. Place potatoes in the top of the oven and 10 minutes later place the pork on the shelf below. Cook pork for 10-15 mins, by which time the potatoes should be nice and crispy. After ten minutes pork will still be a bit pink in the middle (except at the very thin end) whereas by 15 mins it should be more medium.

Meanwhile cook the asparagus and make the Salsa. For the Salsa mix all ingredients in a small bowl.

Slice pork and serve on a bed of crispy potatoes garnished with the asparagus and the salsa.

Serves 4

Rhubarb Syrup Crumb Cake

Rhubarb grows like a weed in our garden, so I’m constantly looking for new ways to cook it and giving away what we can’t eat.

This recipe by Annabel Crabb is so good you simply have to try it. I’ve adjusted the method slightly and cut down a bit on the sugar in the rhubarb. The cake would go well with other poached fruit, such as quinces, pears or figs and instead of almonds you could use walnuts or other nuts.

If you don’t like the acidity of sour cream or crème fraîche, serve with whipped cream or vanilla ice cream, but I think sour cream provides a perfect contrast to the sweetness of the cake.Rhubarb Syrup Crumb Cake

Cake:
100g almond meal (or make from whole or slivered blanched almonds)
1 heaped cup stale coarse breadcrumbs (preferably sourdough but any kind will do)
75g whole un-blanched almonds
1 cup caster sugar
4 eggs
¾ cup vegetable oil
½ tsp baking powder
Rhubarb:
400g rhubarb (as red/pink as possible)
½ cup water
3-4 Tbs sugar
To serve:
Sour cream or crème fraîche

Preheat oven to 170°C and grease a 20cm cake tin. If tin is metal line with baking paper, but if it’s silicone just spray with oil.

If you don’t have almond meal make your own: place blanched almonds in food processor and process till fairly fine, then tip into a bowl. Blitz bread in the processor until you have coarse crumbs then tip onto a baking tray. Add whole un-blanched almonds to the processor and chop coarsely, leaving some bits the size of a pea. Add to the breadcrumbs on the baking tray and spread out evenly. Place in the oven for about 5 mins or until golden then remove and cool. Watch carefully as they burn easily.

Place eggs and caster sugar in a large mixing bowl and whip with electric beaters until thick. Continue to whip while gradually adding the oil. With a spatula, fold in the almond meal, toasted breadcrumbs/almonds and baking powder, sifted. Tip into cake tin and bake for 45 mins or until golden, risen and firm to touch. Remove from the oven and when cool remove from tin. If cake has puffed up leaving a big air pocket underneath (mine did) just flatten it down gently with your hand.

Wash and trim rhubarb and cut into 4cm lengths. Place in a bowl with the water, mix to wet them all, then tip into a baking dish with the water and spread out in a single layer. Sprinkle evenly with sugar then bake for 10-15 mins or until tender but still holding its shape.

An hour or so before serving, drain rhubarb and keep the syrup. Pierce cake all over with a skewer and drizzle with the syrup. Serve each slice of cake with a pile of poached rhubarb and some crème fraîche or sour cream.

Serves 10

Useful Tip: don’t throw stale bread away. Make breadcrumbs in the food processor and store them in the freezer to make this cake or to use in a stuffing for roast chicken.

Gluten-Free Lasagne

When I told No. 2 son I was making a lasagne without pasta he was skeptical. You’ll be trying to get rid of the leftovers all week, he said. But it was a great success. Different to a traditional lasagne, but still delicious.

It comes from a new book called Simplicious which is all about using things up. It uses rice paper sheets instead of lasagne sheets and the sauce is thickened with cauliflower instead of flour, making it gluten-free and low in carbohydrates. But if you don’t have any rice paper sheets use any kind of pasta you have in your pantry – cooked in boiling water, unless it’s instant lasagne.

I’m not gluten intolerant, but you don’t need to be gluten intolerant to enjoy this recipe. It simply caught my eye because I had some rice paper sheets and nori (seaweed) sheets which had been sitting in the pantry forever and needed using up! I added cumin and sugar to the sauce and used mushrooms instead of grated pumpkin. Below I’ve offered a few other suggestions for varying the recipe to suit what you have on hand. It’s that kind of recipe – very adaptable!

Gluten-Free LasagneMeat Sauce:
1 Tbs oil
1 onion, finely chopped
500g minced beef or lamb
2 cups chopped mushrooms
2 cloves garlic, crushed
½ tsp cayenne pepper or chilli powder
½ tsp ground turmeric
1 tsp ground cumin
1 tsp oregano
1 can diced tomatoes
Salt and freshly ground black pepper
2 tsp sugar (optional)
1 cup water
Cheese and Cauliflower Sauce:
1 cauliflower cut into florets
40g butter
½ cup milk
½ cup grated Parmesan cheese
To assemble:
9 rice paper sheets
2 nori (seaweed) sheets, torn into pieces
2 cups baby spinach leaves
½ cup grated Parmesan cheese
Salt and freshly ground black pepper

Heat oil in a large frying pan and cook onion, mince, mushrooms and garlic for 5-7 mins, stirring often and breaking up the mince. Add remaining ingredients and simmer for 15-20 mins until thickened.

Meanwhile pre-heat oven to 180°C. Cook cauliflower in boiling salted water until tender then place in food processor with butter, milk and Parmesan. Whiz till smooth.

Grease a 22cm springform cake pan and line the bottom with baking paper. Spread a third of the meat sauce over the bottom, then 3 rice paper sheets, then a third of the cauliflower sauce. Next goes half the spinach leaves and half the nori. Repeat this again then finish with remaining meat sauce, rice papers and cauliflower sauce. Top with grated Parmesan. Bake 40 mins or until browned. Stand 10 mins then remove sides of pan. Serve with a mixed salad.

Serves 6

Variations and Substitutions:

  • Use a baking dish instead of a springform pan,
  • Use grated cheddar instead of Parmesan.
  • The original recipe uses 2 cups of grated pumpkin – I used mushrooms instead – you could also substitute grated carrot or zucchini (courgette).
  • To make a vegetarian version use 500g eggplants (aubergines) cut into small cubes instead of the mince.
  • If you don’t have any nori (seaweed) sheets just leave them out.

Glazed Cinnamon Rolls

This delicious recipe is adapted from one which appeared recently on the New York Times Cooking site.

The original version used two cups of brown sugar and one cup of icing sugar which seemed an awful lot, so I’ve cut it down to one cup of brown sugar and a quarter of a cup of icing sugar. The result is sweet enough for most people’s tastes, but if you have a sweet tooth make double the amount of glaze.

I left the bourbon whisky out of the glaze and made 12 slightly larger rolls instead of 18. If you like, add a tablespoonful of any whisky to the glaze. I made the dough in a food processor rather than a mixmaster because I do pretty much everything in my Magimix.

Glazed Cinnamon Rolls

1 cup milk
75g butter
3 cus plain flour
¼ cup brown sugar
2 tsp dry yeast
1 tsp salt
¾ tsp ground cardamom (or cinnamon)
1 egg
Filling:
50g butter
½ cup brown sugar
1½ tsp ground cinnamon
½ tsp ground nutmeg
Glaze:
¼ cup brown sugar
2 Tbs water
25g butter
1 tsp vanilla essence
¼ cup icing sugar, sifted

Heat milk for a minute in the microwave then add the butter and allow to melt. Place flour, sugar, yeast, salt and cardamom or cinnamon in a food processor. Process for a minute then gradually add the warm milk and butter and the egg through the feed chute with the motor running. When mixture forms a sticky ball stop the motor and tip dough onto a floured surface and knead for 3-4 minutes until smooth. Form into a ball and place in an oiled bowl. Cover with a tea towel and leave to rise in a warm place for 2-3 hours.

Meanwhile for the filling, heat butter in a small saucepan, swirling the pan from time to time, until it turns nut brown. Watch carefully as it won’t take long. Cool. Mix the brown sugar with the spices.

When dough has doubled in size tip onto a floured surface and roll into a 30×40 cm rectangle with a rolling pin. Brush with the brown butter leaving about a centimetre all round. Drizzle with any remaining butter, so you use it all. Sprinkle sugar and spice mixture all over then roll up from the long side. Cut into 12 even slices. Arrange slices evenly in a buttered 20x30cm rectangular roasting pan or baking tray – 3 one way and 4 the other – they will expand to fill the gaps. Leave to stand for 45 mins or until doubled in size.

Pre-heat oven to 180°C. Bake rolls for 20-25 mins then remove from the oven and allow to cool for 10 mins. Meanwhile for the glaze heat brown sugar, water and butter in a small saucepan for 2-3 mins, or until thickening. Add vanilla and icing sugar and continue to cook, stirring, until you have a nice thickish icing. Leave to cool until rolls are ready.

Drizzle glaze all over the rolls, then cool a bit so the icing firms up. Serve warm. Any leftover buns can be frozen or refrigerated for up to 3 days. Reheat in the oven before serving.

Makes 12 rolls

Lemon Slice

Having offered to take a dessert to a family picnic for more than twenty people I decided that a slice, which could be cut into 20 or 30 squares, was the answer.

For some time I’ve been wanting to create a lemon version of Galaktoboureku, the traditional Greek Custard Slice. I thought I would make a lemon-flavoured custard instead of the usual vanilla one, sandwich it between layers of crispy fillo pastry and drizzle it with lemon syrup, rather than a plain syrup which the Greek version uses.

Well here is the result. Matthew enjoyed the leftovers which I called Lemon Slice for his benefit. Any mention of custard would have put him off. For a smaller version just halve the recipe and make it in a standard 22cm cake tin.

Lemon Slice

125g butter, melted
About half a packet of Fillo pastry, thawed if frozen (about 16 sheets)
2½ cups milk
2 cups cream
1 cup sugar
1¼ cups (200g) semolina
4 eggs, beaten
2 cups Lemon Curd (preferably home-made)
Syrup:
Juice of 1 large or 2 smaller lemons
¾ cup sugar
To serve:
Whipped or pouring cream (optional)

Line a buttered 20x30cm roasting pan or deep baking tin with about 8 layers of fillo pastry, brushing each sheet with melted butter and cutting or overlapping the sheets as necessary. If the pan is non-stick you don’t need to line it with baking paper, but if in doubt you’re better off doing so.

Preheat oven to 160°C. Heat milk, cream and sugar until simmering point, then add semolina and cook, stirring, until thickened. Add lemon curd and beaten eggs and mix thoroughly. Pour into the pan and spread evenly. Cover with another 8 layers or so of fillo pastry, brushing each one with melted butter.

Bake for 45 mins or until set and lightly golden. Meanwhile heat lemon juice and sugar in a small saucepan and simmer the syrup for a minute then cool a bit.

Remove slice from the oven and drizzle the warm lemon syrup evenly over the top. Cool then cut into squares. Serve warm or cold, with or without whipped cream or pouring cream.

Cuts into about 20 or more small squares