On a recent trip to Denmark we spent a couple of nights with our dear friend Remar Sutton. During the European summer Remar lives in a delightful thatched cottage in the grounds of Ledreborg castle. When the weather in Denmark starts to get nippy he moves to his other abode in the British Virgin islands, for the winter months.
Born in south Georgia USA, Remar is softly-spoken with a charming Southern lilt. So far he has led a full and very interesting life and I can’t see him slowing down any time soon. Washington post columnist, author, consumer and privacy rights advocate, he’s currently, amongst other things, Pro Bono Chairman of the Foolproof Financial Literacy Initiative. This scheme provides free and independent consumer and financial advice to young people and adults, to help them make sound financial decisions and avoid scams and fraud.
Remar regularly entertains eclectic groups of about 30 guests, ranging in age from late teens to nonagenarians. Having a zest for life and an opinion seem to be the only prerequisites for being invited.

 The flickering citronella torches lining the paths and surrounding the protected sunken garden showed people the way. Bottles of wine and glasses were lined up, so guests could help themselves.
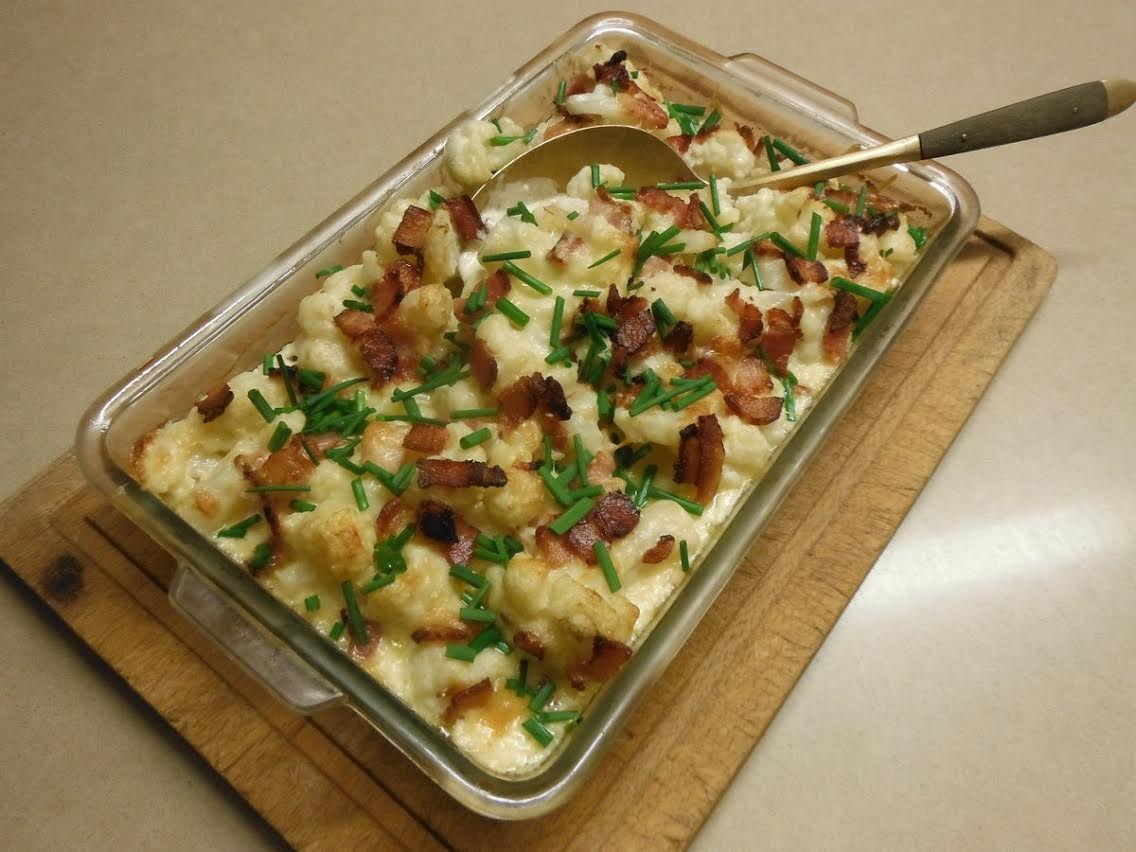
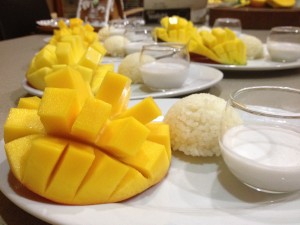
Remar is a seasoned host and has his culinary repertoire down to a fine art. Tender barbecued pork fillets were sliced and accompanied by colourful platters of asparagus spears and fresh mango slices. Crusty bread, a crock of Danish butter, steamed rice and Remar’s delicious Broccoli, Bean and Nut Salad completed the main course, with fresh blueberries and cream for dessert. The secret to feeding a crowd is to keep it simple.
Some of the guests sat outside and ate under the stars. Others found a spot in one of the two hexagonal glass atriums, where it was warmer. After coffee the evening grew cooler and some of the older guests set off to drive back to Copenhagen. The remaining few sat around the blazing fire pit, wrapped in shawls to keep the chill off our backs. The conversation was lively as we put the world to rights until the wee hours.
Remar’s Bean and Nut Salad makes enough to feed a crowd, but it’s easy to halve or quarter the quantities. It keeps in the fridge for up to four days, so any leftovers won’t go to waste. The recipe is fairly flexible, allowing you to adjust it according to what you have available. Pick your favourite nuts, including some cashews, for the nut mix.
 6 cups broccoli florets (small ones no bigger than 2cm)
Salt and freshly ground black pepper, to taste
1 can sweetcorn kernels, drained (or use frozen or fresh kernels)
2 cans red kidney beans, drained and rinsed
2 cans firm white beans, drained and rinsed
1 can chick peas, drained and rinsed
4 cups mixed nuts
2-3 cups raisins or sultanas
2 cups dried cranberries or Goji berries
2 cups pomegranate seeds (if available)
Dressing:
¼ cup Extra Virgin olive oil
¼ cup Balsamic vinegar, preferably white
1 Tbs sugar
Cook broccoli in a covered bowl or in a plastic bag with a tablespoon of water for 2 minutes on High, then drain and season generously with salt and pepper. Mix all ingredients together except for pomegranate seeds and shake dressing in a jar.
Mix dressing into salad then cover and refrigerate for several hours for flavours to blend. If preferred add the nuts just before serving, but Remar says they are nicer when they’ve absorbed some of the flavours. Tip salad into serving dish and top with the pomegranate seeds.
Keeps in the fridge for up to 4 days.
Serves at least 20

 Blueberry Parfaits – in tall parfait glasses or tumblers place a dollop of whipped cream or thick Greek yoghurt, a dollop of
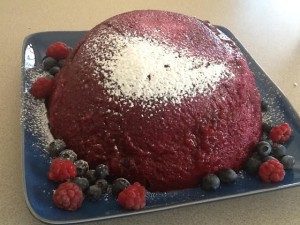 750g mixed red berries, thawed if frozen
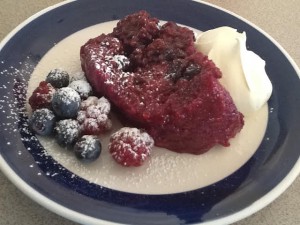 Using a slotted spoon, half fill basin with fruit, then a layer of bread, fill with remaining fruit and cover with bread. Spoon in enough juice to fill the basin. Use a knife around the edge of the bowl to make sure the juice goes down and colours all the bread. You will probably use it all. Place a small plate and a 1 kg weight on top and stand the bowl in a dish to catch juices. Refrigerate overnight.
 ½ cup raw buckwheat (from Health Food shops)
 4 chicken breasts