Mid-week Pork Stir-Fry

Try this delicious mid-week stir fry. Easy peasy and adaptable. I forgot to put the chilli on top for the photo. Leave it out for kids or anyone who doesn’t like things spicy. I’ve made this once a week for the past month and each time varied the recipe a bit. It’s always good. If preferred, leave out the noodles and serve with steamed rice.


600g pork, thinly sliced
2 Tbs brown sugar
1½ Tbs soy sauce
½ tsp Chinese five spice
2 tsp fish sauce
200g dried Asian noodles (e.g. rice noodles)
2 Tbs oil
1 red or white onion cut into eighths
1 Tbs grated ginger
2 cloves garlic, crushed
1 red capsicum, thinly sliced
1 carrot, halved and sliced
200g snow peas, trimmed
¼ cup chicken or vegetable stock
¼ cup oyster sauce
¼ cup roasted cashews or peanuts or a mixture
1 small red chilli, seeded and thinly sliced (optional)

Combine pork, sugar, soy sauce, five spice and fish sauce in a bowl. Cook noodles according to packet instructions and drain well. Heat 1 Tbs oil in a wok or large frying pan and stir-fry the pork over high heat in two batches for 1-2 minutes. Transfer to a bowl.

Add remaining 1 Tbs oil to the wok and over high heat stir-fry the onion, ginger, garlic, capsicum and carrot for 5 minutes. Add pork, snow peas, stock, oyster sauce and stir fry for 2-3 minutes. Mix in the noodles and a dash of water if it’s a bit dry. Serve garnished with the nuts and the chilli.

Substitutions:
– beef or chicken thighs instead of pork
– broccoli florets, green beans, spinach, asparagus or bok choy instead of snow peas

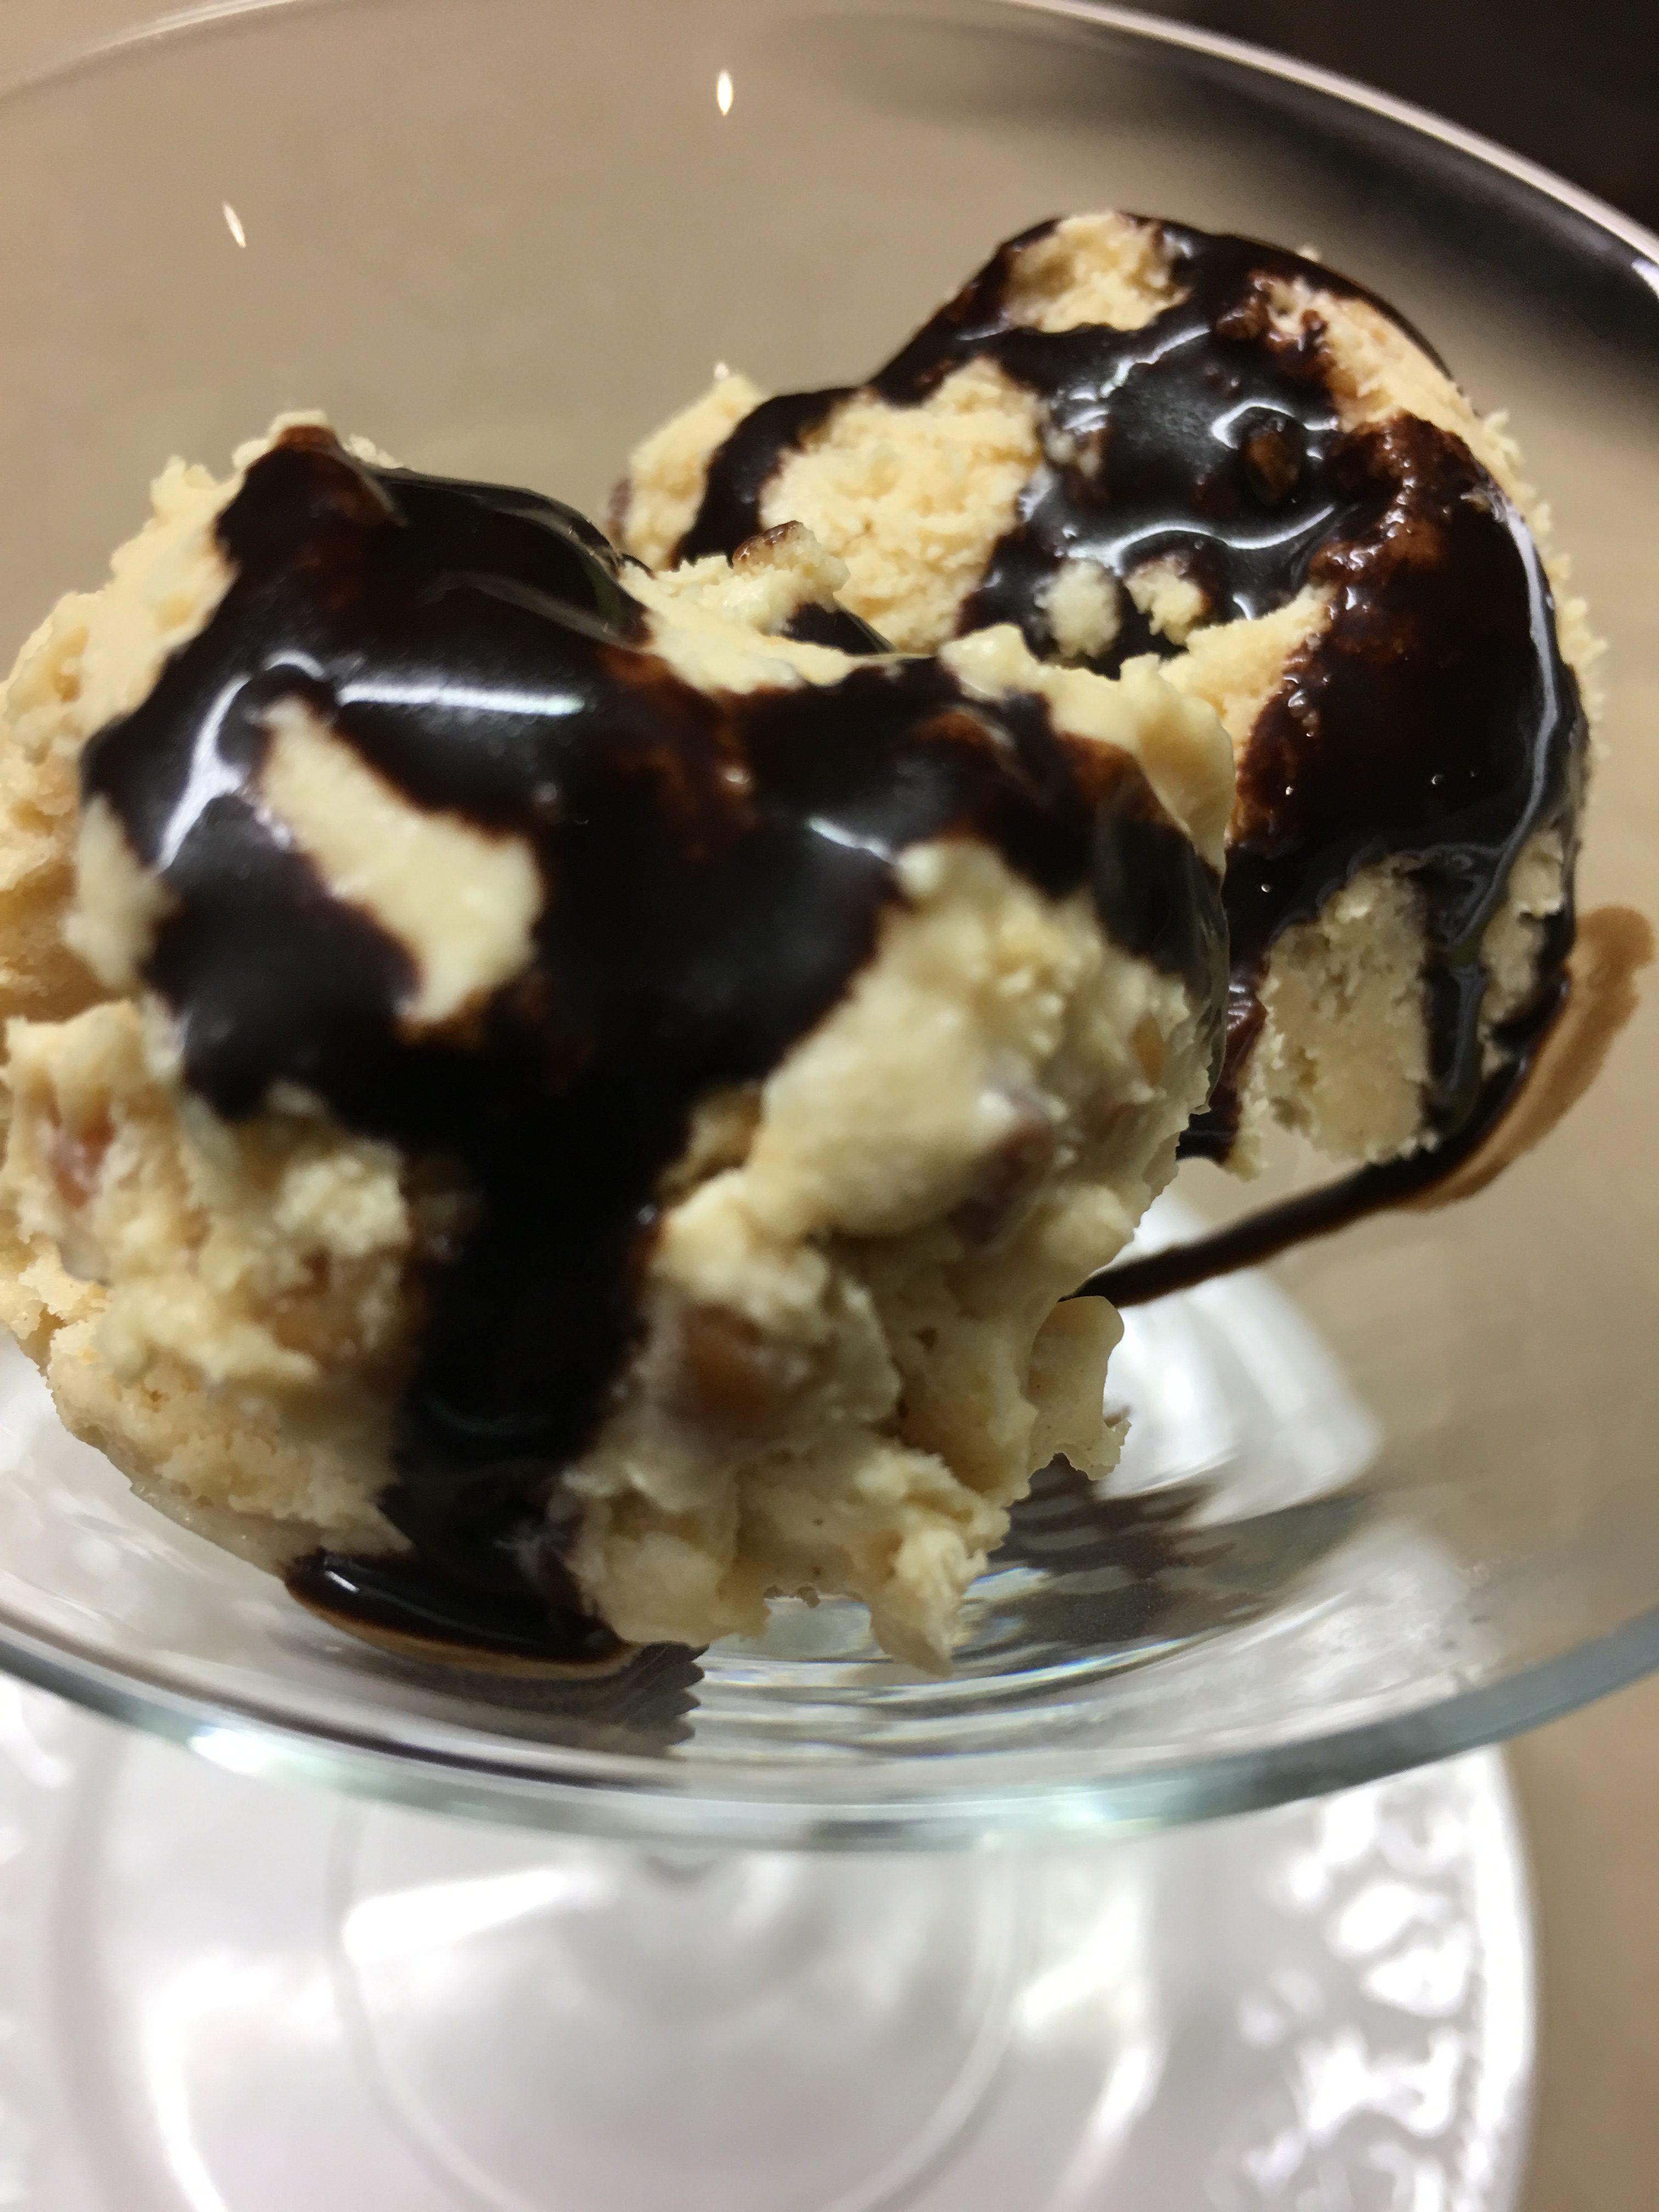
Peanut Butter Ice Cream with Chocolate Sauce

When the kids were growing up I used to make a quick and easy chocolate sauce with a recipe from my mother in law. It goes well with ice cream, waffles and pancakes and disappeared faster than I could make it.

On a recent trip to Denmark  we spent a delightful weekend with our dear friends Vickie and Frants on the island of Fyn. Vickie served a delicious chocolate sauce with ice cream and when she explained the recipe I realised it was almost identical to mine, which I hadn’t made in ages.

Last weekend I went on a bit of a cooking spree and made a few things for the fridge and freezer, including peanut butter ice cream and chocolate sauce to serve with it. For Matthew, not the kids who are long gone. The recipe makes about a cup of sauce, so if you have a house full of kids you might like to double it. If you can’t find golden syrup, honey or maple syrup should work. The ice cream is very quick to make and you don’t need an ice cream machine.

Peanut Butter Ice Cream:
1 cup peanut butter (smooth or crunchy)
A generous ½ cup of sugar
600 ml cream
125 ml milk
1 tsp vanilla essence
A pinch of Maldon salt flakes
Chocolate Sauce:
½ cup water
½ cup sugar
4 Tbs cocoa powder
2 Tbs Golden Syrup
A piece of butter the size of a walnut
1 tsp vanilla essence

For the ice cream, use electric beaters to mix the peanut butter with the sugar until smooth. Gradually beat in the cream and milk and continue beating until thick. Add the vanilla and salt, then scrape into a plastic container and freeze.

For the sauce, place all ingredients except the butter and vanilla in a large saucepan, as it tends to bubble up. Heat, while whisking until smooth, then boil at a steady boil without stirring for 4-5 mins. Remove from the heat, add the butter and vanilla. Serve immediately or store in the fridge, covered and reheat in the microwave for about 30 secs. If it gets a bit thick add a tablespoon or so of water before heating. And if it’s too “dark” add some cream.

Serve ice cream topped with the sauce.

Makes about 1 litre of ice cream and 1 cup of sauce


Portuguese Tarts

Portuguese tarts are famous around the world. Creamy custard filling, encased in flaky pastry then cooked in a hot oven until they start to blister on top. They’re best eaten freshly made, but if there are any left over pop them into a moderate oven for a few minutes to crisp up the pastry again.

1 large egg
2 large egg yolks
½ cup sugar
2 Tbs cornflour
200 ml milk
200 ml cream
1 tsp vanilla essence
About 350g bought puff pastry (or make your own)

In a large saucepan use a balloon whisk to combine all ingredients except the pastry. Bring mixture to the boil, whisking all the time, until thickened. Cover with plastic wrap and refrigerate until chilled.

Pre-heat oven to 200°C. Grease 12 x 1/3 cup muffin pans. Roll out pastry and cut circles to fit the pans. Divide filling between the pastry cases – I managed to get 11 rather than 12. Bake for 20 minutes or until custard starts to brown. If you are able to switch your oven from Bake to Grill, or even better Fan Grill, for the last few minutes it will be easier to brown the tops of the tarts the way they do in Portugal, so they are a bit blackened.

Serve warm or at room temperature.

Makes about 12

Peanut Butter Balls

If I make a recipe and Matthew says he really likes it I never make it again. Well that’s his story, which is a real exaggeration. When he tells people this sob story I usually roll my eyes.

One of his absolute favourites is Peanut Butter Balls, which taste a bit like the American chocolates by Reece’s, called Peanut Butter Cups. If Matthew had his way I would make them every week, but they’re fiddly and time-consuming. Not the initial mixing, but the coating in melted chocolate. And they all disappear in no time flat.

Once I made them a few days before friends came around for dinner. I was planning to serve them with coffee, but guess what, they had all disappeared. So the next time I sneakily put them in the freezer, but that didn’t work either. Matthew found them and informed me smugly that peanut butter balls thaw nicely in the time it takes to boil the kettle.

So to put a smile on his face I made a batch for him to share with our son-in-law on Father’s Day next Sunday.


1 cup smooth peanut butter
125g butter
3 cups Rice Bubbles (Rice Krispies)
1 cup icing sugar, sifted
300g dark or milk chocolate, or half and half
A small piece of Copha (or coconut oil) the size of a large walnut

Place peanut butter and butter in a bowl, cover then zap in the microwave for a minute or two to melt. Mix in rice bubbles and icing sugar then refrigerate for an hour or until firm. Line a baking tray or two with baking paper. Scoop out heaped teaspoonsful and arrange on the trays. Refrigerate again until firm, then use your hands to squeeze them into nice round balls. Put back in the fridge while you prepare the chocolate.

Place chocolate squares in a bowl with the Copha or coconut oil over a pan of simmering water. When melted and smooth remove chocolate from the heat and take the balls out of the fridge. Coat each one in chocolate using two forks and leave to set on the paper-lined trays. Work quickly otherwise they will start to fall apart. Find somewhere to hide them in the fridge!

Makes about 50


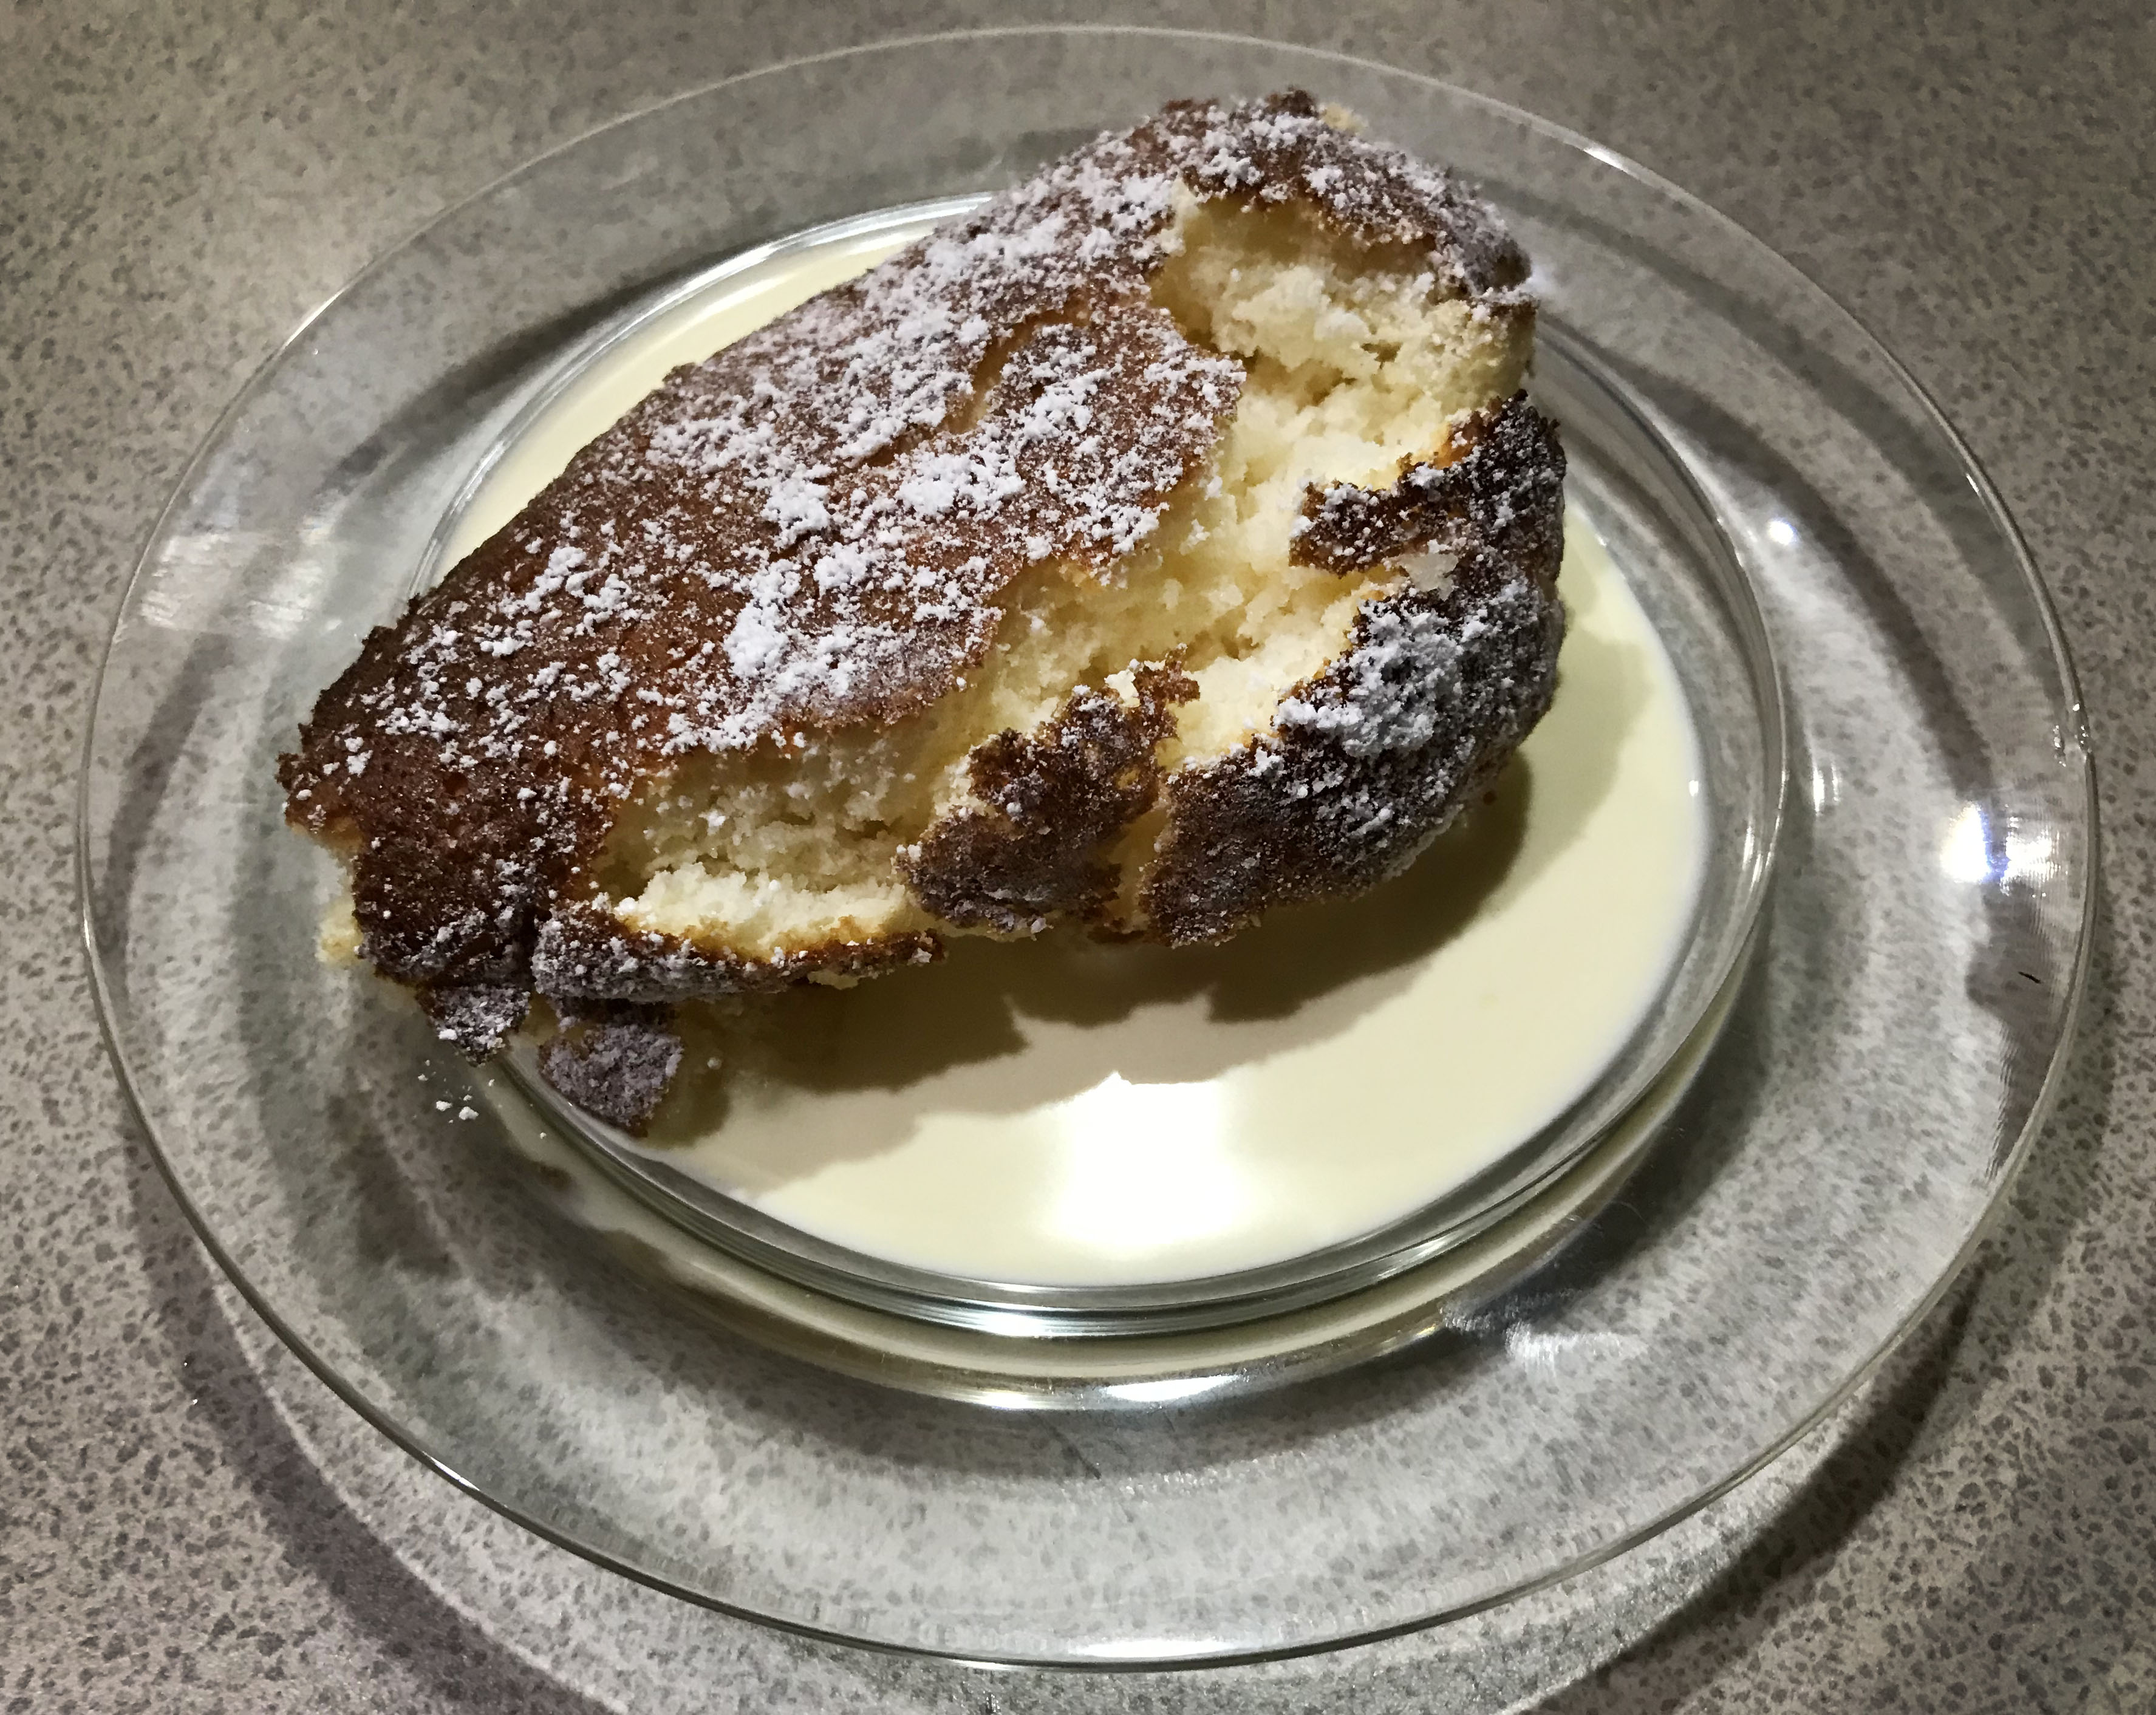
Lemon Delicious Pudding

This popular Australian and New Zealand dessert was in the repertoire of all grannies and mothers in law when I got married and moved to Canberra from the UK in the 1970s. As it bakes, the pudding separates, leaving a light sponge on top and a delicious lemon sauce underneath. Many Canberrans have a lemon tree in their garden making this an ideal winter dessert.

4 eggs
50g butter at room temp
1 cup sugar
Grated rind of 1 lemon
1 cup self-raising flour, sifted
1 cup milk
2/3 cup lemon juice
To serve:
Icing sugar
Thick pouring cream

Preheat oven to 180°C. Separate eggs and place yolks in the food processor with ¾ cup of the sugar and the remaining ingredients. Mix until combined, stopping halfway to scrape down the sides. Place the whites in a bowl and whip with electric beaters until soft peaks form. Add remaining ¼ cup sugar and continue beating until you have a shiny meringue.

Scrape the mixture from the food processor into the meringue and fold it all together, gently but thoroughly, with a spatula. Tip mixture into a buttered pie dish or individual ramekins, place in a roasting pan or large dish and add boiling water to come halfway up the pudding dish. Bake for 35 minutes, or until just set and golden. Individual puddings will take less time than one big dish. Don’t overcook or the lemon sauce will be absorbed into the topping and disappear.

Dust with icing sugar and serve warm with cream.

Serves 6

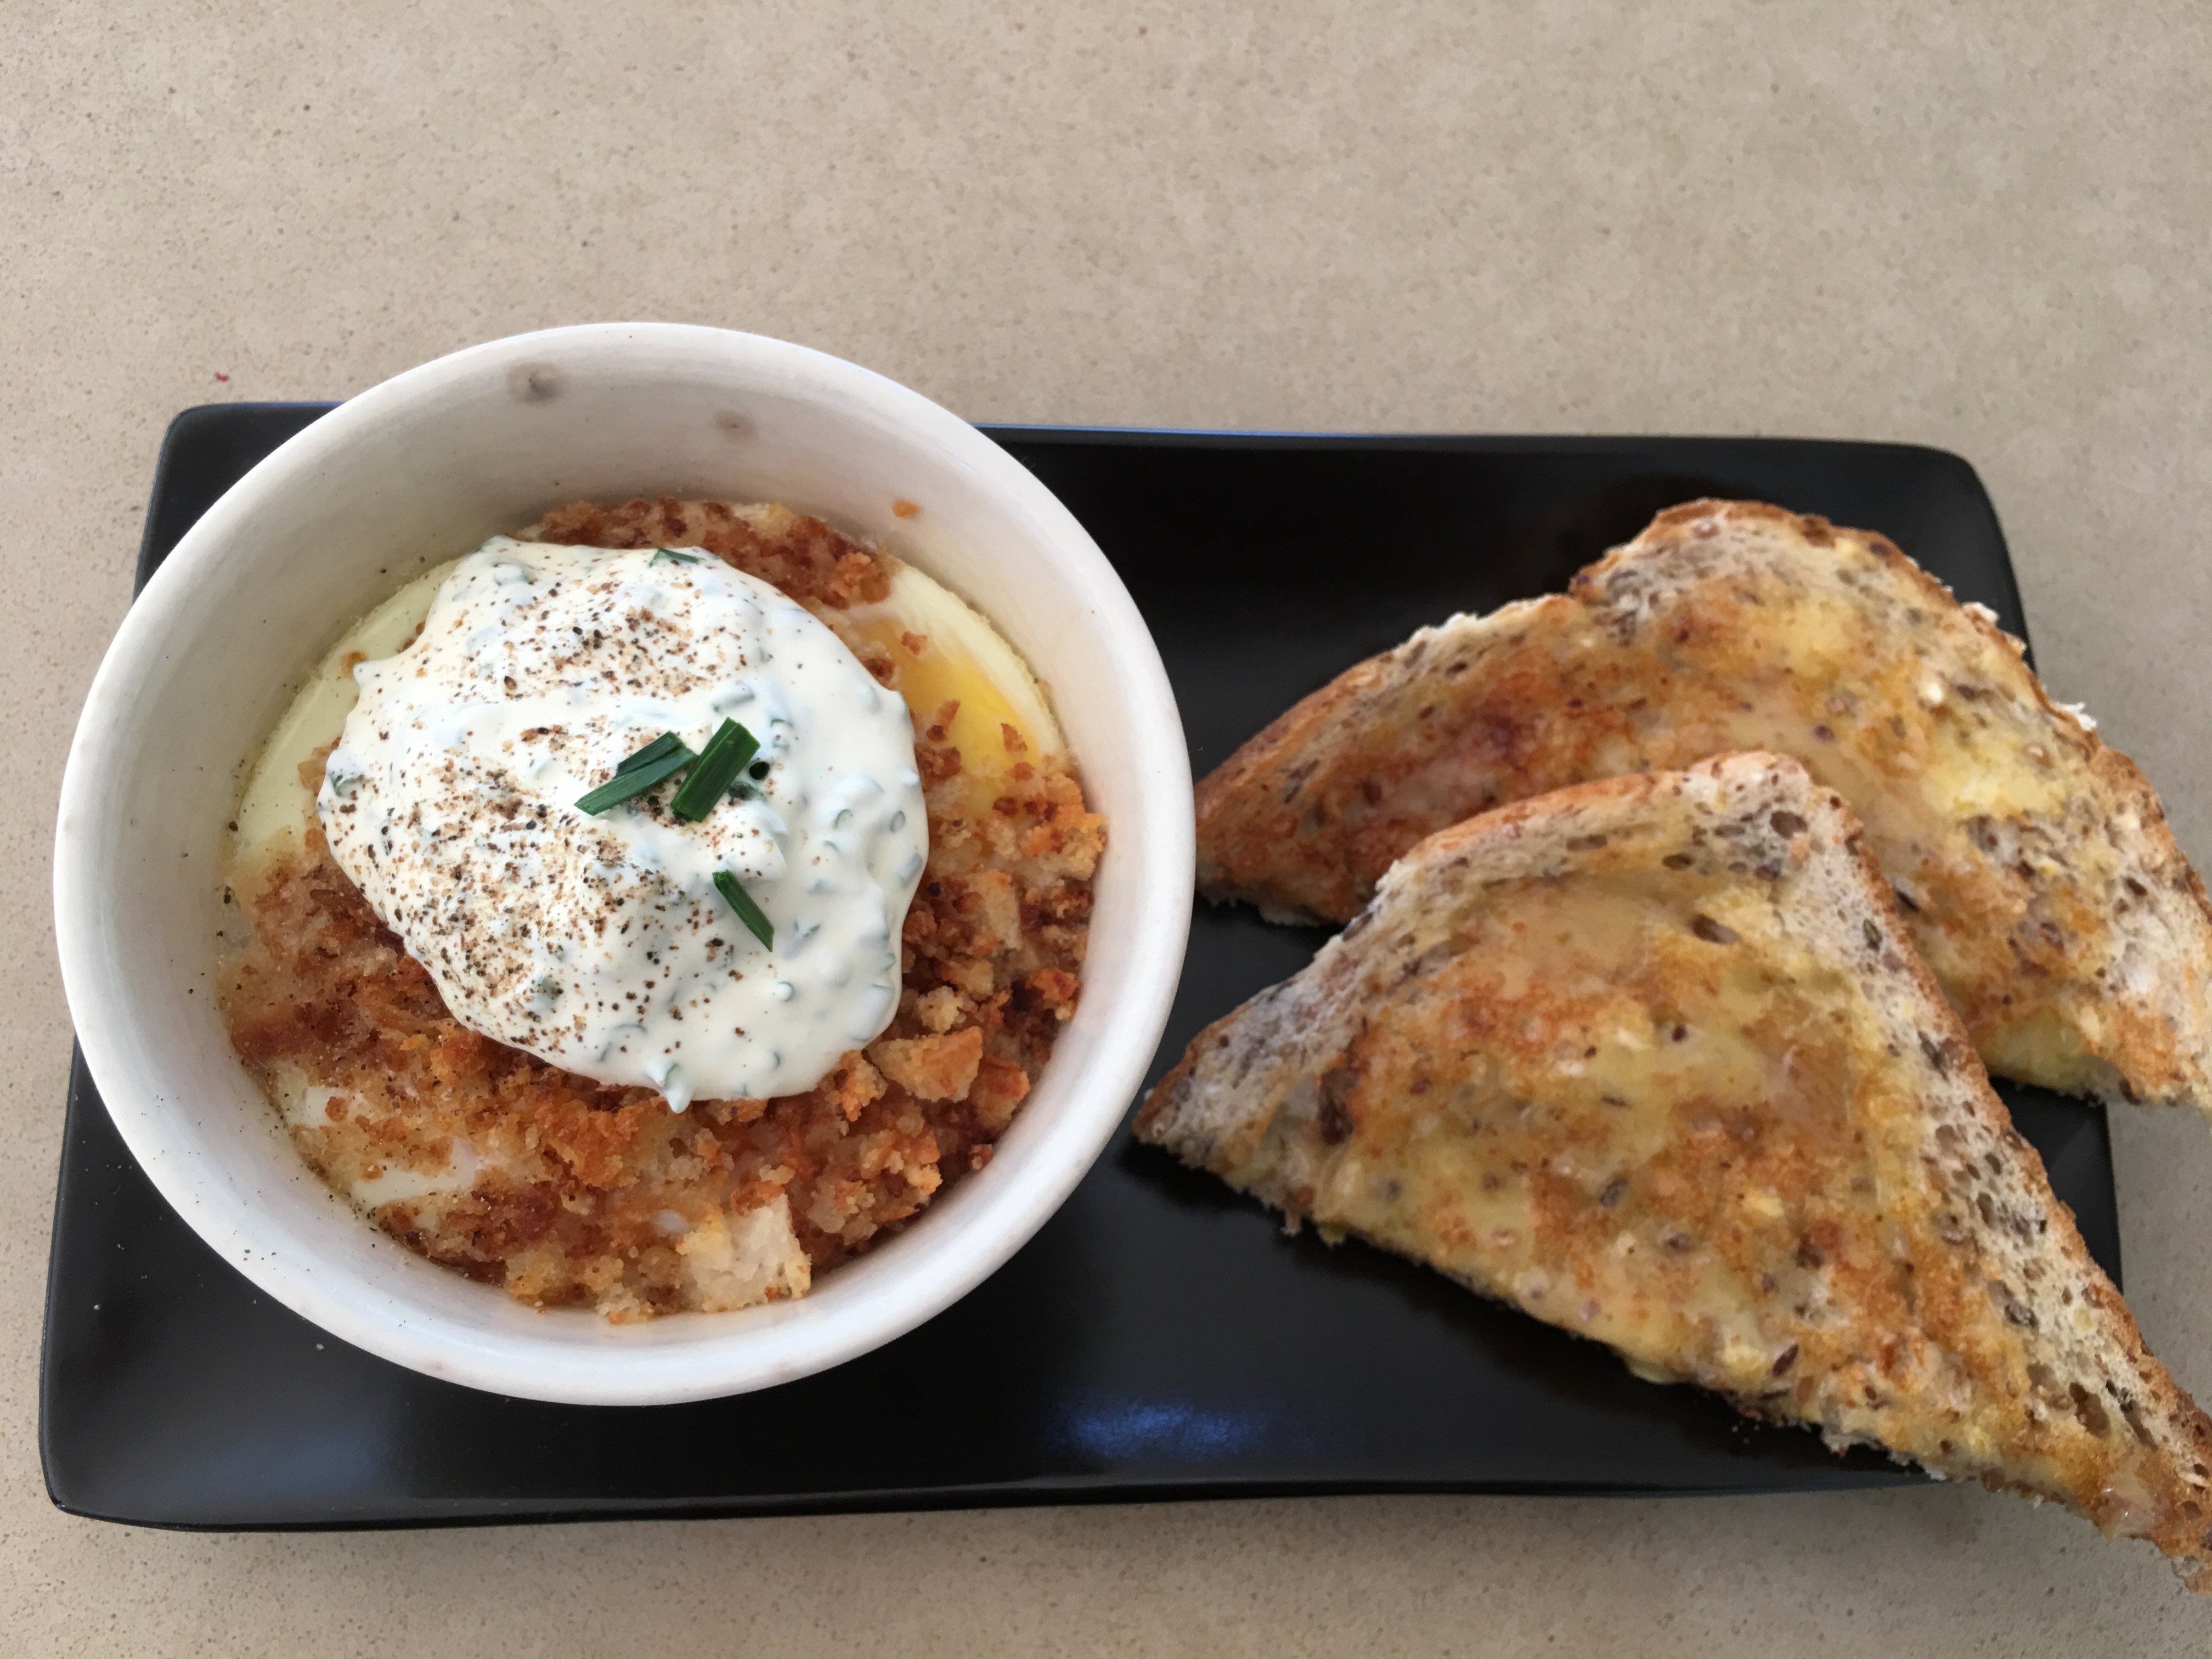
Oeufs en Cocotte

A few weeks ago I was looking for good breakfast dishes on Café Cat to recommend to 2CC radio listeners who wanted to spoil their Mum on Mothers’ Day. As I looked through the Index I realised that, despite being into its seventh year, Café Cat had not yet published my absolute favourite egg dish, Oeufs en Cocotte, which is just a fancy French way of saying Baked Eggs.

Serve this for breakfast, brunch, lunch or supper to put a smile on everyone’s face. If you’re a fan of eggs I guarantee you’ll like this one. Once you’ve made them a couple of times you will know exactly how long they take in your oven.

Other delicious egg recipes you might like to try are Salad Lyonnaise à la Madeleine and Spanish Eggs with Jamon.

30g butter
Stale breadcrumbs (about 4 heaped Tbs or so)
4 large eggs
4 heaped tsp sour cream or crème fraîche
1 Tbs snipped chives
To serve:
Salt and freshly ground black pepper
Hot buttered toast

Preheat oven to 180°C. Make the breadcrumbs by whizzing a slice or two of stale bread in the food processor. Don’t make them too fine. Butter two half cup ramekins and put a small piece of butter in each. Heat the rest of the butter in a non-stick frying pan and cook the breadcrumbs, stirring, until golden brown. Place half the breadcrumbs in the bottom of the ramekins, then two eggs in each dish, then top with the remaining breadcrumbs.

Place ramekins in a baking dish and pour boiling water to come halfway up the sides. Bake for 15 mins, or until whites are set, but yolks are still soft in the middle. Press the tops with your finger to check.

Mix sour cream with chives and dollop on top of the dishes, then sprinkle a few more chives on top. Serve with buttered toast and pass round a salt and pepper mill.

Serves 2

Variations: if you don’t have chives use finely chopped spring onion tops.

Chocolate Biscuit Cake

This quick cake requires no baking making it great for last-minute entertaining. Serve it with raspberries or raspberry coulis and cream. Add a dash of brandy or a liqueur to the coffee mixture for a more grown-up flavour. It’s adapted from a recipe I found in an IKEA cook book.

250g unsalted butter
250g dark chocolate
1 cup icing sugar
2 eggs
1 tsp vanilla essence
1 cup hot water mixed with 1 heaped Tbs instant coffee
1 packet of plain rectangular biscuits such as Marie (you need 23-25)
To serve:
Icing sugar
Raspberries or raspberry coulis
Whipped cream or pouring cream

Cut butter into cubes and place in microwave-safe bowl with the chocolate, broken into squares. Cover, otherwise it will splatter. Heat for about 2 minutes on high, stopping halfway to stir, or until melted.

Meanwhile place icing sugar in food processor and process to remove any lumps, then add the eggs. When mixed add the melted butter and chocolate and the vanilla essence.

Line a loaf pan with foil or plastic wrap. If using a silicone pan you don’t need to line it. Spoon about 4 tablespoons of chocolate mixture into the pan and spread over the base. Dip each biscuit briefly in the coffee mixture before arranging them in the cake pan. Lay a single layer of biscuits over the chocolate, then continue alternating chocolate and biscuits, ending up with chocolate.

Refrigerate for several hours or overnight. Remove cake from loaf pan, dust with icing sugar, then slice and serve with fresh or frozen raspberries or raspberry coulis and whipped or thick pouring cream.

Serves 8-10

Scones

Scones with jam and dollop of cream, otherwise known as Devonshire tea, is a treat few can say no to.

They are not difficult to make, but as with all easy recipes – scrambled eggs for example – a lot of people don’t get it right. The secret is to handle the dough as little as possible and get the scones into the oven quickly. It’s not bread dough and should not be kneaded: over-handling will make them tough.

With practice you can make scones in just under half an hour – perfect for a last minute afternoon tea. Ring your friends, switch the oven on and as they walk in the door you’ll just be taking the scones out of the oven.

Sour milk or buttermilk works well in scones. They say it makes them rise more and I remember as a child if the milk went sour (which it seemed to do more regularly back then) scones were on the menu. You can also use fresh milk, buttermilk or a mixture of milk and plain yoghurt. Serve with any kind of berry jam – in the photo I used blackberry. The recipe is easy to double.

250g self raising flour (or use plain flour and 2 level tsp baking powder)
½ tsp salt
50g butter (at room temp)
1 Tbs sugar
About 1 cup (250ml) buttermilk, sour milk or fresh milk
To serve:
Whipped cream
Berry jam

Heat oven to 200°C. Sieve flour (and baking powder) into a bowl. Lightly rub in the butter with fingertips until there are no more lumps. Add sugar then milk, stirring with a knife, till it all comes together. It should all stick together, just, but don’t make it too wet.

Tip onto a floured surface and form into a ball, then pat into a circle 2.5 to 3 cm thick. Cut scones with a round 2.5 to 3 cm cutter. Gather the scraps together and cut out 2-3 more from the remaining dough. Arrange on a greased shallow baking sheet. Brush tops with some extra milk. Bake for about 15 minutes until well-risen and lightly browned.

Serve slightly warm with whipped cream and berry jam.

Makes about 8

Zucchini and Haloumi Fritters

You only need one or two zucchini plants in the veggie patch to be inundated in the middle of summer. And if you don’t catch them when they’re small, a day or two later you’ll find they’ve turned into huge marrows! Zucchini with Tarragon and Sour Cream is a good way to use up the big ones.

Zucchini and Haloumi Fritters make a tasty vegetarian meal and any leftovers are delicious cold or reheated in a moderate oven for 5-10 minutes. Serve with Tzatziki and/or tomato chutney. Use regular sized zucchini or remove the seeds from bigger ones.

500g zucchini (seeds removed if large)
250g haloumi cheese
1 small onion, finely chopped
¼ cup finely chopped mint leaves
1 egg
2/3 cup self-raising flour
Vegetable oil for frying the fritters
Tzatziki:
1 Lebanese cucumber, coarsely grated (or half a telegraph one)
1 cup thick plain Greek yoghurt
1 clove garlic, crushed
grated rind ½ lemon
Salt and freshly ground black pepper, to taste
To serve:
Salt flakes
Ground cumin
Fresh mint leaves
Tomato Baharat Jam (optional)

Coarsely grate zucchini and halloumi. If you have a coarse grating disk on your food processor, this is a breeze. Mix with remaining ingredients. Heat a little oil in a large frying pan and cook the fritters, 3-4 at a time. Use a tablespoon to dollop the mixture into the pan and flatten each fritter into a thick round shape. Fry for about 4 minutes each side, or until golden brown. Drain on paper towels and serve with the Tzatziki, mint leaves, salt flakes and a shake of ground cumin. A little Tomato Baharat Jam, or any other tomato chutney, also goes well.

For the Tzatziki, place the grated cucumber in a sieve and sprinkle with a little salt. Leave to drain for a few minutes, then press down on the cucumber to squeeze out as much liquid as you can. Mix with remaining ingredients.

Serves 4


Crème Caramel

Crème Caramel and Crème Brulée are my two favourite desserts. They’re quite similar in terms of ingredients, but one has a liquid caramel sauce while the other has a crunchy caramel topping, achieved with a blow torch.

The raspberries you can see in the photo were ones I had frozen from our garden a couple of months ago. I took them out of the freezer about half an hour before serving, so they just had time to thaw, but not to go mushy. This dessert is quite sweet so the unsweetened berries and cream provide a nice contrast.

My Dad lived to the ripe old age of 90 and this was what he had for his last meal. I can see his face now, savouring every mouthful. I can’t think of anything I’d rather have for my Last Supper.

½ cup sugar
¼ cup water
5 eggs, thoroughly beaten with a fork
1 tin sweetened condensed milk
3 cups fresh milk (or a mixture of cream and milk)
1 tsp vanilla essence
To serve:
Thick pouring cream
Fresh or frozen berries, just thawed
A dusting of icing sugar (optional)

Preheat oven to 170°C. Heat sugar and water in a heavy saucepan and stir until sugar has dissolved. Boil without stirring until you have a rich caramel, swirling the pan so that it colours evenly without burning. Tip into a lightly oiled ovenproof dish with a capacity of 1.5 to 2 litres (I used a metal ring mold) and swirl around as it cools, so it coats the sides of the mold as well as the bottom.

Beat remaining ingredients together thoroughly with a balloon whisk, then pour through a sieve on top of the caramel, discarding any bits of egg in the sieve. Place the dish in a baking tin and add enough boiling water to come just under halfway up the sides. Bake for 50 minutes, remove and cool, then chill for several hours or overnight.

Loosen around the edges with a thin-bladed knife, then tip onto a serving plate. If all the caramel doesn’t come out, place baking dish or tin in a bowl of very hot water to melt it, then pour it over the dessert. Serve with cream, fresh berries and, if liked, a dusting of icing sugar.

Serves 8-10