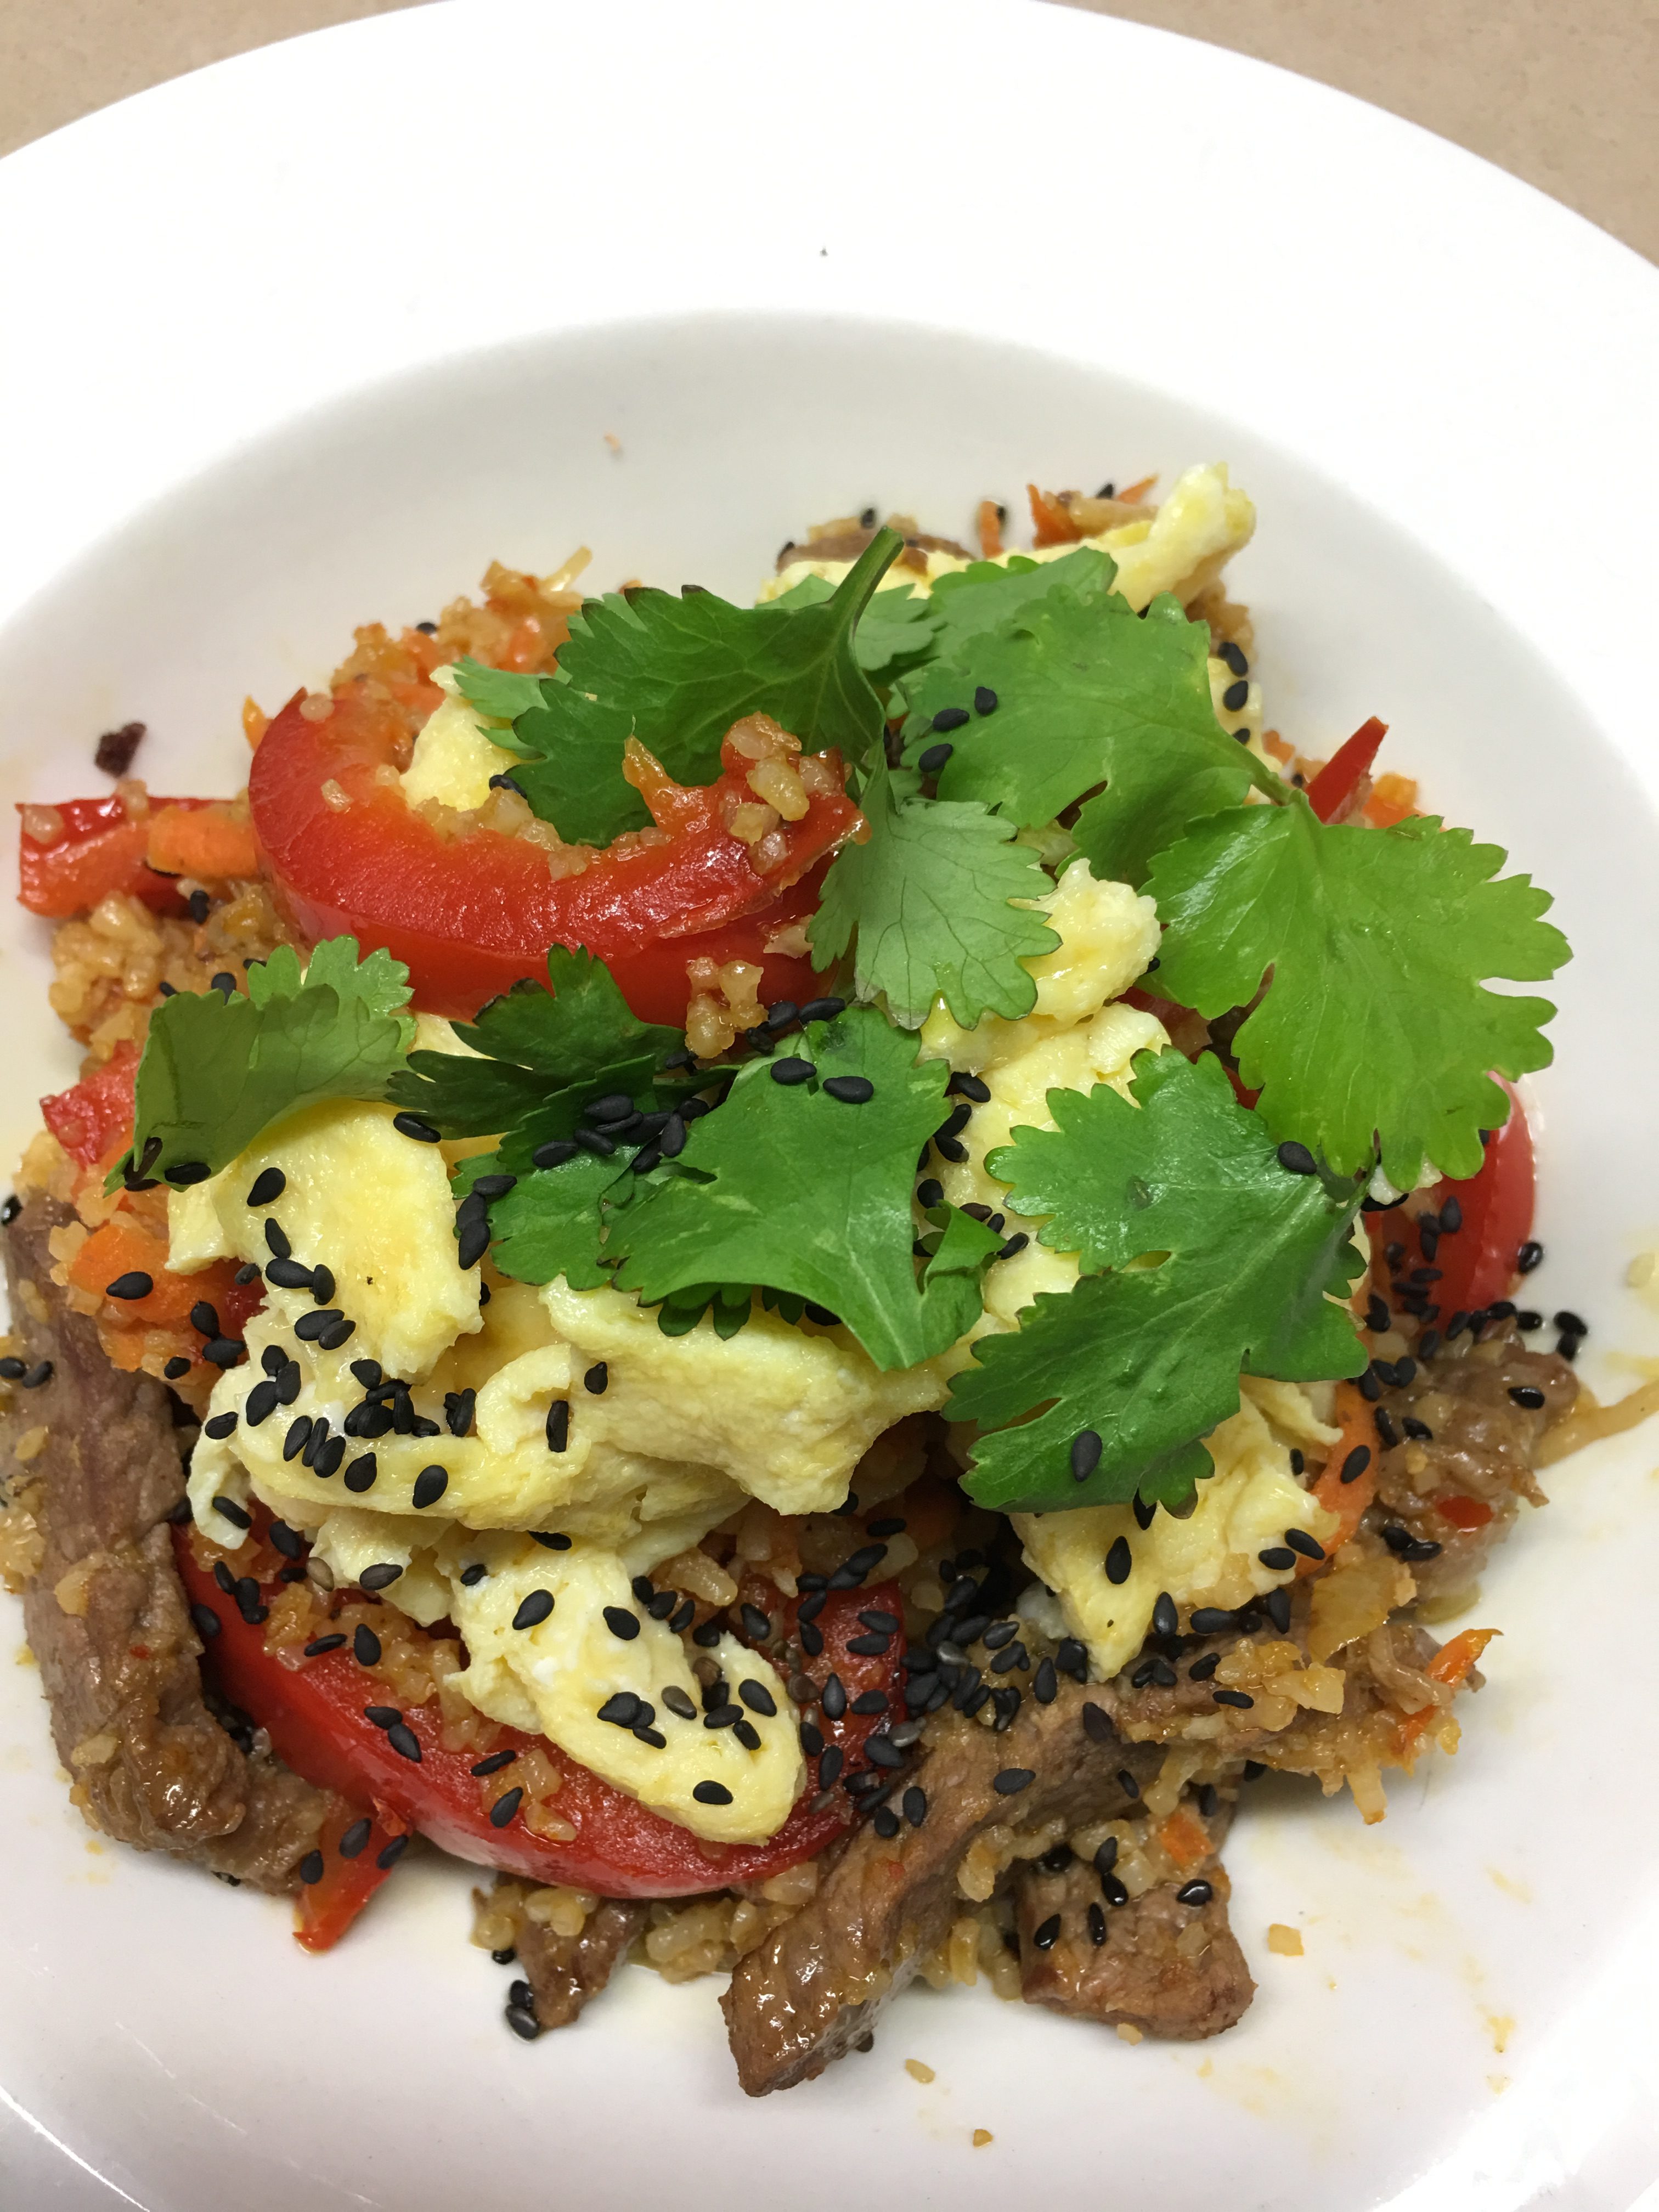
Spicy Korean Beef with Rice


This is a good way to use up leftover cooked rice and leftover roast beef. If you don’t have either, cook some rice and slice about 300 grams of raw beef steak into thin strips. Stir fry the beef in the oil for a couple of minutes, then remove from pan, add the vegetables to the pan and proceed according to the recipe.

2 eggs
1 Tbs water
Salt and pepper to taste
2 Tbs oil
1 onion, chopped
1 clove garlic, crushed
1 carrot (coarsely grated)
1 red capsicum (pepper) cut into thin strips
2 cups leftover roast beef, cut into thin strips
1 Tbs Korean chilli paste (or substitute Harissa or Sambal Oelek)
3-4 cups cooked long grain rice
2 tsp soy sauce
2 tsp sesame oil
To garnish:
Chopped fresh coriander
2 tsp black sesame seed

Beat eggs withIn water and seasoning then make a thin omelette in a small omelette pan, using half the oil. Remove from pan onto a plate and cool, then cut into thin strips.

In a wok or large frying pan heat remaining oil and cook the onion, garlic, carrot and capsicum, stirring constantly, for 2-3 minutes or until softened. Add the beef, chilli paste, rice, soy sauce and sesame oil. Stir fry for a couple of minutes. Taste and adjust seasoning by adding salt and pepper or a bit more soy sauce. If it’s not spicy enough, add a little more chilli paste.

Serve in bowls, topped with the omelette, the coriander and the black sesame seeds.

Serves 3-4

Cinnamon Doughnuts

Cinnamon doughnuts are a guaranteed winner with kids. You’ll be their best friend for life.

I recently came across this quick and easy recipe based on choux pastry and decided to make them for afternoon tea while the grandkids were staying. Traditional doughnuts contain yeast, which means making the dough in advance and I never seem to get around to it when we have a house full.

You don’t need a deep fat fryer – I just used a wok. The doughnuts don’t come out as perfect rounds, but it doesn’t matter, they taste delicious.

Sixteen cinnamon doughnuts were made and polished off in less than half an hour. You know you’ve hit the jackpot with the grandkids when instead of saying “Try it, you might like it” you’re saying “Okay how many have you had?” in order to work out who gets the last one.

The grown ups liked them too. You could serve them as dessert for “big kids” with chocolate sauce and a scoop of vanilla ice cream.

Love the half-peeled lurid green nail polish, don’t you?

100g butter
½ tsp salt
1 Tbs sugar
1 cup SR flour
4 eggs
About half a litre vegetable oil
To coat the doughnuts:
3-4 Tbs sugar
1 tsp cinnamon

Place butter, salt and sugar in a medium saucepan and heat until butter has melted. Remove from the heat and using electric beaters add the flour and mix until combined. Beat in the eggs, one at a time. If you have time you can refrigerate the mixture for a while at this stage to make it firmer for scooping. I didn’t have time.

Meanwhile heat the oil in a wok or deep saucepan until hot enough to cook the doughnuts – test it by putting a small bit in. Cook about 8 doughnuts at a time, using a large spoon or an ice cream scoop to make them. Cook on one side for a minute or so then then flip them over.

Remove doughnuts from the oil with a slotted spoon and roll them in the mixed sugar and cinnamon. Serve immediately.

Makes about 16

Mango Kulfi

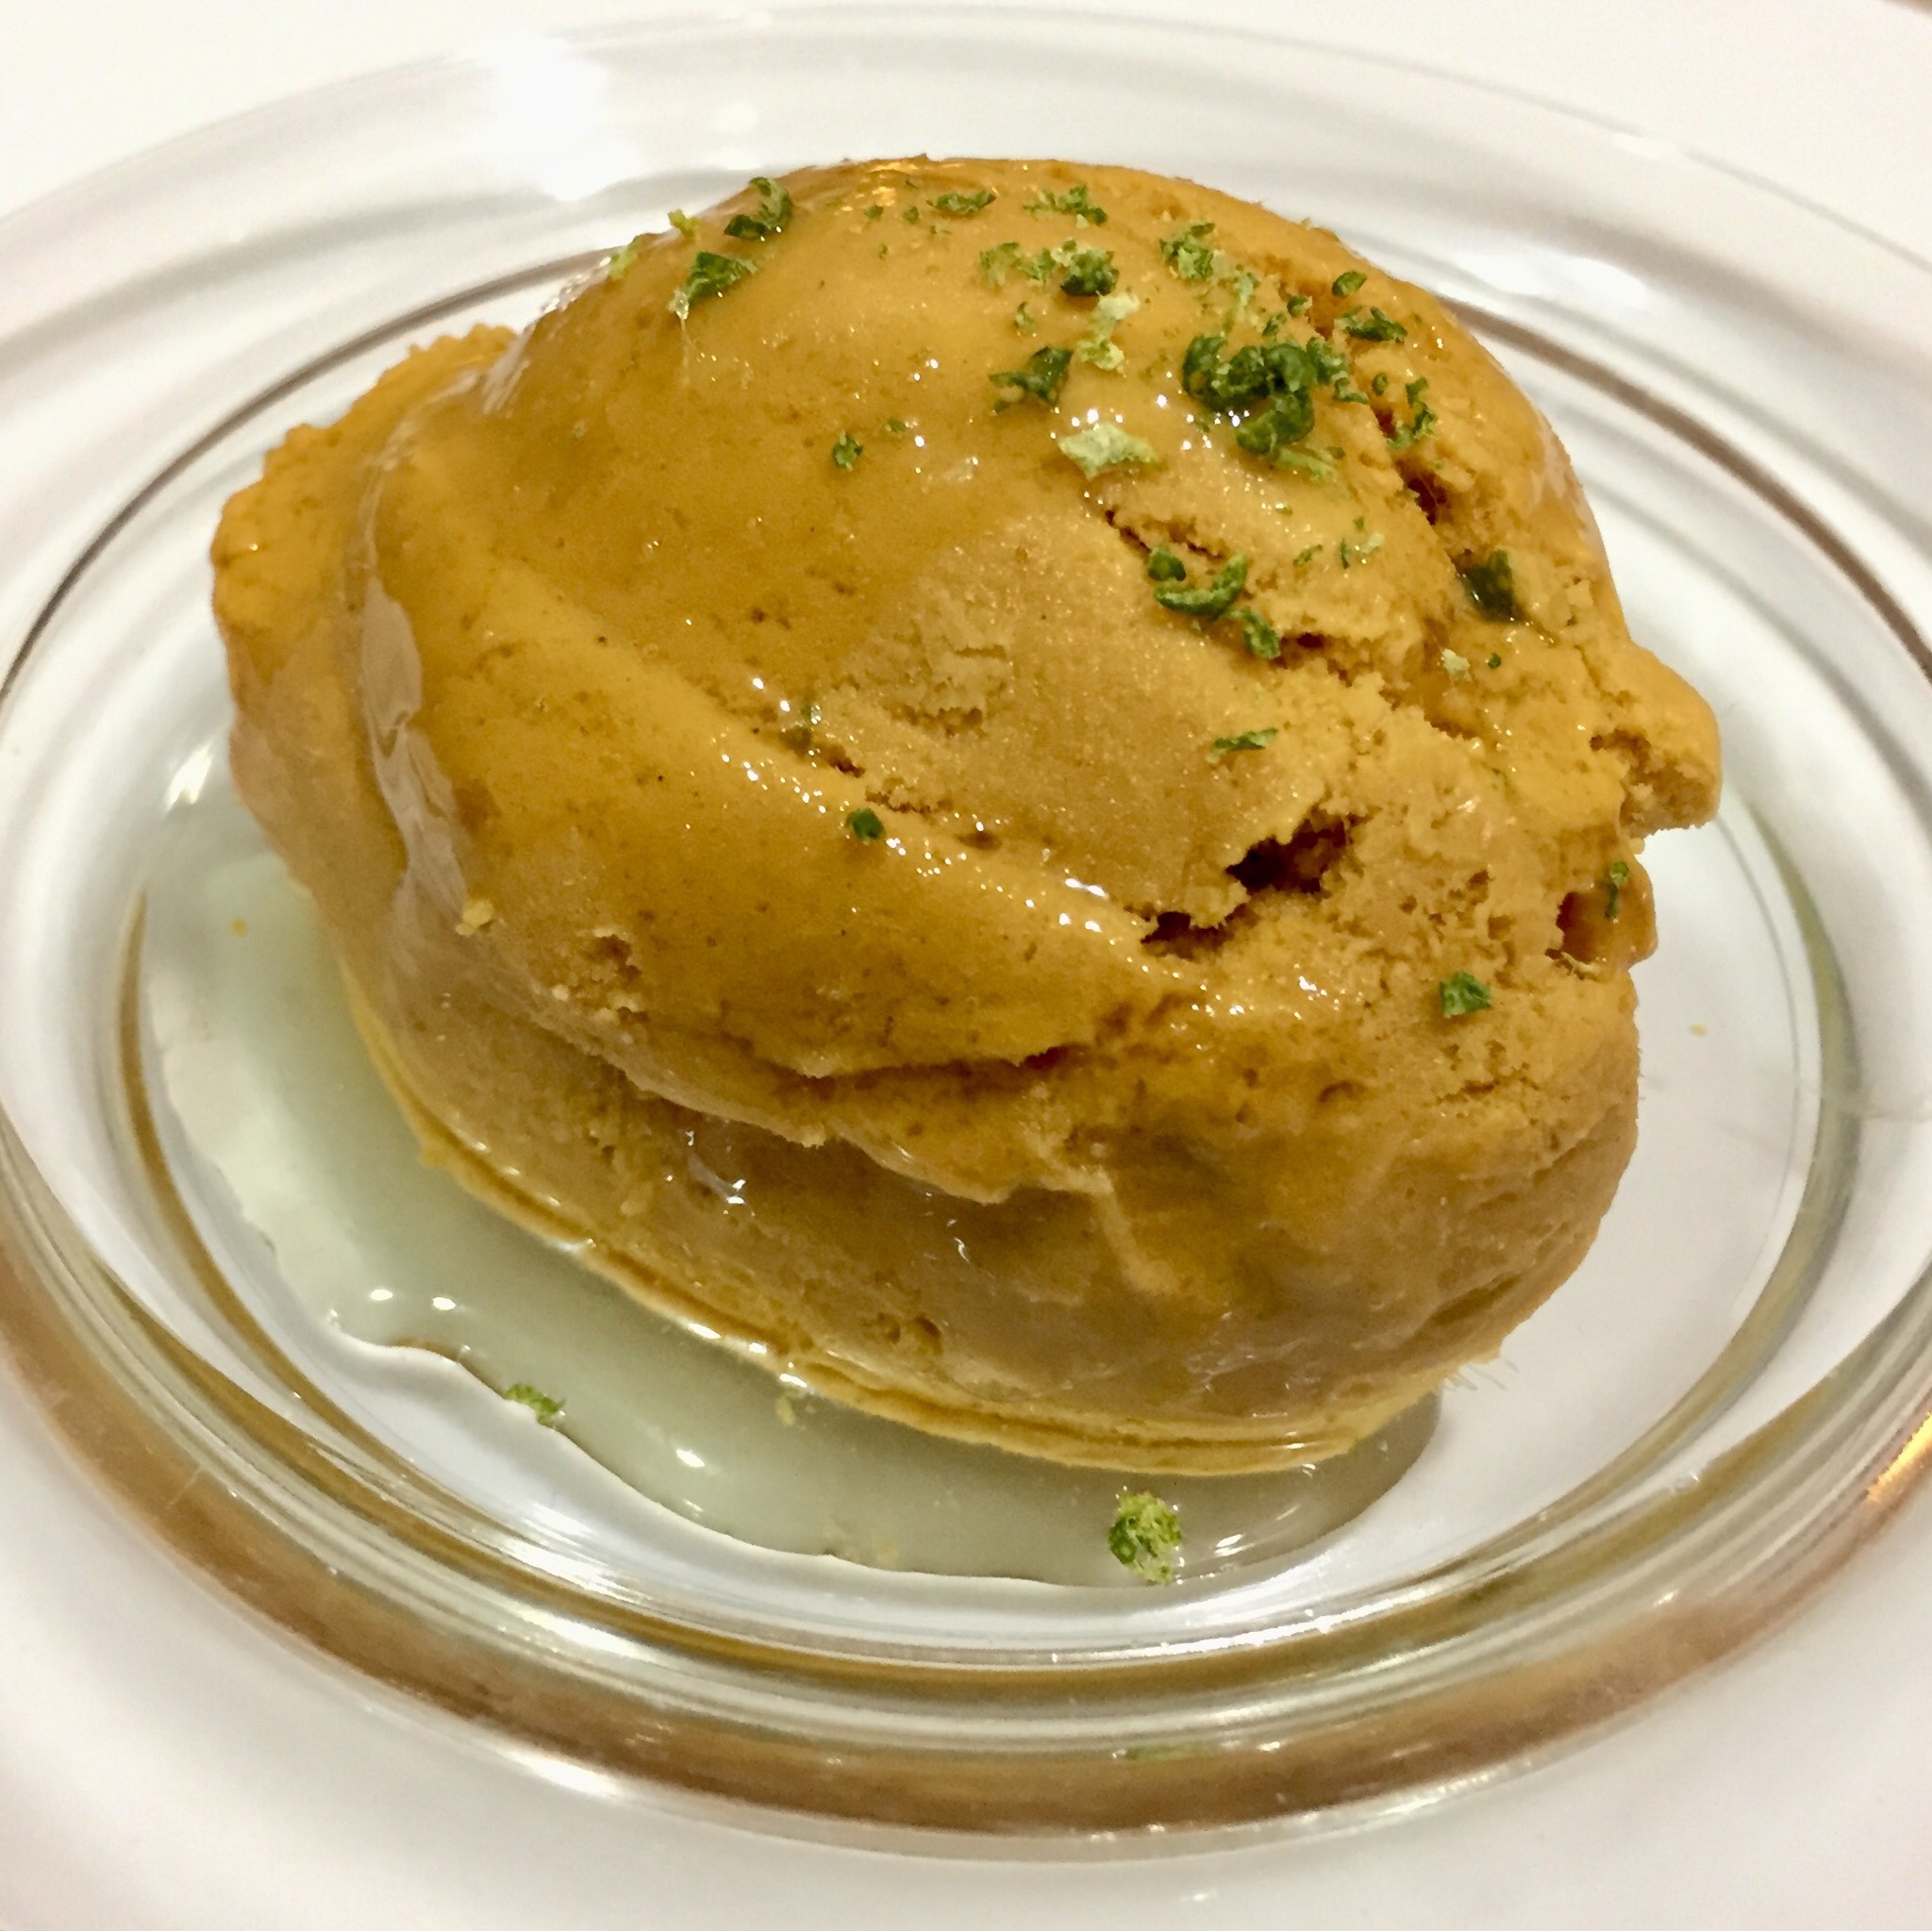
To make traditional Indian or Pakistani ice cream, known as Kulfi, you begin by cooking sweetened flavoured milk over a low heat, stirring continuously to stop it from sticking and burning, until the volume is reduced by half. The milk takes on a distinctive flavour due to the caramelization process and this is the base you use to make the ice cream.

Having read a few articles and recipes online, I decided to replace the cooked milk with what is called Manjar or Dulce de Leche in South America. If you can’t find this use a can of Nestle Caramel Top n Fill, which is readily available in Australian supermarkets.  Kulfi can be made in any flavour, but mango kulfi is very popular in India, so as I had a packet of frozen mango in the freezer I thought I would give it a try.

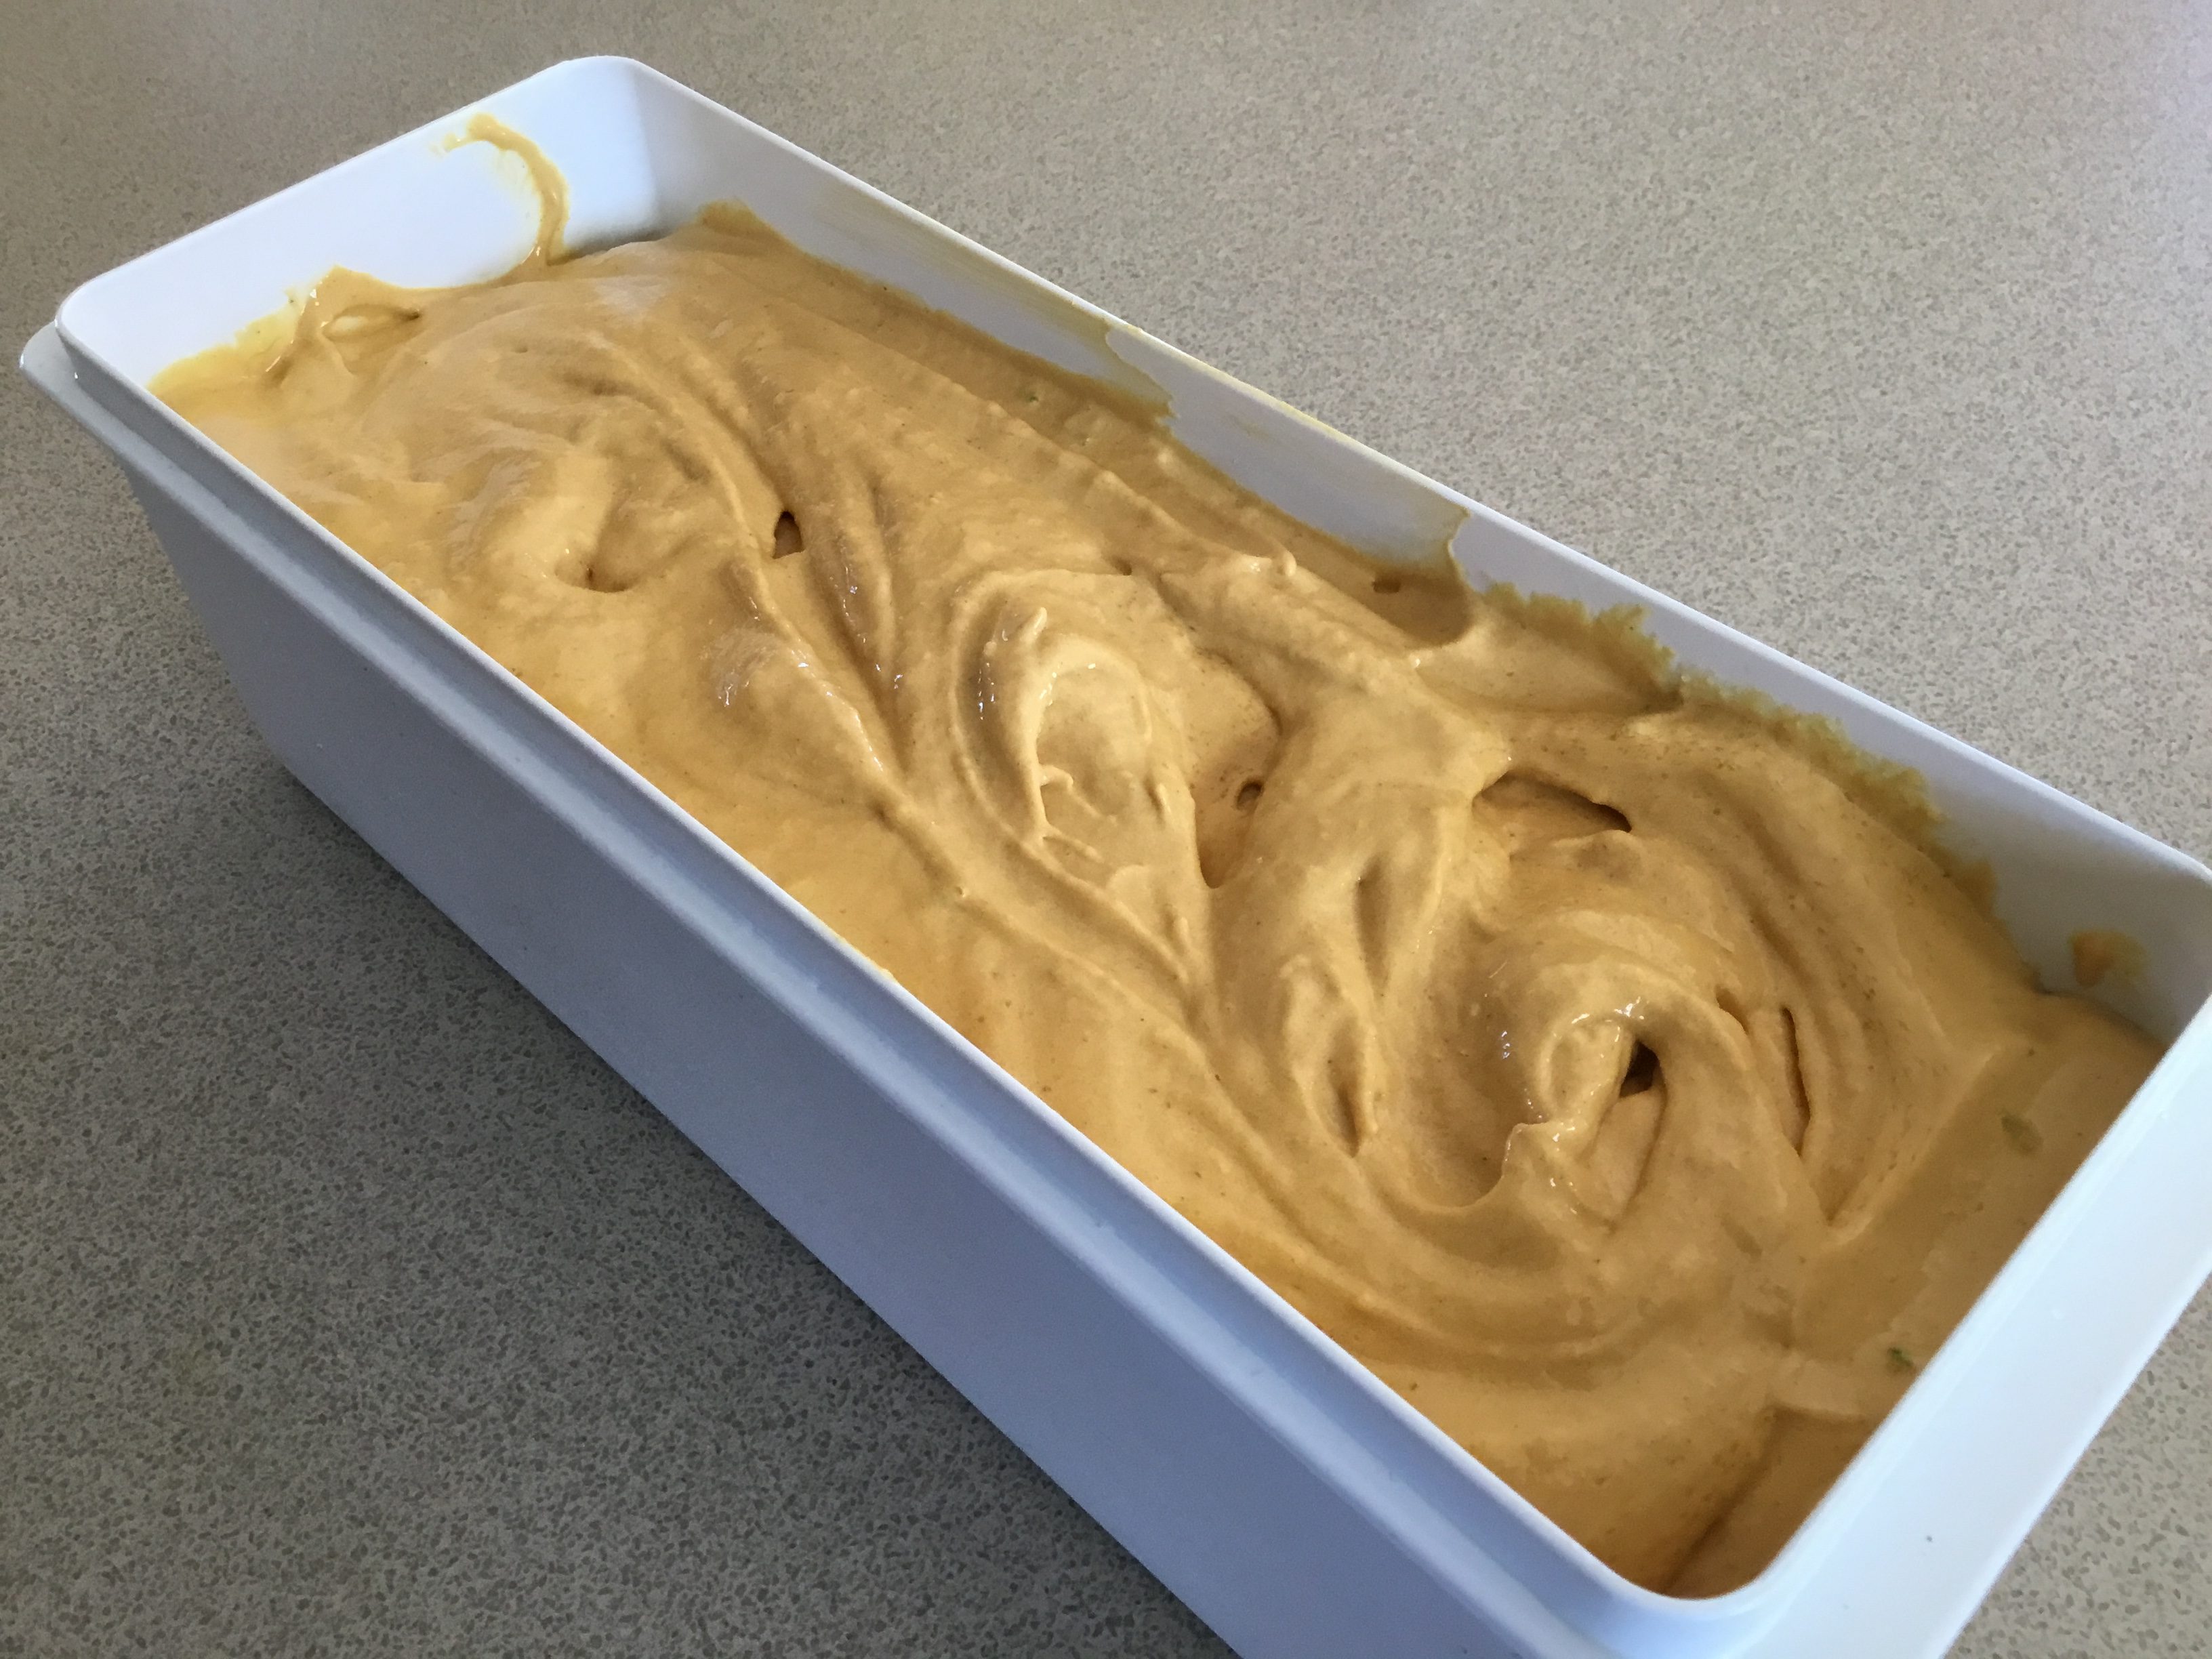
This method of making ice cream in a food processor with frozen fruit virtually turns your food processor into an ice cream machine. As the frozen fruit breaks up it freezes the other ingredients. As you can see from the photo of the Kulfi when it was ready to go into the freezer, it already had the consistency of ice cream. Quick Raspberry Ice Cream is another recipe on this blog which uses this speedy food processor method. You can use any frozen fruit but the pieces must be fairly small or the motor will struggle.

250g Dulce de Leche or Manjar (or 1 can Nestle Caramel Top n Fill)
300ml cream (thickened, whipping, double)
1kg frozen mango pieces (I bought mine at Aldi)
Ground cardamom to taste
Pinch of salt
Grated rind and juice of 1 lime (save a little zest for garnish)
Lime Syrup to serve (optional)
Juice of 1 lime
½ cup water
¼ cup sugar
Lime zest

Place Dulce de Leche or Caramel topping in food processor with cream. Process until mixed and then, with the motor running, slowly add the mango cubes through the feed tube. Depending on what size food processor you have, you may need to make the Kulfi in two batches. Mine was just big enough. Keep mixing until all the mango cubes have been pureed, stopping to scrape down the sides with a spatula from time to time. Add cardamom (half a teaspoonful then mix and taste and see what you think), the salt and the lime zest.

Scrape Kulfi into a plastic container, cover and freeze for 3-4 hours or overnight. Remove from freezer 15 mins before serving. Scoop into bowls, drizzle with lime syrup and garnish with a little lime zest.

Lime Syrup: Place lime juice, water and sugar in a small saucepan and heat to dissolve sugar. Continue cooking until reduced by a third to a half and syrupy. Cool.

Serves 8-10

Figgy Biscuits

As kids we all loved figgy biscuits. These little pillows of fig paste encased in a delicious cakey-biscuity dough were invented in Philadelphia in the late 1800s and are sold in the USA under the Newton brand. In England we bought a version made by McVities.

Anything home-made always tastes better than the shop-bought variety and these scrumptious biscuits are no exception. Buy dried figs which are plump and sticky and not too hard. If you don’t have quite enough throw in a few sultanas, raisins or dates to make up the two cups. The addition of ginger is my own suggestion for ginger fans. This is a good recipe for using up that last bit of jam or marmalade from the bottom of the jar.

Commercial figgy biscuits don’t have a sprinkling of icing sugar, but I always think it enhances the appearance of baked goods. Mine were a bit overcooked, as you can see in the photo. They should have been whipped out of the oven a few minutes earlier.

Serve as a biscuit or warm with vanilla ice-cream as a delicious dessert.

Dough:
140g butter (at room temperature)
1/3 cup brown sugar
1 level tsp bicarbonate of soda
¼ tsp salt
¼ tsp ground cinnamon
2 Tbs honey
1 Tbs orange or lemon juice
1 egg
2 cups plain flour
Filling:
2 cups chopped dried figs, stems removed
1/3 cup jam or marmalade
2 Tbs orange or lemon juice
1 Tbs grated fresh ginger or glacé/crystallized ginger (optional)
To finish:
1 egg white, beaten
Icing sugar (optional)

Place butter, brown sugar, bicarbonate of soda, salt, cinnamon and honey in food processor. Process for a minute or two, stopping to scrape down the sides and gradually adding the orange, egg and flour. When thorough mixed use a spatula to scrape the dough onto a piece of plastic wrap. Pat it into a thick square, wrap with the plastic, then refrigerate for an hour or so.

There’s no need to wash the food processor before you make the filling. Place all ingredients in food processor and process till smooth, stopping to scrape down the sides.

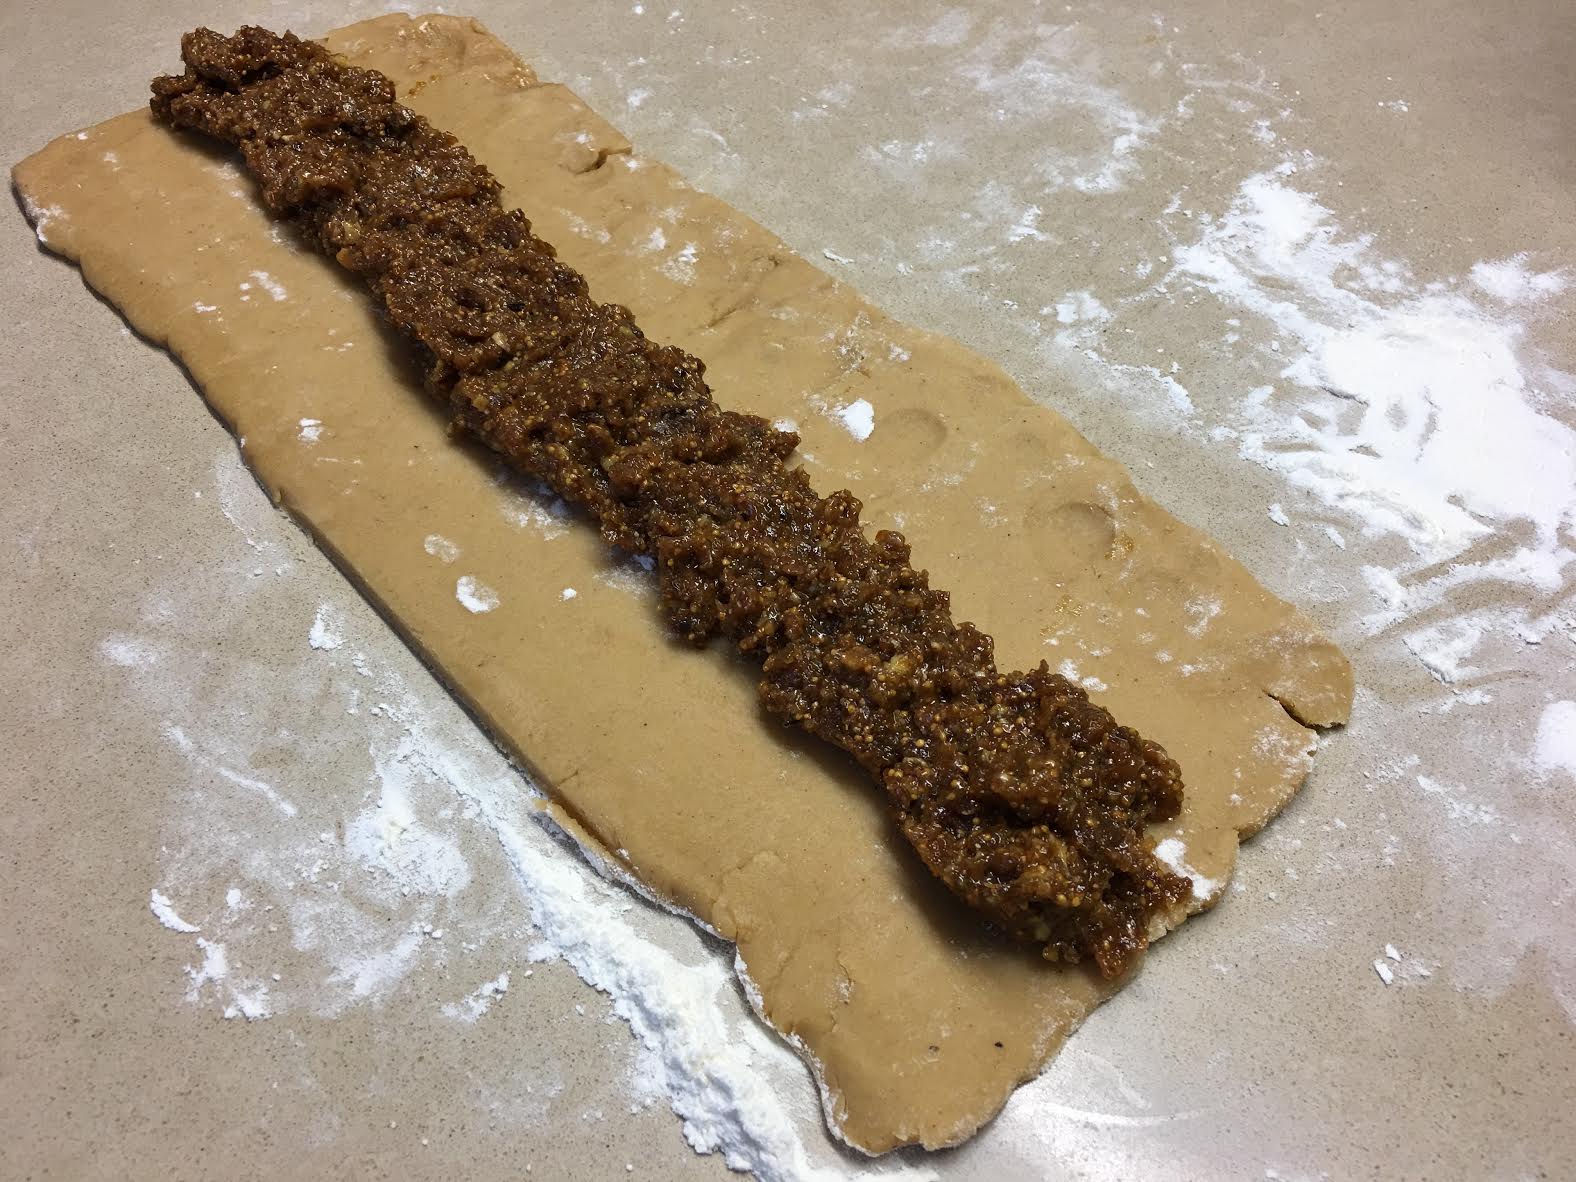
Preheat oven to 170°C. Cut dough in half and roll out one half on a floured surface to a rectangle approximately 30cm by 10cm. Spread half the filling thickly down the middle as shown in photo. Bring in one side over the filling, then the other side, overlapping with the first side. You may need to use a metal spatula to lift the dough which will be quite soft with a tendency to stick and break. You will then have a long sausage with a seam along the top as shown in the photo. Turn it over and cut into 8 to 10 even pillows. Arrange on a shallow baking tray lined with baking paper, with a space between each biscuit. Repeat with the other half of the dough and filling. Brush with beaten egg white then bake for 15 mins or until light golden brown.

Cool biscuits then store in an airtight tin.

Makes 16-18


Little Piggy Rolls

Sausage rolls have been in my repertoire for donkey’s years and there’s already a recipe on this blog.They are always popular and freeze well either uncooked or almost cooked which is what I do, so they just need a brief heating through before serving.

The food blog Belly Rumbles by Sara McCleary featured a recipe recently for decorating sausage rolls to look like little pigs. As four of our grandkids were coming to stay I thought it would be fun to make them some Little Piggy Rolls. Belly Rumbles uses the filling below which has bacon and cheese added. Use this or the traditional filling on my previous blog, which just uses pork mince.

5 sheets ready-rolled puff pastry (each 25cmx25cm)
1 egg beaten with 1 Tbs water, to glaze
Filling:
500g pork mince
1 small onion, very finely chopped
3 rashers bacon, finely chopped
125g grated or finely diced cheddar cheese
2 tsp Worcestershire sauce
2 eggs
2 Tbs chopped Parsley
1 Tbs tomato sauce (ketchup)

Mix all ingredients for filling then follow the method on my previous blog for Sausage Rolls. I used 4 and a half sheets of puff pastry, cut the four whole sheets in half and made 4 sausage rolls from each of the 9 halves. Total 36.

I decorated 16 as Little Piggies and 20 with sesame seeds (as per traditional recipe). I used the remaining half sheet of pastry to make the features. Usually I would get 12 sausage rolls per sheet of pastry, but I wanted them a bit bigger for the Piggies.

To decorate the Little Piggies you will need enough extra pastry for the ears, snouts and tails and whole black peppercorns for the eyes.

When the sausage rolls are ready to go in the oven, arrange them on oven trays lined with paper, putting the join/seam underneath so you can’t see it. Use extra pastry to cut out ovals for the snouts, triangles for the ears and long strips for the curly tails. I didn’t have an oval cutter so I used the small round lid from a bottle of vanilla essence, then stretched them a bit to make them oval.

Brush the sausage rolls with egg wash, then arrange the snouts, ears and tails in place, as shown in photo. Use peppercorns for the eyes and the pointy end of a chopstick to make the nostrils. Brush features with egg wash.

Cook sausage rolls according to previous recipe. Serve warm. Can be frozen raw or almost cooked, then just heated through before serving.

Makes about 36

Little Edna’s Eccles Cakes

My mother’s best friend Edna was affectionately known as Little Edna because she was so tiny.

She loved to bake and watching friends and family eat what she had made gave her a great deal of pleasure. You rarely saw Little Edna eat anything herself, which is one of the reasons she was so tiny. My mother was always trying to shed a few kilos so we would avoid calling in at afternoon tea time. This wasn’t easy, as time-wise afternoon tea was a movable feast. Any time visitors popped in was an excuse to put the kettle on and get the cakes out. Edna was what is known as a “feeder” and saying no thank you wasn’t an option.

Edna and Stan kept a caravan on one of the beaches in northern France. They went there for a month each summer, often taking their grandchildren with them. One year Edna was on the beach, holding hands with two of her grandchildren as they ran in and out of the waves, laughing and splashing. Suddenly Edna’s false teeth shot out and into the sea. Despite a long search, they were nowhere to be found.

Driving back to England to get a new set wasn’t an option – they had only just arrived. So poor Edna spent a miserable two weeks feeling embarrassed and avoiding conversation. One day as she was strolling along the beach feeling glum she looked down and lo and behold “There they were, laffing up at me” she explained, with her broad Yorkshire accent “so I picked them up and put them straight back in again”.

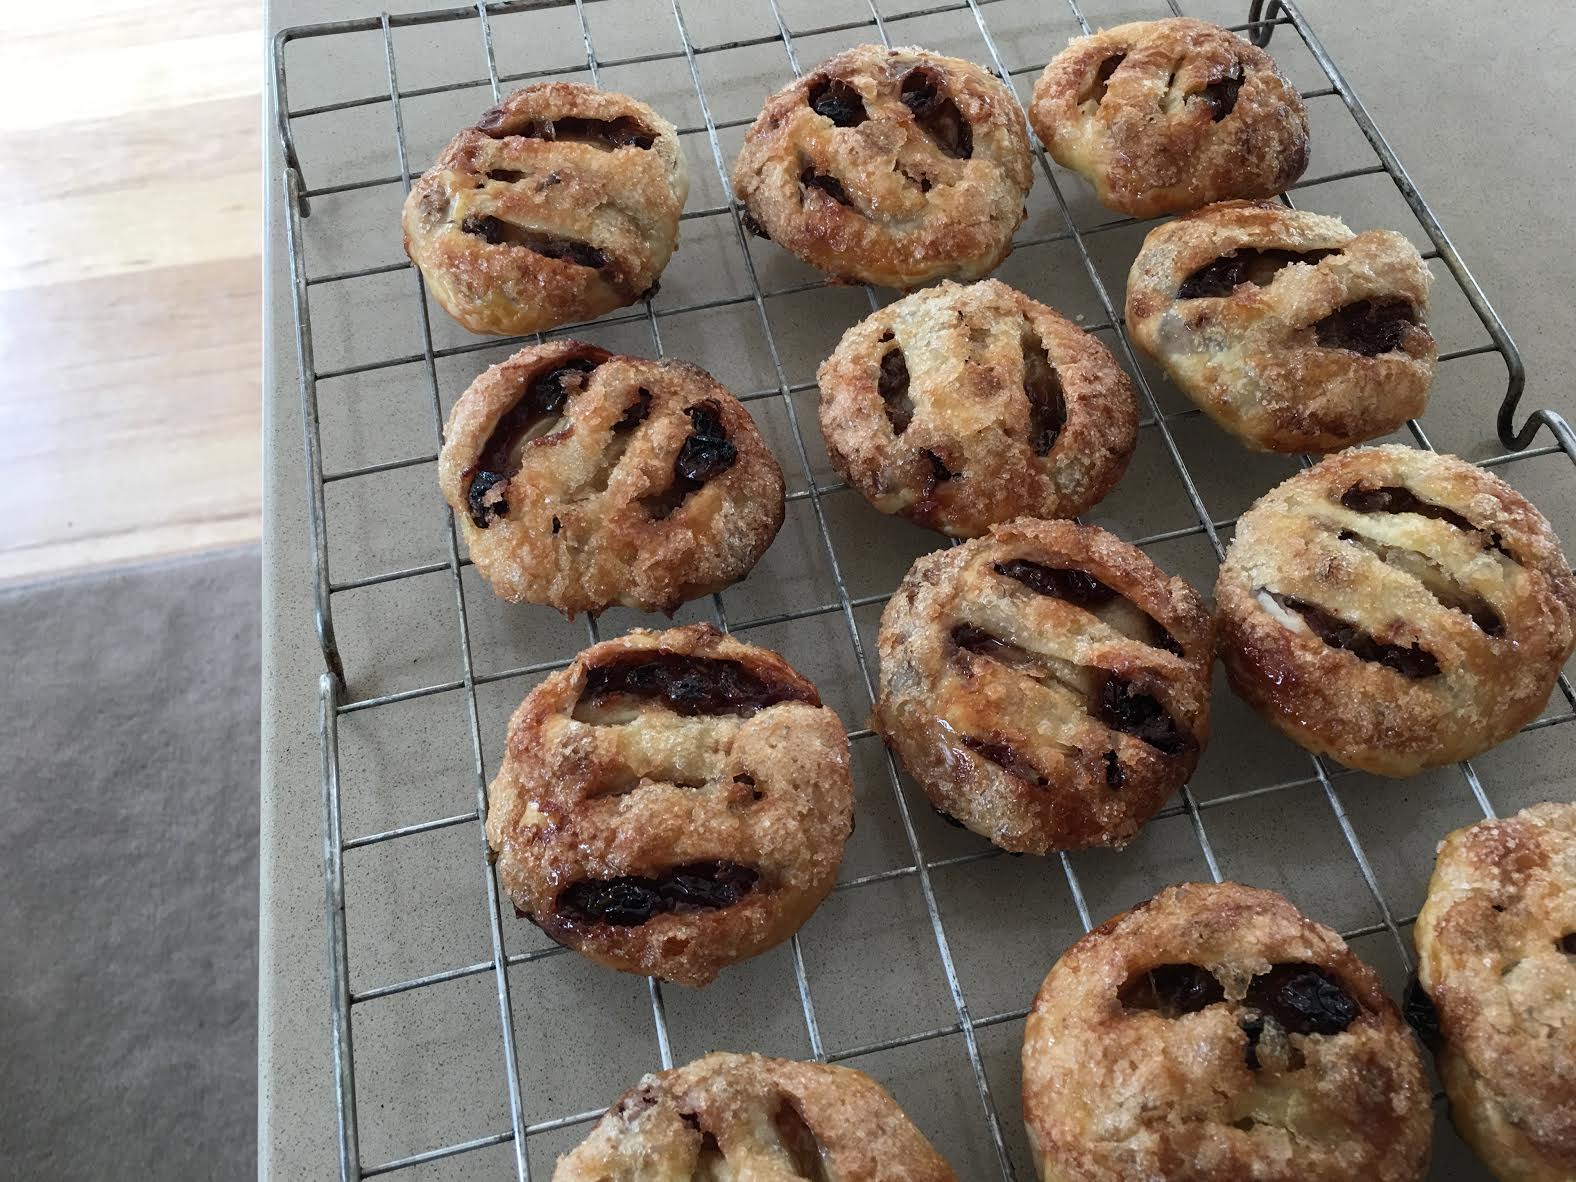
Eccles cakes are traditional British pastries named after the town of Eccles and they were one of Little Edna’s specialities. I always thought her method of cutting the pastry into squares rather than circles (which is quicker and avoids any off-cuts) but still ending up with round cakes was pretty neat.

2 sheets ready-rolled puff pastry, approx 25x25cm
Filling:
1 cup mixed dried fruit or half sultanas and half currants (see note below)
25g butter, melted
2 Tbs brown sugar
2 Tbs jam or marmalade
Pinch of nutmeg
Grated rind of 1 lemon
To finish:
1 egg white, beaten with a fork
Sugar

Preheat oven to 180°C. Cut each square of pastry into six even pieces – down the middle, then into three cross-wise. Mix filling ingredients and put a heaped teaspoonful or so in the middle of each square. Draw up the sides of each square into the middle and pinch the ends together firmly, to form a little round purse.

Turn each one over and press firmly with the palm of your hand, so you have a neat round cake, or roll over each one lightly with a rolling pin. Cut two or three slashes with a sharp knife on the top of each cake. Brush each one with egg white, then dip in some sugar and shake off the excess. Arrange cakes on a baking sheet and bake for 15 minutes, or until golden brown. Serve warm or cold. Best eaten the same day.

Makes 12

Note: if preferred, make the cakes smaller by cutting each sheet of pastry into 9 instead of 6 – as shown in this photo.

Currants are dried small grapes not dried blackcurrants. If unavailable use more sultanas or some chopped raisins.


Little Cauliflower Cheeses

This recipe makes 12 delicious little cauliflower cheeses. Instead of flour it uses breadcrumbs to hold the mixture together. Serve as a side dish, snack or healthy addition to school or office lunch boxes.

It’s a very adaptable recipe. Use broccoli or asparagus instead of cauliflower. Grated Parmesan or crumbled feta instead of cheddar.

1¼ cups breadcrumbs, preferably Panko
500g cauliflower florets
1 egg
250ml light cream or evaporated milk or half cream and half milk
¾ cup grated cheddar cheese
2 rashers bacon, finely chopped (or use ham)
1 tsp fresh thyme, chopped (or use another fresh herb)
25g butter, melted
Salt and freshly ground pepper

Preheat oven to 200°C. Lightly grease a 12 hole one-third of a cup muffin pan. Keep half a cup of cauliflower florets. Place the rest in a food processor and process till finely chopped. Place in a bowl with the breadcrumbs, egg, cream and half a cup of the grated cheddar. Mix well and season to taste, then divide among the muffin pan holes.

Slice remaining cauliflower thinly and mix with the bacon, thyme, melted butter and remaining cheddar. Top the muffins with this mixture. Bake 20-30 mins or until risen, golden and firm to the touch. Don’t overcook as they will be dry if you do. Cool 10 mins in pans then run a knife around to remove. Serve warm or at room temperature garnished with some fresh thyme leaves.

Makes 12

Variation: for a vegetarian version leave out the bacon and add some chopped pitted olives.

Easy Chicken with Pesto

Jamie Oliver has a lot of recipes where you arrange all the ingredients in a shallow baking tray, stick it in the oven and Bob’s your Uncle. He calls them tray bakes.

This recipe was inspired by that idea and by the fact that I still have quite a bit of pesto which I froze in ice cube trays last summer. I want to use it before summer starts and the fresh basil in the garden is ready to use. Frozen pesto is useful in winter to spread on pizza bases (instead of tomato), to mix into pasta dishes or to garnish soups

This recipe really is easy, quick and delicious. The first photo shows the dish ready to go in the oven and the second one ready to serve.

1 kg boneless, skinless chicken thighs
1 cup baby tomatoes
½ to 1 cup pitted olives, black or green
About 10 cloves garlic, peeled but left whole
½ to ¾ cup pesto (home made or bought)
125g creamy goat’s cheese or feta
Salt and freshly ground black pepper
Extra Virgin olive oil
A few sprigs of thyme (optional)

Preheat oven to 180°C. Trim chicken thighs and cut them in half. Arrange in one layer in a shallow baking dish tin. Arrange the tomatoes, olives and garlic evenly, tucking them in between the chicken pieces. Put blobs of pesto and small chunks of cheese evenly over the dish, season with salt and pepper, add a few small sprigs of fresh thyme (if available) and drizzle with some olive oil. Bake for 45 minutes, turning chicken over halfway through the cooking time.

Serve with couscous, rice, mashed potatoes or crusty bread, to soak up the juices and a mixed salad.

Serves 4

Variations: use chicken drumsticks or thighs with bones and skin.

Carrot and Sweet Potato Soup with Pesto

Between the vegetable patch at the farm – where we spend  every second weekend – and the one in Canberra, we produce more than half the fruit and vegetables we eat, with some to give away to family and friends during summer. All organic of course.

There’s no shortage of space at the farm so we grow things like strawberries, raspberries, asparagus, potatoes, onions and garlic as well as pumpkins, cucumbers, tomatoes and zucchini. We’re also establishing an orchard, with quince, apples, pears and plums. In town where space is more limited we stick to herbs, radishes, lettuces and rocket.

You can’t grow salad greens in northern Europe in the middle of winter, but here in Canberra a typical winter’s day is often 15 to 20 degrees Celsius warmer than the nighttime sub-zero temperatures. This means that the soil doesn’t freeze solid and allows some vegetables to be grown in sheltered areas of the garden. A piece of glass or plastic helps protect the foliage from the frost

Rather than going out and buying something we tend to eat what we have. At the moment, it being the middle of winter, we have spinach, carrots, rocket and lettuce. Not much in the way of fruit, apart from the lemon tree which is laden and lots of cooking apples I froze during summer.

Carrots from the garden were the inspiration for this soup which showcases the natural sweetness of root vegetables. The coconut milk gives a velvety, creamy texture and the pesto makes a nice contrast in colour and flavours. The pesto in the photo is a bit dark because I froze it during summer. Still tastes good though.

Carrot and Sweet Potato Soup with Pesto

1 large onion, chopped
25g butter
About 1kg sweet potatoes and carrots (half and half or whatever)
1 can coconut milk or cream
2 chicken or vegetable stock cubes
Water
To serve:
Milk
Salt and freshly ground black pepper
Pesto (home-made or bought)

In a large heavy-based saucepan, heat butter and cook onion for 5-10 minutes or until soft but not brown. Add sweet potatoes and carrots, peeled and cut into chunks, the coconut milk or cream, enough water to cover the vegetables and the stock cubes. Simmer for 20-30 minutes or until vegetables are soft, then cool a bit and blend in a blender until smooth. To serve, reheat with enough milk to make to desired consistency. Season to taste and garnish with some pesto, thinned down a bit with some olive oil if it’s too thick.

Serves 6-8

Reuben Sandwich

Fermented food is really good for maintaining healthy gut bacteria.

I have just made my first batch of sauerkraut and as it’s an integral ingredient in the famous American Reuben Sandwich I decided it was a good way to try it.  The origins of this sandwich are not entirely clear, but according to one version, a man called Reuben Kulakofsky ordered a corned beef and sauerkraut sandwich in a hotel in Omaha USA in 1928. A young chef by the name of Bernard Schimmel came up with the rest. So I guess it should have been called a Schimmel sandwich!

If you don’t have Thousand Island dressing and can’t be bothered to make it, mix two parts mayonnaise with one part tomato ketchup and add a dash of Tabasco or Worcestershire Sauce to give it a bit of bite. The photo shows two sandwich halves stacked one on top of the other.

Corned Beef (or Pastrami), sliced
Swiss cheese, sliced
Light Rye Bread, sliced
Sauerkraut, rinsed and well drained (bought or home-made)
Thousand Island Dressing, bought or home-made (see below)
Butter
To serve:
Dill pickles
Radishes
Potato crisps/chips

Make sandwiches using rye bread spread with Thousand Island Dressing, filled with generous amounts of corned beef or pastrami, Swiss cheese and sauerkraut, then topped with a second slice of bread.

Butter the outsides of both slices of bread and cook in a sandwich press until nicely toasted. You can also cook them in a frying pan, with a weight to flatten them down a bit, but a sandwich press is the best solution and a worthwhile investment if you’re a fan of toasted sandwiches.

Cut the sandwiches in half and garnish with dill pickles, radishes and potato crisps.

Thousand Island Dressing
1 cup mayonnaise
½ cup tomato ketchup
1 slice onion
1 slice red or green capsicum
A few celery leaves or half a stick
¼ tsp salt
1 Tbs parsley
1 hard boiled egg
¼ cup fruit chutney or pickle relish
few drops Tabasco

Place mayonnaise, ketchup and onion in food processor and mix till smooth. Add remaining ingredients and pulse briefly so you end up with a slightly chunky dressing. Keep refrigerated and use within 5 days.

Makes about 2 cups