Australia’s Oyster Coast farmers operate across eight estuaries from the Shoalhaven River to Wonboyn Lake on the pristine south coast of New South Wales. A group of passionate artisans, they are committed to growing oysters of the highest quality in estuaries so well-managed they can be eaten straight out of the water.
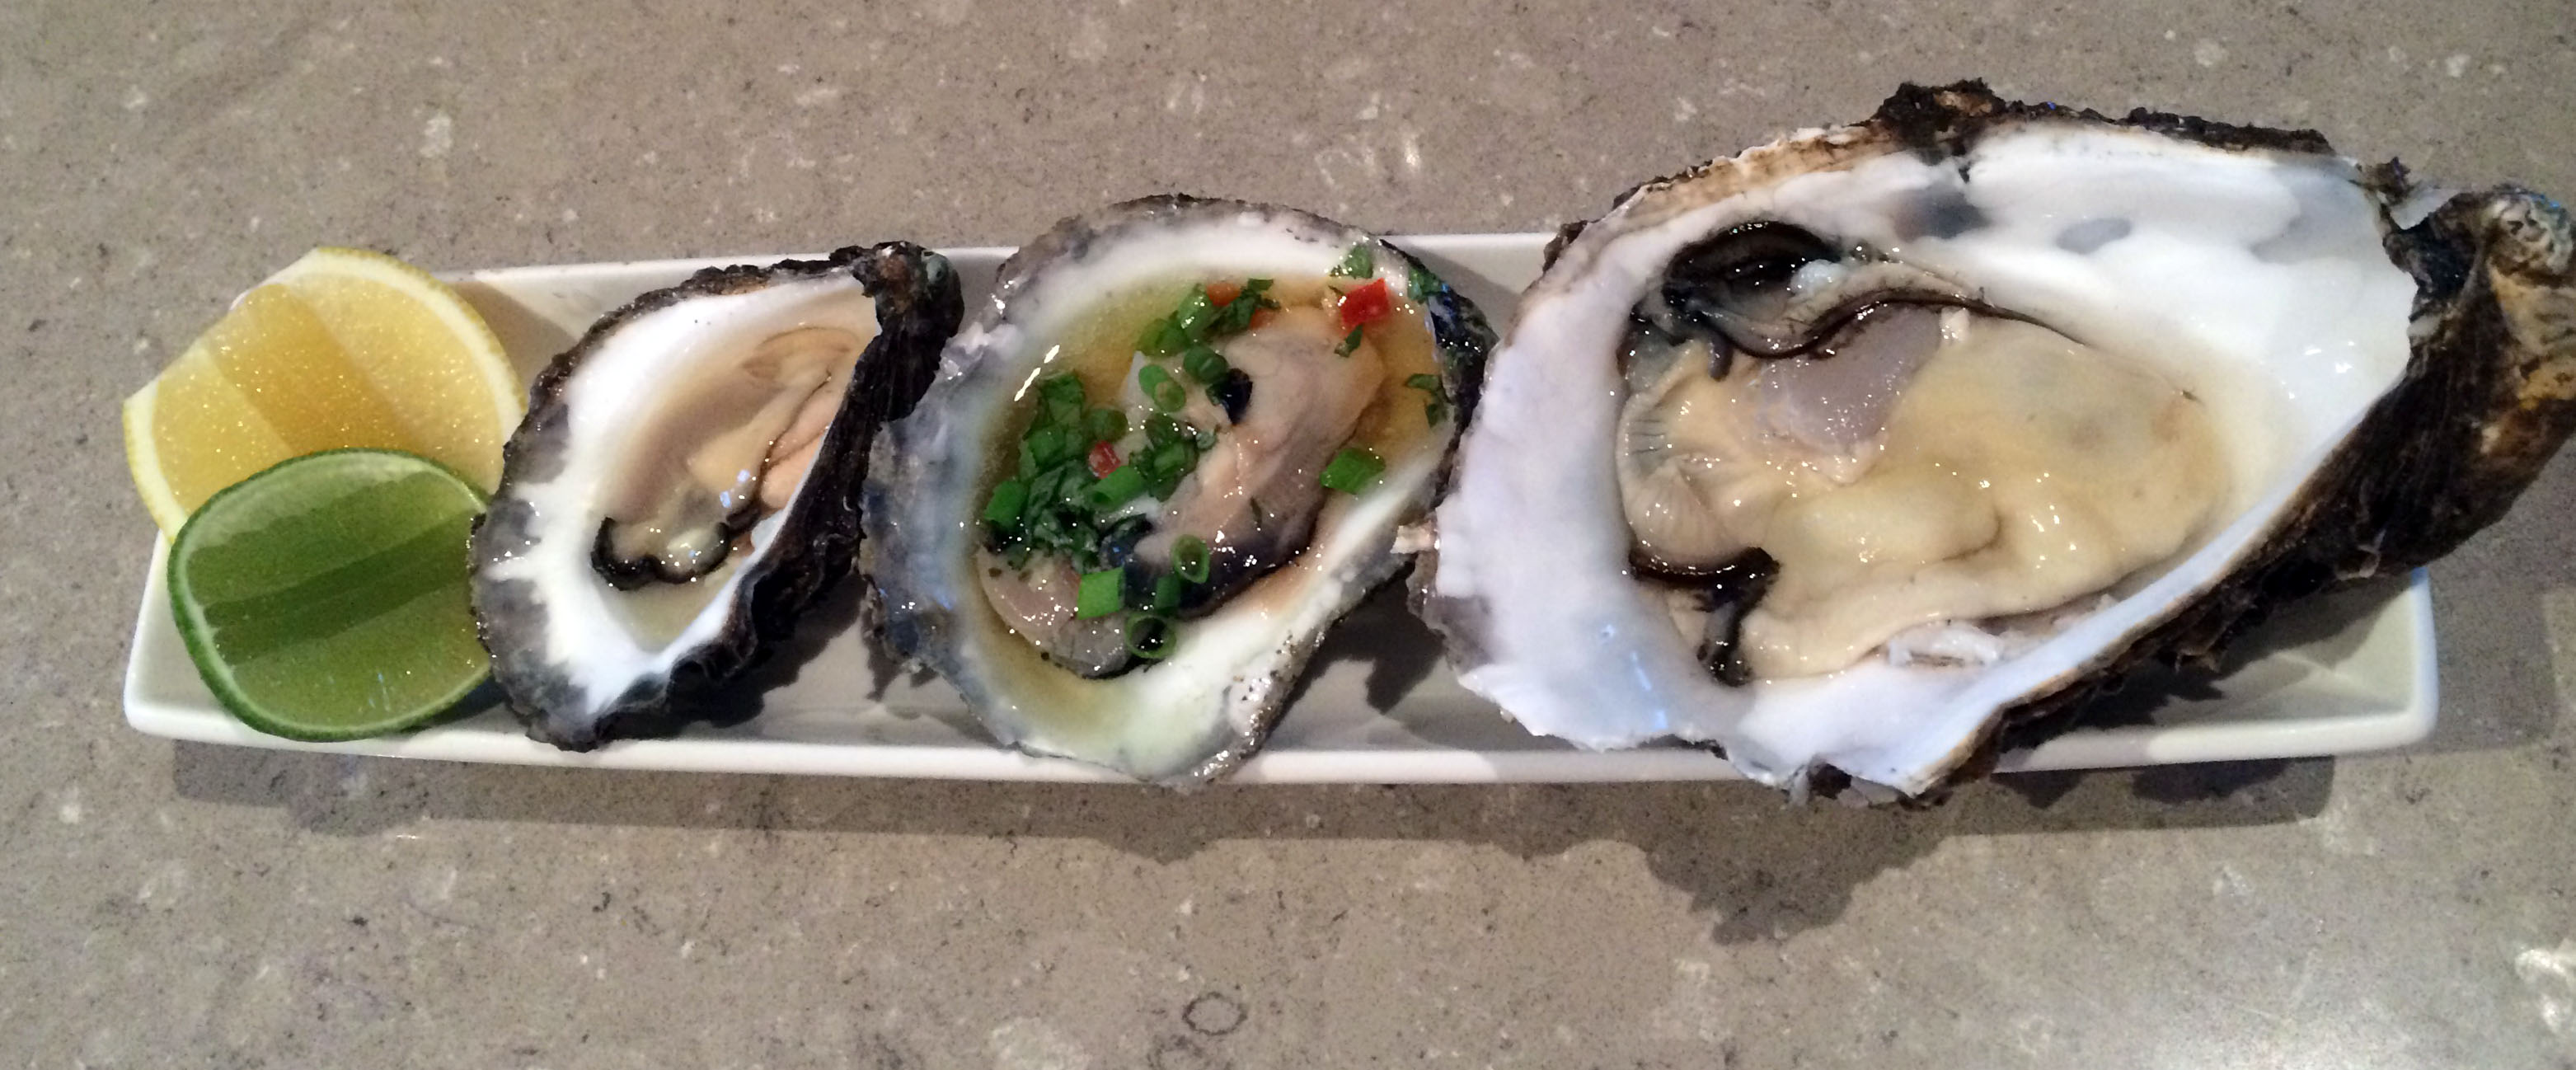
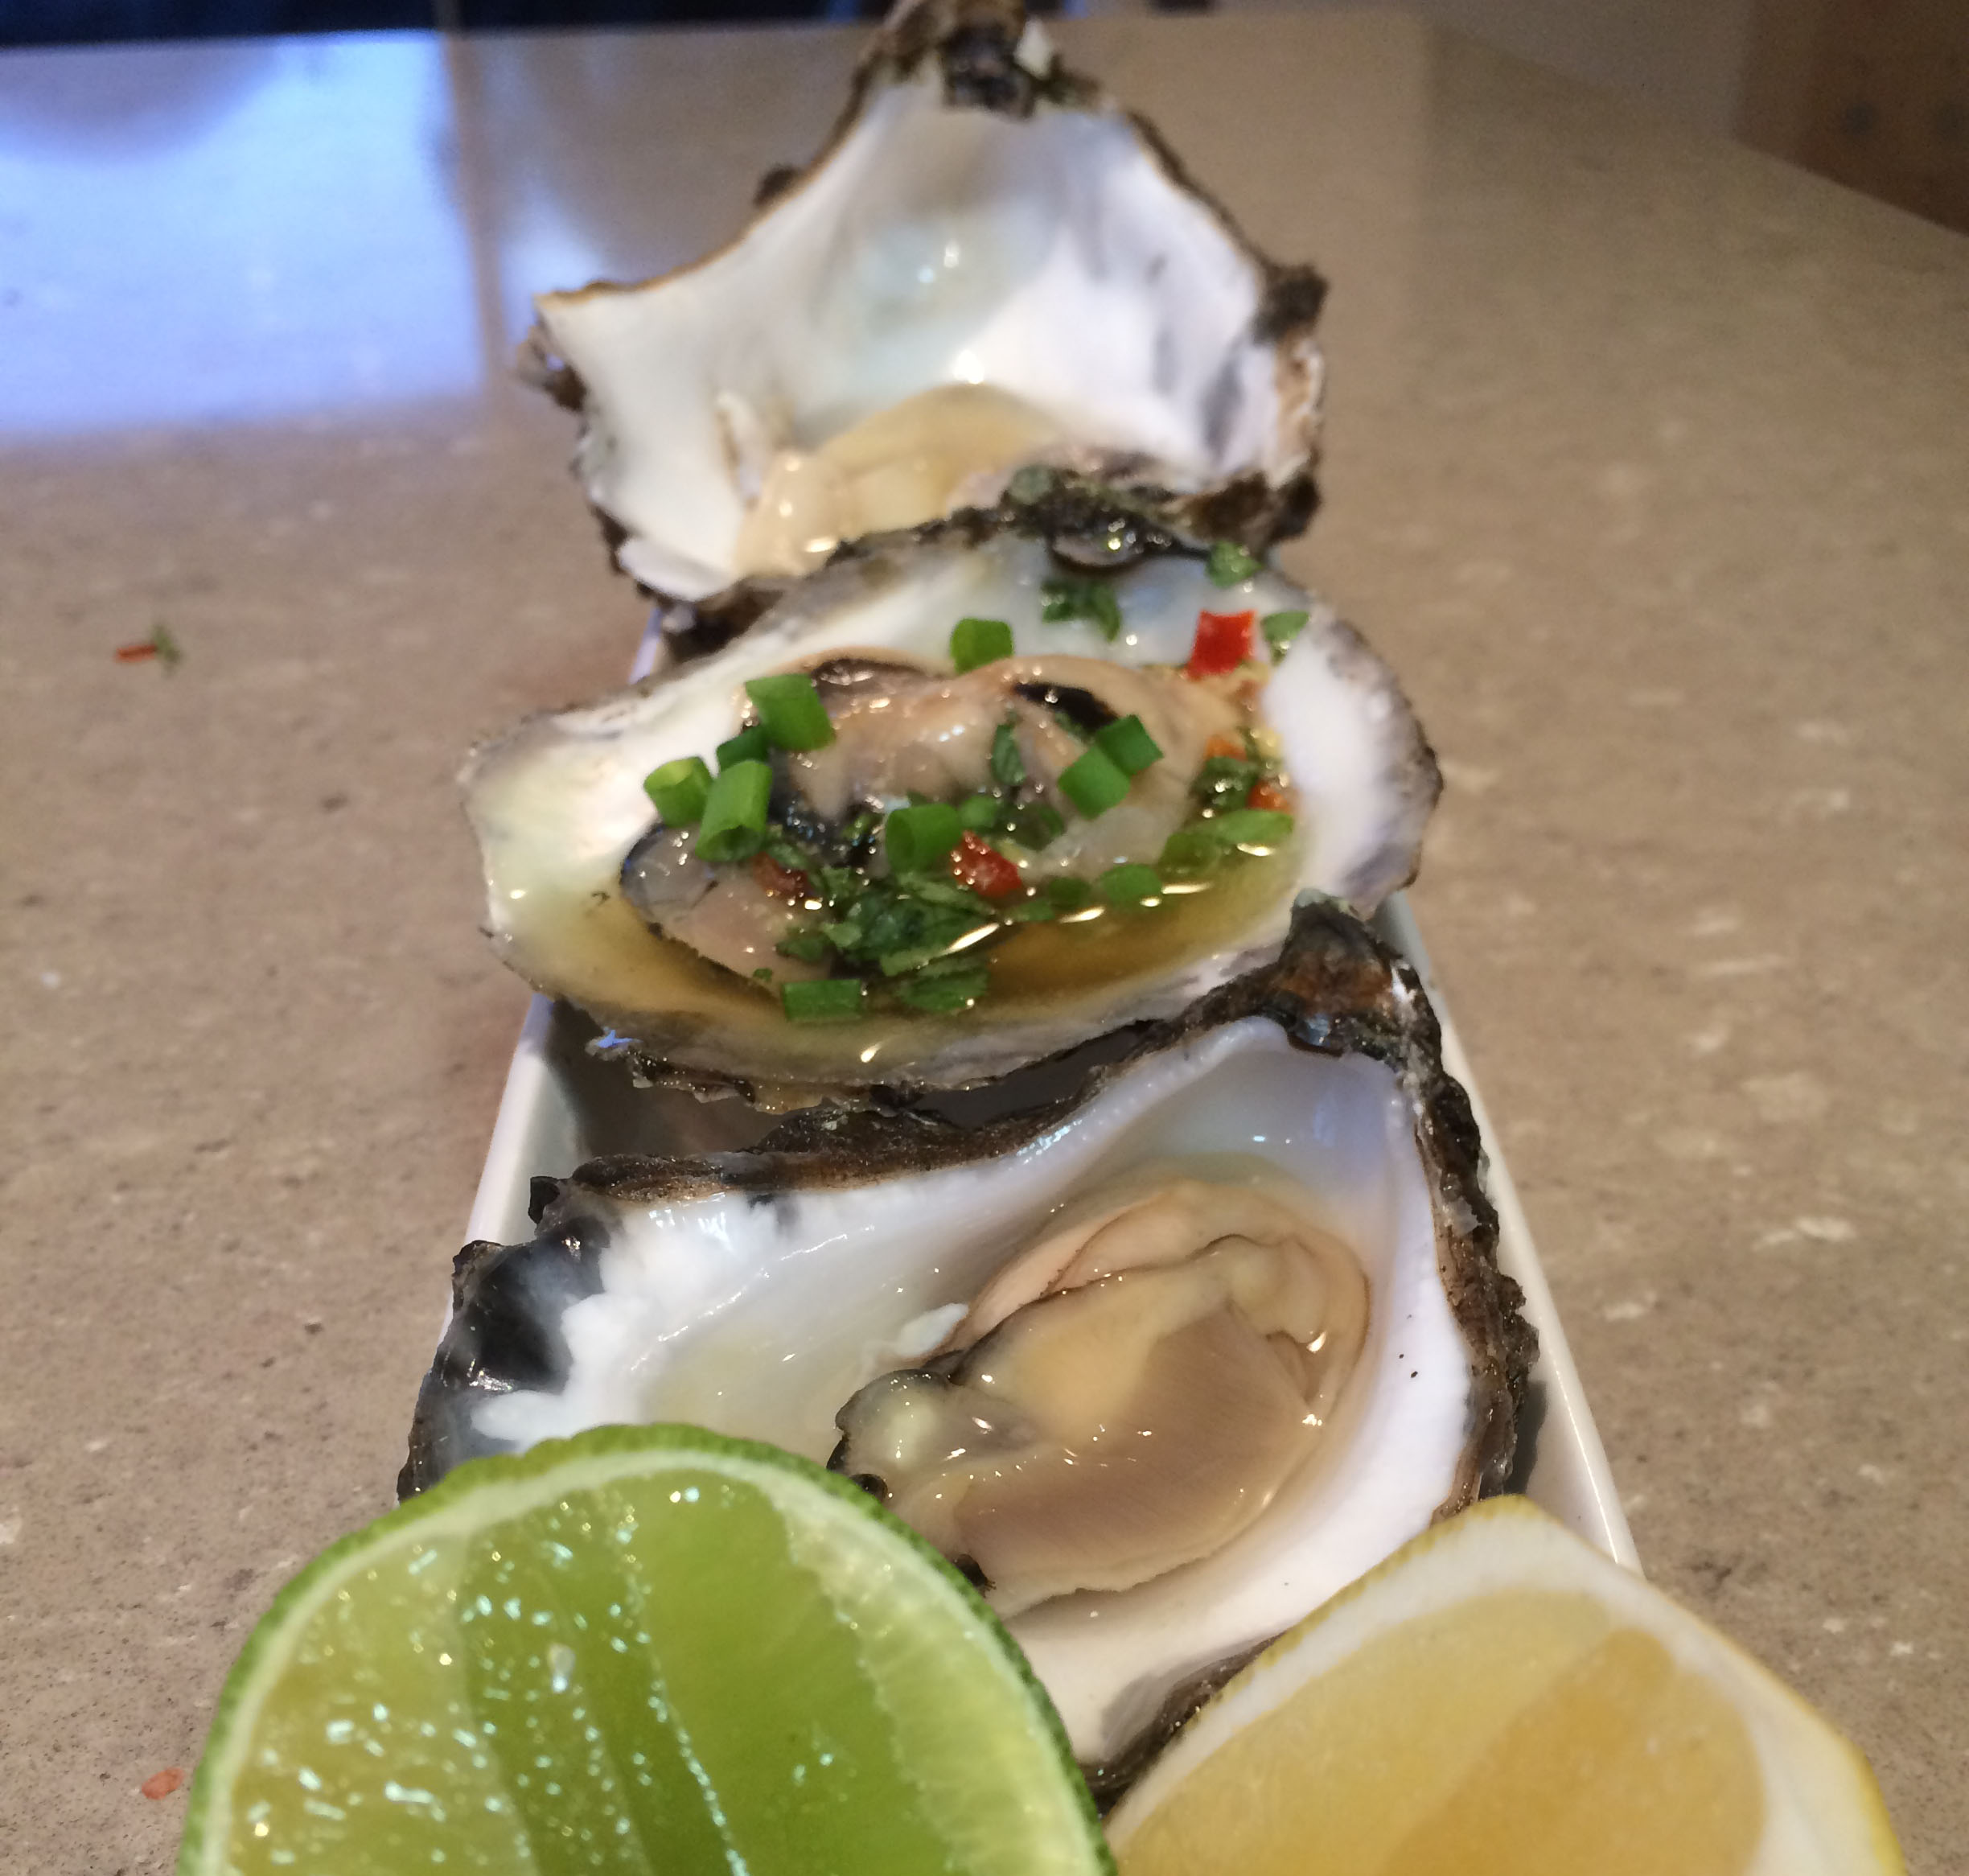
Three different species, each with different characteristics influenced by the water in which they live, are being produced. Going from left-to-right in the photo, the Sydney Rock is a native oyster with a firm, creamy texture and incredible flavour. Highly prized by top restaurants, it can only be found along the South Eastern coastline of Australia. Next comes the Angasi, another native oyster which is rarer than its Sydney cousin and recognised by its flat shell and stronger flavour. The Pacific Oyster is significantly bigger than the other two. Introduced into Australia from Japan, it’s the mostly widely-consumed oyster in the world. Fast-growing and plump with a clean, salty flavour.
Australia’s Oyster Coast has partnered with a number of restaurants and wineries to sell their products in Australia. To place an order contact: sales@australiasoystercoast.com
They have also started exporting to a number of countries in Asia, including China, Hong Kong and Singapore and plan to expand to other countries in the region in the near future. They are also developing a domestic tourism trail along Australia’s Oyster Coast, with lease tours, restaurants, accommodation, sea planes and kayaks. This is still under development, but will take on greater importance once direct air flights between Canberra and Singapore commence.
Each of the three oysters requires a slightly different opening technique. You need a special knife and it’s also a big plus to have a family member who knows what they’re doing. Our son-in-law Sacha is our oyster expert. An Australian of Chilean origin Sacha has eaten more oysters than I’ve had hot dinners and says the only way to eat them is plain, or with a squeeze of lemon juice.
For those who like something a bit different I made this simple Asian sauce from Jamie Oliver.
 1 piece of peeled fresh ginger the size of a small walnut, grated
6 Tbs rice wine vinegar
1 small red chilli, de-seeded and finely chopped
1 Tbs finely chopped coriander
1 tsp sugar
Shake in a jar with a lid.
 2 green zucchinis (courgettes)

 Creamed Leeks:
 600g potatoes
 2 Tbs coconut oil or vegetable oil