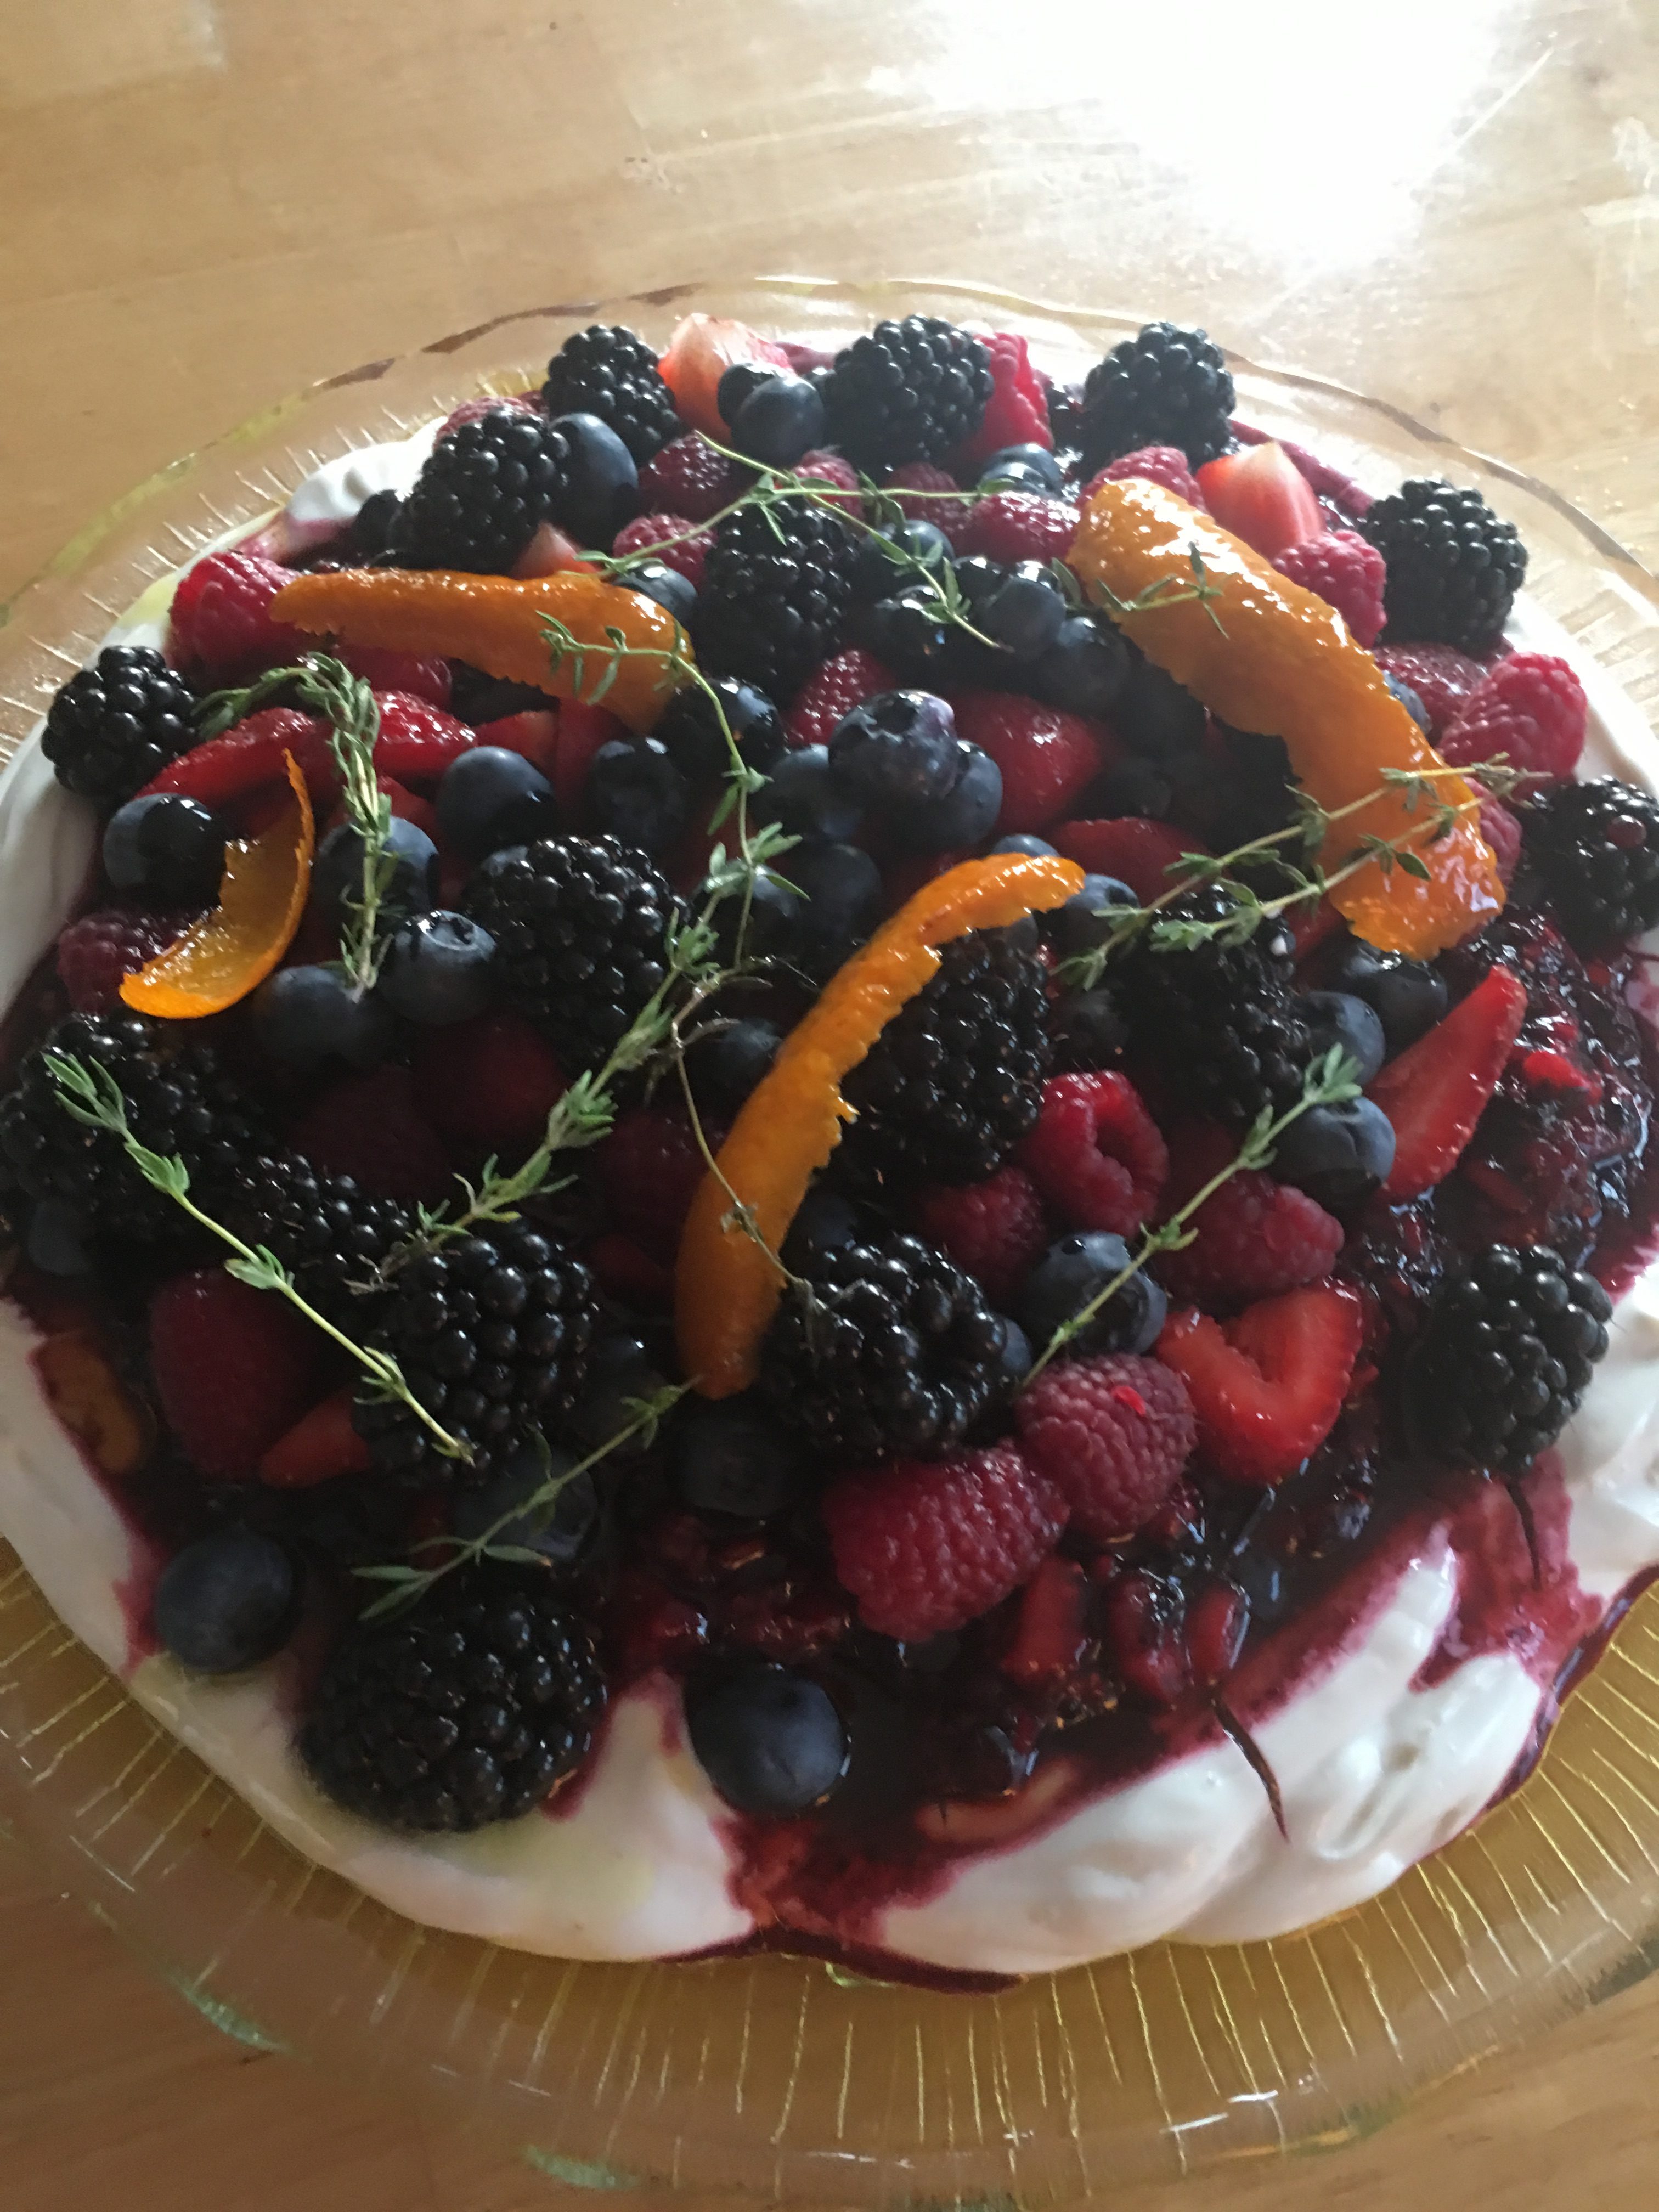
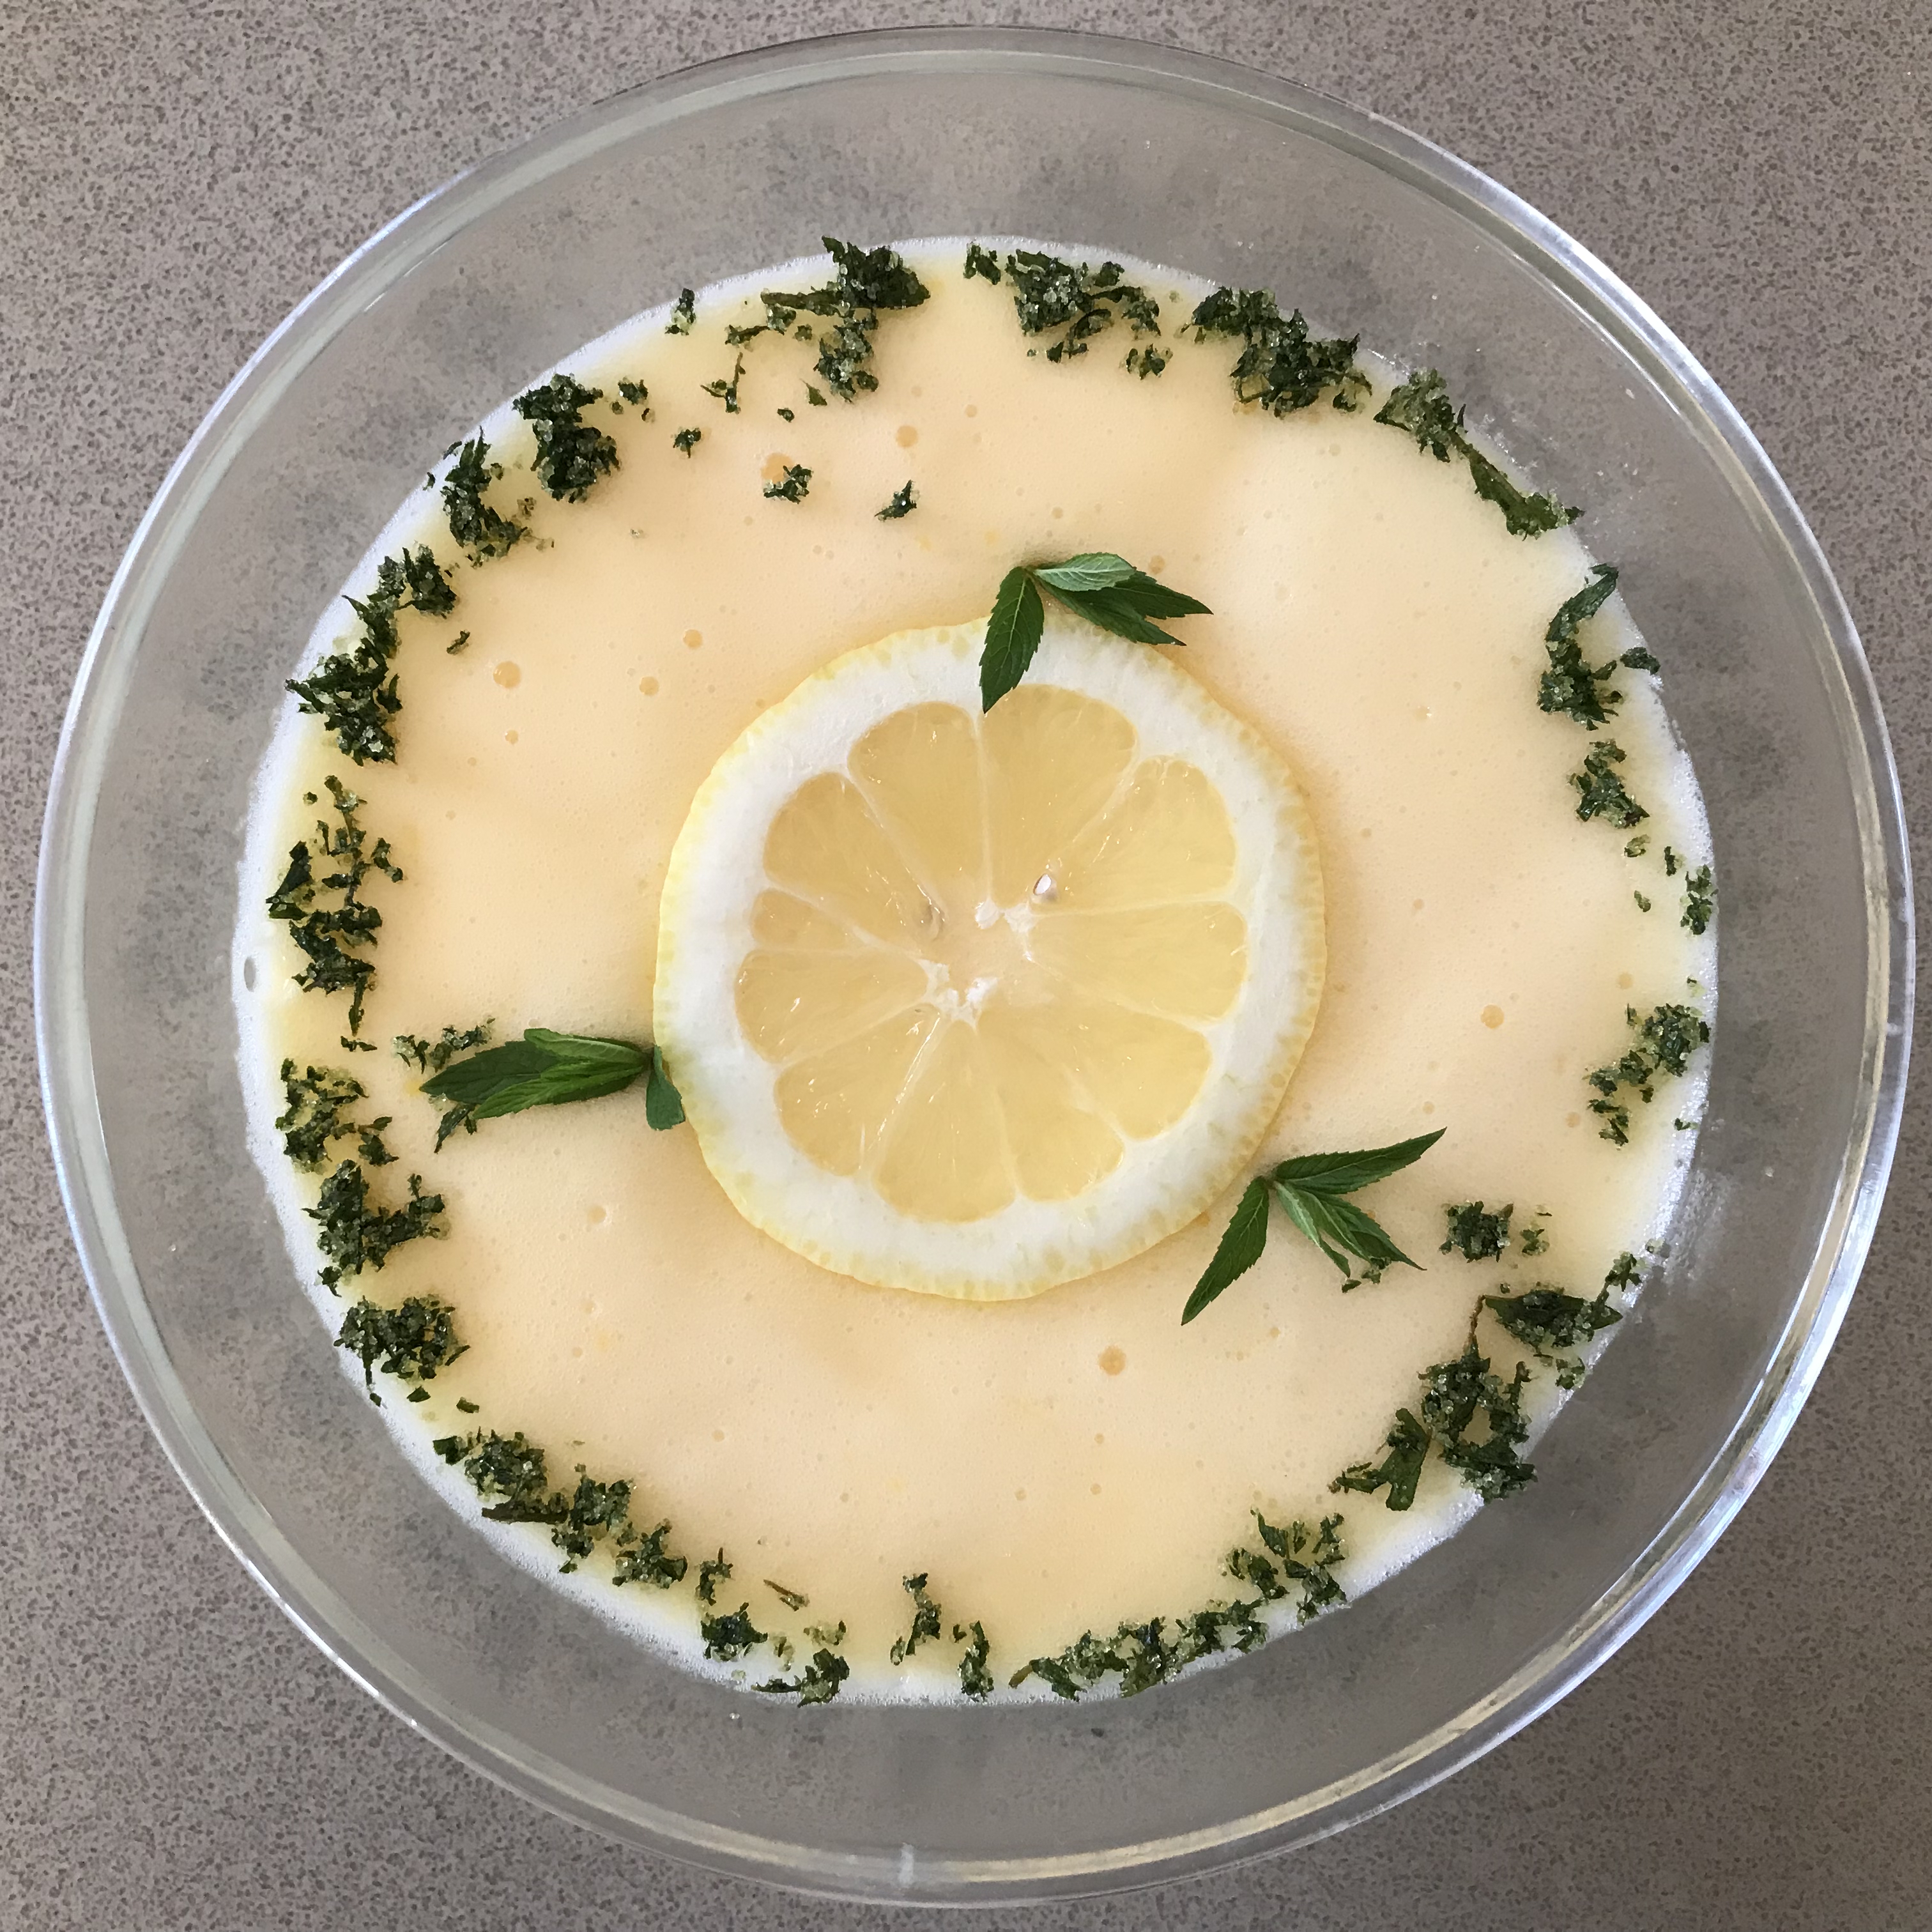
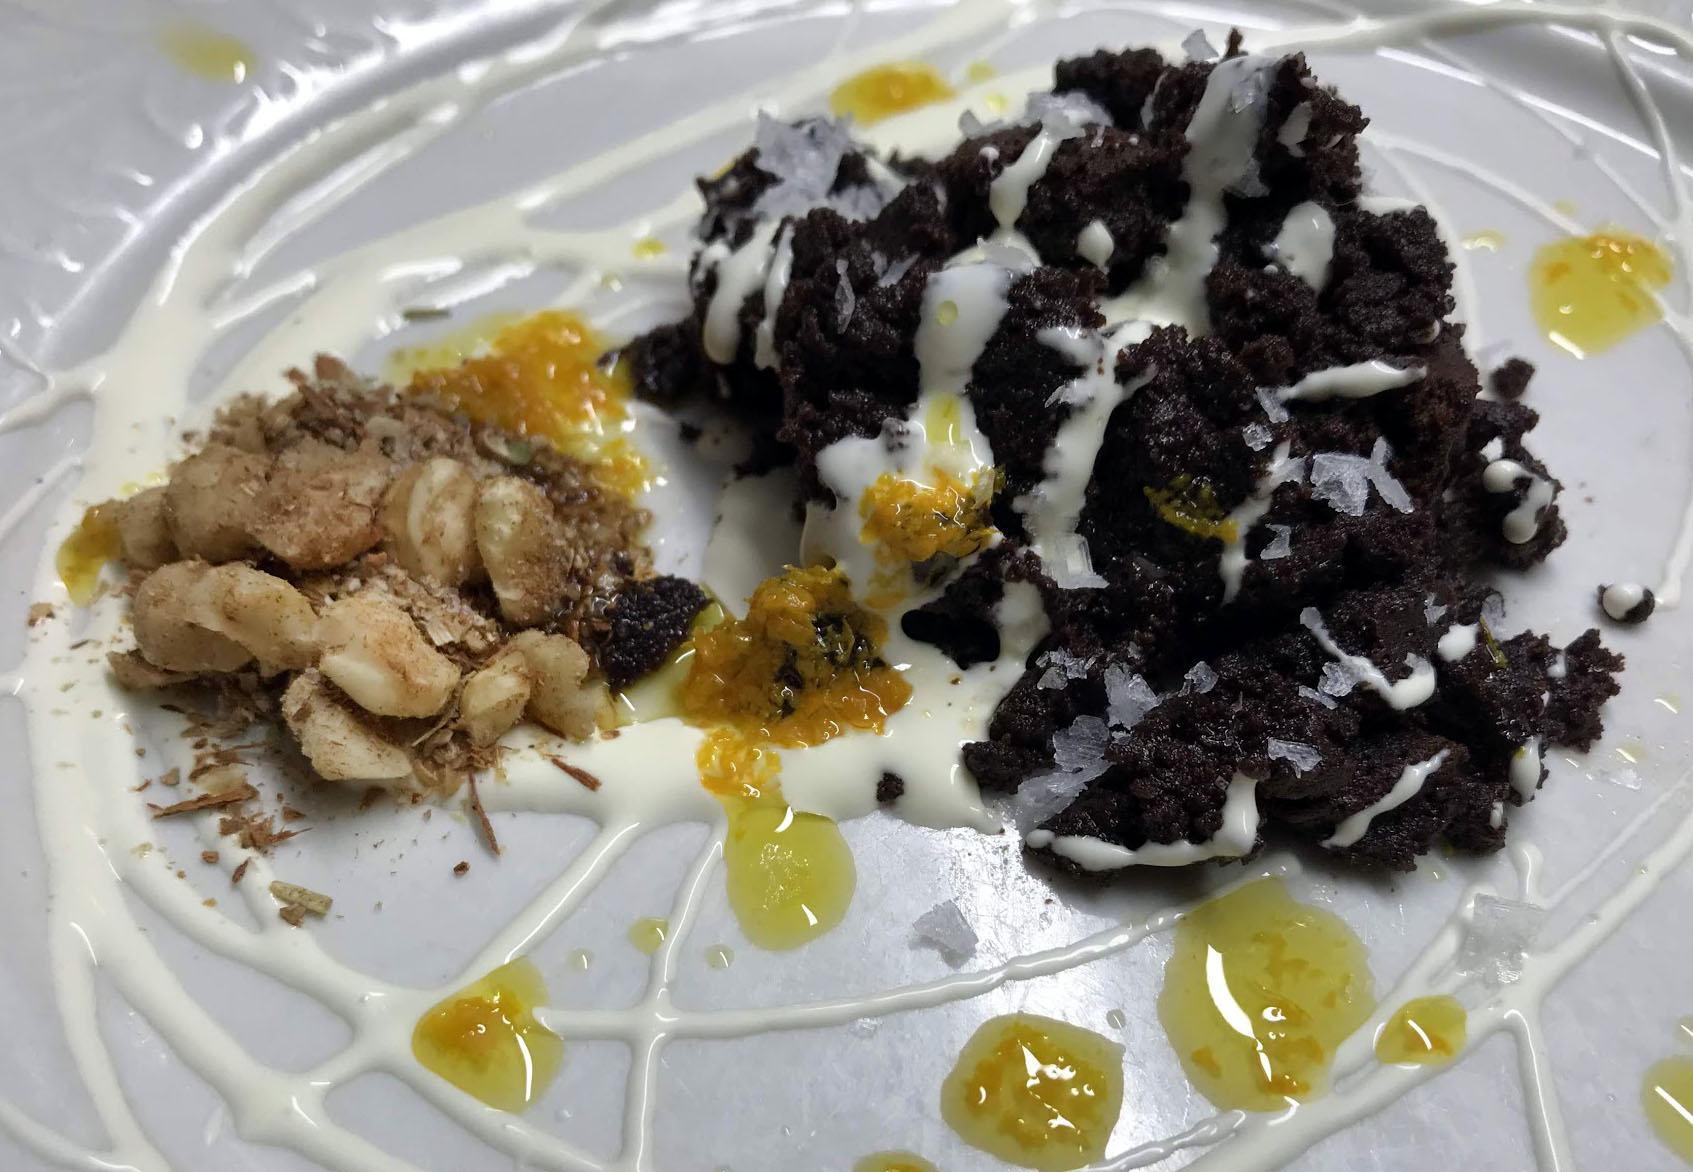
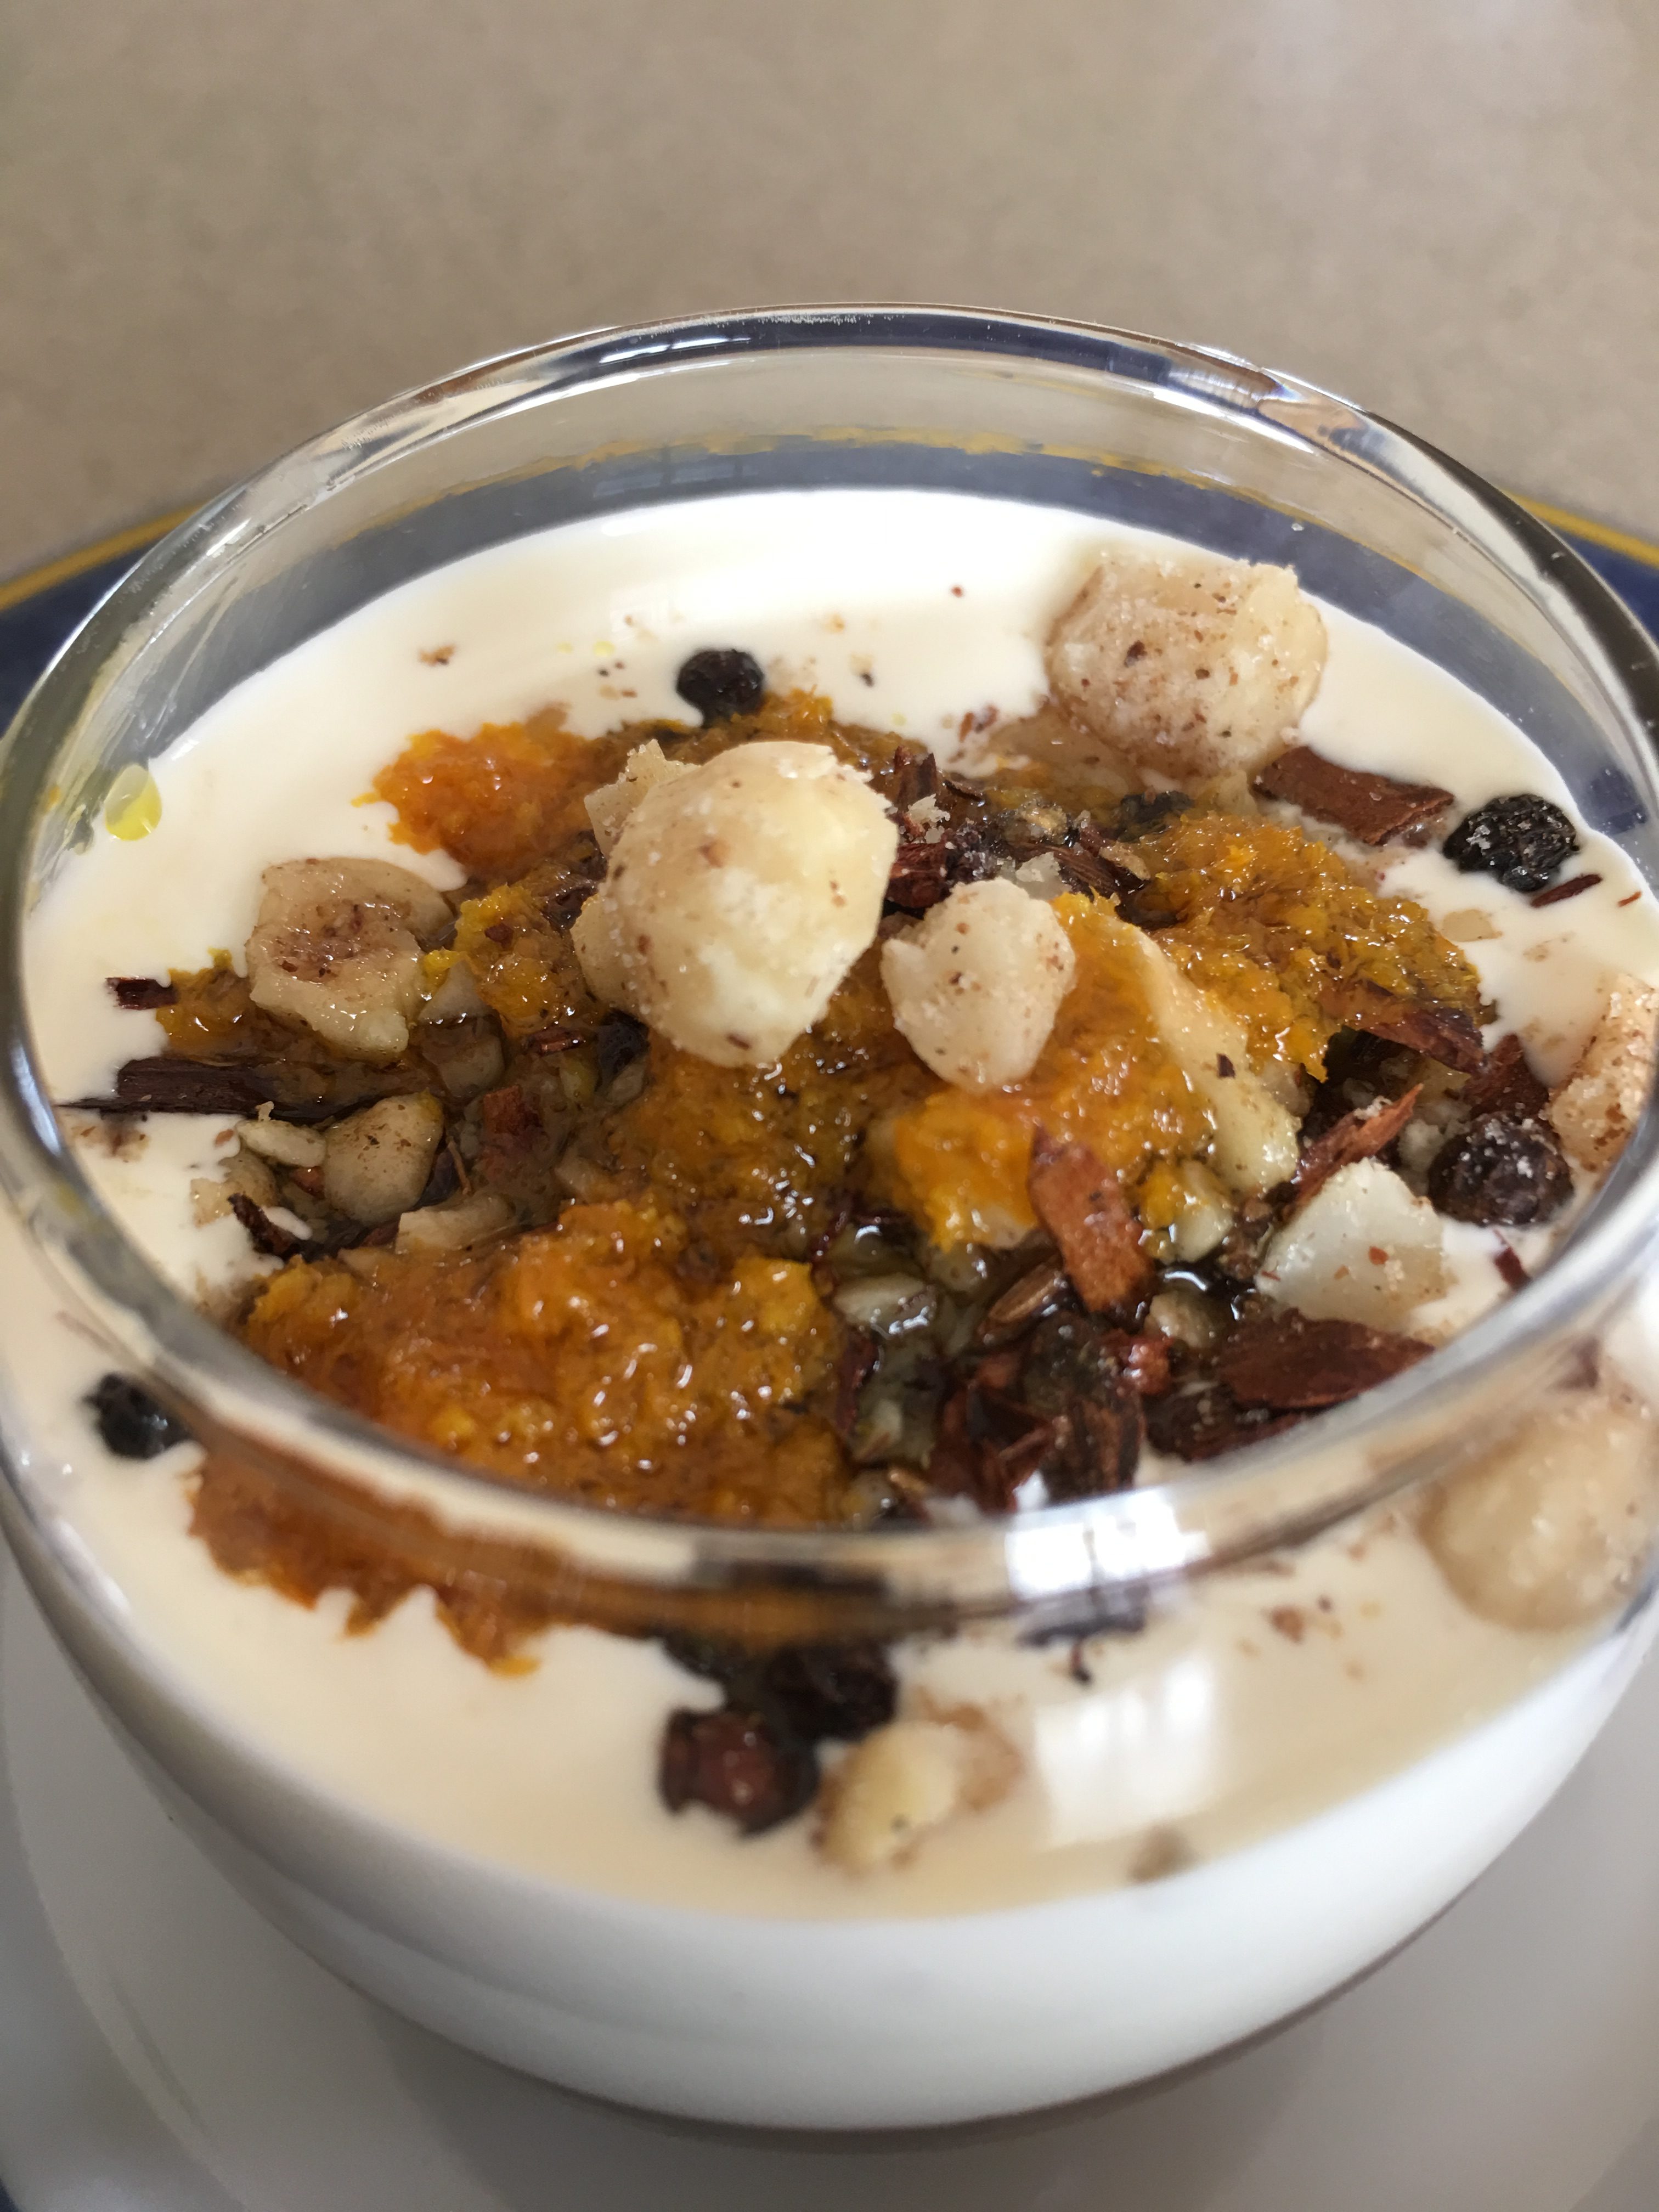
I made this delicious Ottolenghi dessert when we were in Vancouver for my brother’s wedding in August, when the Canadian berry season was in full swing. Friends who saw the photo on Facebook thought it was a pavlova. In fact the base is strained yoghurt, known as labneh in the Middle East. Much healthier.
For subscribers in the southern hemisphere this could become your go-to dessert for the holiday season. For those living in the north, you’ll have to wait until summer or perhaps try using frozen berries. Ottolenghi doesn’t use the orange juice in this recipe, but I’ve made the recipe twice, once with and once without the juice. Much more orangey with.
1 kg thick Greek-style yoghurt
A good pinch of salt
1-2 Tbs icing sugar
1 tsp vanilla essence
100ml Extra Virgin Olive oil
1 orange
A few sprigs of thyme or lemon thyme
800g to 1 kg fresh berries (raspberries, strawberries, blueberries, blackberries, stoned cherries)
1-2 Tbs caster sugar
The day before serving make the labneh and the orange oil. Place a sieve over a bowl and line it with muslin or similar fabric. I use a man’s handkerchief which I keep especially for this purpose. Scrape yoghurt into the sieve, cover and refrigerate overnight. Next day discard the liquid – my dog loves it. Mix icing sugar and vanilla into the yoghurt.
Remove the peel from the orange with a vegetable peeler, then remove the juice and heat it in a saucepan for a few minutes, or until reduced by half. Add the olive oil, the thyme and leave to infuse overnight.
At serving time spread labneh onto a large serving platter. Place about half the berries in a food processor with the caster sugar and pulse a few times to chop roughly. Spoon on top of the labneh. Top with the remaining whole berries, slicing the strawberries if large. Drizzle with some of the orange oil and garnish with the orange zest and some fresh thyme sprigs – the original ones will have gone a bit brown.
Serves 8-10
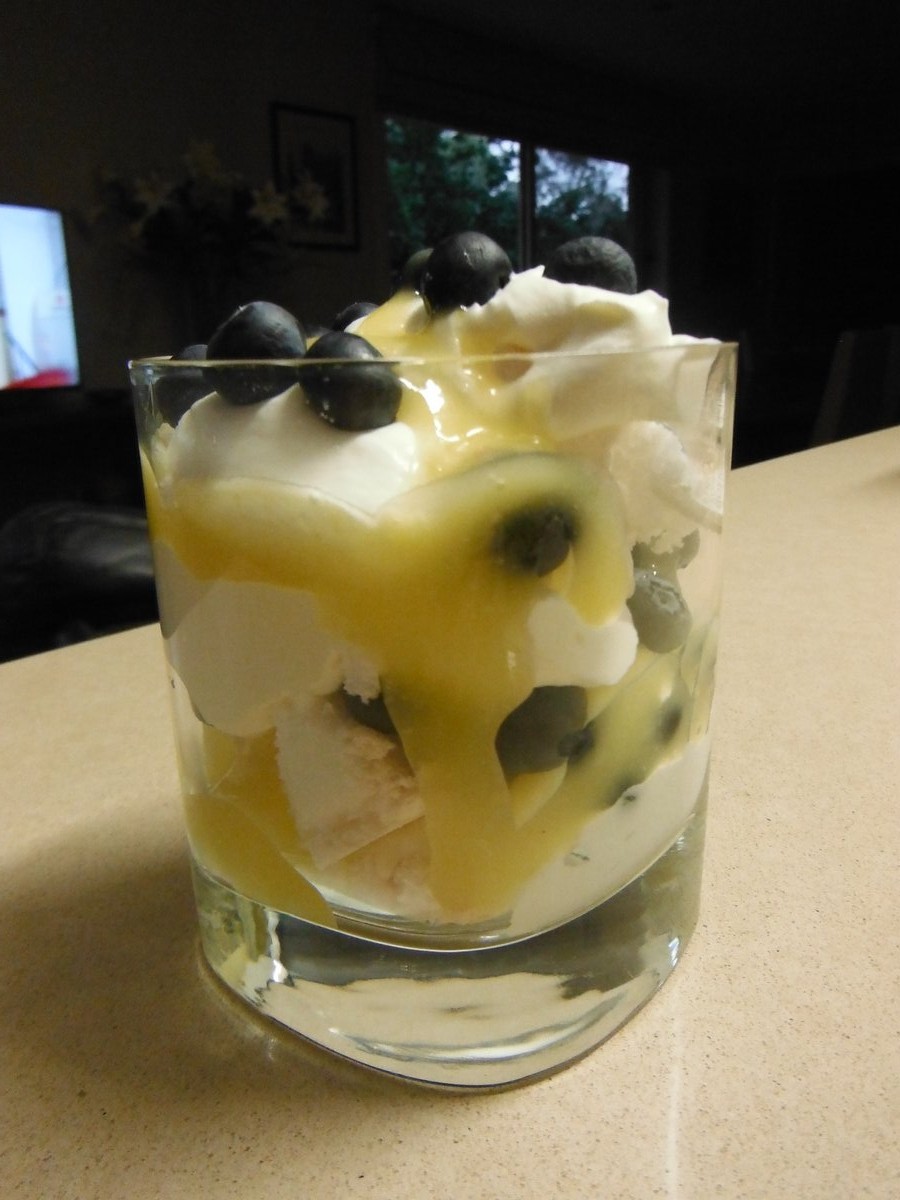
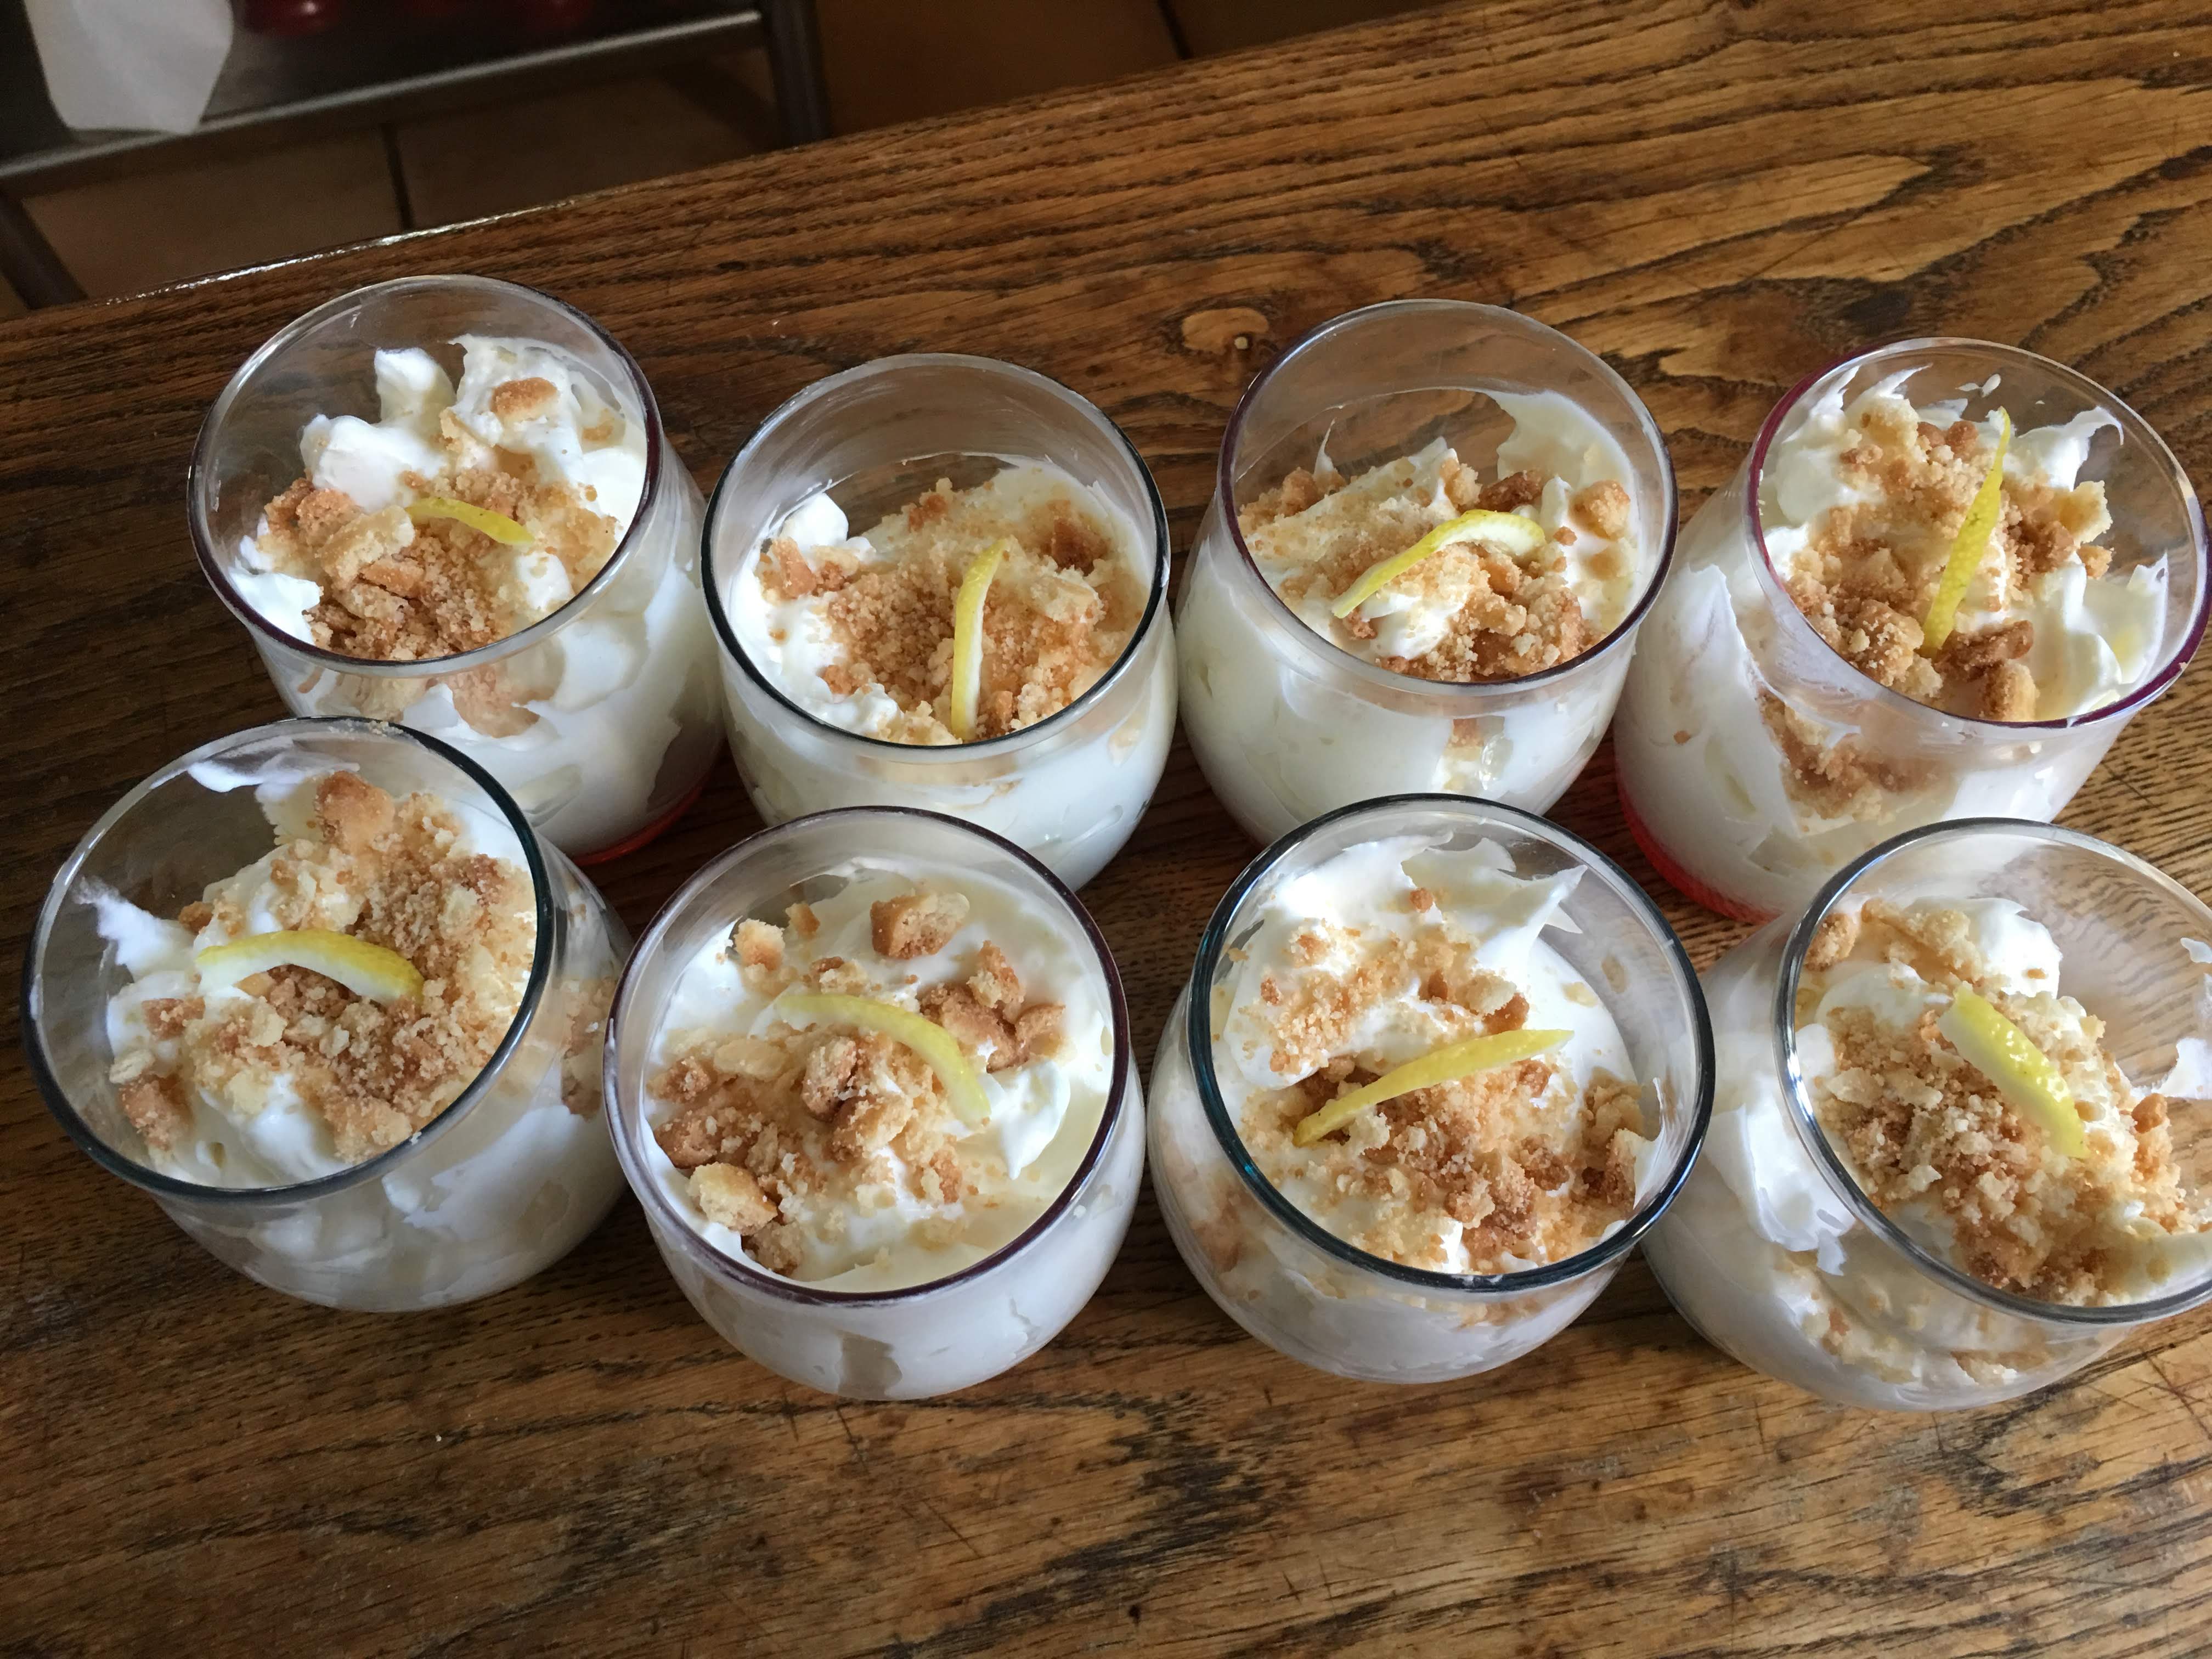
Variations: use other fruit combinations, such as bananas and passionfruit; kiwi fruit and strawberries


 I grew up in England where it never gets as hot as it does in Australia.
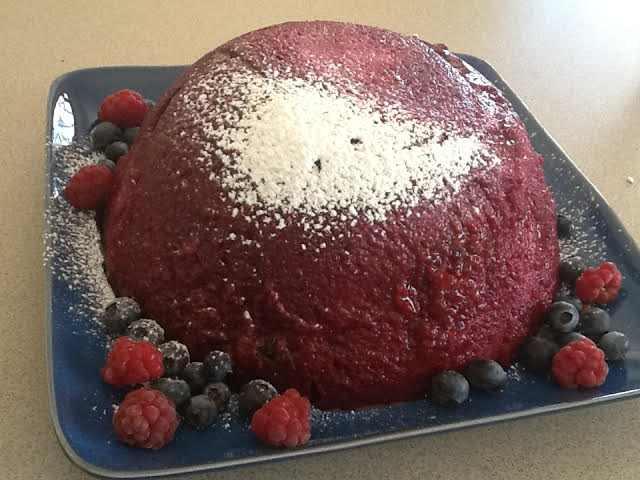
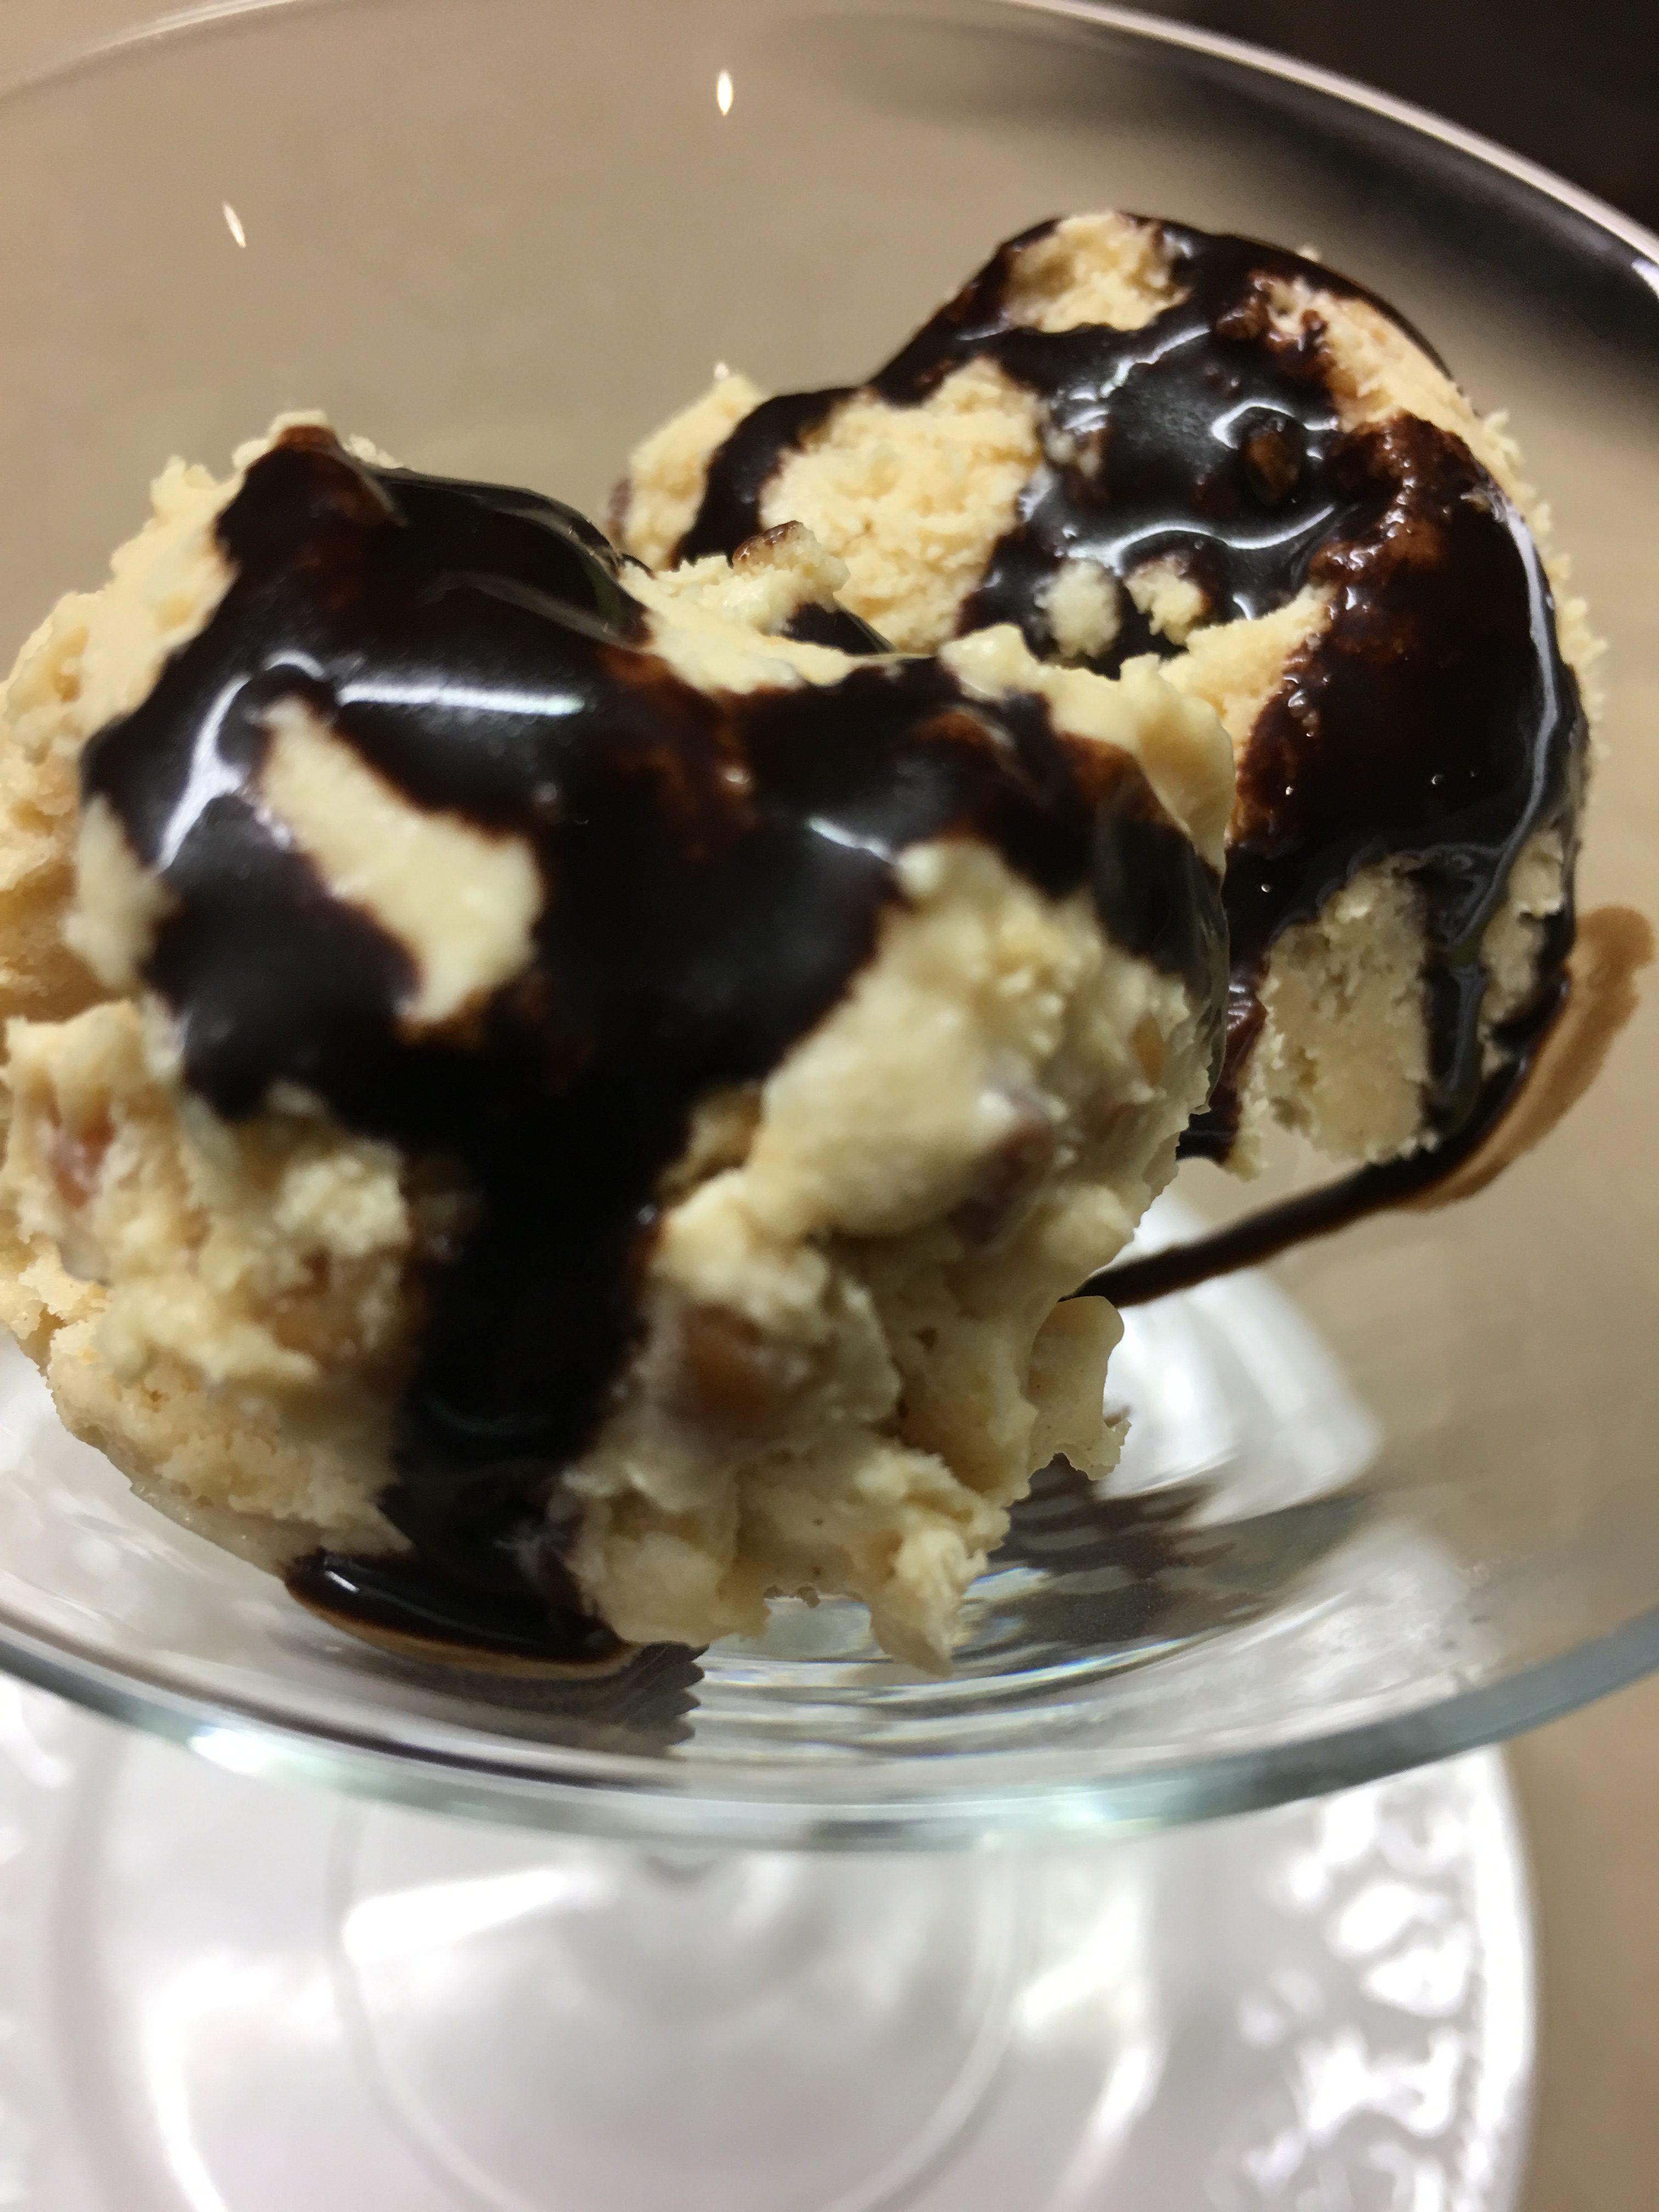
 If you’re still looking for inspiration for dessert have a look at this article