We’re not big pasta eaters but it’s on the menu a couple of times a month. I’m always looking for something a bit different and this recipe, adapted from one in Gourmet Traveller, ticks all the boxes.
250g shell pasta (or substitute another shape)
2 Tbs butter
1 large leek, thinly sliced
2 cloves garlic, finely chopped
¼ cup white wine
1 rounded Tbs white miso paste
150ml cream
Topping:
1 Tbs butter
¼ cup Panko breadcrumbs
¼ cup finely chopped walnuts or pecan nuts
2 tsp sesame oil
Olive oil and snipped chives to garnish
Cook pasta in boiling salted water until al dente then drain. Keep some of the cooking water. While pasta is cooking, prepare the leeks and the topping.
Heat butter in a large frying pan and add the leeks and garlic. Cook gently, stirring often, until soft but not browned. Add the wine and continue to cook, stirring, until almost evaporated. Add the miso paste and cream and cook, stirring, for a minute or two. Add the cooked pasta and a little of the cooking water if it’s a bit dry.
For the topping, heat the butter in a small frying pan and add the Panko crumbs, nuts and sesame oil. Cook, stirring for a minute or two then turn off the heat.
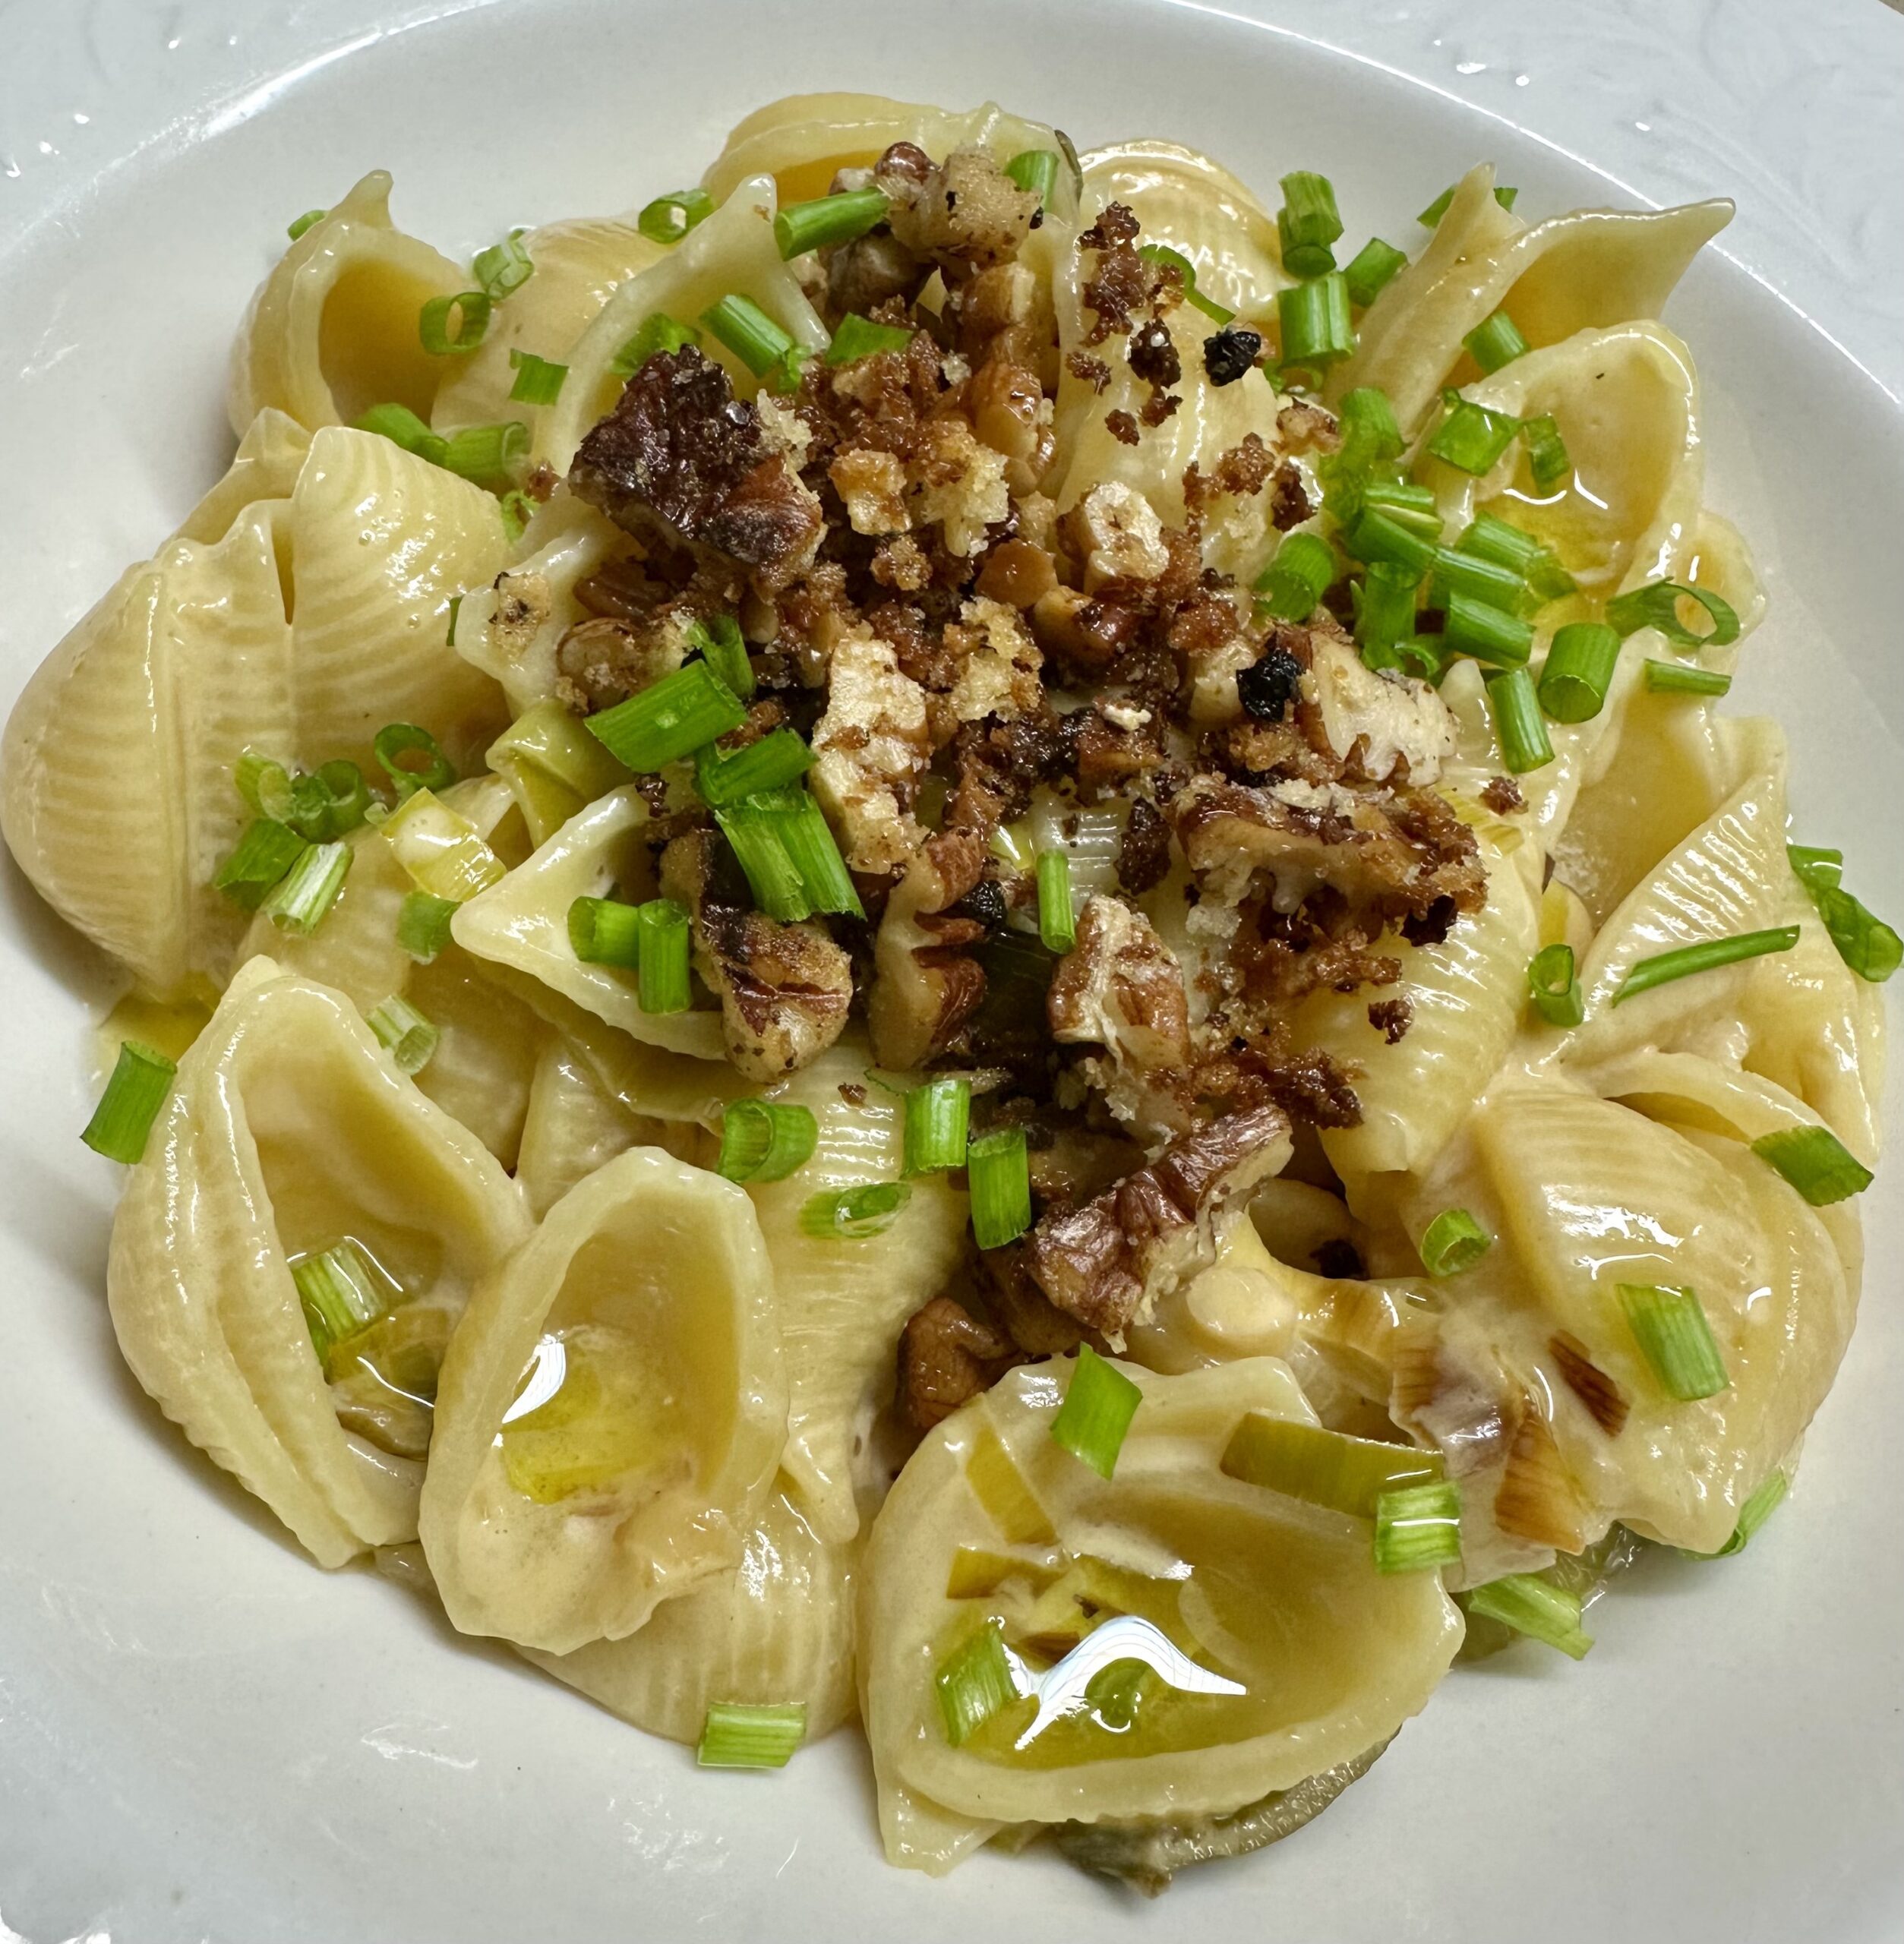
To serve, spoon the pasta into serving bowls, top with some of the topping and garnish with snipped chives or another herb (it’s just for a bit of colour) and, if liked a drizzle of olive oil around the edge.
Serves 2-3