Made from flour and eggs and cooked in boiling water, spaetzle is the German equivalent of pasta. A bit like gnocchi without the mashed potato. If you like making spaetzle it’s worth investing in a spaetzle-making gizmo. They’re not expensive – I bought mine for about $20 including postage from Fishpond.
I first ate spaetzle in Austria as a delicious dessert called Apfel Spaetzle. The little morsels of cooked dough had been stir fried in butter with sliced apples and spices, then doused with icing sugar. It might even have been stuck under a griller as there were some crispy crunchy bits.
It’s looking a bit wilted and sad, but my sage bush seems to be surviving the winter frosts. Although the recipe says burnt butter, it should actually be nut brown rather than burnt.
 1 whole chicken
25-30g butter
2 Tbs chopped fresh sage
Spaetzle:
2 eggs
1 cup flour
1 tsp salt
3-4 Tbs milk
Preheat oven to 180ºC. Roast the chicken for an hour to an hour and a half, depending on size, seasoned with salt and pepper and a knob of butter.
Meanwhile, make the spaetzle. Mix eggs with flour, salt and enough milk to make a sticky mixture. Half fill a large pan with water and some salt and bring to the boil. Push the mixture through an oiled spaetzle maker into the water in batches. Alternatively you can drop small pieces of dough, about half a teaspoon at a time, into the water or push the dough through the holes of a metal collander. When the little dough balls rise to the top they are done. Remove with a slotted spoon to a collander.
When chicken is almost ready, heat butter in a frying pan. Allow it to brown, but be careful it doesn’t burn. Add the sage and cook for a minute or so, then add the spaetzle and cook for another minute, stirring, until they have absorbed the butter.
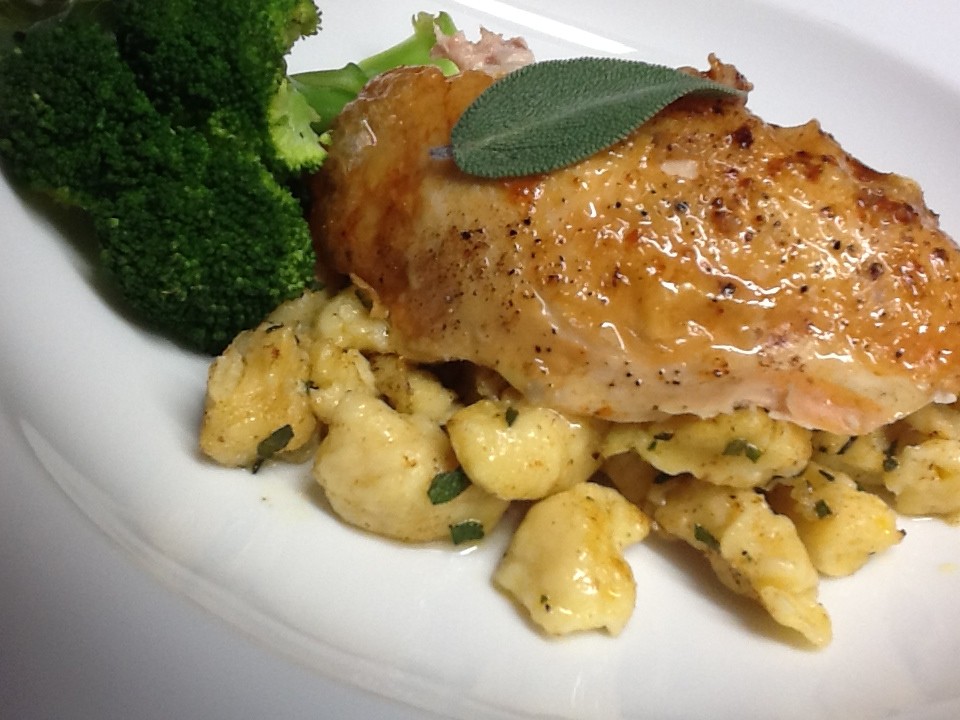
Divide spaetzle between 4 plates. Carve chicken and arrange on top of each serving. If liked drizzle some of the chicken pan juices over the top. Serve with a steamed green vegetable such as broccoli.
Serves 4