Prawn Burgers

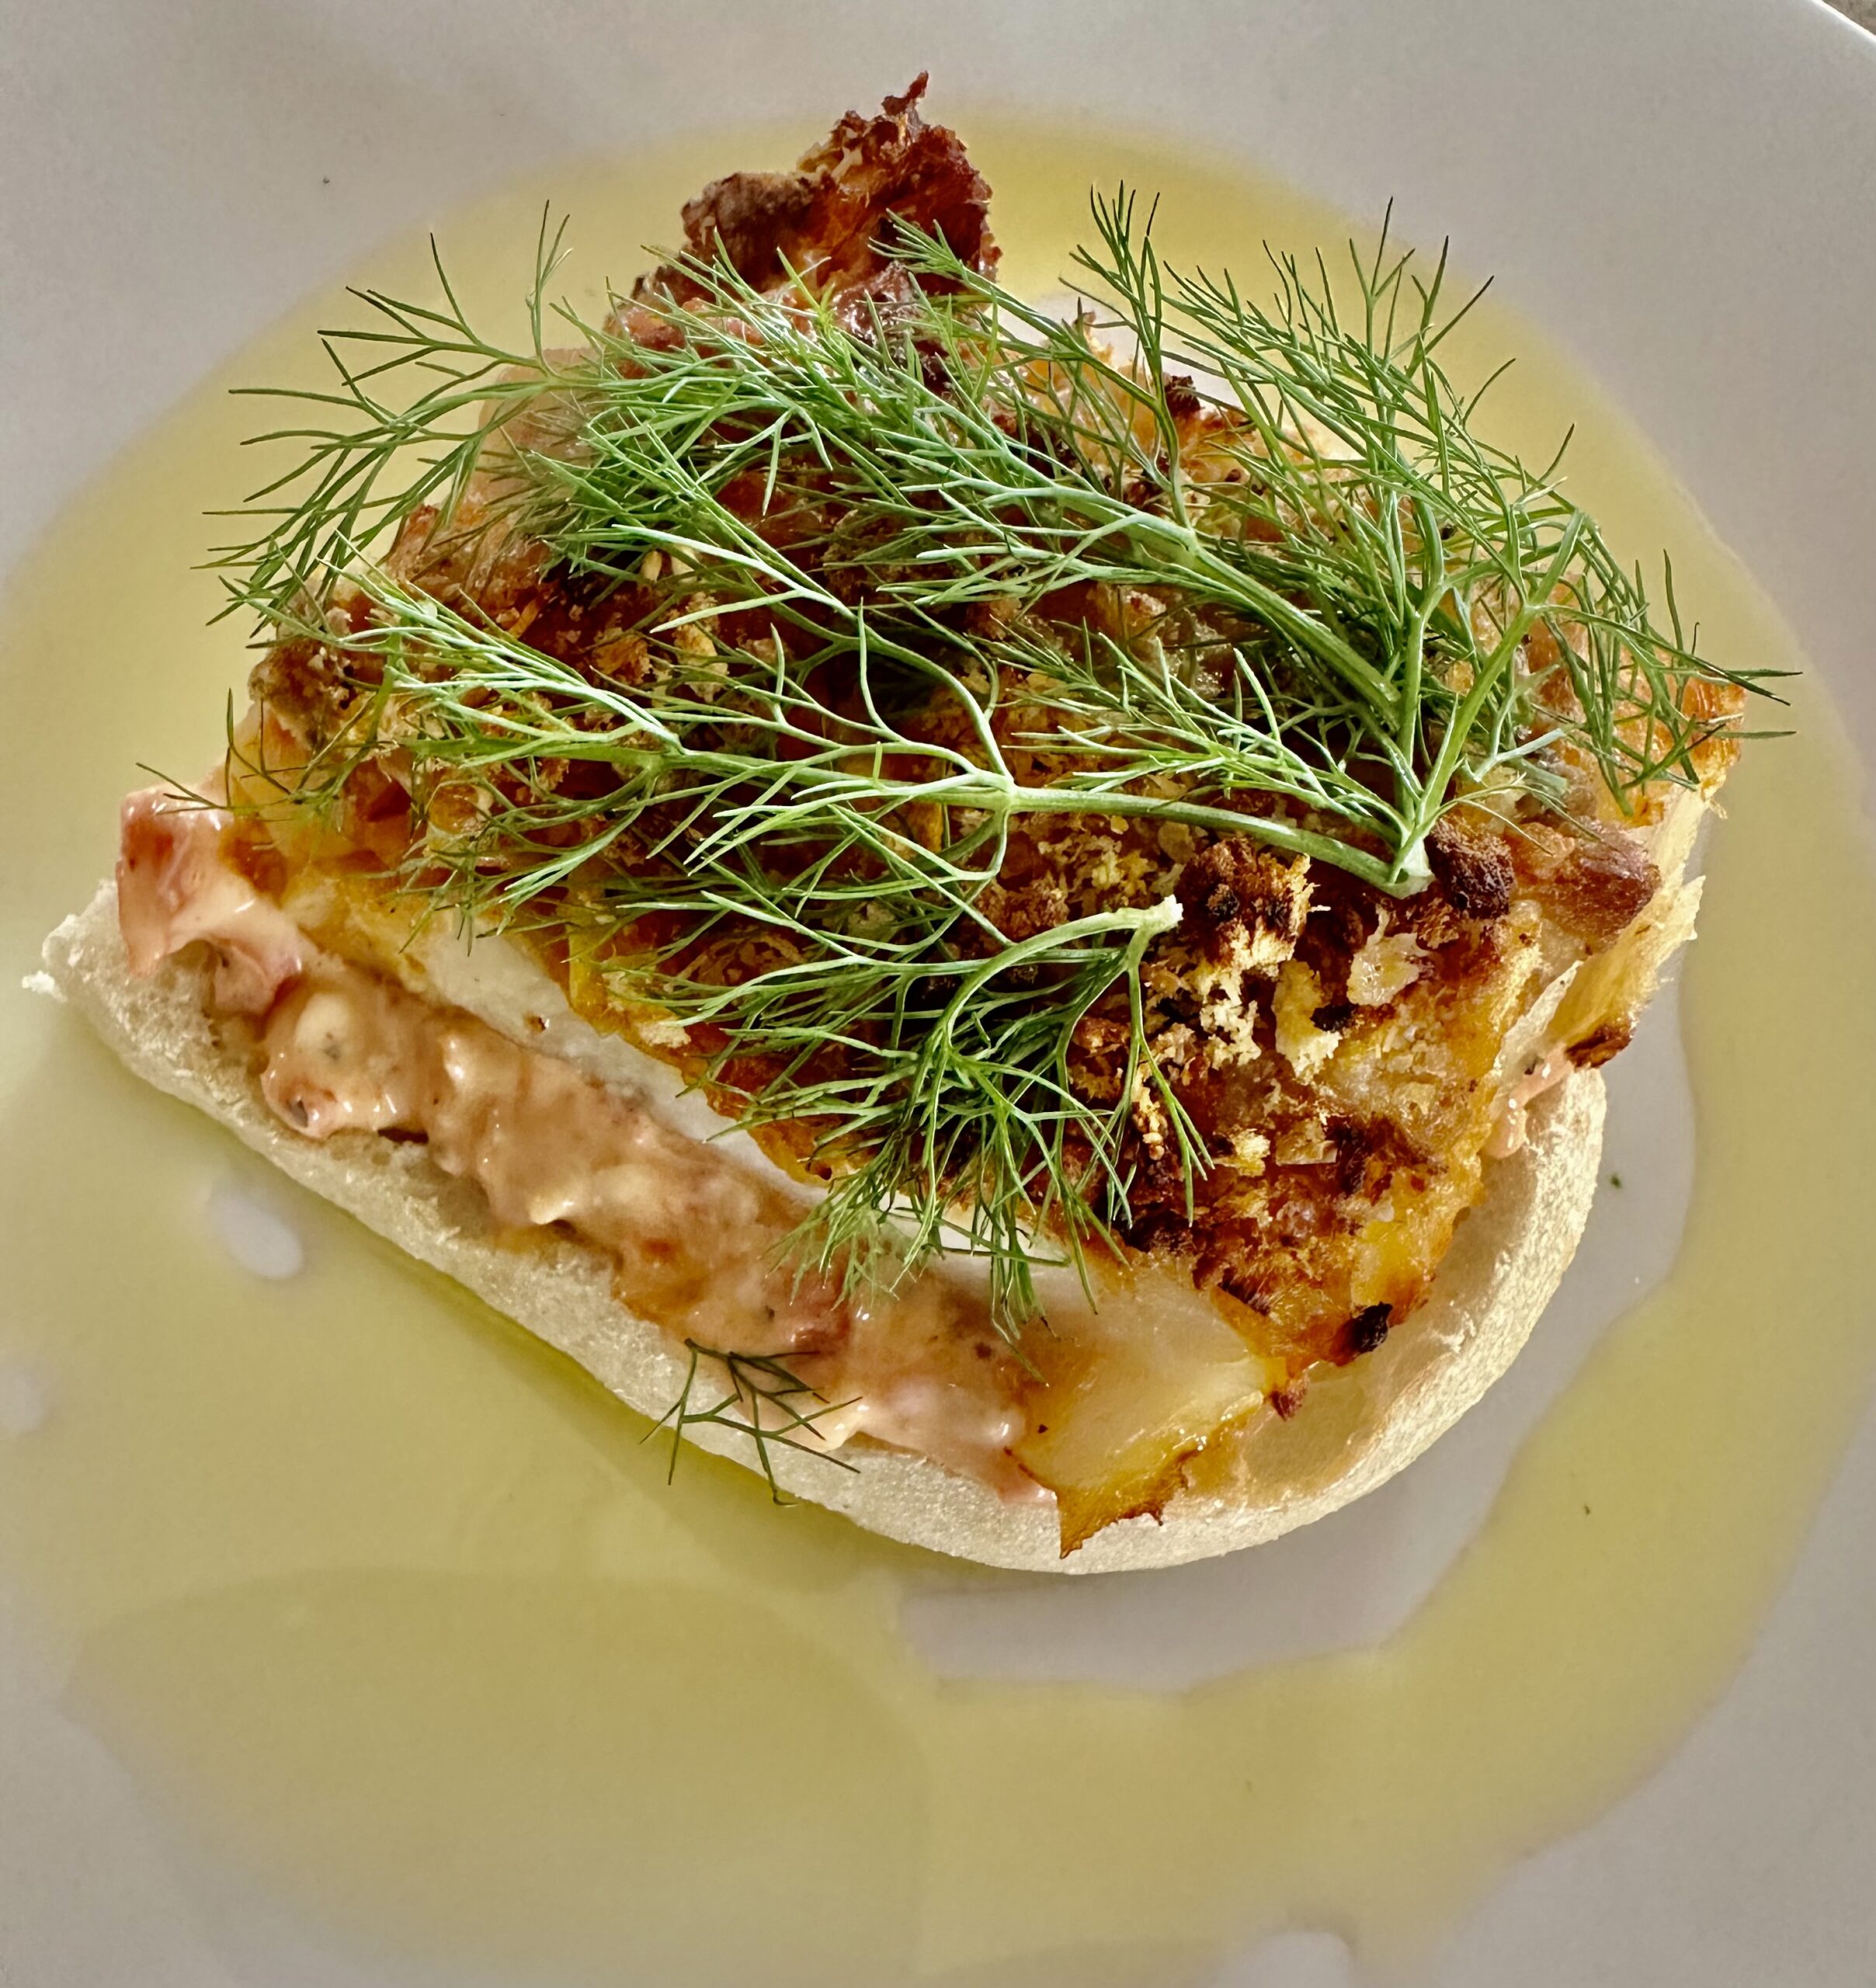
I was in my local shopping centre, heading for the supermarket, when I saw a sign outside a small bistro which said “Today’s Special: Prawn Burger”. I thought to myself “That sounds nice”, so I bought a packet of peeled green prawns and some brioche buns and made them for dinner. They were delicious.  If you can’t find raw prawns you could use cooked ones and just cook the burgers for less time.

On its own, or perhaps with some oven chips cooked in the oven or an air fryer, dinner’s ready.

200g peeled green (raw) prawns
1 spring onion, roughly cut up
½ an egg white
1 Tbs cornflour
Salt and pepper to taste
1 cup breadcrumbs (preferably Panko)
1-2 Tbs oil
To serve:
2 or 3 brioche burger buns, split and toasted
Mayonnaise (preferably home made)
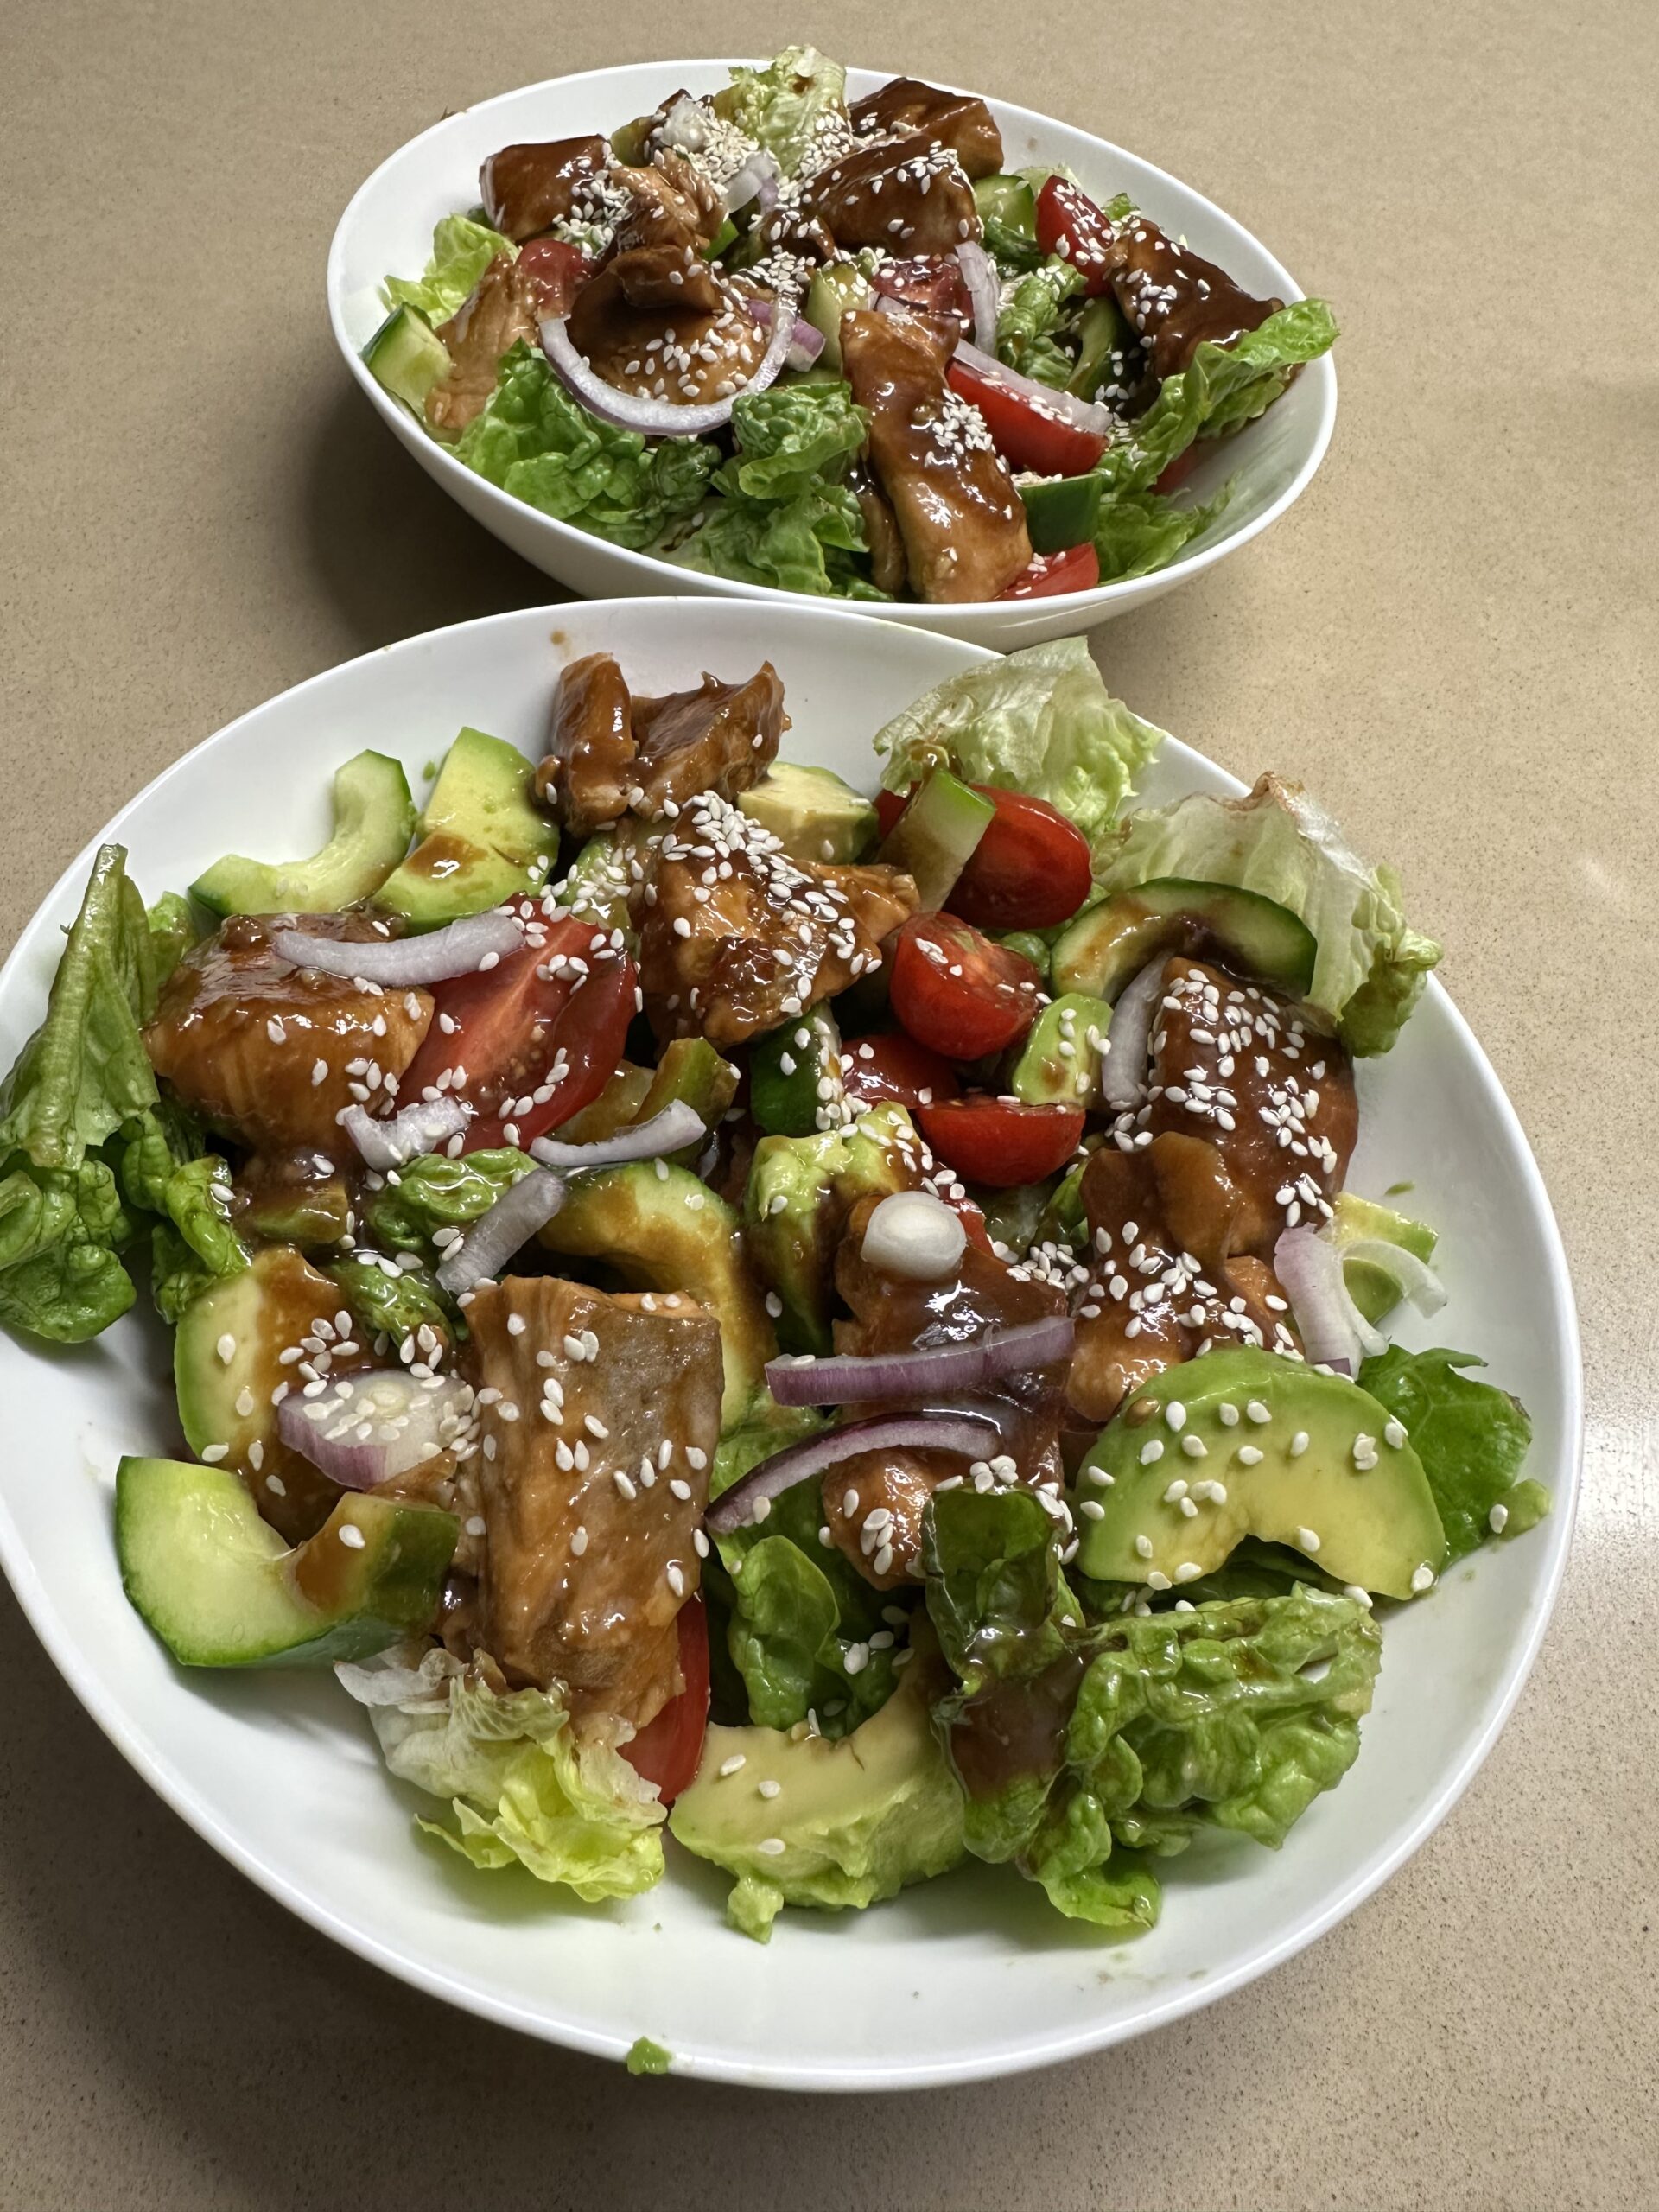
Salad: Avocado, tomato, lettuce, cucumber, red onion
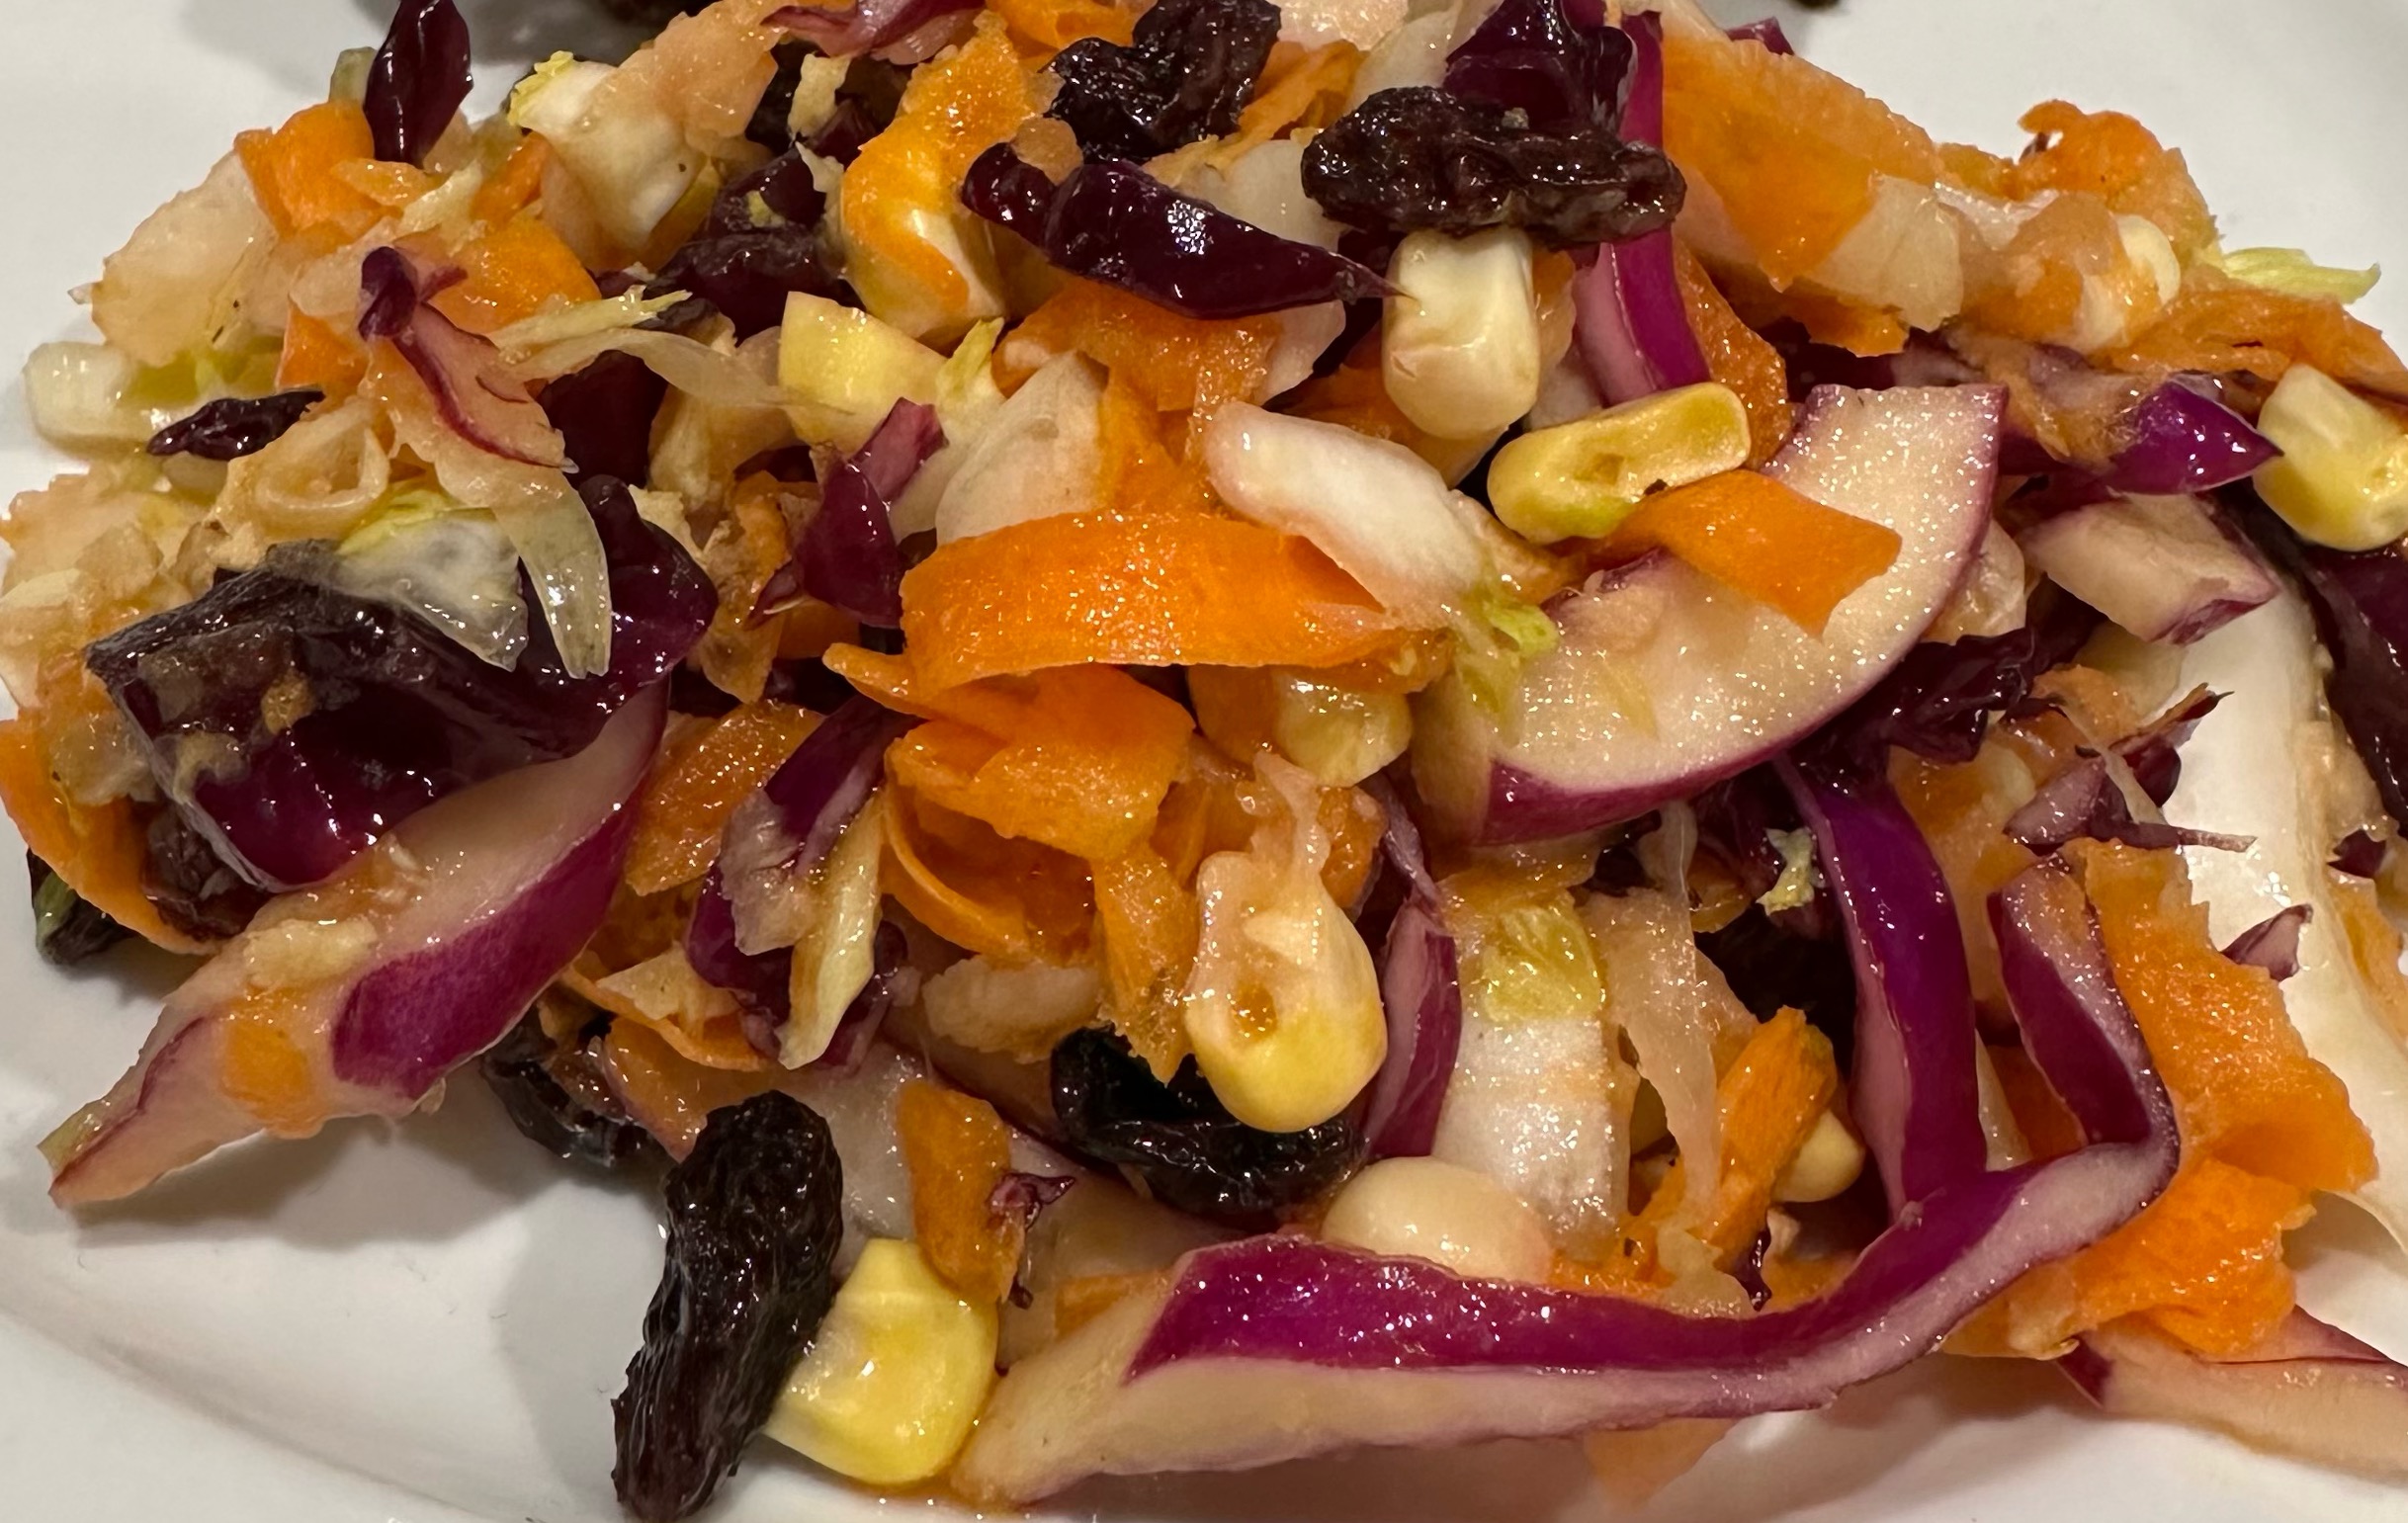
Or coleslaw: shredded cabbage, carrot + a mayonnaise based dressing, plus some avocado (shown in the photo)

Place half the prawns, the spring onion, egg white, cornflour and seasoning in food processor and process until fairly smooth. Fold in remaining prawns, roughly chopped.

With damp hands, form mixture into 2 burgers the diameter of the brioche buns and coat them evenly with breadcrumbs, patting them on. Refrigerate until ready to cook.

Heat oil in a frying pan over moderate heat and fry the burgers for 4-5 minutes each side, or until golden and cooked through.

Spread some mayonnaise on the toasted buns, then fill each one with a burger and some salad or coleslaw.

Makes 2 burgers

Moussaka

When I started cooking, any recipe using eggplants involved salting the slices and leaving them to drain, in order to remove any bitterness. You then had to pat them dry and fry them in oil. Eggplants are a bit like blotting paper and will soak up as much oil as you give them. More recent varieties of eggplant seem to have eliminated the bitterness and browning the slices in the oven means you don’t need to use too much oil.

This recipe was given to me by my friend Margaret when we were all posted to Tel Aviv, many moons ago. Like a big lasagne, it’s a great choice for feeding a crowd. All the preparation can be done ahead and with a big salad and some crusty bread you’re all set.

1kg eggplants, sliced 1cm thick
1kg minced lamb or beef
2 chopped onions
1 clove garlic, crushed
4 Tbs olive oil
1 400g tin tomatoes, chopped (or equivalent in fresh tomatoes)
500g mushrooms, thinly sliced
2 Tbs chopped parsley
2 tsp dried oregano
2 tsp cumin
Salt and freshly ground black pepper to taste
2 heaped Tbs tomato paste
½ cup water + 1 beef stock cube
Olive oil for brushing or spraying
Grated Parmesan cheese
Sauce:
30g butter
30g plain flour
Salt and freshly ground black pepper to taste
1½ cups milk
2 beaten eggs
Salt and freshly ground black pepper to taste

Preheat oven to 200°C. Arrange eggplant slices on two large oven trays lined with baking paper. Spray on both sides with olive oil, or use a brush. Cook for 20 minutes, turning once, or until golden brown on both sides.

Heat oil in a large frying pan and cook onion and garlic until soft. Turn up heat and add meat and mushrooms and cook stirring until meat has browned. Add chopped tomatoes (skinned if fresh), herbs, tomato paste, cumin, stock cube and water and season to taste. If the frying pan isn’t big enough put everything into a deeper pan. Simmer 10-15 minutes, adding a little more water if necessary.

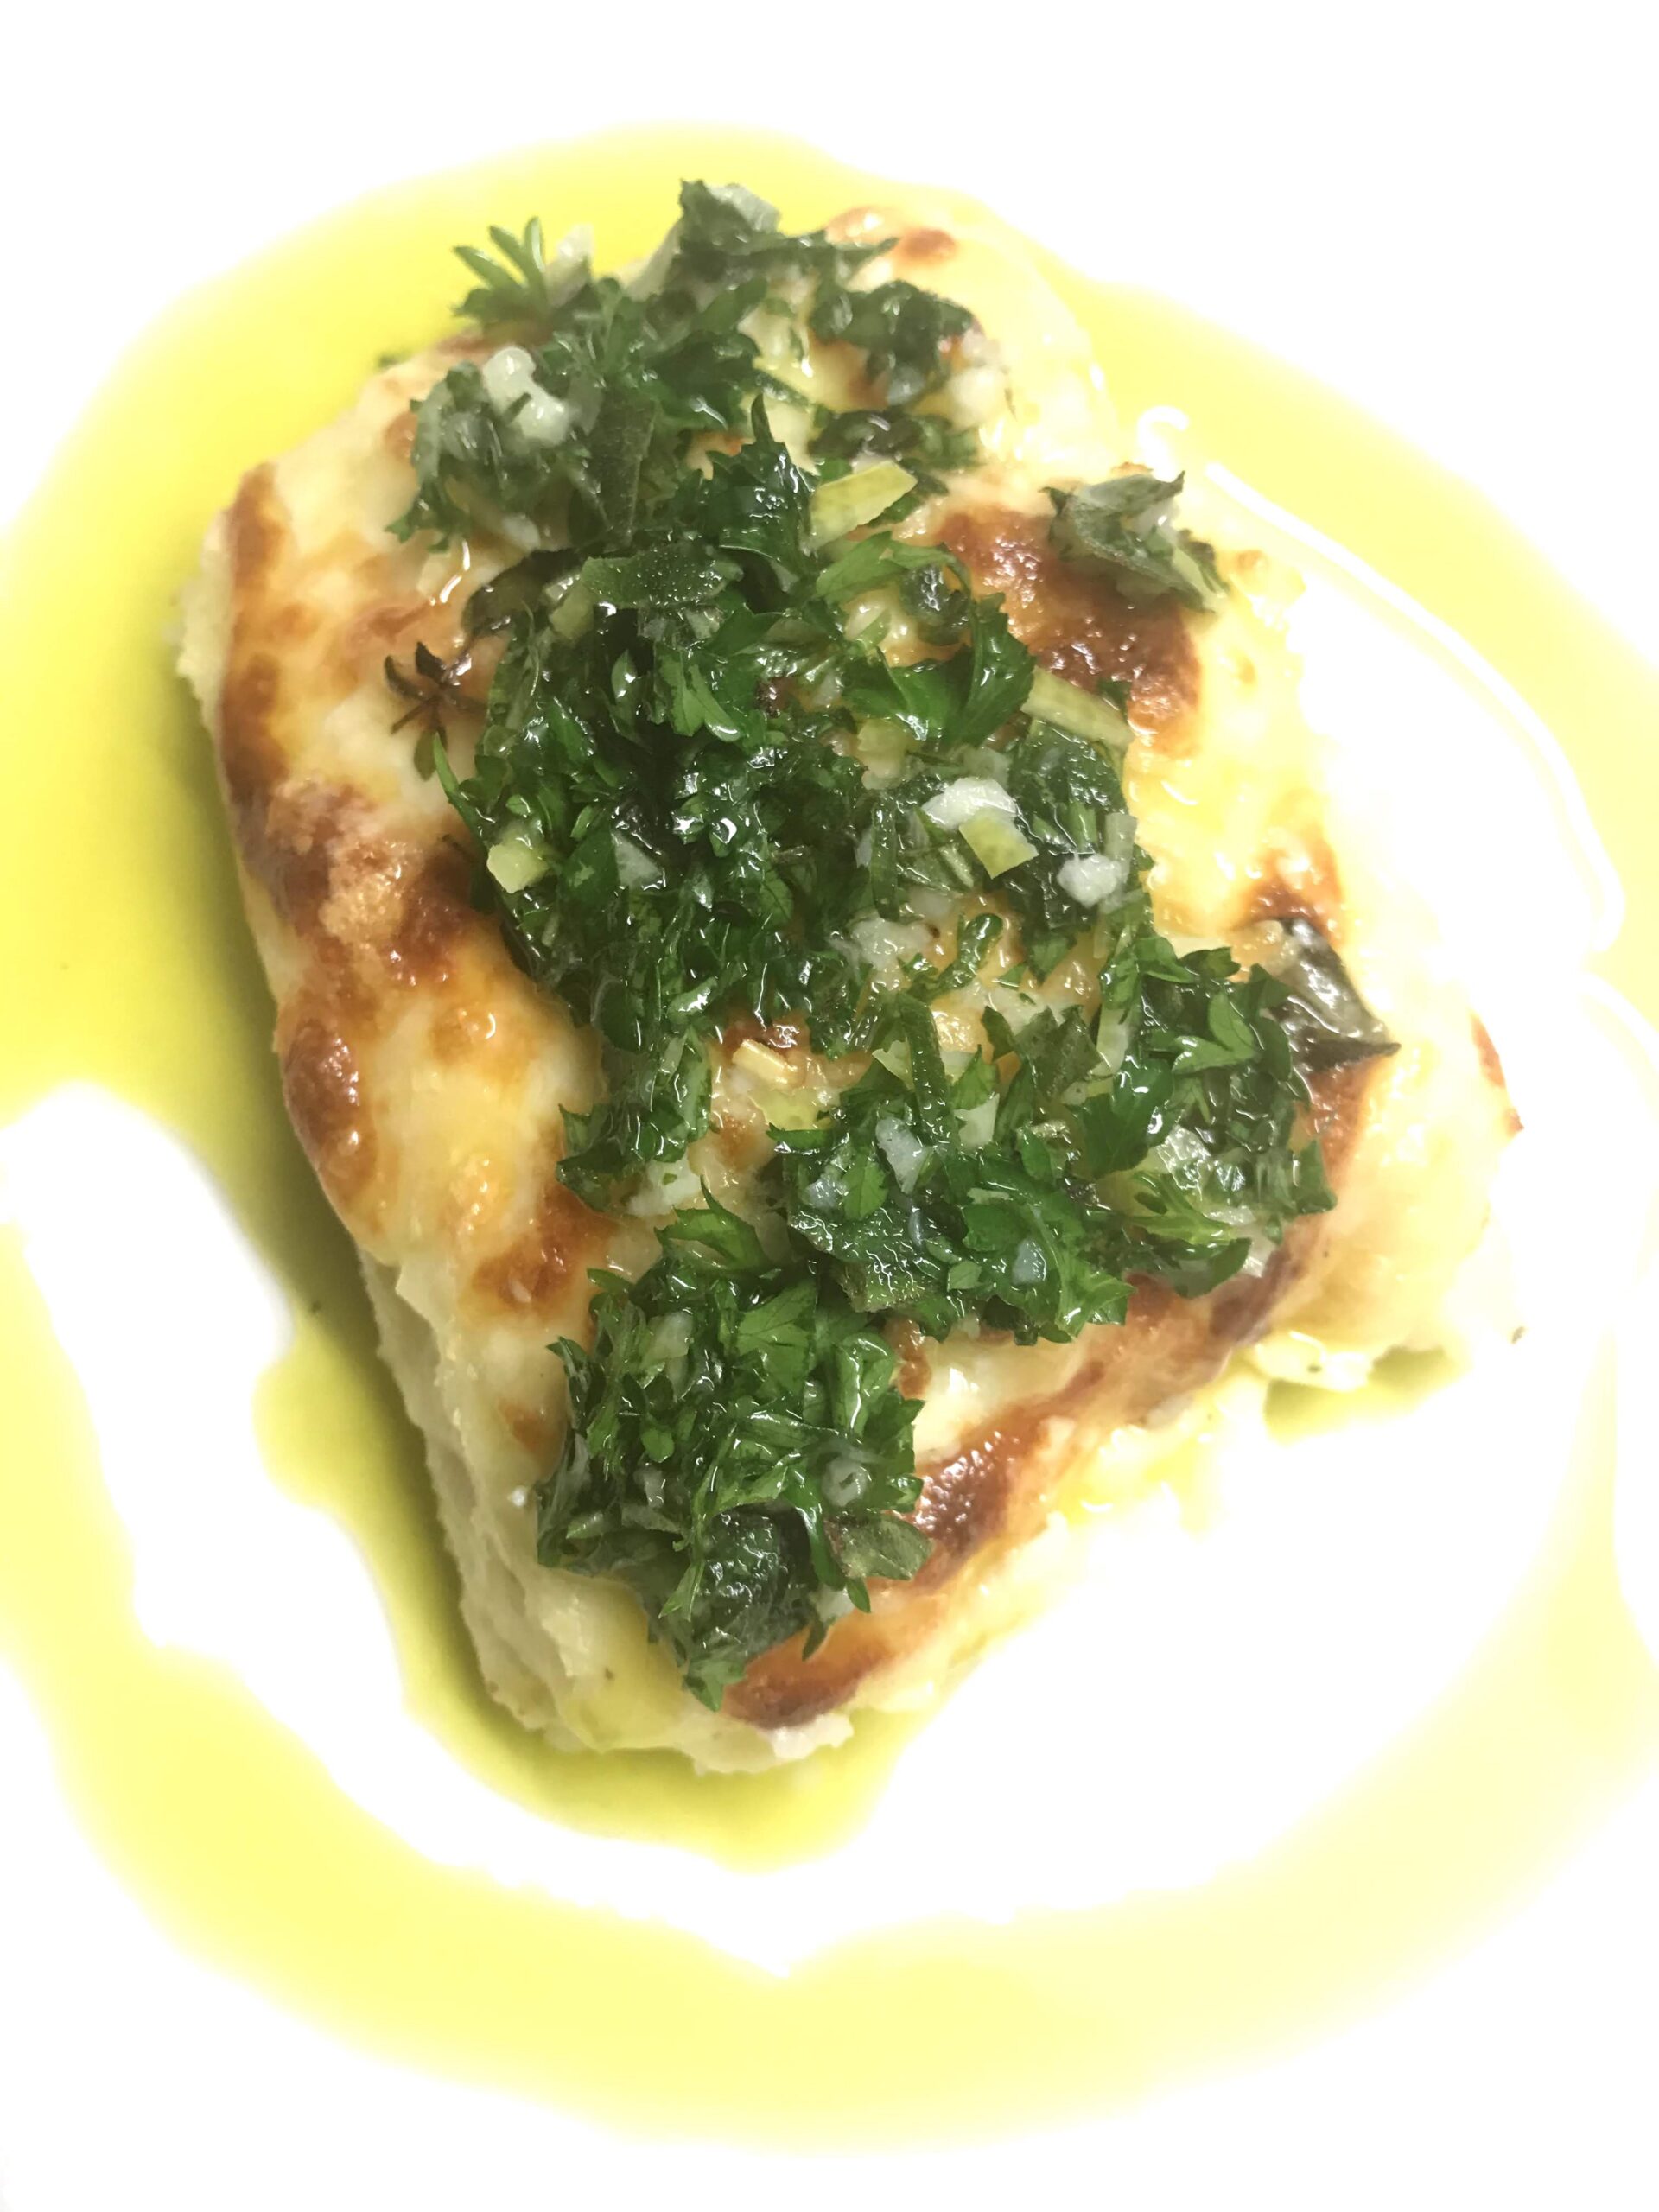
This recipe is enough to make two large moussakas or one extra large one, as shown in the photo. If preferred, make half the recipe. Fill each dish with layers – meat sauce sprinkled with a little grated Parmesan, eggplant slices, then meat sauce and more Parmesan, then remaining eggplant slices.

For the sauce, melt butter in a non-stick pan, add flour and cook, stirring for a couple of minutes. Gradually add the milk, stirring until thick before you add more. Season to taste. Remove from the heat and add the beaten eggs last. Pour sauce over the top of the moussaka and spread out evenly. If you’re making it early in the day, refrigerate at this stage until you’re ready to bake. Bake for 40-50 minutes at 200°C, or until browned and bubbly. Stand for 10 minutes before cutting. Can be completely cooked a day ahead, kept in the fridge, then just reheated.

Serves 10-12

Warm Halloumi and Mushroom Salad with Crispy Lentils

This recipe was recommended by my friend Megan who was owner-chef at the Palette Cafe at the Beaver Gallery in Canberra for over 20 years.  It was my favourite lunch venue and I miss it, although Meg continues to serve wonderful food whenever we’re invited for dinner.

The recipe comes from Taste.com, a good source of online recipes which has stood the test of time. In the recipe they put the lentils, halloumi and mushrooms in the oven to roast. I changed the method slightly and cooked everything, apart from the lentils, in a frying pan. I think it gives you more control over getting the halloumi nice and golden brown. The recipe serves 4 as a starter or 2 as a main course.


4 large portobello mushrooms
250g halloumi cheese
1 can lentils, drained, rinsed and patted dry
Olive oil
Juice of 1 lemon
200g green beans
150g mixed small salad leaves and/or spinach leaves
2 tsp pink peppercorns

Spinach pesto:

50g baby spinach leaves
25g parmesan cheese, grated
½ cup walnut halves
2 cloves garlic, crushed
100ml olive oil

Preheat oven to 200°C. Line a baking tray with baking paper and spread out the lentils in a single layer. Roast for about 15 minutes, moving them around a couple of times, until they are evenly golden and crunchy. Remove from the oven and cool.

Place all ingredients for pesto except the oil in food processor. Process until chunky then add the oil through the feed chute with the motor running. Scrape into a small bowl.

Cook green beans in boiling salted water for 4 minutes or until lightly cooked. Not as well cooked as al dente but not as crunchy as when raw. Refresh under cold water, then pat dry.

Peel mushrooms and remove stalks. Heat 1-2 tablespoons olive oil in a large frying pan and cook the mushrooms for 3-4 minutes each side. Remove from pan and cut each mushroom into 3 or 4 slices. Add lemon juice to the mushroom juices left in the pan, mix then add to the salad greens with a pinch of salt. Mix well then arrange the salad on four serving plates (or two for a main course).

Wipe out the frying pan and add a tiny drizzle of oil. Pat halloumi dry then cut into slices. Fry on both sides until golden brown.

On top of the salad arrange the beans, the mushrooms and the halloumi. Garnish with the crispy lentils and the pink peppercorns, then drizzle each serving with some of the spinach pesto.

Serves 4 as a starter or 2 as a main

Ottolenghi’s Turmeric Fried Eggs with Tamarind Dressing

While in London for a weekend last month we caught up with some old friends over dinner at one of Yotam Ottolenghi’s six restaurants. Tucked away in a narrow Georgian alleyway, Spitalfields is the largest of his restaurants and it’s open for breakfast, lunch and dinner. Apart from the restaurant, there’s a deli which sells salads, pastries and other delicacies for customers to take home.

Plates at Spitalfields are designed to be shared. Many but not all are vegetarian. We enjoyed the meal so much we came back on our own next morning for breakfast. I had the Quinoa, Chia Seed and Cardamom Muesli with Raspberries, which was delicious and not too heavy after our feast the previous evening.

When we paid the bill we were given a card with this fried egg recipe from Ottolenghi’s latest cook book Extra Good Things. I made it, it was delicious and here it is. Serve it for breakfast, brunch or as a light lunch or dinner.

1 shallot or half a small onion, finely sliced into rounds
2 tsp lime juice
3½ Tbs olive oil
2 cloves garlic, crushed
200g baby spinach
½ tsp ground turmeric
4 large eggs
1 green chilli, finely sliced into rounds, seeds and all
salt
Fresh coriander
Tamarind Dressing:
2 Tbs tamarind paste
1 tsp fish sauce
1 Tbs lime juice
2 tsp brown sugar

Place the shallot or onion rings in a bowl with the lime juice and a pinch of salt. Mix well then leave to pickle. Place all ingredients for the dressing in a small jar with a lid and shake well. Add between half and 1 tablespoon of water and shake again, so it’s not too thick.

Heat 1 Tbs olive oil in a large frying pan. Add the garlic and stir for a minute, then add the spinach, a good pinch of salt and stir fry for a couple of minutes, or until wilted. Remove to a warm plate and wipe out the pan.

Add remaining oil to the pan with the turmeric and stir to combine. Add the chilli slices and stir fry for a minute or so, then push them to one side. Break in the eggs, using a spatula to keep each one separate. Spoon the chillies and some of the oil on top of each egg, then season with salt. Cook the eggs  to a point where they are crispy underneath but the yolks are still soft. Don’t turn them over.

Divide the spinach between two warmed serving plates. Top with two eggs each, the chillies, a few onion rings and any oil left in the frying pan. Drizzle with some of the tamarind dressing and garnish with coriander.

You will have some onions and dressing left over – use on roast potatoes or grilled steak.

Serve with warm flatbread, pita bread or naan to mop up the juices.

Serves 2

Chicken Fajitas

I’ve been writing this blog since 2011 and this is the first Mexican dish. Fajitas make a quick and easy mid-week dinner which even some fussy kids might enjoy.

It’s a good option for those trying to cut down on carbs, so I had mine without the tortilla, Serving with tortillas makes it go further, so double the recipe will serve a family of six.

2 boneless, skinless chicken breasts
1 onion, sliced or cut in wedges
1 red or yellow capsicum, or half of each, sliced
2 Tbs olive oil
½ lime, juiced
Seasoning:
1 tsp each chilli powder, ground cumin and garlic powder
½ tsp each paprika, oregano and salt
Freshly ground black pepper, to taste
To serve:
Tortillas, warmed
Sour cream
1 avocado, sliced
Coriander

Mix seasoning in a bowl. Trim chicken breasts and cut each into 3 or 4 thick lengthwise strips. Add to the bowl of seasoning and mix to coat well.

In a large frying pan, heat half the oil, add chicken and cook for 3-4 minutes on each side. Remove from pan and add the other tablespoonful of oil with the onion and pepper strips. Stir fry for 3-4 minutes until cooked and starting to brown. Slice chicken and return to the pan. Stir fry for a couple of minutes, then drizzle with the lime juice. Serve with tortillas, sour cream, avocado and coriander.

Serves 2-3

Chocolate Cakes

Just back from six weeks travelling in Europe. Spent time in the UK, France and Poland, with a week in Thailand on the way back, to recover. Caught up with 27 close friends and family, ate too much, drank too much, but had a great time. It was our first trip to Europe since September 2019, before the dreaded Coronavirus became a part of our lives.

Before we left we heard all sorts of dreadful stories about cancelled flights and lost suitcases. But considering we flew on a total of 11 flights – from Canberra to Sydney to Bangkok to Paris to Krakow to Toulouse via Amsterdam to Nice to London to Bangkok to Phuket to Sydney – I have to say we had a pretty good run, getting through all airports in less than an hour.

The only exception was our flight from Krakow to Toulouse with Easyjet, which was delayed when we transited through Amsterdam. A strike by French air traffic controllers meant they were limiting the number of planes which could land in France, so we sat in the plane on the tarmac in Schiphol airport for three hours. Our pilot told us we were lucky ours wasn’t one of 500 flights which had been cancelled that day. He sent us a bottle of water and a biscuit to keep us quiet.

There’s a terrible sinking feeling when you’re standing by the baggage carousel, there are no more suitcases going round and a sign appears saying “Baggage delivery completed” or words to that effect. Due to the strike there was literally nobody in arrivals to speak to, with all the help desks unattended. We went to the departure lounge where we found a member of staff who showed us how to complete a form online, on one of those machines you normally use to get a boarding pass, with details of the two lost bags. Twenty-four hours later they were delivered to our friends’ house in the French countryside, miles from anywhere, by a little man with a van full of suitcases. He said he had delivered 150 that day.

I’ve been too busy unpacking, washing and getting things organised to cook something new, so here are a few suggestions for anyone who feels like baking a chocolate cake.

Chocolate Fudge Cake  is the Rolls Royce of chocolate cakes and our family’s celebration cake. We make for birthdays, anniversaries and even weddings. Fiona’s Gluten Free Chocolate Cake is great for anyone who is gluten intolerant. And this Stir Crazy Chocolate Cake (photo above) contains no eggs and is quick and easy to whip up.

Red Dressing

This dressing was originally called Sweet and Sour Dressing, but in our house it quickly became known as Red Dressing. It was our kids absolute favourite when they were growing up and still is.

It’s actually orange, but we still call it red dressing. Our grandkids also love it and say if I sold it to supermarkets I would make a fortune. While it goes well with any salad, it goes particularly well with spinach, where it contrasts beautifully with the bitter leaves. This is the original spinach salad where I first tried this dressing.

A jar of red dressing makes a nice gift for a friend who has everything.

¼ cup sugar
a pinch of salt
1 small onion or ½ medium
½ cup cider or white wine vinegar
1 cup vegetable oil
1 Tbs Worcestershire sauce
½ cup tomato ketchup

Process all ingredients in food processor until smooth. Keep in the fridge in a jar with a lid. Shake well before using.

Steamed Bok Choy with Bacon and Onion Vinaigrette

I found a recipe in a French cookbook for a warm bacon and onion vinaigrette and decided it would probably go well with some bok choy I had in the fridge. It did. A true fusion recipe where East meets West.

3 or 4 whole bok choy or baby pak choy
200g bacon, finely diced
1 small onion, finely diced
2 Tbs cider, red wine or white wine vinegar
2-4 Tbs Extra Virgin Olive oil
Sea salt flakes and freshly ground black pepper

Run the cold tap over the bok choy, separating the leaves a bit, so you remove any soil, but leaving them whole. Trim the ends if necessary then steam until just tender. Drain well and pat dry with paper towels. Arrange one on each serving plate.

Meanwhile cook the bacon in a non-stick frying pan, stirring. As the bacon starts to release the fat, add the onion and continue to cook over moderate heat, stirring, until the onion has softened and the bacon is crispy. Add the vinegar and cook for a minute or two, until it’s almost evaporated, then add enough olive oil till the dressing looks right.

Spoon dressing over the bok choys, garnish with salt flakes and black pepper and serve immediately.

Serves 3-4

Crispy Pork with Sweet Potato Mash, Broccolini & Cumquat Relish

When we were travelling in Italy before Covid we had a similar dish to this at Francescetta 58 in Modena. Chef Massimo Bottura served the pork with pumpkin puree and wilted spinach.

Today’s version is served with sweet potato mash and broccolini. As we have lots of cumquats on our huge tree in the garden, I made a tangy relish and served it with the pork, to cut through the fattiness. This combination of flavours really works and, if you have an Air Fryer, getting the crackling to be crisp and crunchy is a breeze.

The relish also goes well with ham, turkey and chicken.

1 kg pork belly
Oil and salt
750g-1kg sweet potatoes
50g butter
Salt and Pepper to taste
3-4 bunches of broccolini
Chilli flakes
Olive oil
2-3 cloves garlic, peeled & thinly sliced
Cumquat Relish:
1 kg cumquats
500g sugar
1½ cups cider vinegar
1 rounded Tbs grated ginger
1 small red chilli, deseeded and finely chopped
1 tsp yellow mustard seeds
8 cloves
2 cinnamon sticks

Make the relish: Halve cumquats, remove seeds, then place in a large heavy-bottomed pan. Add water to just cover, then simmer 3-5 minutes or until softened. Drain, discarding the water, then put back in the pan with remaining ingredients. Simmer for 50-60 minutes or until liquid has reduced and cumquats are very tender. Cool then blitz using the pulse button in a food processor until you have a chunky relish. Heat a few small jars in the microwave (without lids) for 2 minutes then bottle the relish and seal while hot. It will keep for several months. Refrigerate after opening.

Score the skin on the pork in two directions with a very sharp knife, to make a diamond pattern. Cut through the skin but not the fat. Rub pork all over with a little oil and salt. Cook in an Air Fryer for 25 minutes at 200°C then a further 30 minutes at 160°C. Alternatively cook in the oven using this method.

Peel and cut sweet potatoes into large chunks. Cook in boiling, salted water until tender then drain and mash with the butter until very smooth. If preferred do it in the food processor. If liked add a bit of cream. Season to taste.

Cut broccolini into 8-10cm lengths, keeping the ends for making soup. Steam broccolini until al dente. Heat a little olive oil in a large frying pan with the garlic slices. Add the broccolini, season and turn to coat with the garlicky oil. Sprinkle with a few chilli flakes to serve.

Cut pork into 6-8 squares or rectangles and serve on the sweet potato mash, topped with some cumquat relish and garnished with the broccolini on the side.

Serves 6-8

Colette’s French Apricot Tart

My friend Colette brought this delicious fruit tart to one of our monthly Potluck lunches where we all speak French for two hours. It’s called Tarte Bourdaloue, but I call it Colette’s Tart, because she gave me the recipe.

If you’ve ever looked at the pastries in the window of a French patisserie you will notice that they tend to almost overcook them, resulting in a few charred edges. This is what gives French pastries their authentic flavour, so when you make this tart, don’t undercook it. The original Tarte Bourdaloue used pears, but apricots, plums, apples or pears, either canned, fresh or frozen, all work well. You can even throw in a few berries.

Pastry:
250g butter, chilled
250g cream cheese, room temperature
¾ cup brown sugar, firmly packed
2½ cups plain flour
Filling:
2 eggs
180g almond meal
150g sugar
3 Tbs rum (optional)
Topping:
2 x 400g can apricots, pears or plums, drained (or use fresh or frozen fruit)
2 Tbs apricot jam, heated and sieved
Flaked almonds, lightly toasted
Process butter, sugar and flour until fine crumbs form, then add the cream cheese, cut into chunks and process just until pastry forms a ball. This is enough to make three tarts approximately 25-30cm in diameter. Tip out and cut the pastry into three, use one ball to make this tart and freeze the other two, wrapped in plastic wrap, to use another time.

Chill the pastry ball you’re going to use for half an hour or so. Roll it out using some extra flour and use it to line the tart tin. Mine is 30cm in diameter and has a removable bottom. If you don’t have a metal tin a ceramic one will do. If you find it hard to lift the pastry once it has been rolled out into a big circle, cut it into four and move it in sections. You can easily rejoin the seams by pressing them together with your fingers. Trim off the top edges with a knife. Chill the tart shell while the oven heats up.

Preheat the oven to 180°C. Bake the pastry shell blind (without filling) for 8-10 minutes, or until light golden. Mix filling and spread over the pastry base. Place the fruit on top, pushing it in a bit. From two tins of apricot halves I had a few left over. I probably could have used them all if I had arranged them closer together. If using pears slice them, then put them back together in the shape of halved pears, which looks nice – have a look at photos on Google.

Bake 30-35 mins at 200°C. Brush the heated apricot jam all over the tart, then sprinkle with almonds.

Serves 8 (with pastry left to make 2 more tarts)