When we lived in Israel in the late 1970s, we loved the street food called falafel. Crispy chickpea patties served in a warm pita bread pocket with humus, tomatoes, cucumber, and onion.
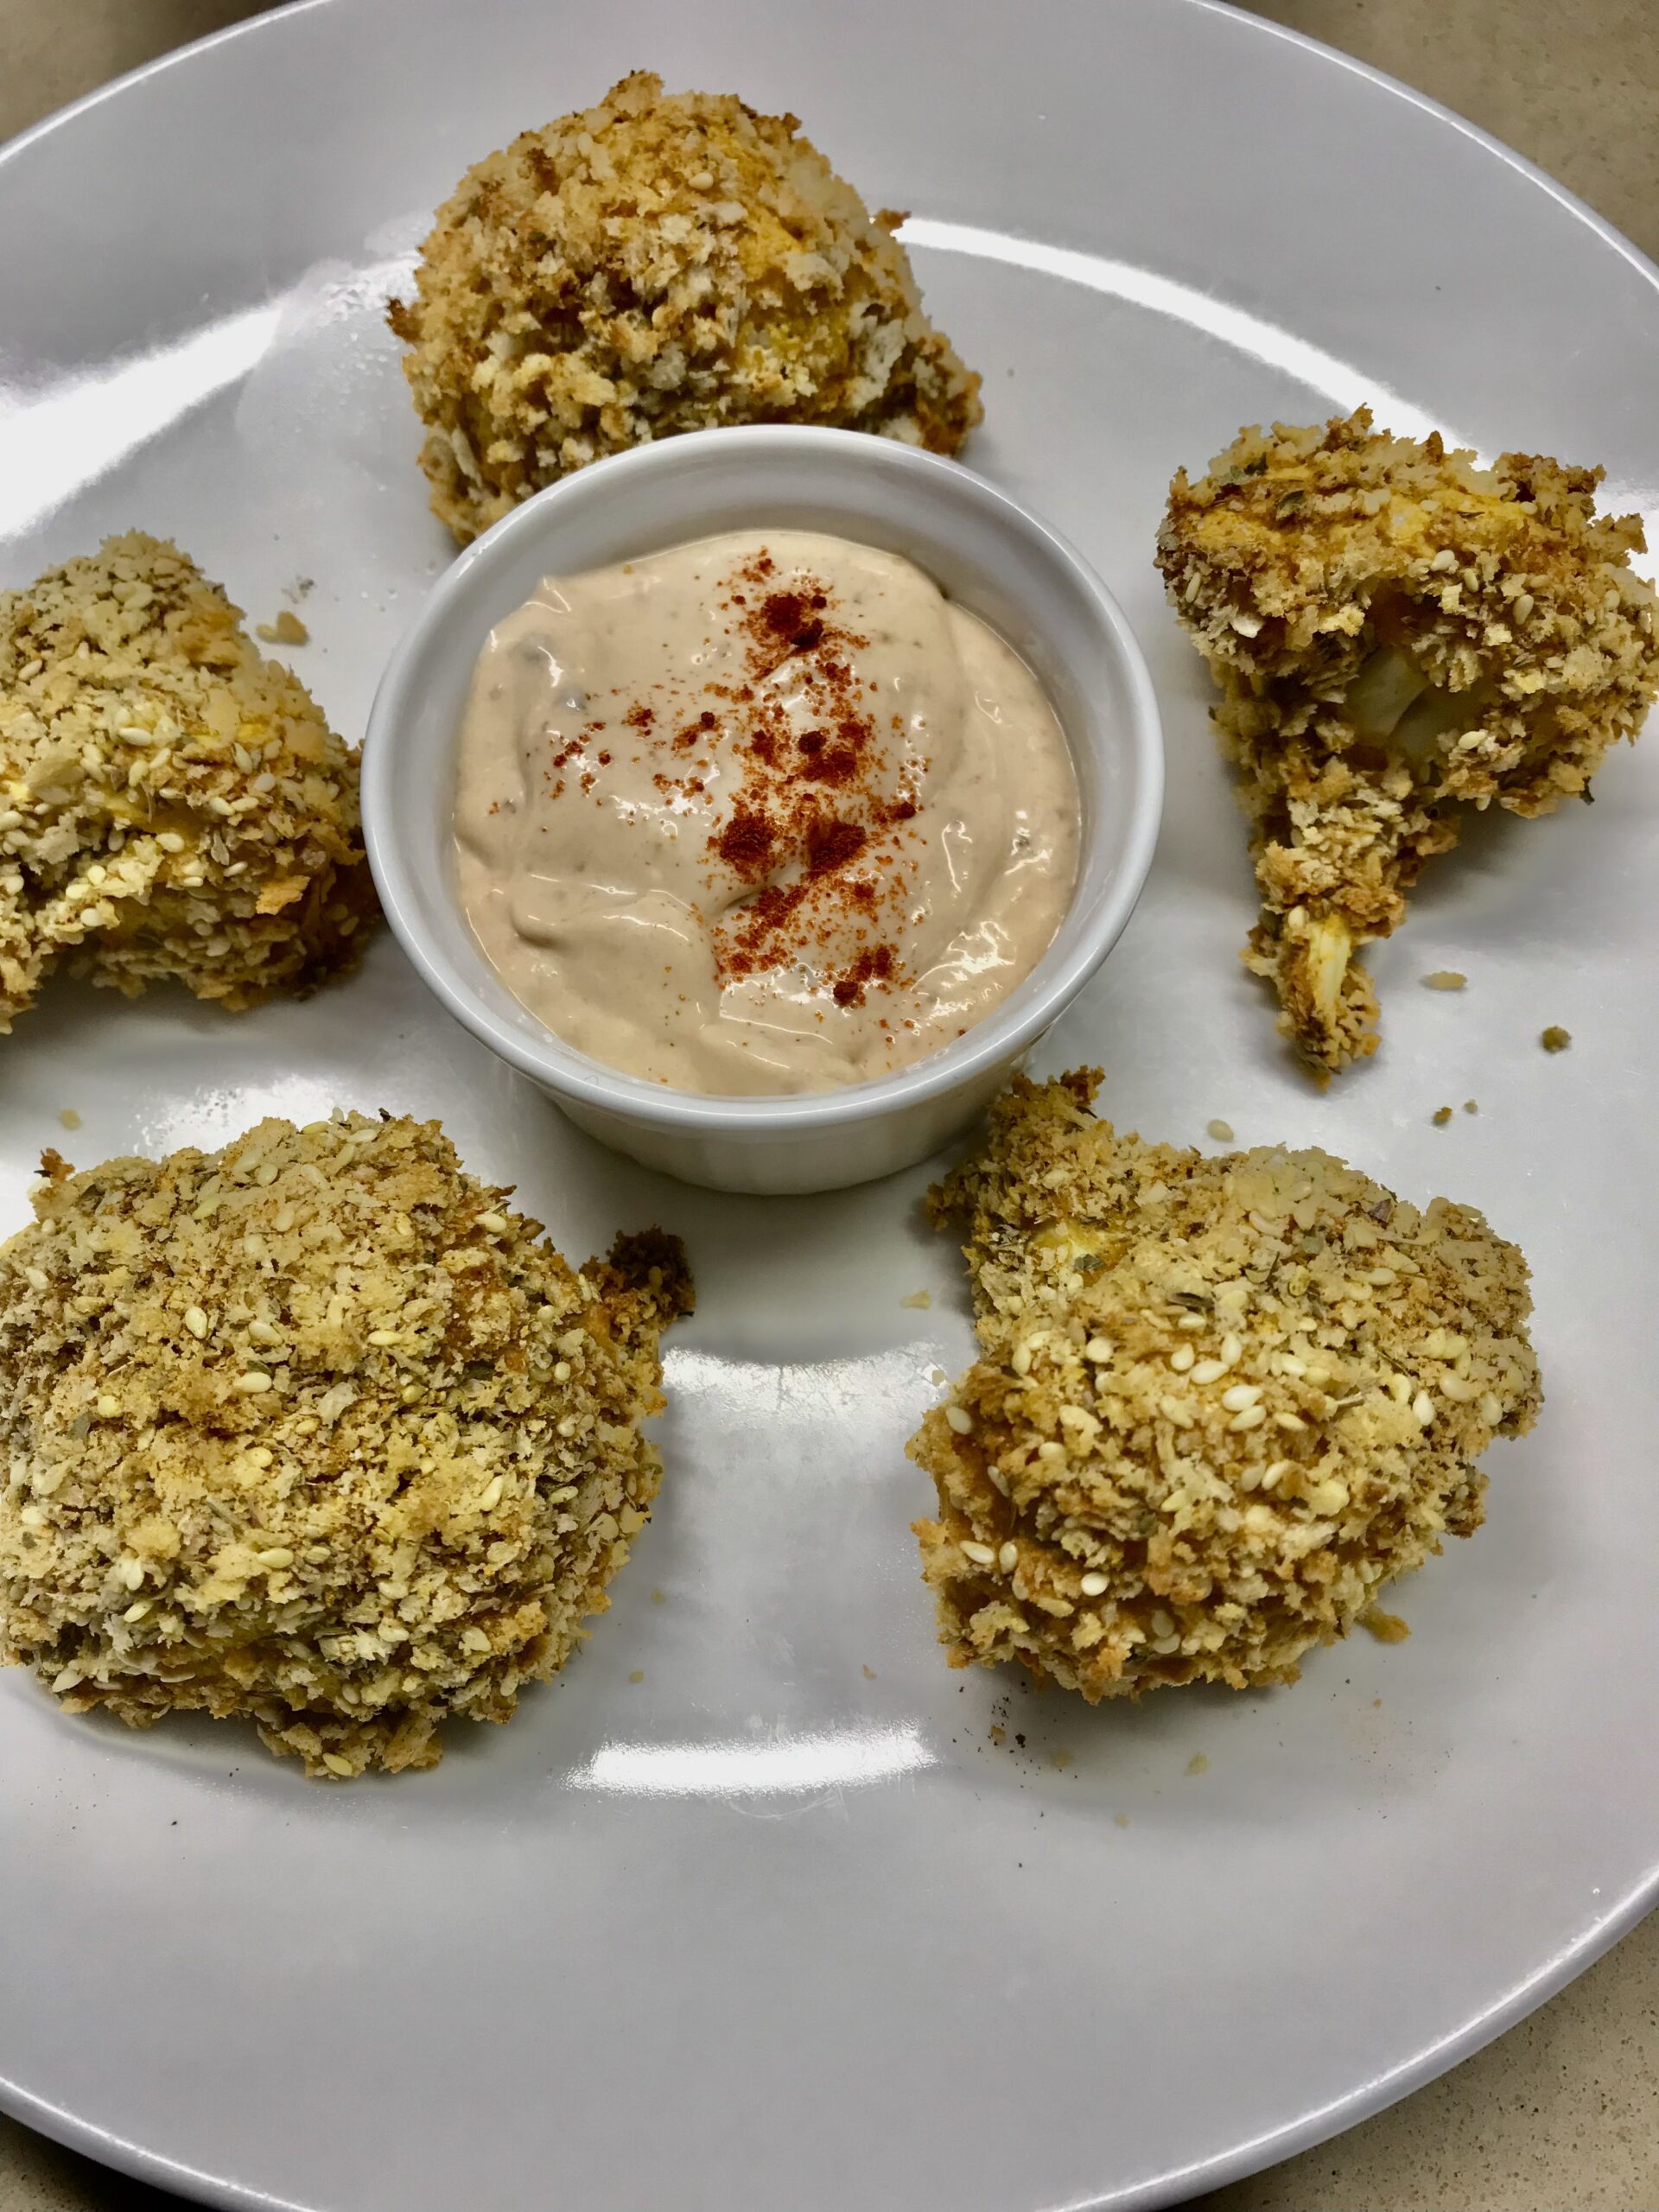
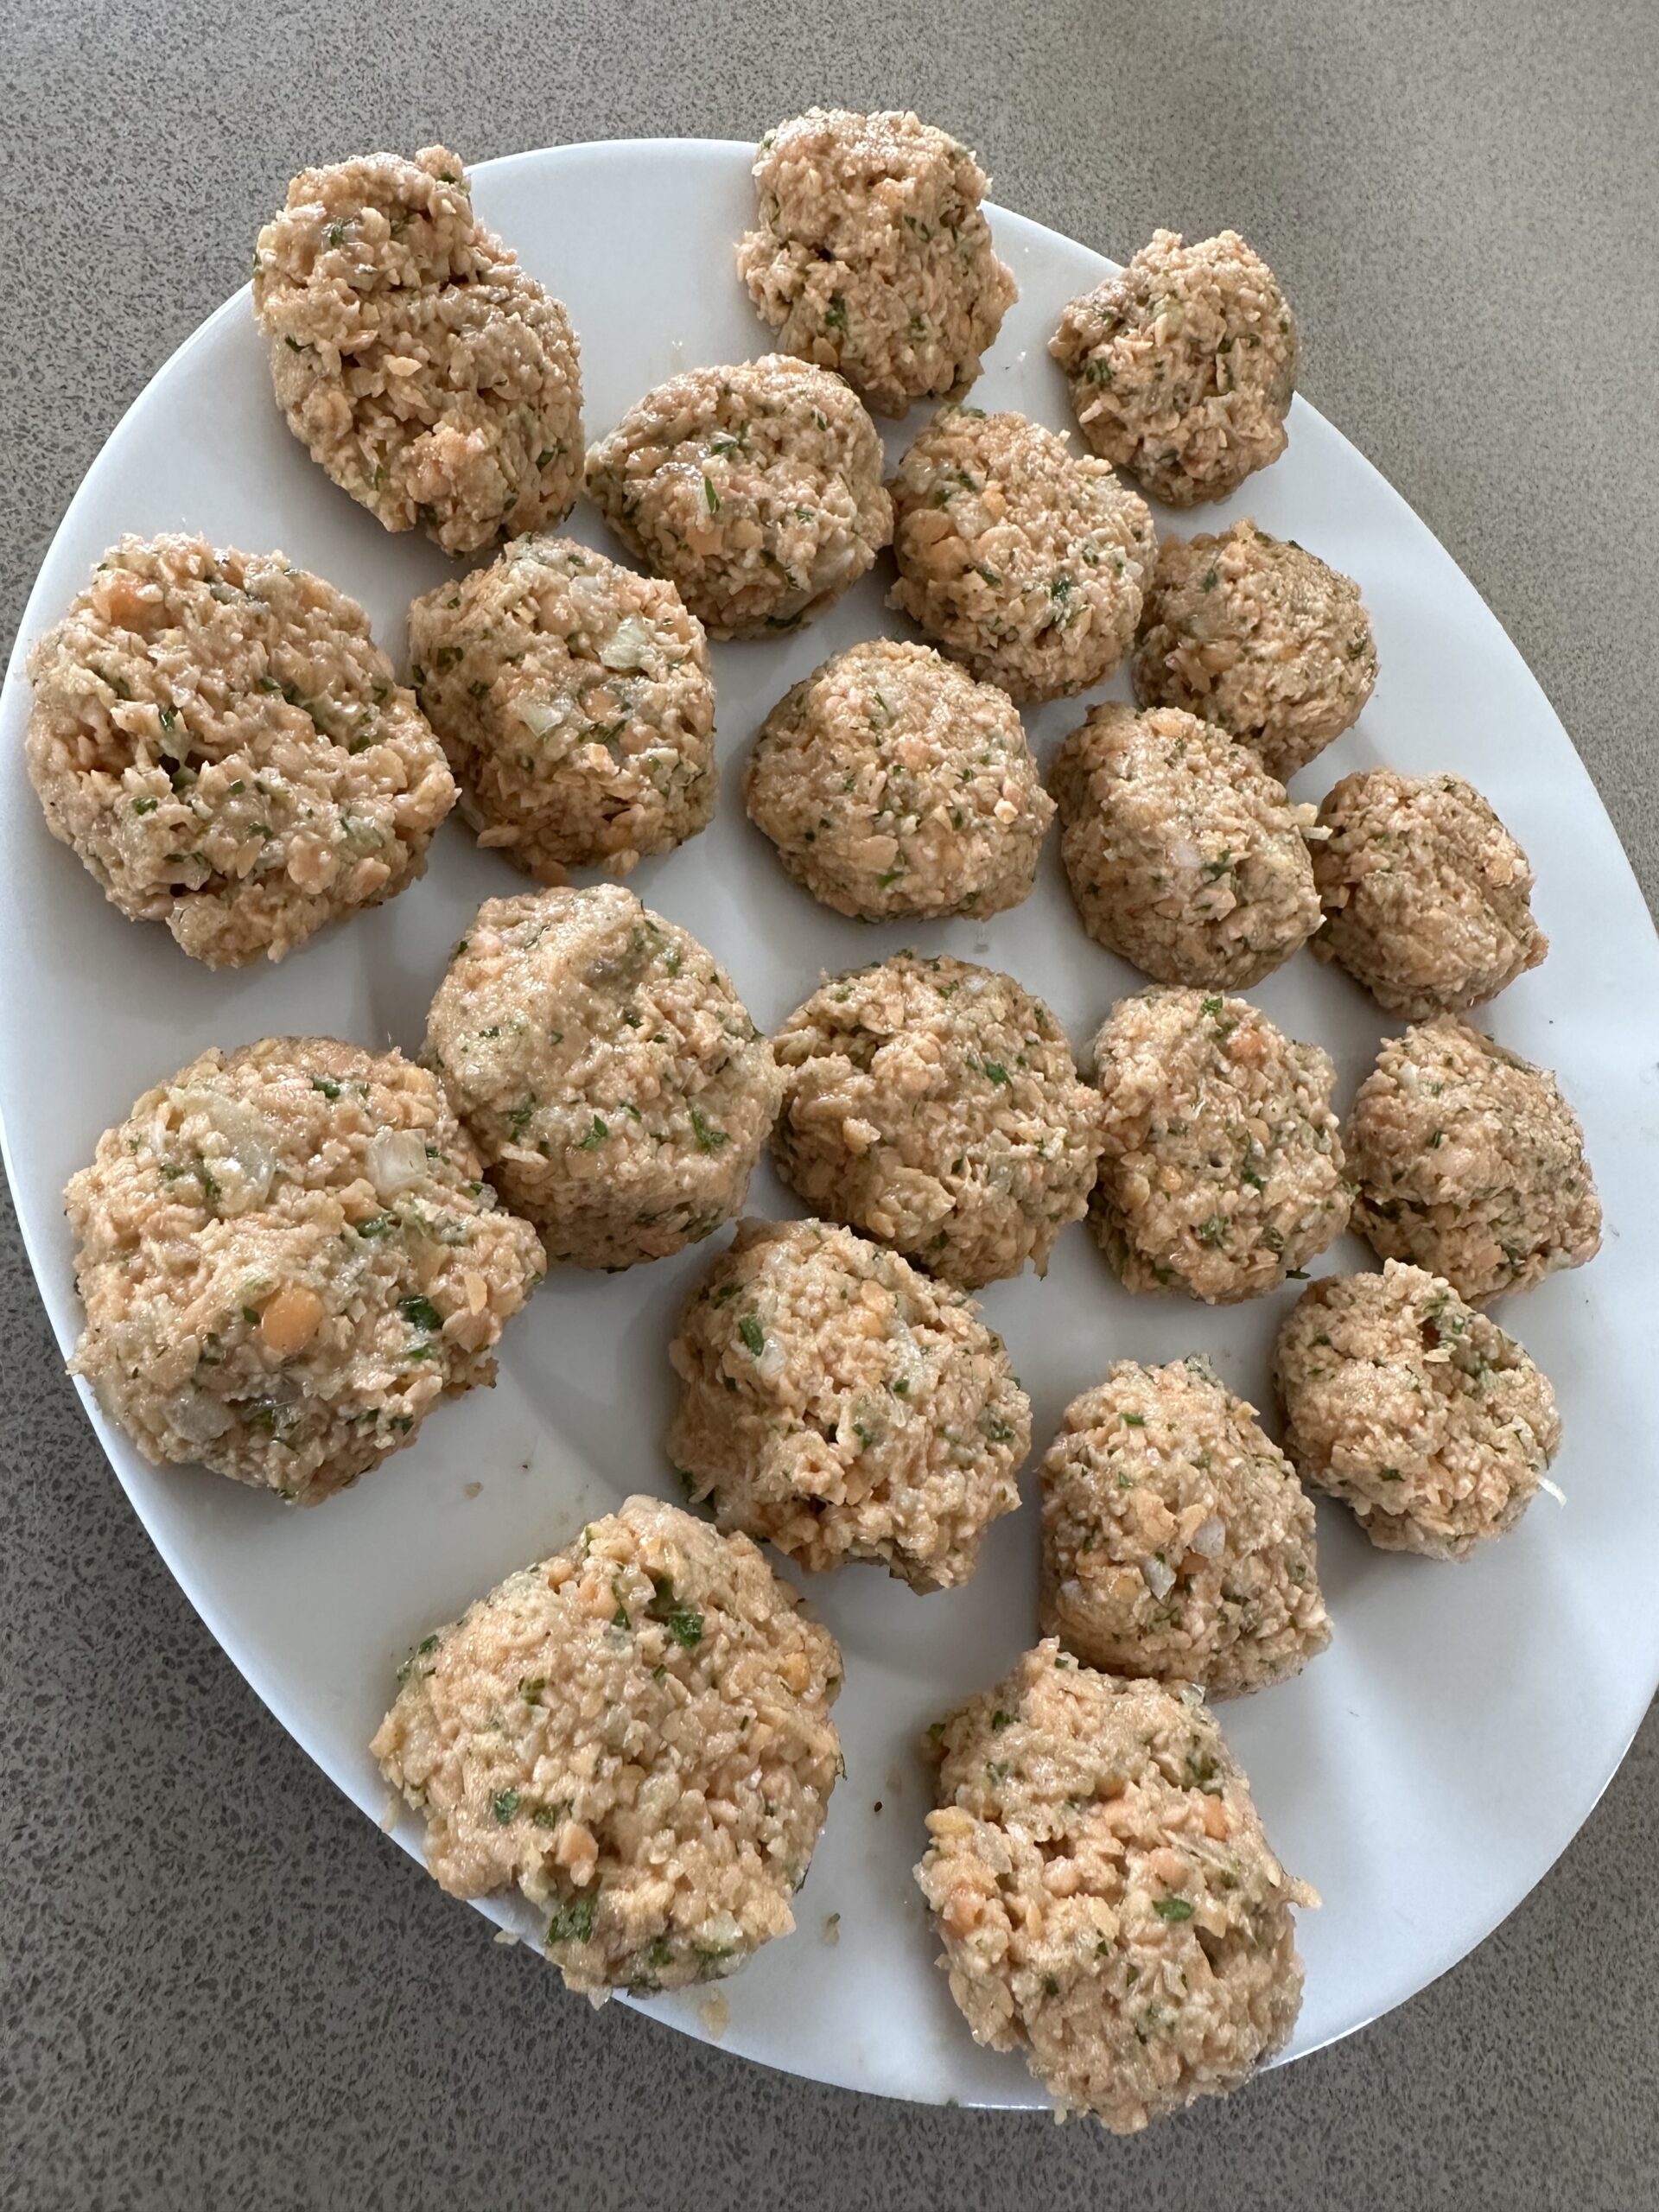
Falafel are traditionally made with chickpeas. Using a can doesn’t work – they end up mushy. This recipe uses red lentils instead of chickpeas which you just soak for an hour. The photo shows the falafel ready to fry – which is why they look a bit insipid. Next time I think I’ll make them a little bit smaller.
Falafel:
1 bunch parsley
2 cloves garlic
1 onion
1 cup red lentils soaked one hour in cold water then drained
1 tsp each ground cumin, coriander and salt
4 tbs chickpea flour (besan flour)
¼ cup olive oil + extra for frying the felafel
To serve:
4 pita bread pockets
Hummus (bought or home-made)
1 small cucumber, diced
2-3 tomatoes diced (or 8-10 cocktail tomatoes)
½ red onion, diced
Coriander or parsley, chopped
Avocado diced (optional)
Olive oil, lemon juice, salt and pepper to taste
Mix all the ingredients for the felafel. I use the food processor to finely chop the parsley and onion, then add the drained lentils, spices, salt, chickpea flour and olive oil. Process just enough to get a chunky mixture. You don’t want it smooth. Form into 2cm flattened balls with damp hands.
Deep fry or shallow fry the falafel or spray both sides with oil and cook them in an air fryer for about 10 minutes, turning once about halfway through.
Meanwhile warm or toast the felafel pockets. Mix the cucumber, tomatoes, red onion, coriander or parsley and avocado if using. Add a little olive oil, lemon juice, salt and pepper to taste.
To serve, fill each pita pocket with some hummus, cucumber and tomato mix and two or three crispy warm felafel.
Serves 4