Quick Olive Bread

This recipe is an adaptation of Irish Soda Bread. Made in the time it takes the oven to heat up, you can whip this up between morning coffee and Sunday lunch.

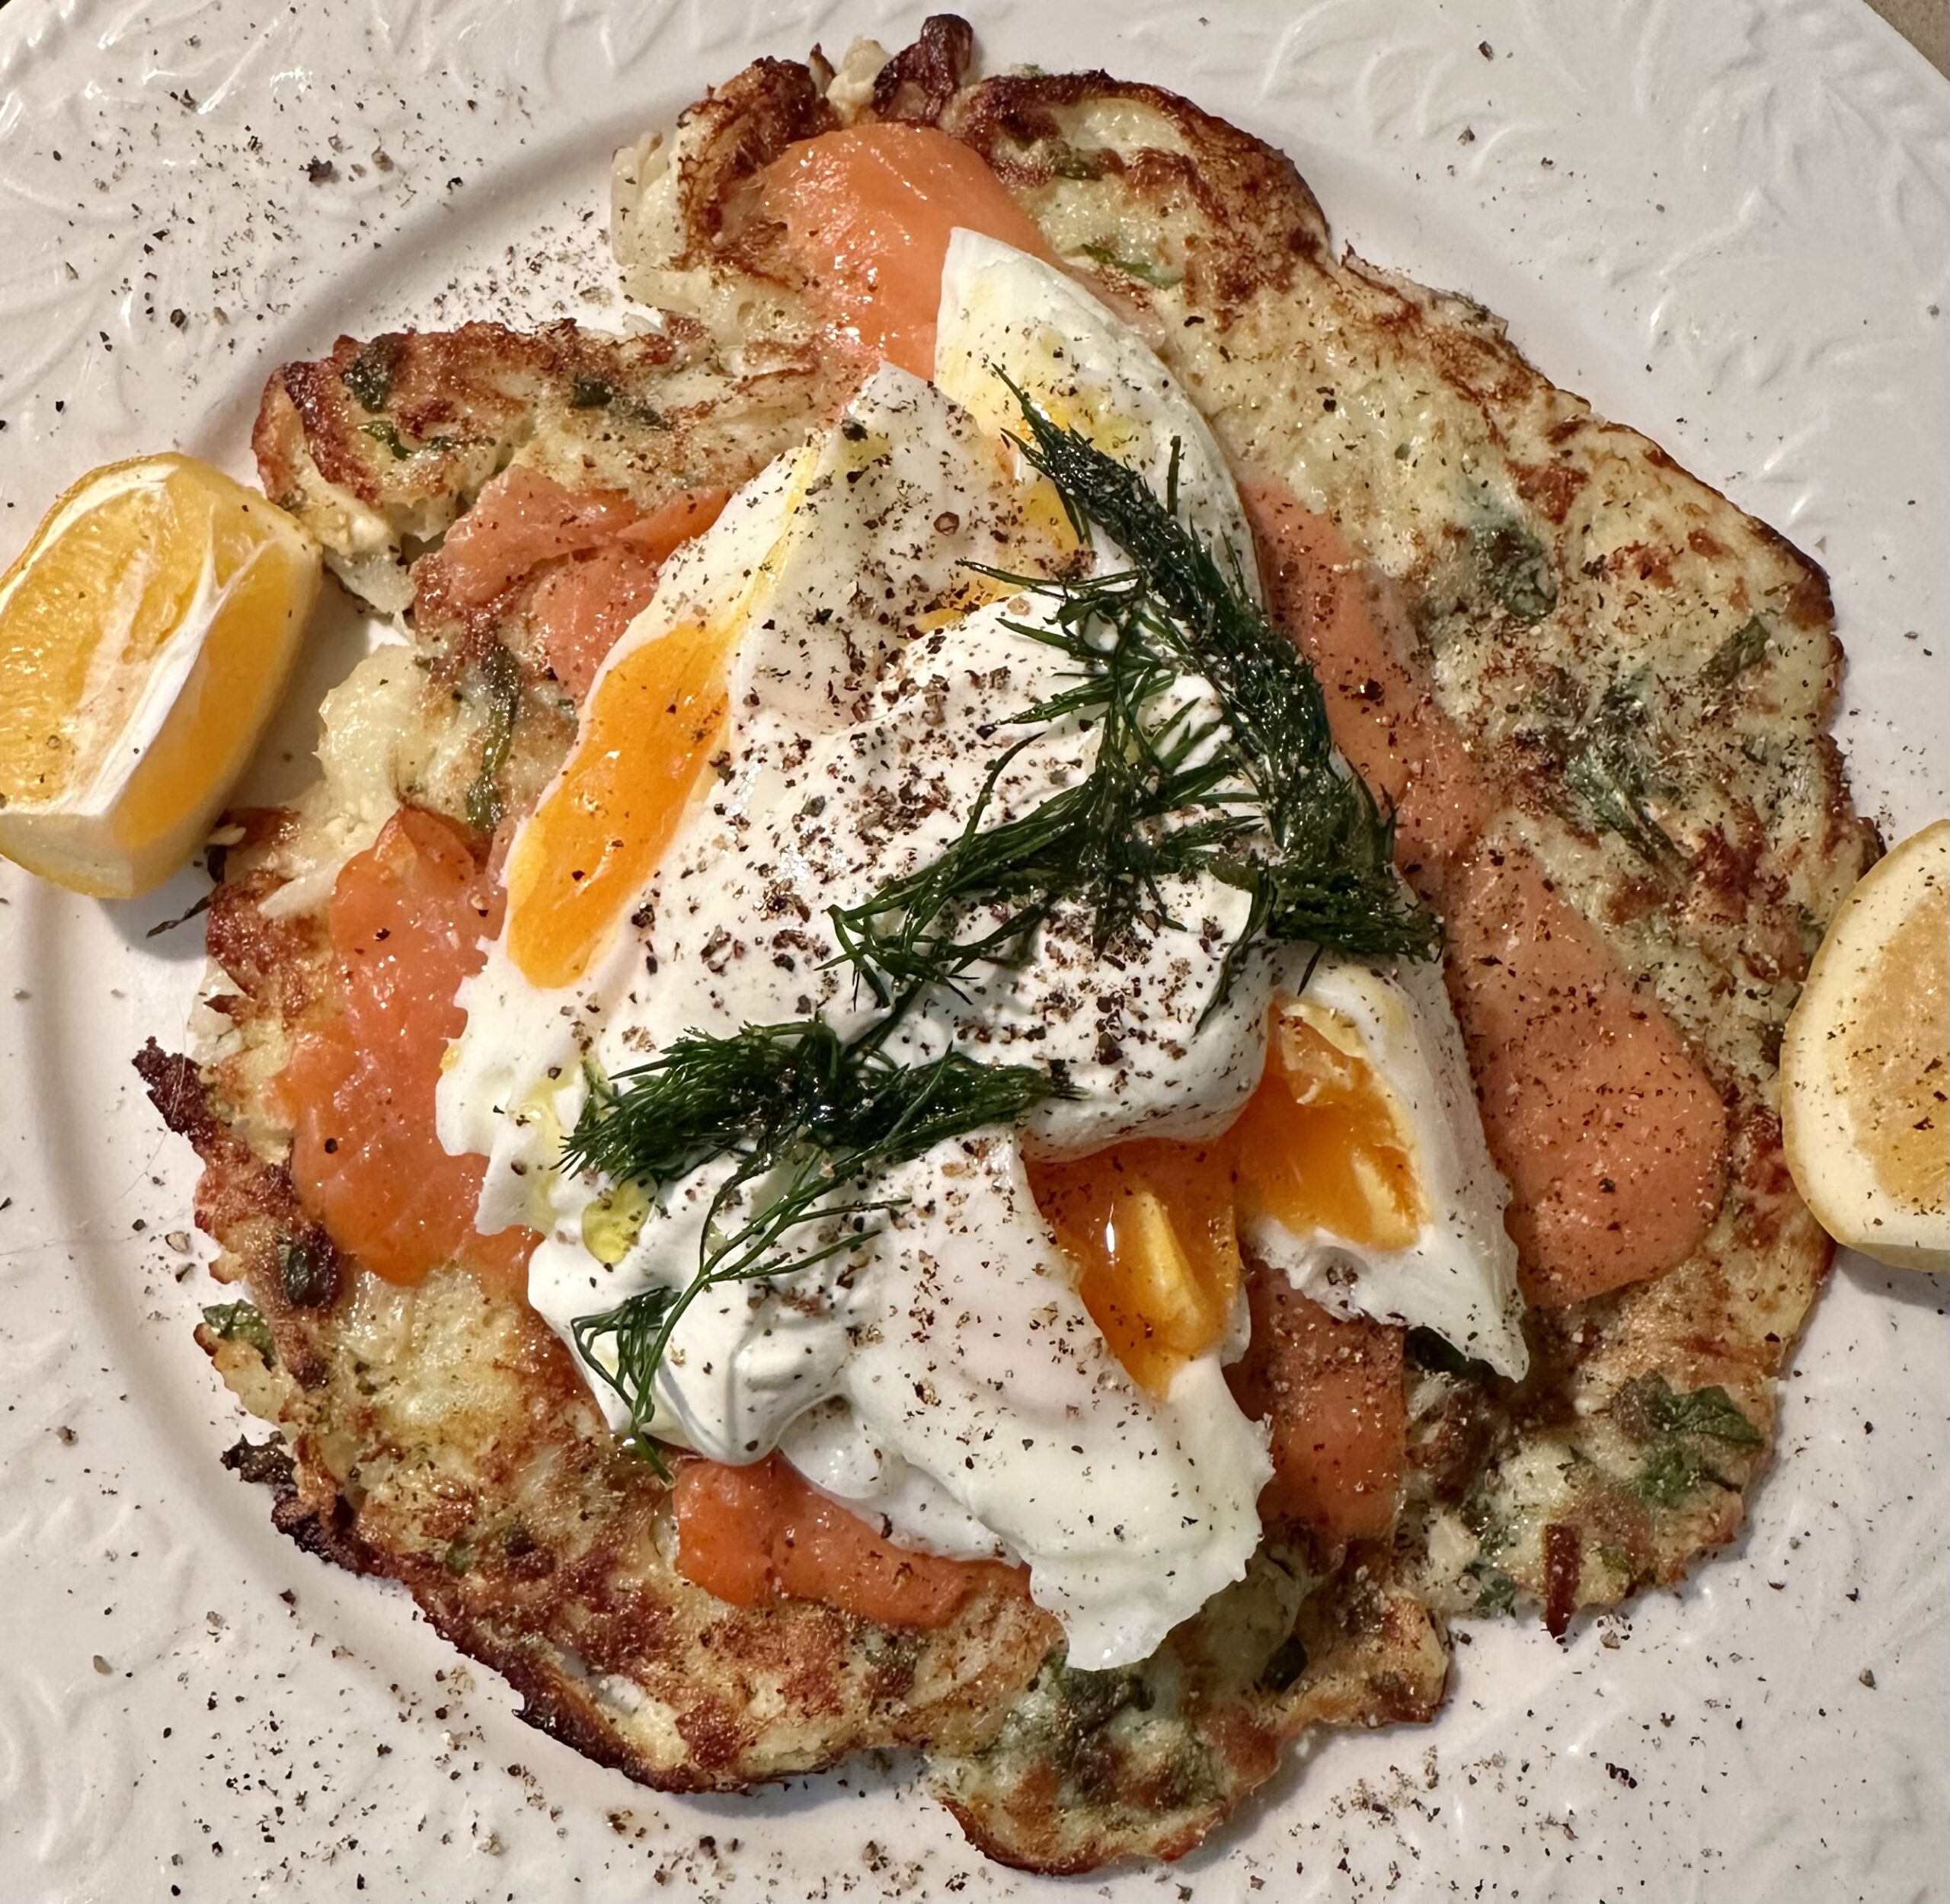
Served with home-made Gravlax and pickled vegetables (see below) it was delicious. Spread the bread with butter or mayonnaise, before topping with the gravlax or smoked salmon.

2 cups plain flour, sifted
2 tsp baking powder
1 tsp baking soda
1 Tbs lemon juice or vinegar
1½ cups plain yoghurt
1 Tbs chopped fresh rosemary
1 cup sliced olives (black or green or a mix)
1-2 tsp salt, to taste
1 Tbs each sunflower seeds and pepitas

Preheat oven to 180°C and line a baking tray with baking paper.

Mix all the ingredients together, except the seeds, in a mixing bowl. Mix until all the dry bits have been incorporated. With floured hands, form into a ball and place on the baking tray. Use hands to shape into a low flattish round as shown in photo. Sprinkle with the seeds and pat them on.

Bake for 45 minutes or until evenly browned. Cool then serve immediately. Any leftovers can be served next day, toasted.

Makes 1 loaf

Variation: use chopped sun dried tomatoes instead of olives or some of each.

Japanese Pickled vegetables: cut vegetables into two-bite pieces and pack into a clean large jar or 2-3 smaller ones – cauliflower florets, red capsicum strips, cucumber sticks, carrot sticks, chunks of fennel etc. Heat 1 cup each of sugar, water and cider or white wine vinegar in a saucepan. Stir to dissolve the sugar, then bring to the boil and pour over the vegetables. If liked add one or two whole red chillies, then cover with the lid. If you don’t have enough liquid to cover the vegetables, make a bit more, using equal quantities of sugar, water and vinegar. Keep for a few days before using. Store in the fridge.

Prawn Appetisers with Tamarind Sauce – Miang Kham

While holidaying in Chiang Mai in the north of Thailand for a few days recently we ate some delicious prawn appetisers called Miang Kham.

Betel leaves are sold in my local Asian grocery store, so I bought a packet and was able to whip up these tasty, healthy morsels in no time flat.

You might want to make double the tamarind dressing recipe. It keeps in the fridge for weeks and is useful to serve with all sorts of things, such as grilled salmon or chicken.

8 large prawns, peeled (raw or cooked)
1 Tbs oil
2-3 Tbs tamarind dressing
8 fresh betel leaves (from Asian shops)
2 Tbs roasted peanuts or crispy fried shallots (from Asian shops), or both
Fresh coriander leaves

Make tamarind sauce. Arrange the betel leaves, shiny side up, on a serving tray. Heat oil in a frying pan and cook the prawns. If using raw prawns, cook for about 3 minutes each side or until cooked through. If using cooked prawns just cook them for a minute or so, to heat through. Add the tamarind sauce and stir to coat well.

Arrange a few peanuts and one prawn on each betel leaf. Divide any remaining tamarind sauce left in the pan between the prawns. Sprinkle with crispy fried shallots, if using I didn’t use them in the photo. Top each one with a coriander leaf or two.

To eat the Miang Kham just pick up a betel leaf, pull the sides together to enclose the filling then pop it into your mouth.

Makes 8

Variations: use cubes or strips of chicken or scallops instead of prawns. Use lettuce or radicchio leaves instead of betel leaves.

Japanese Soboro Donburi

Looking for something quick to make with half a kilo of minced beef? Try this Japanese rice bowl recipe.

Donburi in Japanese means rice bowl dish and there are lots of different variations using chicken, pork, eggs and so on.

This combination of minced beef, ginger and frozen peas, served with steamed rice, isn’t a sophisticated dish, but it can be whipped up in no time flat. The perfect mid-week dinner to serve when everyone is asking “What time’s dinner Mum?” and you haven’t got time to make that packet of mince into spag bol or lasagne.

Cut down on the ginger if the kids aren’t mad about it. Some people aren’t fans of rice cookers, but I love mine. Switch it on when you start to prepare the mince and the whole dish will be ready to serve in around 15 minutes. Feel free to add some chilli or

500g lean minced beef
1/3 cup sake or dry sherry
¼ cup soy sauce (or substitute oyster sauce)
¼ cup water
1½ Tbs sugar
1-2 Tbs grated fresh ginger
1 cup frozen peas
To serve:
Steamed rice
Japanese pickled ginger*
Thinly sliced spring onions (scallions) (optional)

In a large heavy saucepan, place the beef, sake or sherry, soy sauce, water and sugar. Cook over medium to high heat, stirring often to break up any lumps, for about 5 minutes. Add the ginger and peas and continue to cook for 4 minutes or so, stirring often, until most of the liquid has evaporated but the mixture is still moist. Check for seasoning and add a little salt if necessary.

Divide rice between 4 or 5 bowls, top with the beef mixture and garnish with the pickled ginger and spring onions if using. I didn’t have any for the photo.

Serves 4-5

*available in jars in the Asian section of your supermarket

Spicy Korean Beef in the Slow Cooker

If you have a slow cooker and are time poor then this recipe, adapted from one by Nigella Lawson, is for you.

Nigella uses brown rice. I used pearl barley and added some toppings. We love pearl barley, which you can use as a substitute in most recipes which call for brown rice.

500g minced beef
1 can chopped tomatoes and 1 can water
1¼ cups pearl barley (or brown rice)
¼ cup Sriracha chilli sauce (or another chilli sauce/paste)
¼ cup soy sauce
1 packet 250g beansprouts
To serve: 
Sour Cream
Grated cheese (I used cheddar)
Chopped fresh coriander

Place minced beef, tomatoes, water, pearl barley or brown rice, chilli sauce and soy sauce in a slow cooker. Stir to combine, then cook on low for four hours, stirring a couple of times. When the pearl barley is tender it’s ready. Place beansprouts in a bowl. Cover with boiling water, stand for one minute then mix into the meat mixture. Allow to heat through for 15 minutes.

Serve as it is or topped with sour cream, grated cheese and coriander. Can be served in wraps or taco shells or on top of corn chips.

Additions: if liked, add a drained can of corn or a couple of cups of frozen peas about half an hour before serving. I also added a splosh of dry sherry. Why not?

Gluten-free Chocolate Nut Cookies

More and more people are avoiding gluten, so here’s a recipe for some delicious gluten-free chocolate cookies that everyone will love. If you’re also avoiding nuts, leave them out and add more chocolate chips.

1/3 cup cocoa powder
1½ cups icing sugar
½ tsp salt
1 tsp arrowroot
2 large egg whites
1 tsp vanilla essence
½ cup chocolate chips
1 cup chopped nuts (macadamias, walnuts, pecans, almonds or a mix)
Maldon sea salt

With a hand whisk, mix the first six ingredients until smooth. Mix in the chocolate chips and nuts. I used macadamia nuts and didn’t chop them, so they were quite chunky. Line a large shallow baking tray with baking paper or use a silicone baking mat as I did. Preheat the oven to 180°C. Spoon the cookie mixture onto the tray, using about a tablespoonful for each cookie and placing in compact blobs. They will spread to about double the width.

Sprinkle a few flakes of Maldon sea salt on each cookie then bake for 12 minutes. Don’t overcook – they will firm up when cool and you want them to be a bit chewy in the middle.

Cool completely before removing from the tray and storing in an airtight container.

Makes about 15.

Anzac Biscuits

On the 25th of April Australians and New Zealanders remember those who have lost their lives in military conflict. The date of Anzac day marks the anniversary of the landing in Gallipoli (Turkey) during the First World War, when many lives were lost. The acronym Anzac stands for the Australian and New Zealand Army Corps. Dawn services are held on this day in many countries, including France and Turkey.

Anzac biscuits were apparently sent by wives to soldiers abroad because they kept well during naval transportation. Nowadays they are made commercially, but many people make their own. There are some variations in the recipes so here is mine.

photo

1 cup porridge oats
½ cup plain flour
½ cup self raising flour
1 cup sugar
¾ cup desiccated coconut
125g butter
2 Tbs golden syrup (see note below)
½ tsp bicarbonate of soda
1 Tbs boiling water

Preheat oven to 170°C. In a large bowl mix oats, flour, sugar and coconut. Place butter and golden syrup in a small saucepan and stir over gentle heat until melted. Mix soda with boiling water and add to the butter mixture, then mix into the dry ingredients.

Using your hands, place balls of about one tablespoonful of mixture on lightly greased oven trays, or trays lined with non-stick baking paper – 12 per sheet, not too close together as they will spread. Flatten them out slightly with a fork. Bake for 12-20 minutes, or until a nice honey-brown colour. Ovens vary. If you prefer them more chewy and less crunchy, remove from the oven a bit earlier. If on tins without paper, loosen while still warm, then cool on the trays. Store in an airtight tin.

Makes 12-16 depending on size

Note: unless you live in Australia, New Zealand or the UK you may have difficulty finding golden syrup. There are some online sites which sell British ingredients. I have tried substituting honey but it’s not the same.

Tea Cake

The proper name for this old Welsh recipe is Barra Brith.  In our house it’s always called Tea Cake, because it’s made with cold tea.  In the good company of the Date and Walnut Loaf, this cake is simple, quick to make and it keeps for a week in an airtight tin.  I used to use half a cup of sugar, but I cut it down as the dry fruit provides quite a lot of sweetness. Try leaving the sugar out altogether – there’s plenty of sweetness from the dried fruit.

2½ cups mixed dried fruit (raisins, chopped dates, currants,) and nuts if you like (walnuts, pecans)
1 cup cold tea, including leaves
¼ cup brown sugar (optional)
2 cups self-raising flour
1 large egg
1 tsp cinnamon or mixed spice
3 Tbs oil

Soak fruit (and nuts if using) in tea overnight. Preheat oven to 160°C. Mix in remaining ingredients. If the mixture is rather dry add one or two tablespoons of milk. Scrape into a loaf tin approximately 12 x 25 cm, greased and bottom-lined with baking paper. Or use a silicone pan which doesn’t need greasing or lining – you can see mine in the photo. Smooth over the top with a knife. Bake for about an hour or until well-risen and browned and a toothpick inserted in the centre comes out clean. Don’t overcook or cake will be dry. Leave in tin 5 minutes then turn out and cool on a rack. Keep at least a day before using. Serve sliced, either plain or buttered. Keeps for about a week in an airtight tin.

Baked Potatoes in the Air Fryer

As kids we all loved baked potatoes and our kids loved them too. Try this quick and easy  “new take” on a retro recipe by cooking them in an air fryer. Vegetarians can leave out the bacon.

4 medium to large baking potatoes (Russets are a good choice)
Olive oil
Salt and freshly ground black pepper
50g butter
½ cup milk or cream or sour cream
1-2 cups grated cheddar cheese
2 rashers bacon, finely diced
2 spring onions, finely sliced
To serve:
Sour cream (optional)

Wash and dry the potatoes, prick them all over with a fork, then rub them all over with a little olive oil and salt. Place in air fryer and cook for 35-40 minutes at 200°C, turning halfway through, or until tender.

When potatoes are cool enough to handle – but still hot – cut them in half lengthwise and scrape out the middle into a bowl, leaving a 1cm thick shell. Mash the potato with the butter and milk or cream. Mix in half the cheese and half the spring onion slices and season to taste.

Divide the filling between the 8 potato halves and place them in the air fryer. Cook at 200°C for 6 minutes, then top with the remaining grated cheese and cook for another few minutes, until golden brown on top. Meanwhile fry the bacon dices in a non-stick pan until crispy.

Serve the potatoes garnished with the remaining spring onion and the bacon. If liked serve with a dollop of sour cream on top.

Makes 8 portions

Baked Pears with Blue Cheese, Walnuts & Honey

This year we have our first crop of pears. A delicious way to use pears when you can’t eat any more fresh is to bake them. This savoury baked dish makes a great starter or light meal, served with a rocket salad.

3 pears (some of mine were smaller so I used 4)
2-3 tsp olive oil
50g creamy blue cheese (e.g. Gorgonzola)
1/3 cup chopped walnuts or pecans
3-4 stalks fresh thyme, leaves removed and roughly chopped
1-2 Tbs honey
½ tsp Aleppo pepper (available from specialty shops)
Salt and freshly ground black pepper
Thyme sprigs to garnish

Preheat oven to 200°C. Cut pears in half lengthwise and remove core and seeds with a melon baller. Place in a baking dish in one layer, cut sides up. Drizzle with the olive oil, season with salt and pepper, then turn them over. Bake for 15 minutes.

Turn the pears over, so they are cut side up and stuff with the blue cheese, walnuts and thyme. Bake for 8-10 minutes. Drizzle with the honey and sprinkle with the Aleppo pepper. The Aleppo pepper is not essential, but it adds a bit of extra colour and flavour. Garnish with thyme sprigs and serve with a lightly dressed rocket salad.

Serves 3

Hutch’s Quick Cauliflower Cheese

This version of a traditional cauliflower cheese was sent to me by my brother, whose nickname is Hutch. It’s quick and easy. The oven heats up while you prepare the dish.

I didn’t have any nutritional yeast so looked on Google and came up with miso paste, which I did have, as a substitute. It’s quite salty so I didn’t need any additional salt for the sauce. It went very nicely with the last of the Christmas ham. The recipe is easy to halve.

1 large cauliflower cut into large florets
2 eggs
125ml milk
125ml oil (olive or canola)
200ml plain yoghurt
1 tsp paprika
Freshly ground black pepper
2 Tbs plain flour
1 tsp baking powder
2 Tbs nutritional yeast or white miso paste
Salt if necessary
Almond slivers or flakes
Grated cheese – I used cheddar

Pre-heat oven to 180°C. Cook cauliflower in boiling salted water for 3-4 minutes then drain. Mis remaining ingredients except the cheese and nuts, whisking to remove any lumps from the miso paste.

Add the cauliflower, turn to coat, then tip into a greased baking dish. I decided to divide it between two smaller dishes and keep one to serve the following day. Scrape the rest of the sauce over the top. Sprinkle with almonds and cover with grated cheese. The amount is up to you.

Bake for 15 minutes or until golden brown. Don’t overcook.

Serves 6-8