I watched Rick Stein make this on his TV programme about India and decided to give it a try. We’re not big meat eaters, but we prefer to fill up on protein and vegetables rather than carbs. So I cut the 600g of rice in Steins recipe down to 400g and increased the chicken meat from 600g to one kilo. If you prefer to use the original recipe you can find it online.
This recipe serves 6-8 and is perfect for entertaining. We didn’t have guests coming which meant there were delicious leftovers to reheat and serve later in the week. I found it easier to mix the saffron and rosewater into the rice rather than sprinkling it over the layers as Stein does. If you don’t have any rosewater don’t worry – the flavour is very subtle so just leave it out. I’ve added a teaspoon of sugar as I always do with savoury sauces, especially if they contain tomato.
A Biryani is supposed to be dry with separate grains of rice. If you prefer more sauce don’t do the final layering in the casserole. Instead boil the rice completely, then drain and serve in one dish. And stop cooking the chicken when there’s more sauce left and serve it in another dish. Alternatively serve the Biryani with another curry which has lots of sauce, such as a vegetable curry.
When we lived in Copenhagen we had an Indian housekeeper called Rajan. He was always telling me that the two steaks or chicken pieces we were having for dinner would feed his family in India for a week. Having inherited my mother’s War mentality I hate to see good food go to waste, so I’m pretty frugal and good at using up leftovers. But by Rajan’s standards all Westerners are wasteful. He would often rock his head from side to side and say “Madam very wasteful”.
Once we had a reception for several hundred people and I needed lots of coriander for one of the dishes. That week the supermarket only had it growing in pots so I bought eight. When Rajan saw me throwing the completely denuded plants into the bin next day he was horrified. Unbeknownst to me he rescued them, took them to his room and kept them on the window sill. It was the middle of winter and far too cold to plant them outside. Two months later in walks Rajan clutching eight flourishing coriander plants, a big smile on his face. It was a real “Ta da” moment, so I made all the right noises and told him how wonderful he was. He was very pleased with himself, this incident being further proof that Madam was indeed very wasteful.
Rajan and I spent many happy hours working together in the kitchen and putting the world to rights. He was often difficult to understand, especially when discussing India-Pakistan politics or cricket, so I usually found it easier just to agree with him. I tried on several occasions to get him to call me Mrs Peek, but he would always reply “Yes Madam”.
 400g basmati rice, soaked in cold water for an hour
Marinade:
1 cup plain thick yoghurt
2-3 green chillies (mine were 10cm+ long so I used 2)
1 tsp chilli powder (I substituted a rounded tsp of Sambal Oelek)
6 cloves garlic, crushed
1 heaped Tbs grated fresh ginger
1 tsp ground coriander
½ tsp ground turmeric
1 kg boneless, skinless chicken thighs, cut in halves
Fried Onions:
1 cup vegetable oil
3 medium onions, thinly sliced
Remaining ingredients:
10 whole cloves
1 cinnamon stick, broken
5 cardamom pods, bruised with a rolling pin
2 bay leaves
1 tsp cumin seeds
2 medium tomatoes, chopped
1 tsp salt
1 tsp sugar
100g clarified butter or ghee, melted
Pinch saffron soaked in 4 Tbs warm milk for 15 mins
2-3 tsp rosewater
To garnish:
A handful of dry roasted cashews and/or pistachio nuts to garnish
A handful of raisins (not in Stein’s recipe but in many others)
Fresh coriander, roughly chopped
Mix chicken with marinade and put aside for an hour or more. Drain rice and cook in plenty of boiling salted water for 5-7 minutes or until just tender but still firm. Put aside to drain. Heat oil in a wok or large frying pan and cook the onions for 10-15 mins or until golden brown and crispy. Drain on paper towels.
Remove all but 3 Tbs oil from the pan. Keep the rest of the oil for another use. Cook the whole spices for a minute then add the chicken and its marinade, the tomato and salt and cook, stirring and turning the chicken from time to time over a moderate heat for 20-30 minutes, or until chicken is tender and liquid has mostly disappeared. Stein says to add a splash of water to the sauce if it starts to catch before the chicken is cooked, but I didn’t find this necessary.
To assemble the dish, mix saffron mixture and rosewater into the cooked rice. If you don’t have any saffron, substitute 1-2 teaspoons of turmeric. Place half the clarified butter or ghee and 3 Tbs water in a large heavy casserole with a well fitting lid. A Le Creuset-type is perfect. Spread over a third of the rice, then half the chicken and a third of the fried onions. Repeat with another third of rice, the remaining chicken, another third of the onions and finally the rest of the rice. Keep the remaining third of fried onions to garnish. Drizzle the remaining clarified butter or ghee around the edges of the rice so it drips down the sides and prevents sticking. Put the lid on the pot and place on the stove on a high heat. Lift up the lid to check and as soon as you see steam rising put the lid back and turn the heat to very low for 30 minutes.
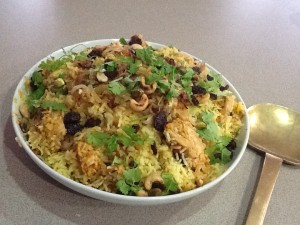
Tip the Biryani onto a large serving platter, making sure you scrape up the crispy bits from the bottom of the casserole, as they are particularly delicious. Garnish with the remaining fried onions, the nuts, raisins and coriander.
A side dish of raita – a yoghurt and cucumber dish for which there are plenty of recipes online – goes well, as does a dish of fruit chutney.
Serves 6-8

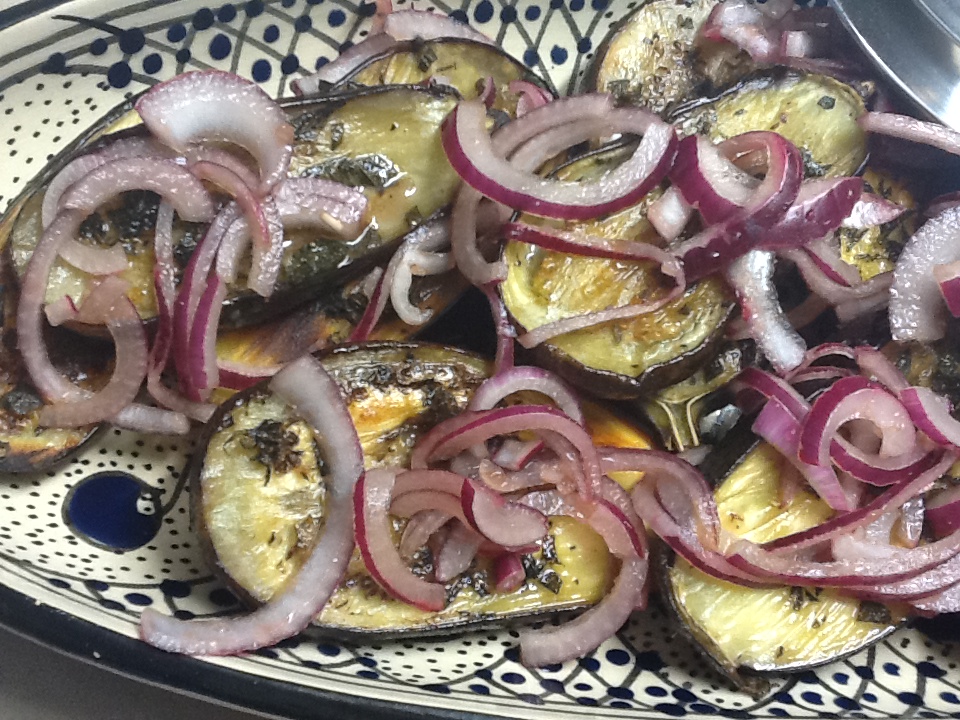 500-700g small/baby eggplants (aubergines)