I recently caught up with my friend Julia over a delicious lunch at The Palette Café. Inevitably the conversation got onto food and how we both love beetroot. I said we had grown some last year with mixed success. “Ah” said Julia “I have the solution”.
The trick is to soak the seeds overnight in tepid water and then plant the drained seeds in potting mix in cardboard toilet roll holders. Once they are up plant the seedlings, toilet roll holder and all, into the soil. Julia grows zucchini and pumpkin the same way.
Word went out that Matthew needed empty toilet roll holders and before you could say Jack Robinson friends and family all over town were coming to the rescue. It’s interesting to see how many some families go through in a week and how abstemious others are by comparison. On this subject Matthew quotes a statistic from his time in the Australian Army. Requirements were calculated on the basis of seven and a half squares per man per day. With a lot more women in the military these days they’ve no doubt had to throw those figures out the window.
While on the subject of beetroot Julia promised to send me her recipe for Veal Burgers with Beetroot Relish which she cut out of the local newspaper some time ago. If you don’t have veal use beef, pork or chicken mince. If you are unable to buy Tzatziki either make your own – there are plenty of recipes online – or just leave it out. The burgers are almost as good served with just the Beetroot Relish.
I used English mustard instead of Dijon in the relish and doubled the amount from half to one teaspoonful. The coarse (0.5cm) grating disc attachment on my Magimix made short work of grating the apples and beetroot.
The recipe says to leave the relish for 3 weeks to mature before using. I think we gave ours about 30 minutes! It was still scrumptious and there’s plenty left over for the next batch of burgers!
Burgers
400g veal mince (or beef, pork, chicken)
2 Tbs semi-dried or dried tomatoes, finely chopped
2 Tbs pitted kalamata olives, finely chopped
2 Tbs finely chopped parsley
1 egg
Salt and pepper to taste
To serve
2-3 zucchini cut into ribbons with vegetable peeler
1 Tbs olive oil
4 bread buns, split and toasted, or 4 pieces toasted baguette
Handful of baby spinach leaves
Few cherry tomatoes
1 small tub Tzatziki (bought)
1 Tbs chopped mint
Beetroot Relish (see recipe below)
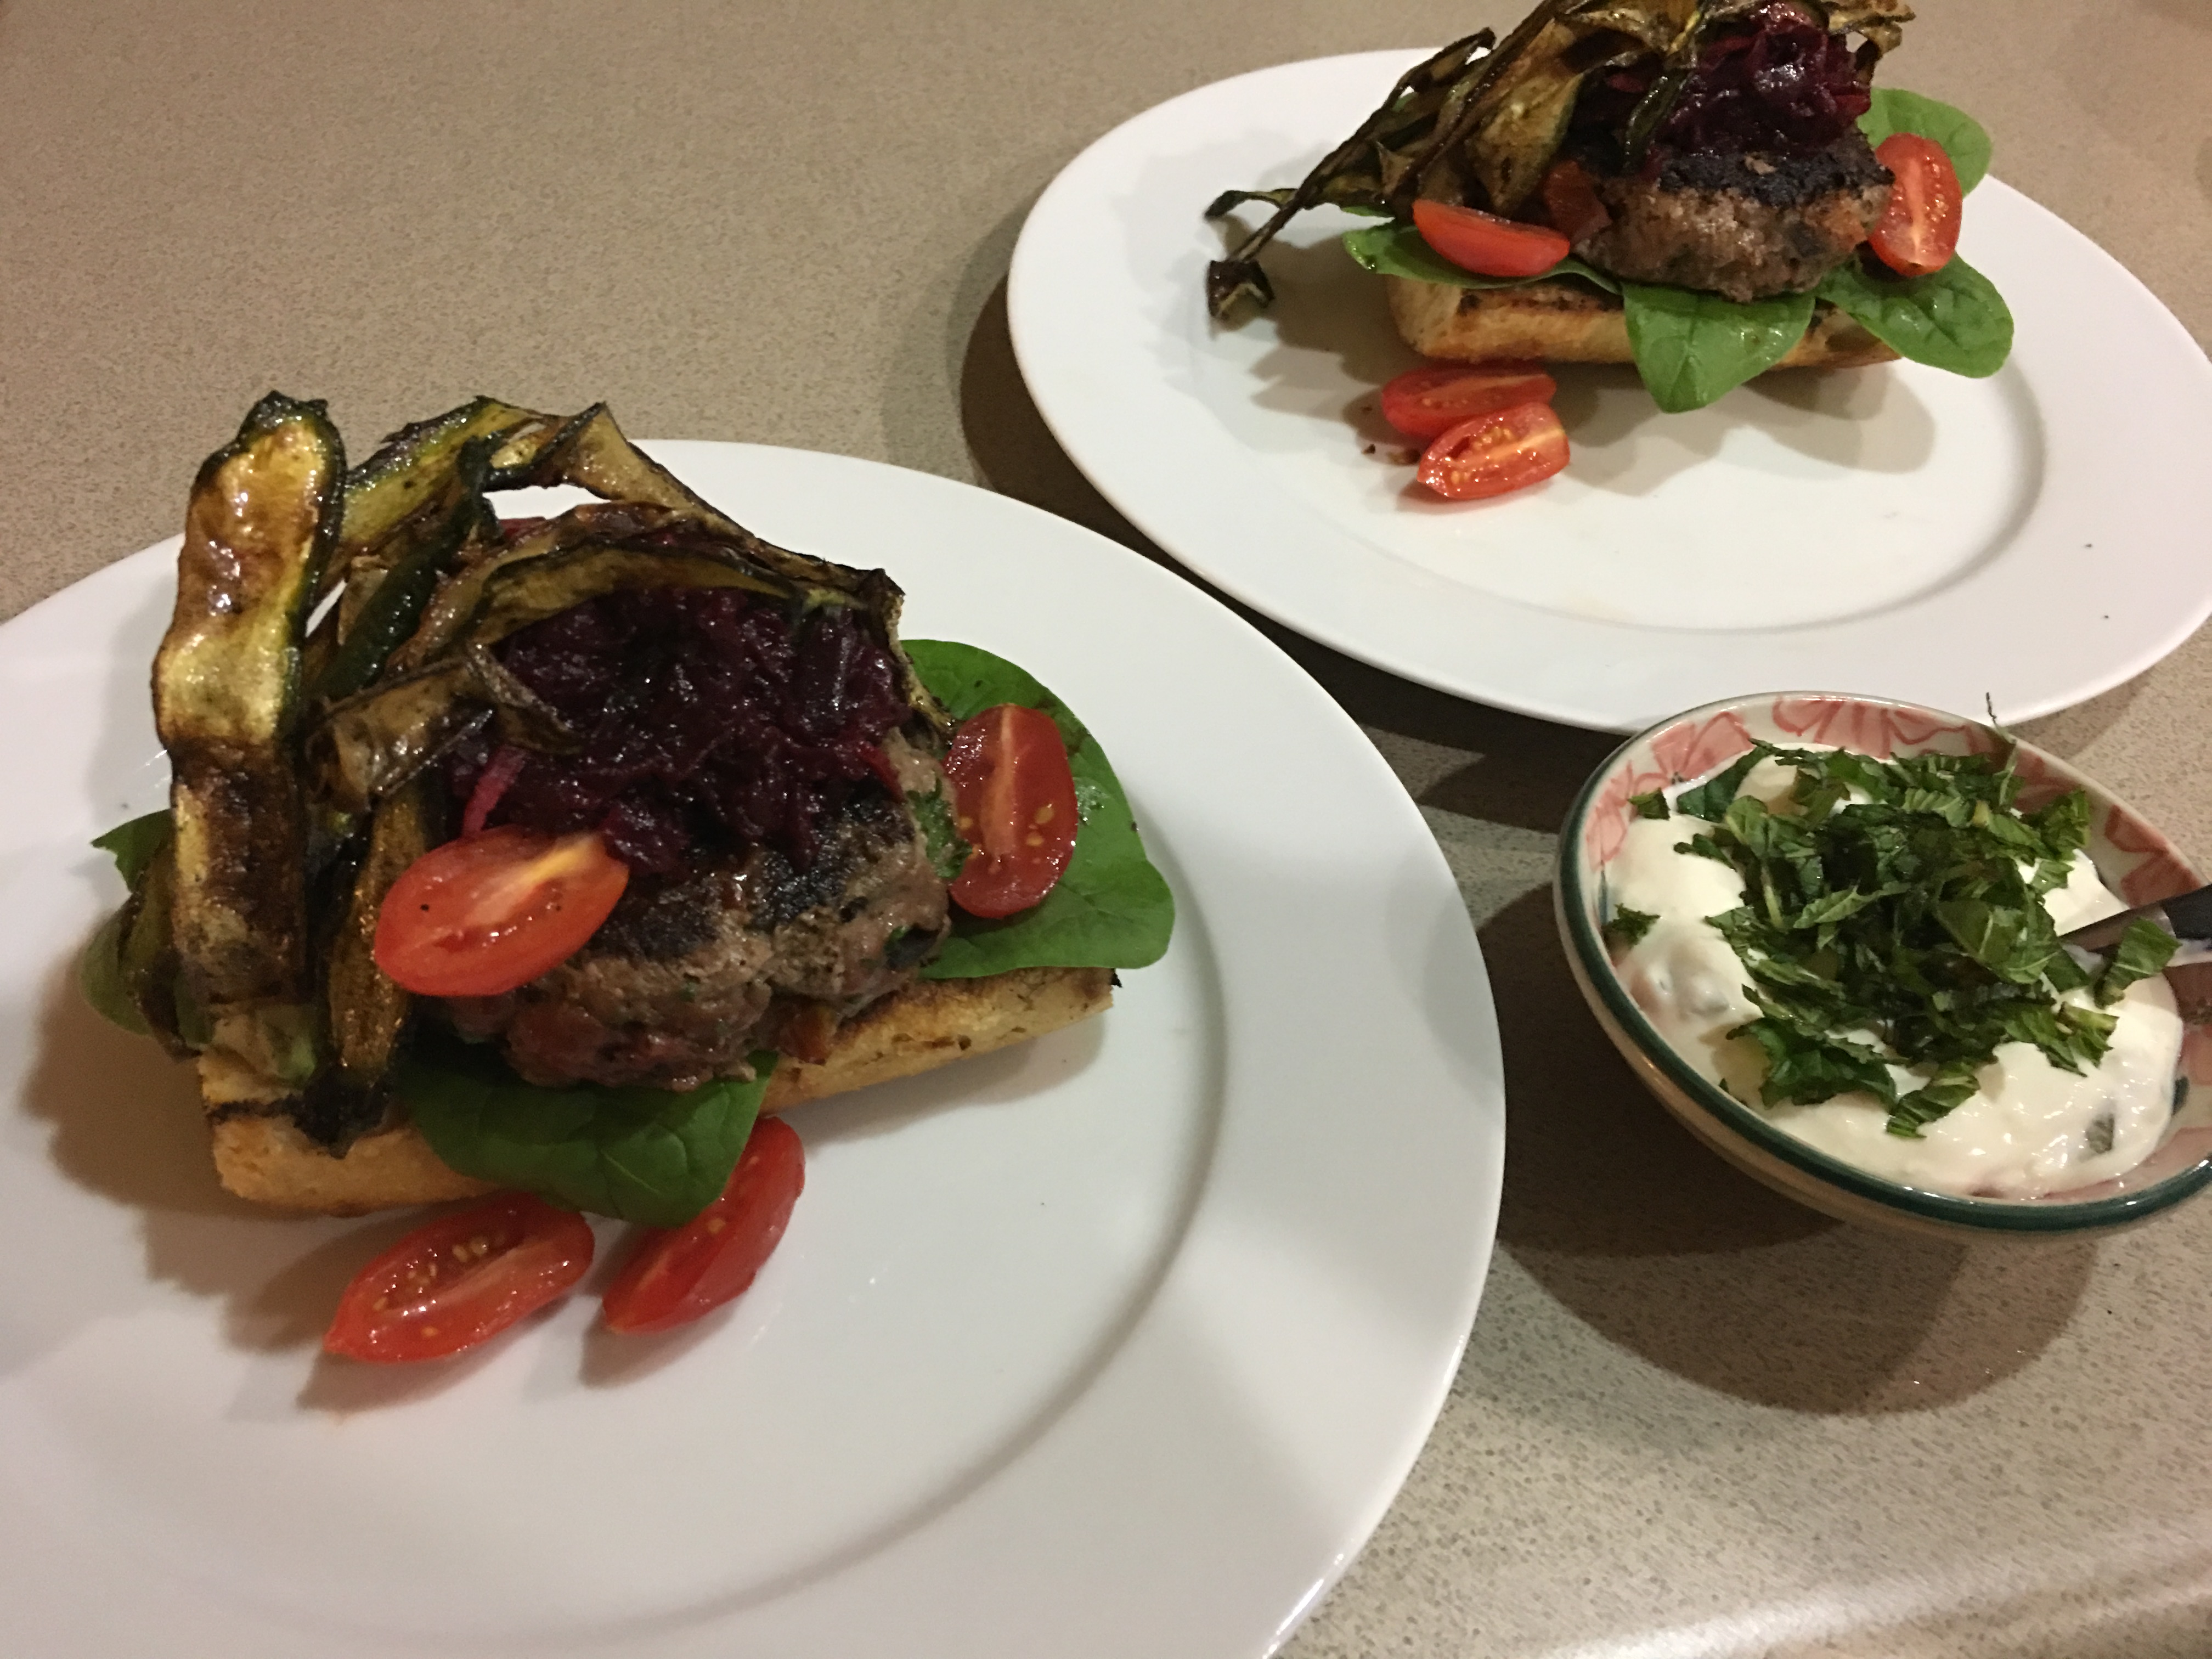
Mix all ingredients for burgers and form into four patties. Cut zucchini into long ribbons and mix with the oil. Heat a barbecue, griddle pan or non-stick frying pan and cook the burgers for about 5 minutes each side or until done to your liking. Cook the zucchini strips on both sides on the same barbecue or in a second frying pan, until golden, then drain on paper towels.
Arrange a few spinach leaves on one half of the toasted buns or baguette, then the burgers. Garnish with tomatoes, zucchini ribbons and some Beetroot Relish. Mix the mint into the Tzatziki and serve separately.
Serves 4
Beetroot Relish
400g beetroots
200g green apples
1 Tbs oil
1 brown onion, chopped
1 clove garlic, crushed
½ cup white wine or cider vinegar
½ cup balsamic vinegar
½ cup brown sugar
1 Tbs lemon juice
1 tsp English mustard (or Dijon)
Salt and freshly ground black pepper, to taste
1 tsp allspice
1 tsp cinnamon
2 whole cloves
5cm piece of orange rind, removed with a potato peeler
Place beetroots in a saucepan, cover with water, then cook for about 40 mins or until tender. Cool, peel, then grate coarsely. Peel and coarsely grate the apples.
Heat oil in a heavy-based saucepan and gently cook the onion and garlic until soft but not brown. Add the apple and remaining ingredients, except the grated beetroot and cook for 10 minutes or so, until cooked down. Then add the beetroot and continue to cook for about 30 minutes until thickened like a relish. You’re supposed to remove and discard the piece of orange rind, but I finely chopped it and mixed it back in.
Pour into clean sterilised jars and seal while hot. If possible, leave for 3 weeks to mature before using. To sterilise jars place them in the microwave on High for 2 minutes without the lids.